Rainbow Acrylic Nails Almond: Complete Guide to Colorful Nail Art

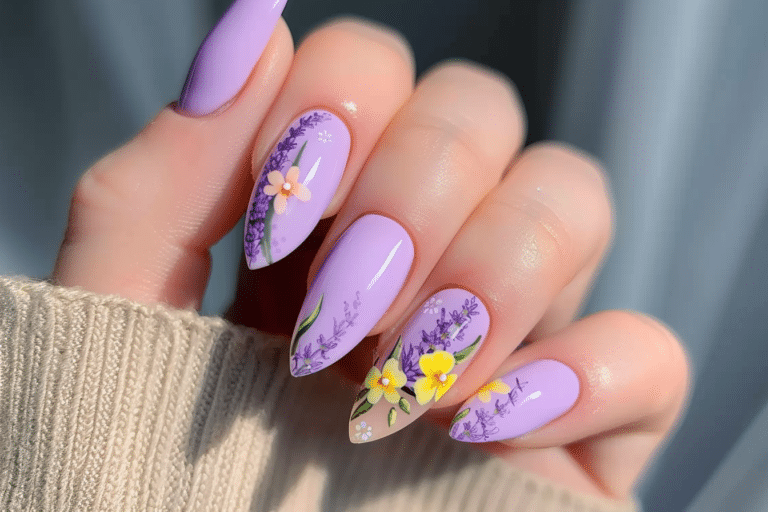
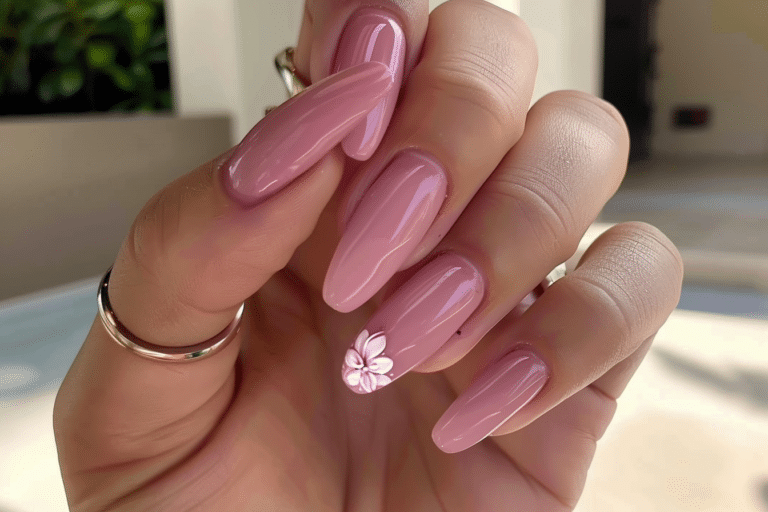
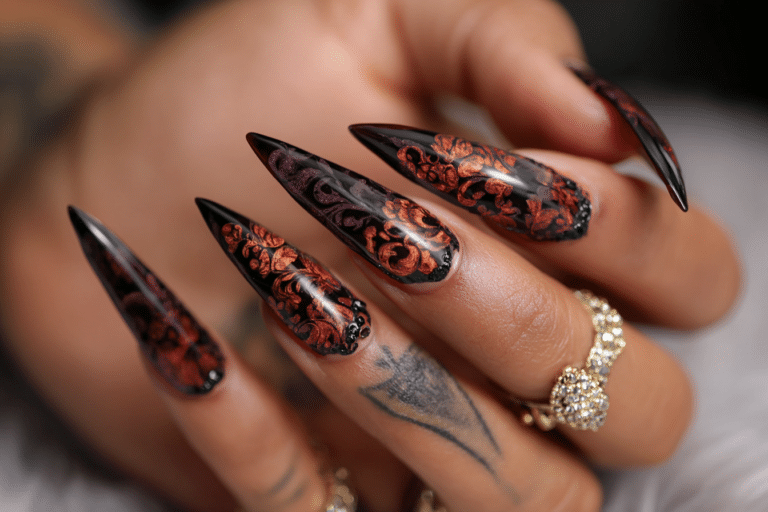
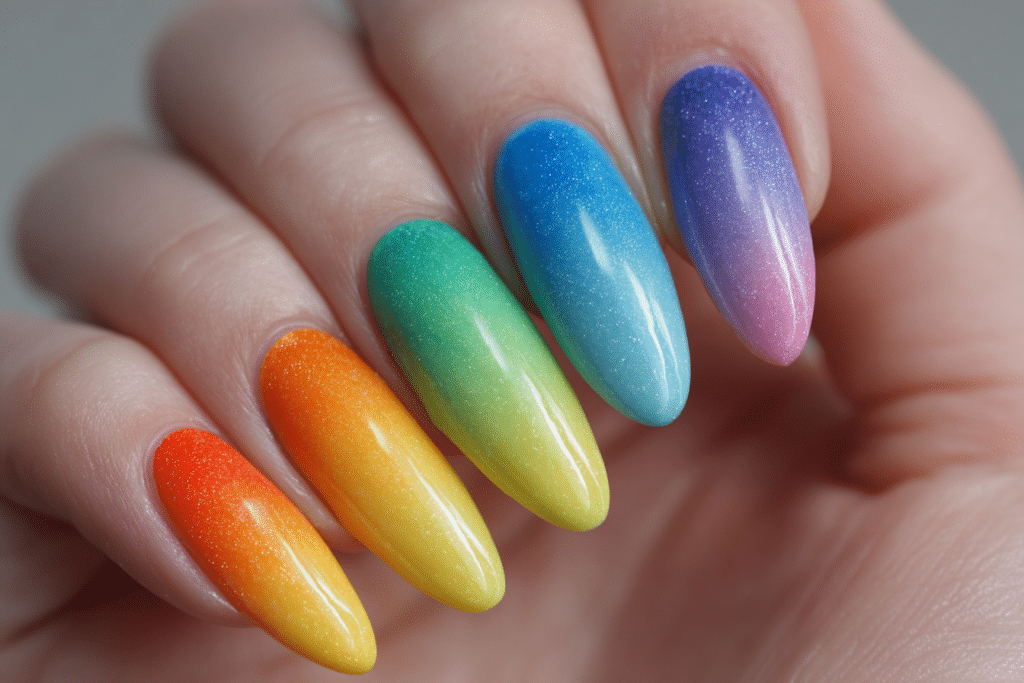
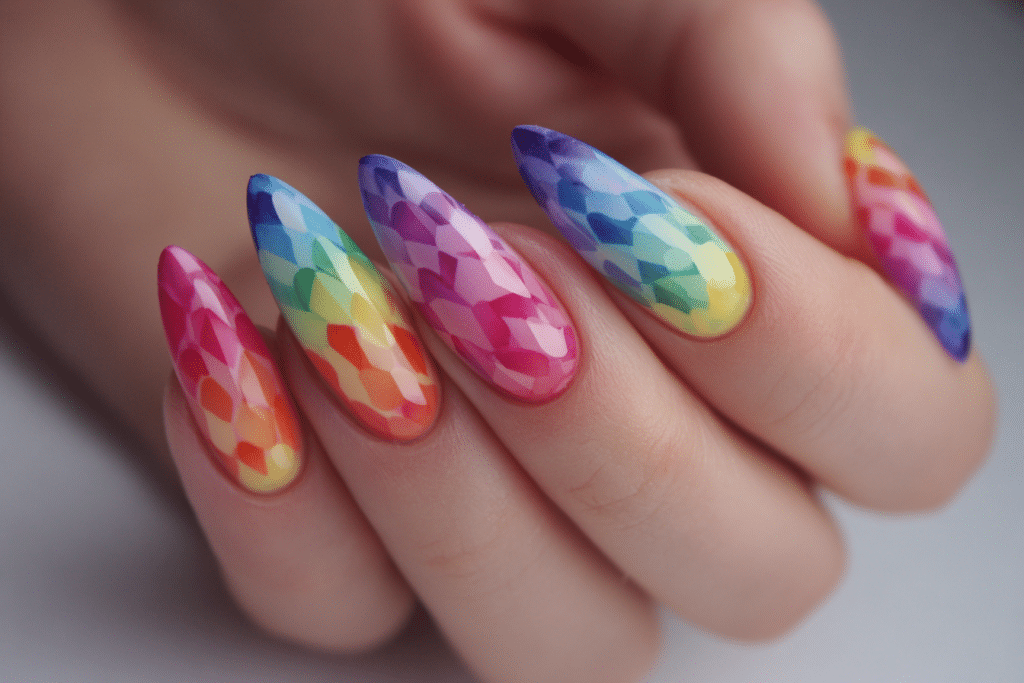
Rainbow acrylic nails almond shape combine vibrant multicolored designs with the elegant, tapered silhouette of almond-shaped extensions.
This stunning nail style features a spectrum of colors that can be arranged in gradients, stripes, or abstract patterns on the flattering almond nail shape. The almond shape elongates fingers while providing a sturdy canvas for eye-catching rainbow designs that showcase your personality and creativity.
| Topic | Details |
|---|---|
| Category | Nail Art / Acrylic Nails |
| Skill Level | Intermediate to Advanced |
| Time Needed | 90-120 minutes |
| Tools Needed | Acrylic system, nail files, brushes, color powders or polish |
| Best For | Creative individuals wanting bold, colorful nail designs |
Table of Contents
Why This Nail Technique Works
The combination of rainbow colors with almond-shaped acrylic nails creates a visually striking effect that flatters most hand shapes. The almond shape naturally draws the eye upward along its tapered edges, making fingers appear longer and more slender. This elongation effect provides an ideal backdrop for showcasing multiple colors, as the vertical lines enhance the gradient or striped appearance of rainbow designs.
Acrylic material offers superior durability compared to natural nails, making it the perfect medium for intricate rainbow designs that need to last. The acrylic formula allows nail technicians to sculpt precise almond shapes with consistent symmetry across all nails. This structural integrity ensures that your rainbow design remains intact for weeks without chipping or breaking, unlike traditional nail polish that may wear quickly.
Rainbow designs on almond nails work exceptionally well because the color transitions follow the natural curvature of the nail shape. The pointed tip of almond nails provides a focal point where colors can converge or fade, creating seamless gradients. This technique allows for endless creative possibilities while maintaining a sophisticated appearance that suits both casual and formal occasions.
Tools and Products Needed
| Product | Purpose | Alternatives |
|---|---|---|
| Acrylic Liquid Monomer | Activates acrylic powder for application | Gel system with builder gel |
| Acrylic Powder (Clear/Pink) | Creates nail extension and structure | Polygel or hard gel |
| Colored Acrylic Powders | Creates rainbow effect in acrylic | Gel polish colors over clear acrylic |
| Nail Forms or Tips | Provides base for extension | Dual forms for quicker application |
| Acrylic Brush (Size 8-10) | Applies and shapes acrylic | Multiple smaller brushes |
| Nail File (100/180 grit) | Shapes and refines almond form | E-file with various bits |
| Nail Buffer | Smooths surface before polish | Fine grit file |
| Cuticle Pusher | Prepares nail bed | Orangewood stick |
| Nail Dehydrator | Removes oils for better adhesion | Rubbing alcohol |
| Primer (Acid or Acid-Free) | Bonds acrylic to natural nail | pH bonder |
| Top Coat (High-Gloss) | Seals and protects design | Gel top coat with UV/LED lamp |
| Cuticle Oil | Maintains nail and skin health | Vitamin E oil or jojoba oil |
For professional results with your rainbow acrylic nails almond design, visit Gel Nails by Lina for expert guidance on nail care products and techniques.
Step-by-Step Application Guide for Rainbow Acrylic Nails Almond
Nail Preparation
- Remove any existing nail polish using acetone-based remover and cotton pads to ensure a clean surface.
- Push back cuticles gently using a cuticle pusher or orangewood stick without cutting live tissue.
- File natural nails to your desired length, removing any existing extensions if present.
- Buff the natural nail surface lightly to remove shine and create texture for better adhesion.
- Clean nails thoroughly with nail dehydrator or alcohol to remove all oils and debris.
- Apply acid-free or acid primer according to manufacturer instructions, avoiding skin contact completely.
Creating the Almond Shape Base
- Apply nail forms or tips depending on your preferred extension method and desired length.
- Mix a small bead of clear or pink acrylic by dipping your brush into monomer then powder.
- Place the acrylic bead at the apex of the nail, approximately two-thirds down from the cuticle.
- Pat and press the acrylic to create a smooth, even surface with proper thickness throughout.
- Extend the acrylic to the desired length, ensuring symmetry across all nails for consistency.
- Allow the acrylic to fully cure and harden before proceeding to shaping steps.
Shaping the Almond Nails
- File both sides of each nail at an angle toward the center point to create tapered edges.
- Round the tip gently to avoid a sharp stiletto point while maintaining the almond silhouette.
- Ensure all nails match in length and shape by comparing them side by side frequently.
- Refine the sidewalls to be parallel and smooth without any bumps or irregularities.
- Buff the entire surface with a fine buffer to create a smooth canvas for color application.
Applying Rainbow Design
- Decide on your rainbow pattern: vertical gradient, horizontal stripes, or diagonal ombre effect.
- Apply colored acrylic powders in rainbow order: red, orange, yellow, green, blue, indigo, violet.
- Use the wet brush technique to blend colors seamlessly where they meet for smooth transitions.
- Work quickly as acrylic cures fast, completing one nail at a time for best results.
- Alternatively, apply clear acrylic and paint rainbow designs using gel polish or acrylic paint after curing.
- Layer colors strategically, allowing opacity to build gradually for depth and dimension in design.
Finishing and Top Coat
- File away any imperfections or rough edges once the colored acrylic has fully cured.
- Buff the surface lightly if needed, being careful not to disturb the rainbow design underneath.
- Wipe nails clean with alcohol or cleanser to remove all dust and prepare for sealing.
- Apply a high-quality acrylic top coat in thin, even strokes from cuticle to free edge.
- Allow the top coat to dry completely according to product instructions before touching anything.
- Massage cuticle oil into the skin around each nail to hydrate and complete the manicure.
For more detailed tutorials on nail art techniques, explore the resources available at Gel Nails by Lina.
Pro Nail Technician Tips
- Apply thin layers of acrylic rather than thick beads to prevent lifting and ensure proper curing throughout the entire enhancement.
- Keep your acrylic brush clean and properly saturated with monomer to maintain smooth application and prevent product from hardening in bristles.
- File the almond shape when acrylic is fully cured but not completely hardened for easier shaping and more precise control.
- Create color transitions by working wet-on-wet, applying the next color while the previous one is still slightly damp for seamless blending.
- Use a fine detail brush to perfect color boundaries and create crisp lines between rainbow shades for professional results.
- Cap the free edge with top coat on every application to seal the tip and prevent water infiltration and lifting.
Common Acrylic Nail Mistakes
| Mistake | Why it Happens | How to Fix |
|---|---|---|
| Thick, bulky acrylic layers | Using too much product or improper bead ratio of monomer to powder | Use smaller beads and press product thin, file to proper thickness if needed |
| Lifting at cuticle area | Inadequate nail preparation or product touching skin during application | Ensure proper dehydration and priming, leave small margin from cuticle |
| Uneven almond shape | Filing without checking symmetry or rushing through shaping process | File slowly, compare nails frequently, use a template for consistency |
| Muddy rainbow colors | Over-blending colors or not allowing sections to cure before adding adjacent colors | Work in distinct sections, use clean brushes for each color application |
| Air bubbles in acrylic | Brush contains air or acrylic mix ratio is incorrect causing trapped pockets | Press acrylic firmly, use proper liquid-to-powder ratio, avoid overworking product |
Rainbow Acrylic Nails Almond Design Variations
| Style | Description | Best Occasion |
|---|---|---|
| Vertical Rainbow Gradient | Colors transition from one side to the other creating sideways rainbow effect | Summer festivals, beach vacations, casual events |
| Rainbow Tips | Natural or nude base with rainbow colors concentrated at the free edge only | Everyday wear, office-appropriate with subtlety |
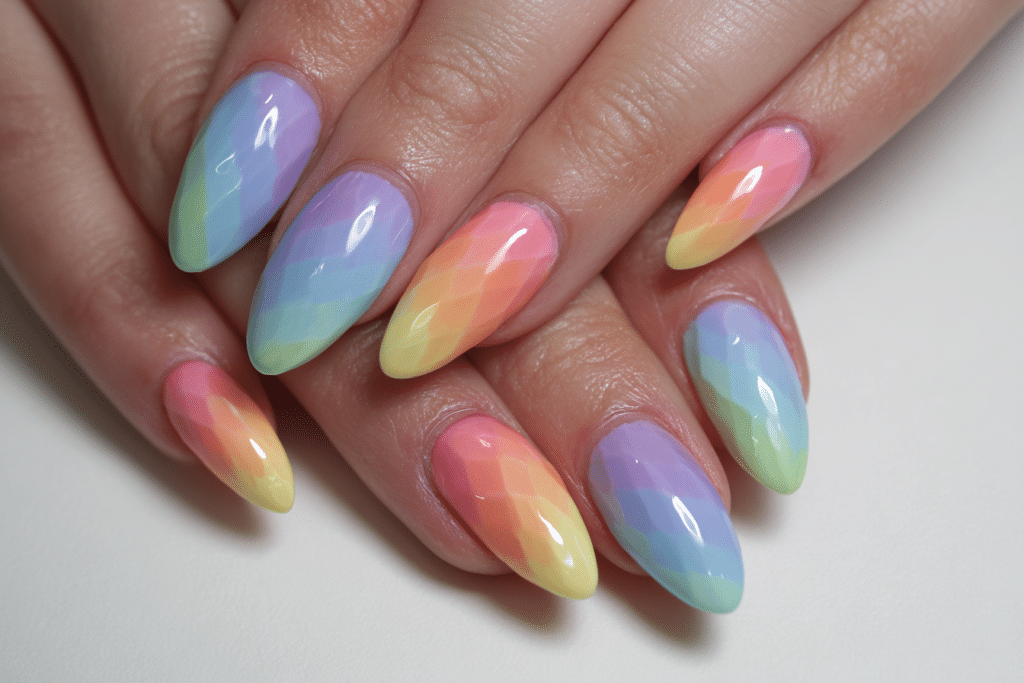
| Pastel Rainbow Ombre | Soft, muted versions of rainbow colors blended in gentle gradient | Spring weddings, baby showers, Easter celebrations |
| Neon Rainbow Stripes | Bold, bright horizontal or diagonal stripes in vivid neon rainbow shades | Music concerts, nightlife, pride events |
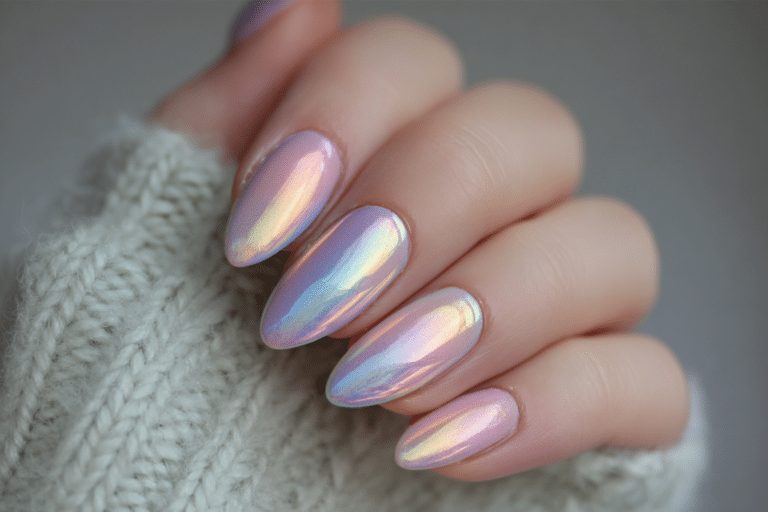
| Rainbow Chrome Effect | Metallic rainbow powder over white base creating iridescent shifting colors | Special occasions, parties, glamorous events |
| Rainbow French Tips | Classic French manicure with rainbow colors replacing traditional white tips | Versatile for most occasions with playful twist |
| Glitter Rainbow Fade | Rainbow colors mixed with glitter particles for sparkly dimensional effect | Holidays, celebrations, New Year festivities |
Nail Care and Maintenance
Maintaining rainbow acrylic nails almond shape requires consistent care to preserve both the structural integrity and vibrant appearance. Apply cuticle oil daily to keep the surrounding skin hydrated and prevent dryness that can lead to hangnails. The oil also helps maintain flexibility in the acrylic, reducing the likelihood of cracking or breaking under normal stress.
Wear gloves when performing household chores involving water or harsh chemicals to protect your rainbow design from fading or damage. Prolonged exposure to water can cause lifting at the cuticle area, while cleaning products may dull the glossy finish. Schedule fill appointments every two to three weeks to address regrowth and maintain the perfect almond shape as your natural nails grow.
Avoid using your nails as tools for opening cans, scratching, or prying objects, as this places excessive stress on the apex and can cause breaks. The pointed almond shape, while elegant, is more vulnerable to damage than square shapes. If you notice any lifting or separation, visit your nail technician promptly to prevent moisture from becoming trapped underneath, which can lead to bacterial or fungal growth.
Keep your nails at a practical length that suits your lifestyle to minimize accidental damage and maintain comfort. Touch up the top coat every few days at home to refresh the shine and add an extra layer of protection to your rainbow design. For comprehensive nail care advice, visit Gel Nails by Lina for professional recommendations.
How to Remove Acrylic Nails Safely
Removing rainbow acrylic nails almond extensions properly prevents damage to your natural nails underneath. Begin by filing down the top coat and colored layers with a coarse nail file to break the seal and reduce bulk. This step allows the acetone to penetrate more effectively during the soaking process and significantly reduces removal time.
Soak cotton balls in pure acetone and place one on each nail, then wrap each fingertip securely with aluminum foil to hold the cotton in place and trap heat. Allow nails to soak for twenty to thirty minutes, checking periodically to see if the acrylic has softened sufficiently. The acrylic should appear gummy and lift easily when ready for removal without excessive force.
Gently push off the softened acrylic using an orangewood stick or cuticle pusher, working from the cuticle toward the free edge. Never forcefully pry or pull acrylic off, as this removes layers of your natural nail and causes significant damage. If resistance occurs, rewrap the nail and soak for an additional five to ten minutes until the product releases easily.
Nail Health and Safety
Maintaining healthy nails while wearing rainbow acrylic nails almond extensions requires attention to proper application techniques and hygiene practices. Excessive filing of the natural nail plate during preparation can weaken nails and make them prone to peeling and breaking. Only minimal buffing is necessary to remove shine, and aggressive filing should be avoided to preserve the structural integrity of your natural nails.
Watch for signs of infection such as redness, swelling, pain, or discharge around the nail area, which may indicate bacterial or fungal growth. Moisture trapped between the acrylic and natural nail creates an ideal environment for microorganisms to thrive. If you notice any green discoloration under the acrylic, remove the enhancement immediately and consult a healthcare provider or dermatologist for appropriate treatment.
Allow your natural nails to breathe between acrylic applications by taking breaks of at least one week every few months. This rest period enables nails to recover from any minor damage and regain their natural moisture balance. During breaks, apply strengthening treatments and cuticle oil regularly to promote healthy nail growth and resilience.
Frequently Asked Questions
How long do rainbow acrylic nails almond shape last?
Rainbow acrylic nails almond shape typically last three to four weeks before requiring a fill appointment to address regrowth. The durability depends on how quickly your natural nails grow and how well you maintain the enhancements. With proper care, including avoiding excessive water exposure and wearing gloves during chores, the rainbow design remains vibrant throughout the entire wear period. Some people may need fills earlier at two weeks if they have fast nail growth or engage in activities that stress the nails.
How do I remove acrylic nails safely at home?
Remove acrylic nails safely at home by soaking them in pure acetone for twenty to thirty minutes after filing off the top coat. Wrap each fingertip in acetone-soaked cotton and aluminum foil to maximize penetration and heat retention. Gently push off softened acrylic with an orangewood stick, never forcing or prying the product off. If acrylic does not release easily, continue soaking rather than pulling, as forceful removal damages your natural nail plate underneath.
What is the difference between gel nails and acrylic nails?
Acrylic nails are created by combining liquid monomer and powder polymer that hardens when exposed to air, while gel nails are applied as a gel substance that cures under UV or LED light. Acrylics tend to be stronger and more durable, making them ideal for creating length and intricate shapes like almond nails. Gel nails appear more natural and flexible, with less odor during application, but may not provide the same structural strength for extreme lengths. Both can showcase rainbow designs beautifully, though acrylics offer more options for color mixing directly in the product.
Why do my acrylic nails lift or peel?
Acrylic nails lift or peel primarily due to inadequate nail preparation, which prevents proper adhesion to the natural nail plate. Oils, moisture, or debris left on the nail surface create a barrier between the acrylic and your nail. Lifting also occurs when acrylic is applied too close to the cuticle and touches the skin, or when nails are exposed to excessive water. Ensuring thorough dehydration, proper priming, and leaving a small margin from the cuticle prevents most lifting issues.
How can I make my rainbow acrylic nails last longer?
Make your rainbow acrylic nails last longer by applying cuticle oil daily, wearing gloves during household tasks, and avoiding using your nails as tools. Keep nails at a practical length to reduce stress on the enhancement and prevent accidental breakage. Avoid prolonged water exposure by keeping hands out of water as much as possible and drying them thoroughly after washing. Schedule regular fill appointments every two to three weeks to address regrowth and maintain structural integrity before lifting occurs.
Conclusion
Rainbow acrylic nails almond shape offer a stunning combination of vibrant color and elegant form that expresses creativity while maintaining sophistication. This nail style requires proper technique, quality products, and consistent maintenance to achieve professional results that last. By following the detailed application steps, avoiding common mistakes, and implementing proper care routines, you can enjoy beautiful rainbow acrylics that showcase your unique personality. Whether you choose bold neon stripes or subtle pastel gradients, rainbow acrylic nails almond shape provide endless possibilities for self-expression through nail art.