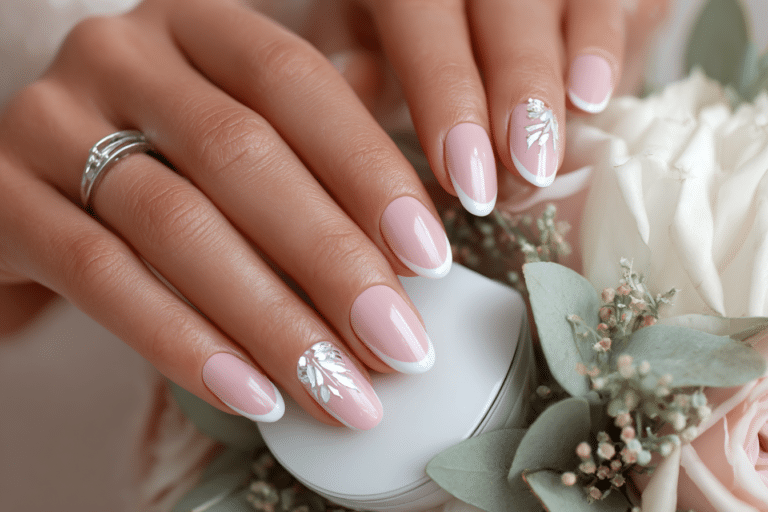
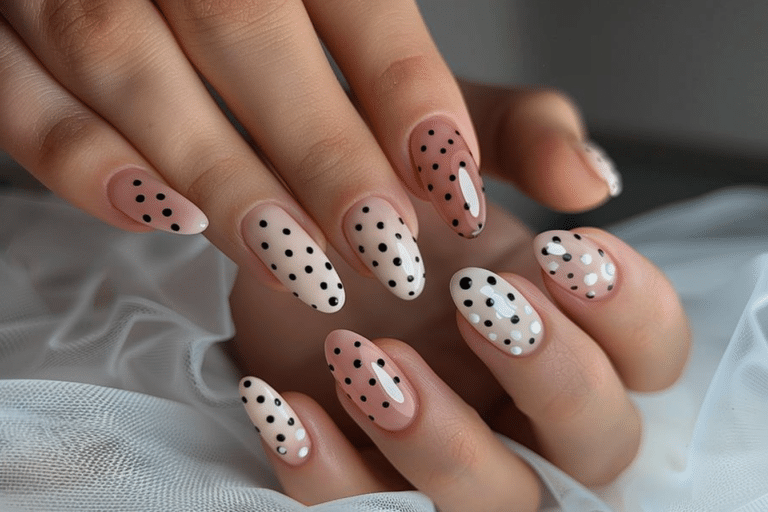
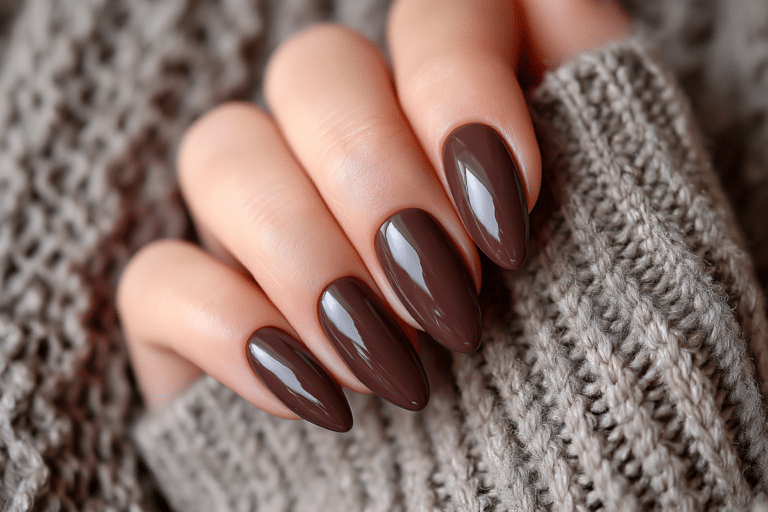
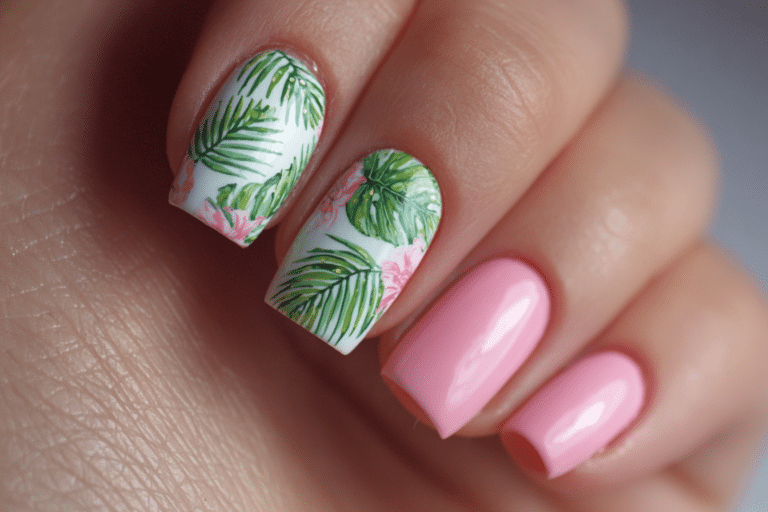
Peach Blossom Nails 🌸 Soft Gradient Spring Nail Idea

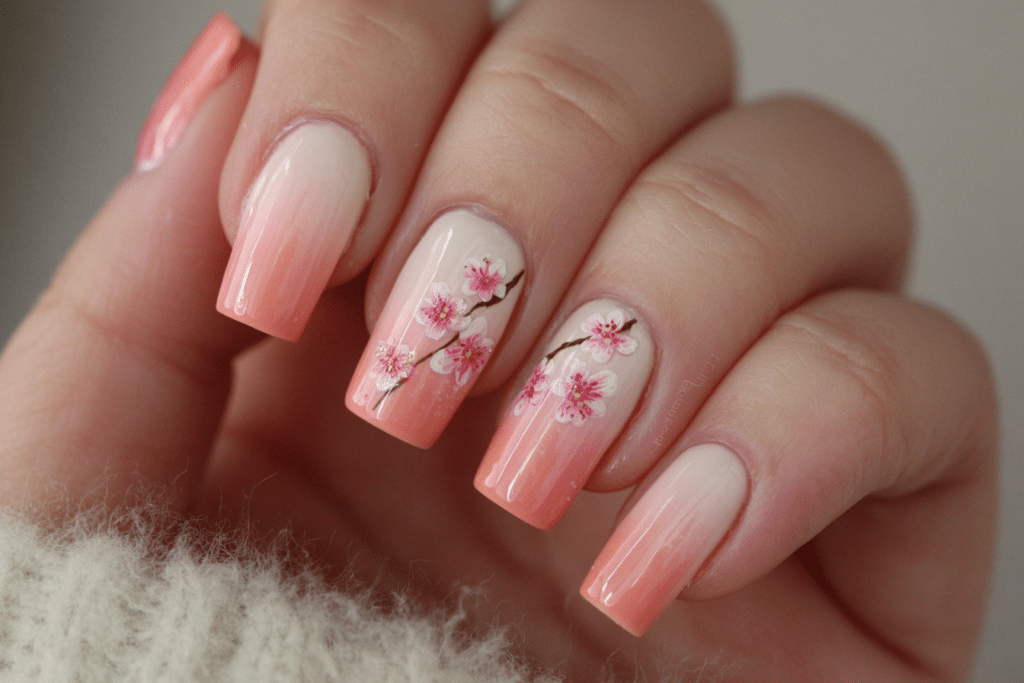
Peach blossom nails represent a delicate spring-inspired manicure featuring soft gradient transitions from peachy pink to creamy white tones that mimic the gentle petals of blooming peach trees.
This romantic nail design combines ombre techniques with subtle floral aesthetics to create an effortlessly feminine look. The soft gradient effect offers versatility for both casual everyday wear and special spring occasions.
| Topic | Details |
| Category | Gel Nails / Nail Art |
| Skill Level | Intermediate |
| Time Needed | 45-60 minutes |
| Tools Needed | UV/LED lamp, gradient sponge, gel polish, base coat, top coat |
| Best For | Spring events, romantic occasions, everyday elegance |
Table of Contents
Why This Peach Blossom Nail Technique Works
The peach blossom gradient technique succeeds because it leverages color theory principles that create visual depth and dimension on the nail surface. By blending warm peach tones with soft whites or nudes, the design mimics natural light reflection on flower petals. This creates an organic, three-dimensional appearance that flatters all skin tones while maintaining a sophisticated aesthetic.
Gel polish formulations provide the ideal medium for this technique because they remain workable during application, allowing seamless color blending before curing. The translucent quality of sheer gel colors builds gradually with each layer, creating that signature soft transition. Professional nail artists prefer this method because gel polish maintains color vibrancy without the oxidation or yellowing that traditional polish experiences over time.
The psychological appeal of peach blossom nails stems from their association with renewal and springtime freshness. Soft gradient designs appear less stark than traditional French manicures while offering similar elegance. This technique works particularly well for clients seeking natural-looking nail enhancements that complement rather than dominate their overall appearance.
Tools and Products Needed for Peach Blossom Nails
| Product | Purpose | Alternatives |
| UV/LED Lamp | Cures gel polish layers | 48W or higher LED lamp |
| Base Coat | Protects natural nail and ensures adhesion | Rubber base for added strength |
| Peach Gel Polish | Primary gradient color | Coral or apricot shades |
| White/Nude Gel Polish | Gradient transition color | Cream or milky pink |
| Makeup Sponge | Creates gradient effect | Silicone gradient tool |
| Nail File (180 grit) | Shapes nail edges | Glass file for gentler filing |
| Nail Buffer | Smooths nail surface | 240 grit buffer block |
| Cuticle Oil | Hydrates nail bed and cuticles | Vitamin E or jojoba oil |
| Top Coat | Seals design and adds shine | No-wipe top coat for easy finish |
| Cleanser/Alcohol | Removes tacky layer | Isopropyl alcohol 70% |
For best results, explore professional-grade gel polish collections at Gel Nails by Lina where you can find curated color selections specifically designed for gradient nail art techniques.
Step-by-Step Application Guide for Peach Blossom Nails
Nail Preparation
- Remove any existing nail polish using acetone-based remover and cotton pads.
- Wash hands thoroughly with soap and warm water to eliminate oils and debris.
- Push back cuticles gently using a wooden or rubber cuticle pusher.
- File nails into your desired shape using smooth, one-directional strokes.
- Buff the nail surface lightly with a 240-grit buffer to remove shine.
- Wipe nails with alcohol or nail cleanser to dehydrate the nail plate.
Base Coat Application
- Apply a thin layer of gel base coat to each nail, avoiding skin contact.
- Cap the free edge by running the brush along the nail tip.
- Cure under UV/LED lamp according to manufacturer instructions, typically 30-60 seconds.
- Check for any uncured spots and re-cure if necessary for proper adhesion.
Gel Polish Gradient Layers
- Apply one thin coat of white or nude gel polish to the entire nail as the base color.
- Cure this layer completely for 30-60 seconds under the lamp.
- Place small drops of peach gel polish on a disposable palette or foil.
- Add a small amount of white gel polish next to the peach color.
- Dampen a makeup sponge slightly and dab it on a paper towel to remove excess moisture.
- Dab the sponge into both colors, allowing them to touch and blend slightly on the sponge.
- Press the sponge gently onto the nail, starting from the cuticle area and working toward the tip.
- Repeat the dabbing motion two to three times to build color intensity gradually.
Curing Process
- Cure the gradient layer under the UV/LED lamp for the recommended time.
- Assess the color saturation and decide if a second gradient layer is needed.
- Apply a second gradient layer using the same sponge technique for deeper color.
- Cure again completely before proceeding to the next step.
- Clean any excess gel polish from the skin surrounding the nail using a brush dipped in cleanser.
Finishing and Top Coat
- Apply a thin layer of gel top coat over the entire nail design.
- Cap the free edge carefully to seal the gradient and prevent chipping.
- Cure the top coat under the lamp for 60 seconds or according to product instructions.
- Wipe away the tacky inhibition layer using a lint-free wipe and nail cleanser.
- Apply cuticle oil around each nail and massage gently into the skin.
- Allow nails to rest for five minutes before exposing them to water or pressure.
For additional spring-inspired nail designs and tutorials, visit Gel Nails by Lina for comprehensive guides and professional tips.
Pro Nail Technician Tips for Perfect Peach Blossom Nails
- Use sheer or translucent gel polishes rather than opaque formulas to achieve the most natural gradient transitions that mimic real peach blossom petals.
- Cut your makeup sponge into small wedges for better control and less product waste during the gradient application process.
- Apply thin layers and build color gradually rather than attempting to achieve full opacity in one application, which prevents bulky, uneven results.
- Keep a small brush dipped in cleanser nearby to remove excess gel from skin immediately, preventing polymerization around the cuticle area that causes lifting.
- Cure each layer fully before adding the next to ensure proper bonding and prevent wrinkling or smudging of the delicate gradient effect.
- Store gel polishes away from direct sunlight and ensure caps are tightly sealed to maintain consistency and prevent premature thickening of formulas.
Common Gel Nail Mistakes with Peach Blossom Designs
| Mistake | Why it Happens | How to Fix |
| Harsh gradient lines | Using too much pressure or not blending colors on sponge | Bounce sponge lightly and reload frequently with blended colors |
| Thick, bulky layers | Applying too much gel polish at once | Use thin coats and build gradually over multiple layers |
| Sponge texture visible | Sponge too dry or pressing too hard into nail | Dampen sponge slightly and use dabbing motion, not wiping |
| Color bleeding to skin | Applying gel polish too close to cuticle area | Leave small gap around cuticles and clean edges before curing |
| Peeling within days | Skipping proper nail prep or not capping free edge | Always buff nails, dehydrate properly, and seal tips with each coat |
Nail Design Variations for Spring and Beyond
| Style | Description | Best Occasion |
| Peach Blossom French | Gradient peach tips with natural nude base | Weddings, formal spring events |
| Cherry Blossom Accent | Peach gradient with hand-painted floral details | Garden parties, bridal showers |
| Sunset Peach Ombre | Deeper coral to peach gradient for warmer tones | Summer vacations, beach outings |
| Minimalist Peach Tips | Subtle peach gradient only on nail tips | Professional settings, everyday wear |
| Glitter Peach Fusion | Peach gradient with fine gold or pink shimmer overlay | Parties, celebrations, evening events |
| Reverse Peach Gradient | White at cuticle fading to peach at tips | Modern casual looks, artistic expression |
Nail Care and Maintenance for Long-Lasting Results
Proper maintenance extends the life of your peach blossom gel manicure and protects natural nail health underneath. Apply cuticle oil daily to keep the nail bed hydrated and prevent lifting at the edges. The oil creates a flexible barrier that moves with natural nail growth while maintaining the integrity of the gel polish seal.
Avoid using your nails as tools for opening cans, scratching, or prying objects, as this creates micro-fractures in the gel layer that lead to premature chipping. Wear protective gloves when cleaning with harsh chemicals or doing dishes to prevent gel breakdown from prolonged water exposure. Reapply top coat every five to seven days to refresh shine and add an extra protective layer.
Keep nails at a moderate length to reduce stress on the gel enhancement and minimize accidental bumps that cause cracks. If you notice any lifting at the edges, avoid peeling or picking at the gel polish, which damages the natural nail surface. Instead, visit Gel Nails by Lina for professional maintenance tips or schedule a fill appointment to address growth and lifting properly.
How to Remove Gel Nails Safely
Safe gel nail removal preserves natural nail health and prevents damage that occurs from improper peeling or forceful scraping. Begin by lightly buffing the shiny top coat layer with a 180-grit file to break the seal and allow acetone penetration. Avoid over-filing, which thins the natural nail plate underneath the gel layers.
Soak cotton pads in pure acetone and place one on each nail, then wrap fingertips securely with aluminum foil to create heat and accelerate the breakdown process. Allow nails to soak for 10 to 15 minutes, checking periodically to see if the gel has softened. Gently push off the loosened gel using a wooden cuticle stick, never forcing or scraping aggressively.
Allow natural nails to rest for at least a few days between gel applications to permit proper oxygenation and recovery. During this time, apply strengthening treatments and maintain consistent moisturizing routines to rebuild any weakened nail structure.
Nail Health and Safety Considerations
Maintaining nail health during regular gel manicures requires attention to proper application techniques and recognition of potential damage signs. Over-filing the natural nail plate to improve gel adhesion creates permanent thinning that increases sensitivity and breakage risk. Professional nail technicians recommend only light buffing to remove shine without compromising nail integrity.
Watch for signs of infection such as redness, swelling, pain, or discharge around the nail bed, which indicate bacterial or fungal growth beneath the gel layer. These infections typically result from moisture trapped between the natural nail and gel enhancement due to improper sealing or lifting. If infection symptoms appear, remove the gel immediately and consult a dermatologist for appropriate treatment.
Ensure adequate ventilation during gel application and curing to minimize exposure to potentially irritating fumes. While gel polish is generally safe, individuals with sensitive skin or allergies should perform patch tests before full application and discontinue use if irritation develops.
Frequently Asked Questions
How long do peach blossom gel nails last?
Peach blossom gel nails typically last two to three weeks with proper application and care. The longevity depends on factors including nail growth rate, daily activities, and maintenance habits. Applying cuticle oil daily and avoiding harsh chemicals extends wear time significantly. Most people schedule fill appointments or complete removal around the two-week mark when natural nail growth becomes visible at the cuticle area.
How do you remove gel nails safely at home?
Safe gel nail removal requires soaking nails in pure acetone for 10 to 15 minutes after lightly buffing the top coat. Wrap acetone-soaked cotton pads around each nail with aluminum foil to accelerate the softening process. Gently push off loosened gel with a wooden stick, never forcing or peeling. Apply nourishing cuticle oil immediately after removal to restore hydration to the nail and surrounding skin.
What is the difference between gel nails and acrylic nails?
Gel nails use light-cured polymer formulas that create a flexible, glossy finish and require UV or LED lamps for hardening. Acrylic nails combine liquid monomer with powder polymer that air-dries into a harder, more durable enhancement suitable for extreme length. Gel provides a more natural appearance with less damage during removal, while acrylic offers superior strength for longer nail extensions. Both require professional skill for optimal application and maintenance.
Why do my gel nails peel after a few days?
Gel nails peel prematurely due to improper nail preparation, particularly insufficient dehydration or inadequate buffing of the nail surface. Oil, moisture, or debris on the nail plate prevents proper adhesion of the base coat. Applying gel layers too thickly or failing to cap the free edge also causes early lifting and peeling. Ensure thorough cleansing, light buffing, and proper curing time for each layer to prevent this common problem.
How can I make my gel nails last longer?
Making gel nails last longer requires meticulous nail preparation including proper buffing, dehydration, and cuticle care before application. Apply thin, even layers and cure each coat completely according to manufacturer specifications. Seal the free edge with every layer of base coat, color, and top coat to prevent water infiltration. Daily cuticle oil application, wearing gloves during household tasks, and avoiding using nails as tools significantly extends gel manicure longevity beyond the typical two-week period.
Conclusion
Peach blossom nails offer a timeless spring aesthetic that combines delicate gradient techniques with romantic color palettes suitable for any occasion. This versatile nail art style flatters all skin tones while providing the durability and shine that gel polish delivers. By following proper application techniques, maintaining consistent nail care routines, and using quality products, you can achieve salon-worthy results at home. Embrace the soft elegance of peach blossom gradient designs and welcome spring with beautifully manicured nails that capture the essence of blooming flowers.