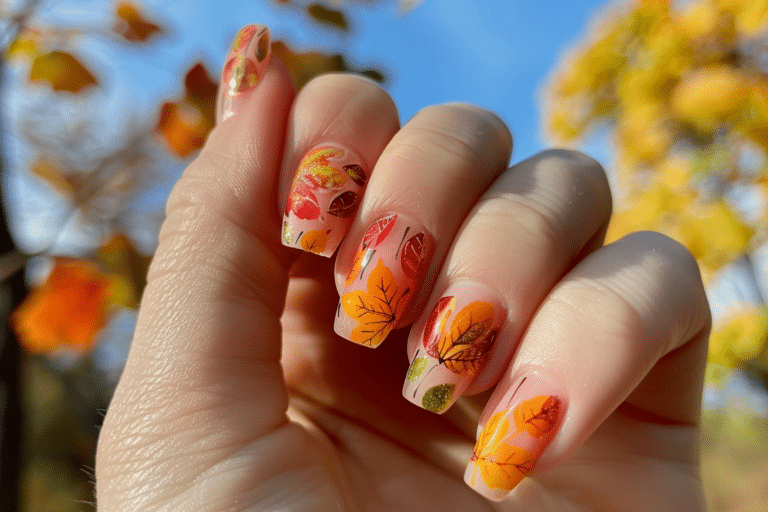
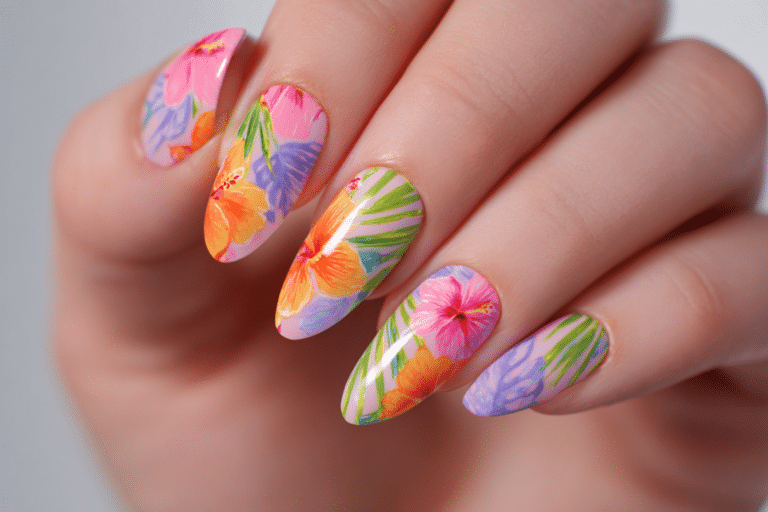
Amazing Spring Nail Art Inspiration 2026 – Trendy Gel Nails Ideas

Amazing spring nail art inspiration 2026 brings fresh, vibrant designs that celebrate the season’s renewal with trendy gel nails ideas perfect for every occasion.
This year’s spring trends blend pastel hues, floral patterns, and innovative techniques that showcase both creativity and wearability. Professional nail artists are embracing softer color palettes combined with bold accents to create manicures that transition seamlessly from casual days to special events.
| Topic | Details |
|---|---|
| Category | Nail Art / Gel Nails |
| Skill Level | Beginner to Advanced |
| Time Needed | 60-90 minutes |
| Tools Needed | UV/LED lamp, gel polish set, nail art brushes, base coat, top coat |
| Best For | Spring events, everyday wear, seasonal celebrations |
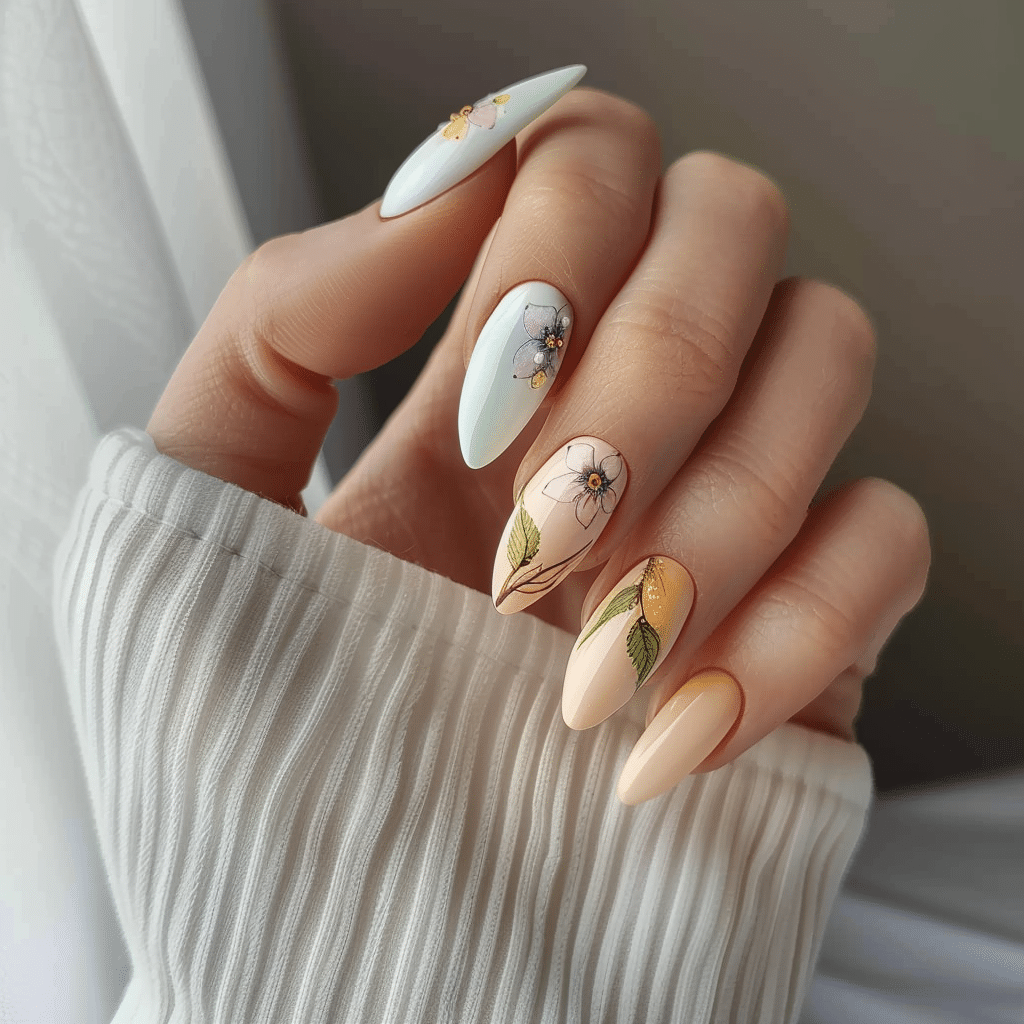
Table of Contents
Why This Spring Nail Art Technique Works
Spring nail art inspiration for 2026 works exceptionally well because gel polish formulations have evolved to provide superior pigmentation and flexibility that adapts to natural nail movement. The advanced polymer technology in modern gel systems creates a protective barrier that prevents chipping while allowing nails to breathe. This combination ensures your spring designs maintain their vibrant appearance for up to three weeks without fading or dulling.
The trendy gel nails ideas featured this season utilize color theory principles that complement diverse skin tones and seasonal wardrobes. Pastel shades reflect light beautifully, creating an illusion of longer nail beds while maintaining a sophisticated appearance. The gel medium allows for layering techniques that add depth to floral designs and gradient effects without adding bulk to the nail.
Professional nail technicians prefer gel formulas for spring nail art because they cure quickly under LED lamps and provide a stable canvas for intricate detailing. The self-leveling properties of quality gel polish ensure smooth application even for beginners attempting detailed spring motifs. This forgiving nature makes complex designs achievable while maintaining salon-quality results at home.
Tools and Products Needed for Spring Gel Nail Art
| Product | Purpose | Alternatives |
|---|---|---|
| UV/LED Lamp | Cures gel polish layers | 48W LED lamp, dual-source lamp |
| Base Coat | Protects natural nail and ensures adhesion | Rubber base, acid-free primer |
| Spring Gel Polish Collection | Provides seasonal colors | Individual pastel shades |
| Nail Art Brushes | Creates detailed designs | Dotting tools, striping brushes |
| 100/180 Grit Nail File | Shapes and smooths nail edges | Glass file, ceramic file |
| Nail Buffer | Removes shine for better adhesion | Fine-grit buffer block |
| Cuticle Oil | Maintains nail health and flexibility | Jojoba oil, vitamin E oil |
| No-Wipe Top Coat | Seals design with high shine | Regular top coat with cleanser |
| Nail Cleanser | Removes oils and prepares surface | Isopropyl alcohol 70% |
Visit Gel Nails by Lina for recommended professional-grade products that deliver consistent results for your spring nail art creations.
Step-by-Step Spring Gel Nail Art Application Guide
Nail Preparation
- Remove any existing nail polish completely using acetone-soaked cotton pads to ensure a clean surface.
- Push back cuticles gently using a wooden or rubber cuticle pusher to expose the entire nail plate.
- File nails into your desired spring shape, with almond and oval shapes trending for 2026 designs.
- Buff the nail surface lightly using a fine-grit buffer to remove natural oils and shine.
- Cleanse nails thoroughly with nail cleanser or isopropyl alcohol to remove dust and residue.
- Apply cuticle oil around the nail perimeter and let it absorb for one minute before wiping excess.
Base Coat Application
- Apply a thin layer of base coat starting from the cuticle area and pulling toward the free edge.
- Cap the free edge by running the brush along the nail tip to seal the edge.
- Cure the base coat under your UV/LED lamp for 60 seconds at full power.
- Check for any missed spots or uneven coverage before proceeding to color application.
Spring Color Application and Nail Art Layers
- Apply the first thin layer of your chosen spring gel polish color in smooth, even strokes.
- Cure the first color layer for 60 seconds under the LED lamp to set the base color.
- Apply a second thin coat of the same color to achieve full opacity and vibrant pigmentation.
- Cure the second color layer for another 60 seconds before adding decorative elements.
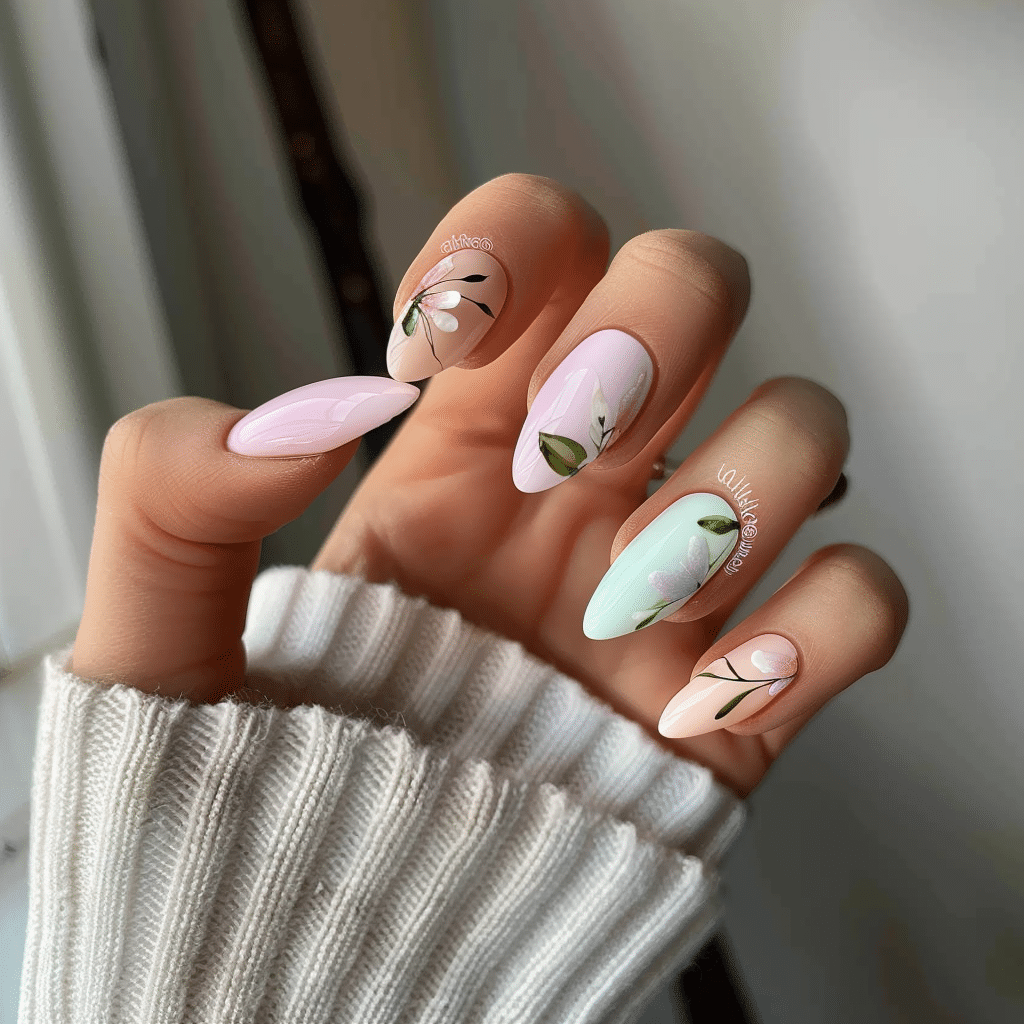
- Create floral designs using a fine nail art brush dipped in contrasting gel polish colors.
- Add details like dots, lines, or gradients while the polish remains uncured for blending effects.
- Cure each decorative layer separately for 30-60 seconds depending on polish thickness and opacity.
- Build dimension by layering additional design elements after each curing cycle completes.
Curing Process for Spring Nail Art
- Position your hand completely inside the lamp ensuring all nails receive equal light exposure.
- Set the timer for the manufacturer’s recommended curing time, typically 60 seconds for LED lamps.
- Keep fingers still during the entire curing cycle to prevent smudging or shifting of designs.
- Cure the thumb separately if your lamp design requires individual finger positioning.
- Check that all layers feel completely dry and solid before proceeding to the top coat.
Finishing and Top Coat Sealing
- Apply a thin layer of no-wipe top coat over the entire nail surface including all design elements.
- Cap the free edge thoroughly with top coat to seal and protect against chipping.
- Cure the top coat for a full 60 seconds to ensure complete polymerization and maximum shine.
- Allow nails to cool for 30 seconds after removing from the lamp before touching anything.
- Apply cuticle oil generously around each nail to hydrate and complete your spring manicure.
Pro Nail Technician Tips for Spring Gel Designs
- Apply gel polish in thin layers rather than thick coats to prevent peeling and ensure proper curing throughout the entire polish depth.
- Leave a tiny margin around the cuticle area without polish to prevent lifting as the gel adheres better to nail than skin.
- Cure each hand separately for consistent results and avoid rushing the polymerization process that ensures long-lasting wear.
- Clean your nail art brushes immediately after use with brush cleaner to maintain bristle flexibility and precision for future designs.
- Store gel polish bottles upside down between uses to keep pigments evenly distributed and prevent settling that causes streaky application.
- Test new spring color combinations on a practice nail wheel before applying to clients or your own nails for confident execution.
Professional nail artists at Gel Nails by Lina recommend investing in quality products that cure consistently and maintain color integrity throughout the wear period.
Common Spring Gel Nail Art Mistakes
| Mistake | Why It Happens | How to Fix |
|---|---|---|
| Thick Gel Layers | Attempting to achieve opacity in one coat instead of building color gradually | Apply two to three thin coats instead of one thick layer for proper curing |
| Improper Curing Time | Removing nails from lamp too early or using insufficient wattage for gel formula | Follow manufacturer timing exactly and replace lamp bulbs every six months |
| Skipping Nail Preparation | Rushing the process without properly buffing or cleansing the nail surface | Dedicate adequate time to prep steps and never skip the dehydration phase |
| Flooding the Cuticle | Applying polish too close to the cuticle line causing lifting and separation | Leave a microscopic gap at the cuticle and clean excess immediately with a brush |
| Neglecting Edge Sealing | Forgetting to cap the free edge with base coat and top coat layers | Run the brush along the nail tip edge with each coat application for protection |
Trendy Spring Nail Art Design Variations for 2026
| Style | Description | Best Occasion |
|---|---|---|
| Pastel French Tips | Classic French manicure reimagined with soft lavender, mint, and peach tips | Office wear, bridal showers, everyday elegance |
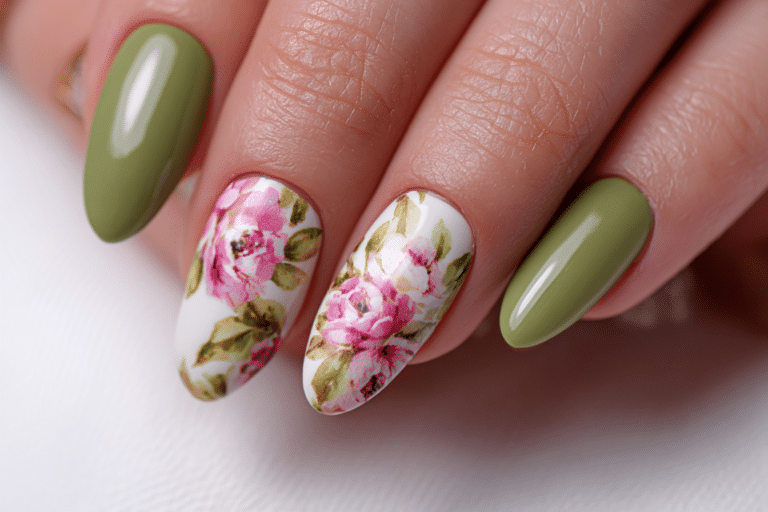
| Floral Accent Nails | Delicate hand-painted flowers on one or two nails with solid pastel base | Garden parties, spring weddings, romantic dates |
| Butterfly Gel Art | Detailed butterfly designs using fine brushwork and dimensional gel techniques | Special events, photo shoots, statement manicures |
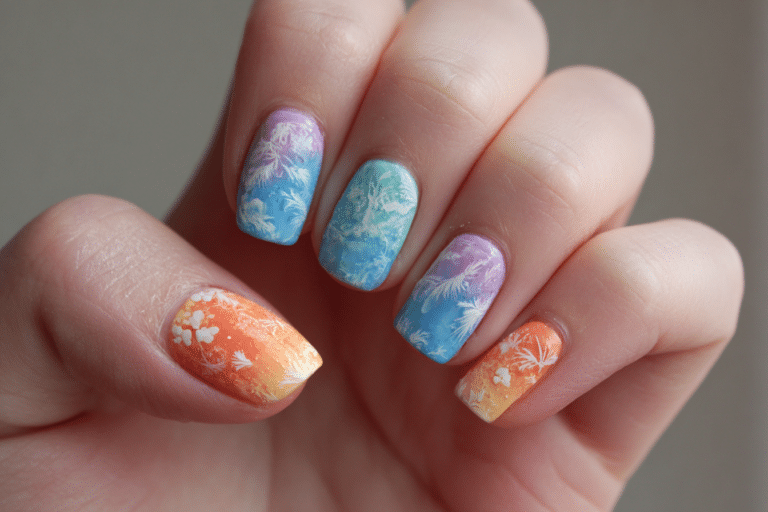
| Ombre Spring Sunset | Gradient blending of coral, pink, and yellow mimicking spring sunsets | Vacation, beach trips, casual summer gatherings |
| Minimalist Line Art | Simple geometric lines and abstract shapes in contrasting spring colors | Professional settings, modern aesthetics, versatile wear |
| Cherry Blossom Nails | Soft pink base with delicate white and pink blossoms and branch details | Spring celebrations, Asian-inspired events, seasonal festivities |
| Negative Space Designs | Strategic use of bare nail showing through geometric or organic patterns | Fashion-forward looks, editorial shoots, trendsetting styles |
Spring Gel Nail Care and Maintenance
Maintaining your amazing spring nail art inspiration requires consistent care to preserve both the design integrity and natural nail health. Apply cuticle oil twice daily to keep the nail bed hydrated and prevent the gel from becoming brittle at the edges. This simple practice extends wear time by maintaining flexibility in both the natural nail and the gel overlay.
Avoid using your nails as tools to open cans or scrape surfaces, as this creates stress points that lead to chipping and lifting. Wear protective gloves when cleaning with harsh chemicals or doing yard work to shield your spring gel manicure from damage. The gel coating is durable but not indestructible, so mindful handling preserves your beautiful designs longer.
Schedule fill appointments or removal sessions every two to three weeks to prevent overgrowth that stresses the nail structure. As your natural nails grow, the gel moves away from the cuticle creating a lever effect that can cause breakage. Timely maintenance prevents damage and allows you to refresh your spring nail art with new trending designs throughout the season.
Keep nails at a practical length that suits your lifestyle to minimize accidental breaks or snags. Shorter nails with spring designs are equally trendy and often more sustainable for active individuals. Hydrate from within by drinking adequate water and taking biotin supplements to support strong, healthy nails that serve as the perfect canvas for gel art.
How to Remove Spring Gel Nails Safely
- File the shiny top coat layer using a coarse nail file to break the seal and allow acetone penetration.
- Soak cotton pads in pure acetone and place one pad on each nail covering the entire gel surface.
- Wrap each finger tightly with aluminum foil to trap heat and accelerate the breakdown process.
- Wait patiently for 10-15 minutes allowing the acetone to dissolve the gel polish layers completely.
- Remove the foil wraps and gently push off softened gel using a wooden cuticle pusher or orangewood stick.
- Avoid forcing or scraping gel that has not fully dissolved, as this damages the natural nail plate.
- Soak again for an additional five minutes if any gel remains stubbornly attached to the nail.
- Buff the nail surface lightly to smooth any remaining residue after complete gel removal.
- Wash hands thoroughly with soap and warm water to remove all acetone traces from skin.
- Apply nourishing cuticle oil and hand cream generously to replenish moisture lost during the removal process.
Nail Health and Safety for Spring Gel Manicures
Protecting your natural nails while enjoying trendy spring gel art requires understanding proper application and removal protocols. Over-filing the nail plate to improve gel adhesion actually weakens the nail structure and creates a rough surface prone to splitting. Professional nail technicians recommend light buffing only to remove the natural shine without compromising nail integrity or thickness.
Allow your nails to rest between gel manicures by going polish-free for at least one week every two months. This breathing period lets nails recover from the dehydration that occurs during repeated acetone exposure and gel application. During rest periods, apply strengthening treatments and oils daily to rebuild nail resilience and prepare for your next spring design.
Watch for signs of nail damage including excessive thinning, persistent pain, discoloration, or separation of the nail from the bed. These symptoms indicate potential infection or over-processing that requires professional evaluation. Dermatologists stress the importance of seeking medical attention for nail abnormalities rather than covering problems with additional gel applications.
Ensure proper sanitation of all tools between uses by cleaning with antibacterial solutions and allowing them to dry completely. Contaminated implements spread fungal infections and bacteria that compromise nail health. If visiting a salon for spring nail art, verify that technicians follow proper sterilization protocols and use fresh tools or disposable items for each client.
Frequently Asked Questions About Spring Gel Nail Art
How long do spring gel nails last with detailed nail art?
Spring gel nails with detailed nail art typically last between two to three weeks with proper application and care. The longevity depends on factors including nail preparation quality, gel brand, daily activities, and maintenance practices. Intricate designs sealed with quality top coat maintain their appearance throughout the entire wear period without fading. Some individuals experience up to four weeks of wear with minimal tip wear when following professional application techniques.
How do you remove gel nails safely without damaging natural nails?
Safe gel nail removal requires soaking nails in pure acetone for 10-15 minutes after filing off the shiny top layer. Wrapping each finger in aluminum foil traps heat and accelerates the dissolving process without harsh scraping. Never peel or force gel polish off nails as this removes layers of the natural nail plate causing weakness and damage. After removal, immediately hydrate nails with cuticle oil and allow a recovery period before applying new gel.
What is the difference between gel nails and acrylic nails for spring designs?
Gel nails cure under UV or LED light and provide a more flexible, natural appearance ideal for intricate spring nail art. Acrylic nails use a liquid monomer and powder polymer system that air-dries creating a harder, more durable enhancement suitable for length extensions. Gel formulas offer better color vibrancy and shine perfect for pastel spring shades while acrylics provide superior strength for longer nail lengths. Most nail artists prefer gel systems for detailed seasonal artwork due to easier application and removal processes.
Why do gel nails peel or lift after a few days?
Gel nails peel primarily due to inadequate nail preparation, moisture contamination, or application too close to the cuticle line. Natural oils on the nail plate prevent proper adhesion if not removed completely before gel application. Flooding the cuticle area allows moisture to seep under the gel causing separation and lifting at the base. Ensure thorough cleansing, proper buffing, and maintaining a microscopic gap at the cuticle to prevent premature peeling and extend wear time.
How can you make spring gel nails last longer without chipping?
Making gel nails last longer requires consistent cuticle oil application, wearing protective gloves during housework, and avoiding excessive water exposure. Cap the free edge with each coat during application to seal the nail tip completely against chipping. Apply thin layers rather than thick coats to ensure proper curing throughout the gel depth. Maintain practical nail length suitable for your lifestyle and schedule timely fill appointments before excessive outgrowth creates stress points that cause breakage.
For more detailed guidance on achieving long-lasting spring gel manicures, explore the comprehensive tutorials at Gel Nails by Lina where professional techniques are explained step-by-step.
Conclusion
Amazing spring nail art inspiration 2026 offers endless creative possibilities through trendy gel nails ideas that combine technical precision with artistic expression. The step-by-step techniques outlined provide a foundation for creating salon-quality manicures that celebrate the season’s vibrant energy and fresh aesthetics. Whether you choose delicate floral accents, bold geometric patterns, or soft pastel gradients, proper application and maintenance ensure your spring designs remain beautiful throughout their wear period. Embrace these trending nail art concepts to refresh your look and express your personal style this spring season with confidence and creativity.