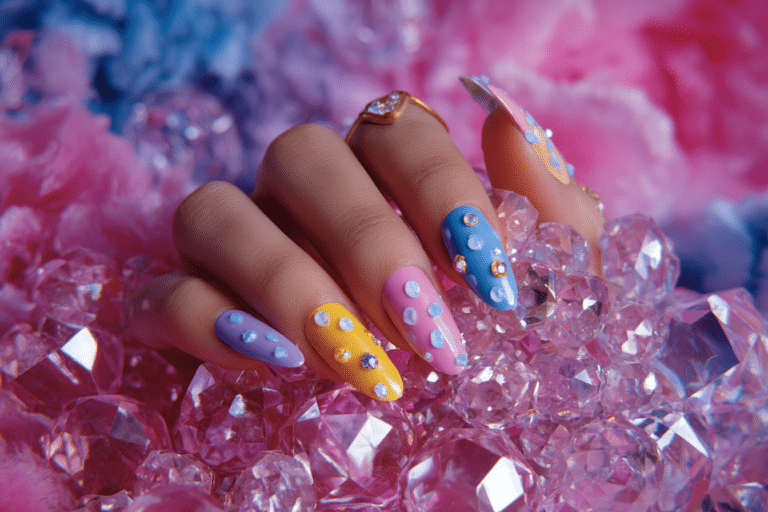
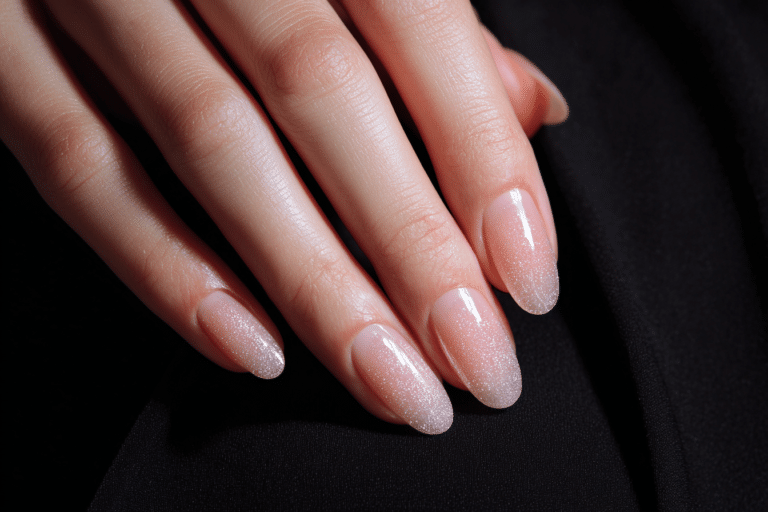
Nail Elegance: Unveiling the Artistry of Beautiful Nails

Nail elegance represents the sophisticated blend of technical precision and creative expression that transforms fingernails into stunning works of art.
The artistry of beautiful nails extends beyond simple polish application, encompassing proper nail preparation, expert technique execution, and meticulous attention to detail that professionals use daily. This comprehensive guide explores the techniques that define nail elegance and helps you achieve salon-quality results at home.
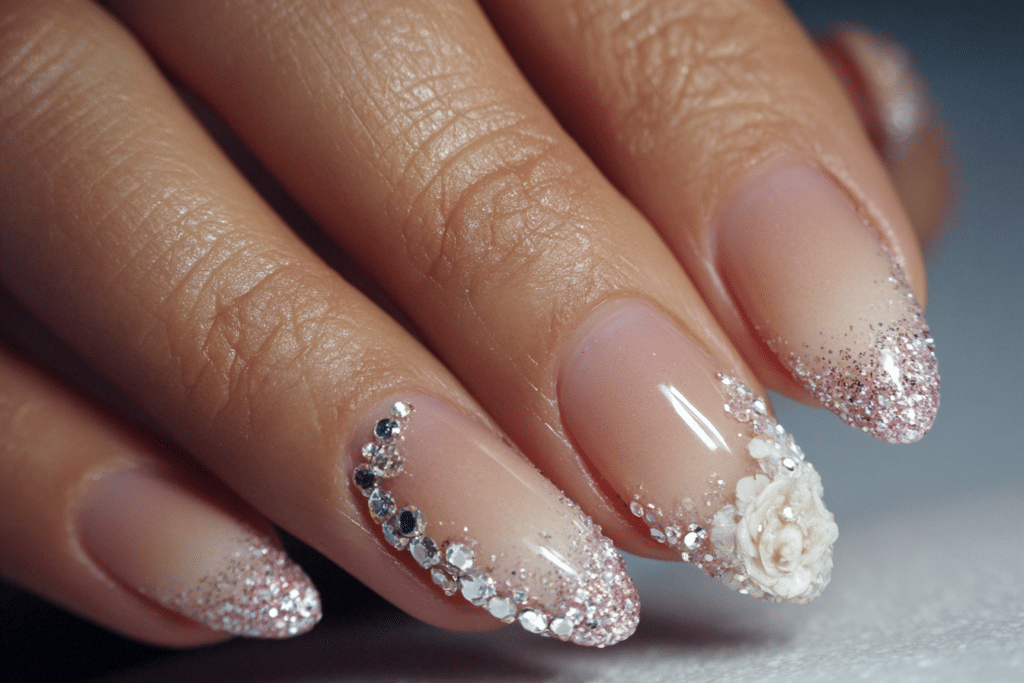
| Topic | Details |
|---|---|
| Category | Gel Nails / Nail Art / Nail Care |
| Skill Level | Beginner to Advanced |
| Time Needed | 45-90 minutes |
| Tools Needed | UV/LED lamp, gel polish system, nail files, cuticle tools, buffers |
| Best For | Anyone seeking long-lasting, professional nail artistry and elegance |
Why This Nail Technique Works
The artistry behind nail elegance relies on the scientific properties of gel polish combined with proper application methodology. Gel formulas contain photoinitiators that harden when exposed to UV or LED light, creating a durable polymer bond that adheres to the nail plate. This chemical process produces a manicure that resists chipping, maintains brilliant shine, and withstands daily activities for two to three weeks.
Professional nail technicians understand that beautiful nails begin with proper nail bed preparation and precise product application. The layering system used in gel manicures creates a flexible yet resilient coating that moves with the natural nail, preventing cracking and peeling. Each layer serves a specific purpose: the base coat provides adhesion and protection, the color layer delivers pigmentation and depth, and the top coat seals everything with a glass-like finish that reflects light beautifully.
The elegance factor emerges when technical expertise meets artistic vision. Nail artistry incorporates color theory, design principles, and an understanding of how different techniques complement various nail shapes and hand structures. This holistic approach ensures that every manicure not only lasts longer but also enhances the natural beauty of the hands.
Tools and Products Needed
| Product | Purpose | Alternatives |
|---|---|---|
| UV/LED Lamp | Cures gel polish through light activation | Dual-purpose lamps for versatility |
| Base Coat | Provides adhesion and prevents staining | Strengthening or rubber base formulas |
| Gel Polish | Delivers color and coverage | Traditional or soak-off gel formulas |
| Top Coat | Seals design and adds shine | Glossy, matte, or no-wipe formulas |
| Nail File | Shapes natural nail edges | Glass, ceramic, or professional-grade files |
| Nail Buffer | Smooths nail surface for better adhesion | Fine-grit buffer blocks or files |
| Cuticle Pusher | Gently pushes back cuticle tissue | Metal or wooden cuticle sticks |
| Cuticle Oil | Hydrates and nourishes nail area | Vitamin E oil or specialized formulas |
| Nail Cleanser | Removes oils and residue | Isopropyl alcohol or dedicated cleansers |
| Lint-Free Wipes | Cleans without leaving fibers | Professional nail wipes or cotton pads |
For premium gel nail products and professional-grade tools, visit Gel Nails by Lina to explore curated collections designed for achieving nail elegance at home or in the salon.
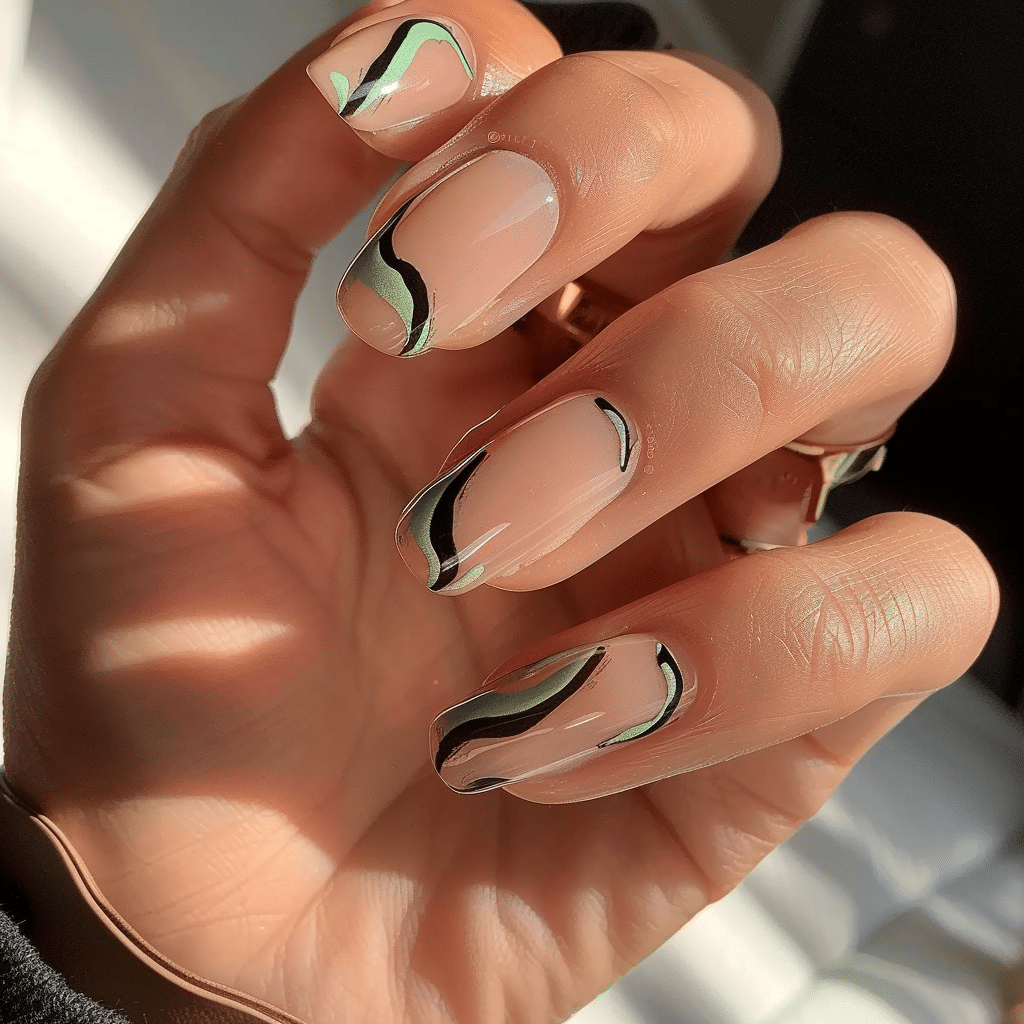
Step-by-Step Application Guide
Nail Preparation
- Remove any existing nail polish using acetone-based remover and lint-free wipes to ensure a clean starting surface.
- Wash hands thoroughly with soap and warm water to eliminate oils, lotions, and debris that could interfere with gel adhesion.
- Push back cuticles gently using a cuticle pusher at a 45-degree angle, never cutting or forcing the delicate tissue.
- File nails into your desired shape using smooth, one-directional strokes to prevent splitting and maintain nail integrity.
- Buff the nail surface lightly with a fine-grit buffer to create texture for improved product adhesion without over-filing.
- Clean nails with a nail cleanser or isopropyl alcohol using lint-free wipes to remove all dust and natural oils.
Base Coat Application
- Apply a thin layer of base coat starting from the center of the nail and extending to the edges in smooth strokes.
- Cap the free edge by running the brush along the nail tip to seal and prevent premature lifting.
- Avoid flooding the cuticle area by maintaining a small margin between the product and the skin.
- Cure the base coat under your UV or LED lamp according to manufacturer specifications, typically 30-60 seconds.
Gel Polish Layers
- Apply the first thin layer of gel polish using three strokes: one down the center and one along each side.
- Keep the layer thin and even to ensure proper curing and prevent wrinkling or peeling issues.
- Cap the free edge again to maintain coverage on the nail tip where wear is most common.
- Cure the first color layer for the recommended time, usually 30-60 seconds depending on your lamp wattage.
- Apply a second thin layer of gel polish using the same technique to build opacity and color depth.
- Cure the second color layer thoroughly before proceeding to ensure complete polymerization of the product.
Curing Process
- Position your hand completely inside the lamp with all nails exposed to even light distribution for uniform curing.
- Follow manufacturer curing times precisely, as under-curing causes peeling and over-curing can lead to brittleness.
- Ensure your lamp bulbs are functioning properly and replace them according to usage guidelines for consistent results.
- Allow each layer to cure completely before applying the next to prevent smudging or product mixing.
Finishing and Top Coat
- Apply a thin layer of top coat over the entire nail surface using smooth, even strokes from base to tip.
- Cap the free edge one final time to seal all layers and maximize the longevity of your manicure.
- Cure the top coat for the full recommended time to achieve maximum hardness and shine properties.
- Cleanse nails with a nail cleanser if using a gel that leaves a tacky residue layer after curing.
- Apply cuticle oil generously around the nail margins to hydrate the surrounding skin and promote nail health.
- Massage the oil into cuticles and nail beds to enhance absorption and improve circulation to the area.
Pro Nail Technician Tips
- Always work in thin layers rather than thick applications, as thin coats cure more completely and create a more durable, flexible finish that resists cracking.
- Maintain proper lamp maintenance by cleaning the reflective surfaces regularly and replacing bulbs every six months or after approximately 50,000 cures for consistent results.
- Avoid touching the nail surface after cleansing and before base coat application, as natural oils from your fingers can compromise adhesion and cause premature lifting.
- Store gel polish bottles upside down between uses to keep pigments evenly distributed and prevent separation that can affect color consistency and application smoothness.
- Practice proper brush technique by wiping excess product from one side of the brush before application, which gives you better control and prevents flooding around cuticles.
- Extend manicure longevity by reapplying cuticle oil daily, wearing gloves during household chores, and avoiding prolonged water exposure during the first 24 hours after application.
Professional nail artists at Gel Nails by Lina emphasize the importance of consistent technique and quality products for achieving true nail elegance that lasts.
Common Gel Nail Mistakes
| Mistake | Why it Happens | How to Fix |
|---|---|---|
| Thick gel layers | Rushing the process or trying to achieve full coverage in one coat | Apply two to three thin layers instead of one thick layer for proper curing |
| Improper curing | Insufficient lamp wattage, old bulbs, or not following cure time recommendations | Upgrade to appropriate lamp, replace bulbs regularly, and follow manufacturer timing |
| Skipping nail prep | Impatience or underestimating the importance of proper surface preparation | Never skip cleansing, buffing, and dehydrating steps for maximum adhesion |
| Flooding the cuticle | Overloading the brush or applying product too close to the skin | Leave a small margin near cuticles and use proper brush pressure and control |
| Not capping the edge | Forgetting this crucial step or not understanding its importance for wear | Run the brush along the free edge with every layer application including base and top coat |
Nail Design Variations for Elegance
| Style | Description | Best Occasion |
|---|---|---|
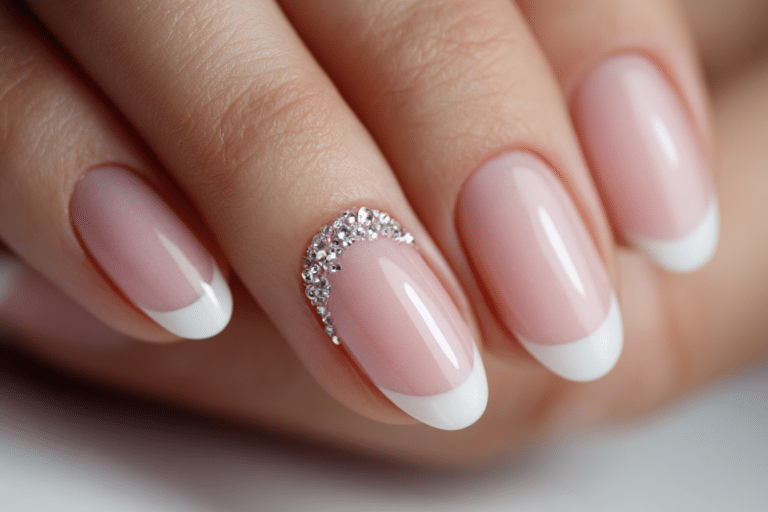
| French Gel Nails | Classic white tips with nude or pink base creating timeless sophistication | Weddings, professional settings, everyday elegance |
| Chrome Nails | Reflective metallic finish achieved with special powder for mirror-like shine | Evening events, parties, fashion-forward occasions |
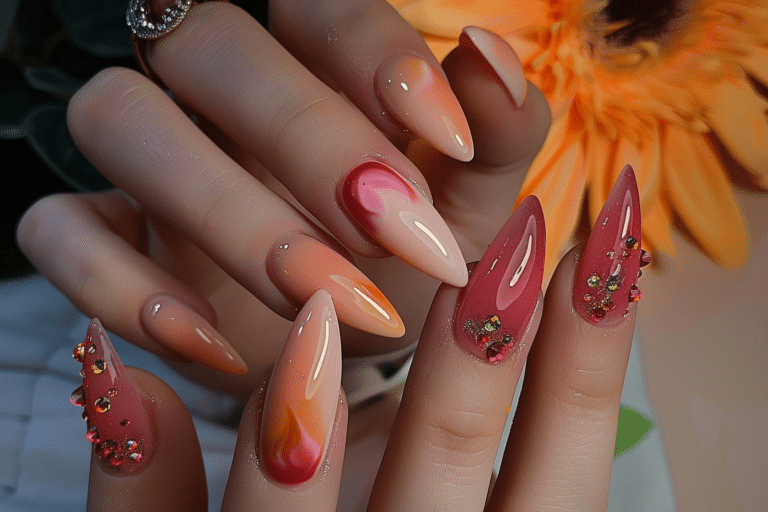
| Ombre Nails | Gradual color transition from light to dark or between complementary shades | Summer events, creative expressions, trendy looks |
| Minimalist Nail Art | Simple geometric lines, dots, or negative space designs for understated beauty | Professional environments, modern aesthetics, daily wear |
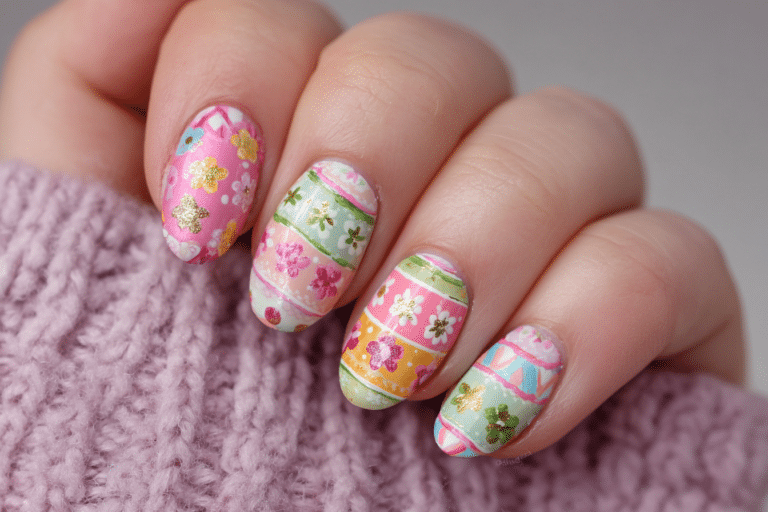
| Seasonal Nail Designs | Holiday-inspired colors and patterns reflecting current season themes | Celebrations, seasonal events, festive gatherings |
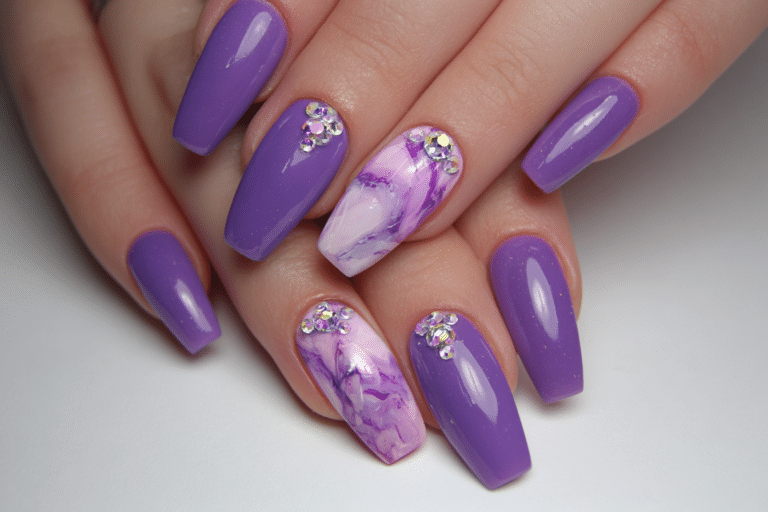
| Marble Effect | Swirled patterns mimicking natural stone for elegant luxury appearance | Special occasions, sophisticated events, upscale settings |
Nail Care and Maintenance
Maintaining nail elegance between salon visits requires consistent attention to nail health and proper aftercare practices. Apply cuticle oil at least once daily, preferably before bedtime, to keep the nail bed hydrated and prevent the gel from lifting at the edges. This simple habit also promotes natural nail growth and maintains the flexibility of the surrounding skin, which reduces the risk of painful hangnails and cracking.
Protect your gel manicure by wearing gloves during cleaning, dishwashing, or gardening activities that expose nails to harsh chemicals and excessive moisture. Avoid using your nails as tools to open containers, scratch surfaces, or peel labels, as these actions create stress points that can cause cracking or lifting. When engaging in activities that might damage your manicure, take preventive measures to preserve the artistry and extend wear time.
Monitor your nails regularly for signs of lifting, damage, or infection that require attention. Address any lifting immediately by carefully trimming away the loose section and sealing with top coat, or schedule a professional repair visit. Never pick, peel, or force off gel polish, as this practice removes layers of the natural nail and causes significant damage that takes months to repair.
Maintain overall nail health by staying hydrated, eating a balanced diet rich in vitamins and minerals, and avoiding habits like nail biting or excessive hand washing without moisturizing. Healthy natural nails provide the best foundation for achieving and maintaining true nail elegance that showcases your personal style.
How to Remove Gel Nails Safely
- File the shiny top coat layer using a coarse nail file to break the seal and allow acetone penetration during soaking.
- Soak cotton pads or balls in pure acetone and place one on each nail, ensuring complete coverage of the gel surface.
- Wrap each fingertip with aluminum foil or use specialized gel removal clips to hold the acetone-soaked cotton in place.
- Wait 10-15 minutes to allow the acetone to break down the gel polymer structure and soften the product for removal.
- Remove the foil and cotton, then gently push off the softened gel using a wooden cuticle stick or orangewood tool.
- Avoid scraping or forcing stubborn areas; instead, re-soak any remaining gel for additional time until it releases easily.
- Buff nails gently with a fine-grit buffer to smooth any remaining residue without damaging the natural nail plate.
- Wash hands thoroughly with soap and water to remove all acetone residue from skin and nails.
- Apply cuticle oil generously and massage into nails and surrounding skin to restore moisture lost during the removal process.
- Allow nails to rest for at least 24 hours before applying a new gel manicure to prevent over-processing.
Nail Health and Safety
Prioritizing nail health ensures that your pursuit of nail elegance never compromises the integrity of your natural nails. Over-filing ranks among the most common causes of nail damage, as excessive buffing thins the nail plate and makes it vulnerable to breakage and infection. Use gentle pressure when filing and buffing, and limit surface preparation to what is necessary for proper gel adhesion without compromising nail strength.
Watch for signs of nail infections, including redness, swelling, pain, or discharge around the nail bed, which require prompt medical attention. Fungal infections can develop under gel polish when moisture becomes trapped between the product and the nail, particularly if the gel has lifted but remains partially attached. Maintain proper hygiene by sanitizing tools between uses and never applying gel polish over damaged, infected, or excessively thin nails.
Use LED lamps rather than traditional UV lamps when possible, as LED technology cures gel faster with less UV exposure to surrounding skin. Apply broad-spectrum sunscreen to your hands before gel manicures to protect against UV radiation during the curing process, or use fingerless gloves designed specifically for this purpose.
Frequently Asked Questions
How long do gel nails last?
Gel nails typically last two to three weeks when applied correctly with proper preparation and quality products. The longevity depends on factors including your nail growth rate, daily activities, and how well you maintain the manicure with cuticle oil and protective measures. Some individuals experience longer wear of up to four weeks, while others may need fills or new applications after 10-14 days due to faster growth or more demanding hand use.
How to remove gel nails safely at home?
Remove gel nails safely by soaking cotton pads in pure acetone, placing them on each nail, and wrapping with aluminum foil for 10-15 minutes. Gently push off the softened gel with a wooden cuticle stick, never forcing or scraping aggressively. Apply generous amounts of cuticle oil after removal to restore moisture and promote nail health. If gel does not release easily, repeat the soaking process rather than damaging your natural nails through forceful removal.
What is the difference between gel nails and acrylic nails?
Gel nails use light-cured polish that provides a more natural, flexible finish with a glossy appearance, while acrylic nails use a liquid monomer and powder polymer that air-dries into a harder, more durable extension. Gel applications tend to be gentler on natural nails and easier to remove, whereas acrylics offer more strength for those desiring significant length or dealing with very weak nails. Gel manicures generally last two to three weeks, while acrylics can last four to six weeks with proper fills and maintenance.
Why do my gel nails peel or lift after a few days?
Gel nails peel or lift prematurely due to improper nail preparation, particularly inadequate cleansing to remove natural oils before application. Other common causes include applying gel layers too thickly, insufficient curing time, flooding the cuticle area, or failing to cap the free edge with each layer. Environmental factors like excessive water exposure, using oil-based products near the nails, or subjecting the manicure to extreme temperature changes during the first 24 hours can also compromise adhesion and cause early lifting.
How can I make my gel nails last longer?
Make gel nails last longer by applying cuticle oil daily, wearing gloves during household chores, and avoiding prolonged water submersion especially in hot water. Ensure proper application technique including thorough nail preparation, thin product layers, complete curing, and capping the free edge with every coat. Avoid using your nails as tools and be mindful of activities that create stress on the nail tips. Regular moisturization of hands and cuticles maintains flexibility and prevents the gel from becoming brittle or separating from the natural nail.
Conclusion
Achieving nail elegance requires combining technical knowledge with artistic vision to create beautiful, long-lasting manicures that enhance your personal style. The artistry of beautiful nails emerges from proper preparation, quality products, precise application techniques, and consistent maintenance that prioritizes nail health alongside aesthetic appeal. By following professional methods and avoiding common mistakes, you can master the sophisticated techniques that transform simple manicures into expressions of true nail elegance. Explore premium products and expert guidance at Gel Nails by Lina to elevate your nail artistry and create stunning results that reflect your unique beauty and attention to detail.