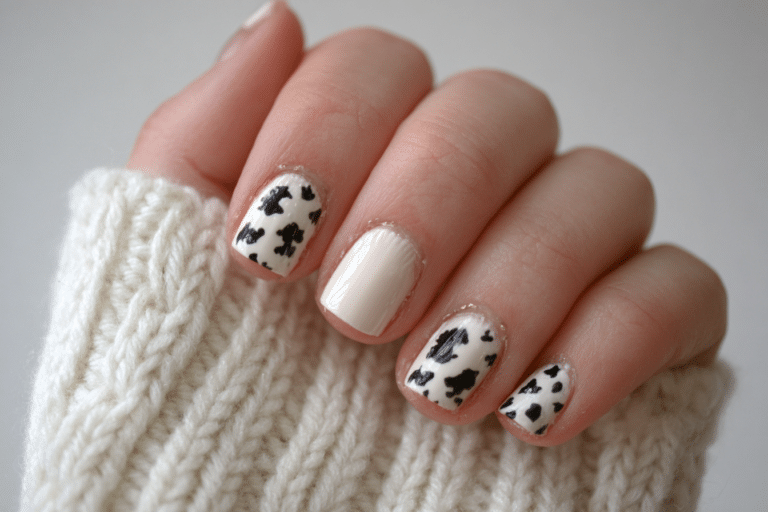
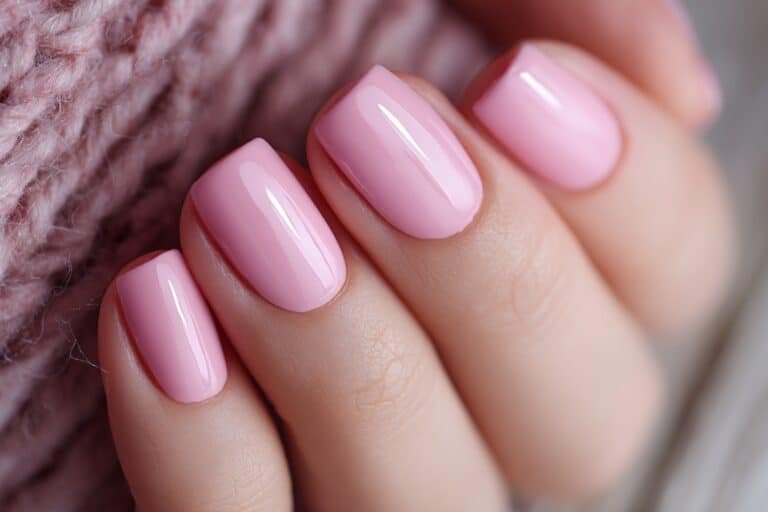
Oval vs. Almond Nails: Ultimate Shape Guide for Perfect Manicures

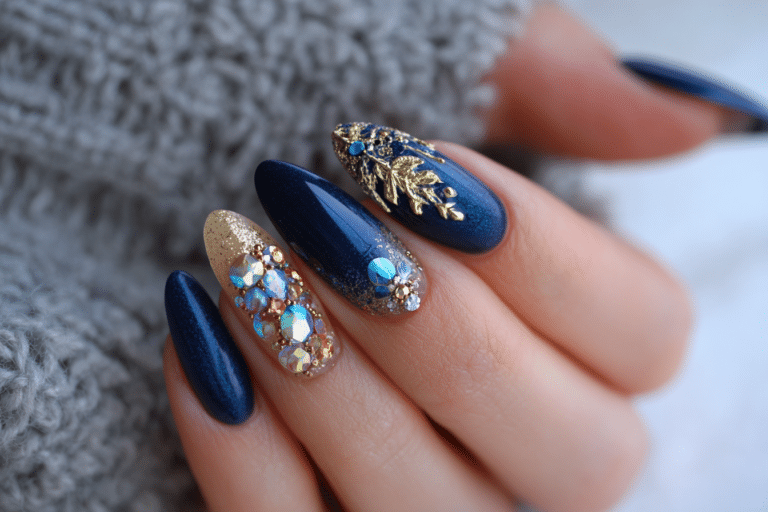
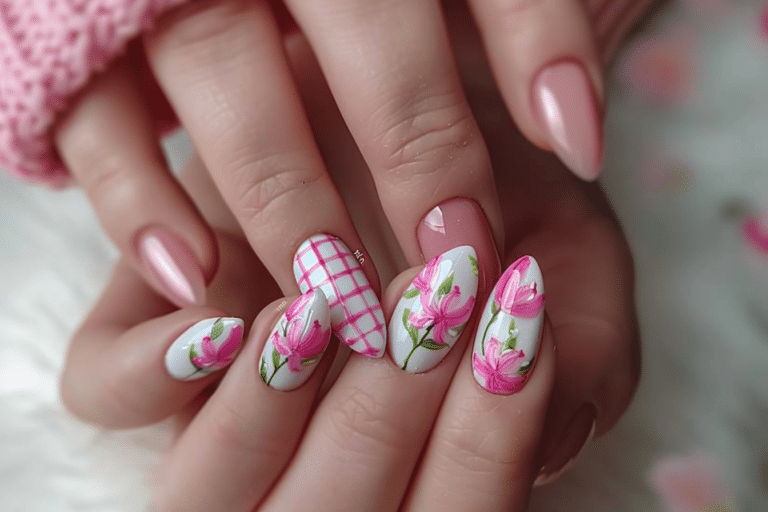
Oval vs. Almond Nails are the two most popular nail shapes in professional manicures today.
These elegant shapes complement various hand types and lifestyles while offering durability and style. Both shapes elongate fingers, but they differ in curvature, strength, and suitability for different nail lengths and activities.
| Topic | Details |
|---|---|
| Category | Nail Care / Nail Art |
| Skill Level | Beginner to Intermediate |
| Time Needed | 15-25 minutes for shaping |
| Tools Needed | Nail file, buffer, cuticle pusher, base coat, gel polish |
| Best For | Anyone wanting elegant, finger-lengthening nail shapes |
Table of Contents
Why This Nail Technique Works
Understanding the difference between oval and almond shapes helps you select the most flattering option for your hand structure and lifestyle. Oval nails feature rounded edges that follow the natural curvature of your fingertips, creating a soft, feminine appearance. This shape distributes stress evenly across the nail, reducing breakage risk and making it ideal for those with active lifestyles or weaker nails.
Both shapes work exceptionally well with gel polish because the curing process strengthens the nail structure, preventing chips and breaks. Professional nail technicians recommend these shapes for clients seeking timeless elegance that transitions seamlessly from casual to formal settings. The choice between oval and almond depends on your natural nail bed shape, finger length, and personal style preferences.
Tools and Products Needed
| Product | Purpose | Alternatives |
|---|---|---|
| Nail File (180 grit) | Shaping nail edges and creating curves | Glass file, electric file |
| Nail Buffer | Smoothing nail surface for gel adhesion | 240 grit buffer block |
| Cuticle Pusher | Preparing nail bed for shaping | Orangewood stick |
| Base Coat | Protecting natural nails and ensuring gel adhesion | Strengthening base coat |
| Gel Polish | Providing color and protection | Regular polish (less durable) |
| Top Coat | Sealing gel layers for shine and longevity | Matte top coat for different finish |
| UV/LED Lamp | Curing gel polish layers | LED-only lamp (faster curing) |
| Cuticle Oil | Maintaining nail health and hydration | Vitamin E oil, jojoba oil |
Step-by-Step Application Guide
Nail Preparation
- Remove all existing polish using acetone-free remover to preserve nail health.
- Wash hands thoroughly with soap and warm water to eliminate oils and debris.
- Push back cuticles gently using a cuticle pusher at a 45-degree angle.
- Trim nails to your desired starting length using sharp nail clippers.
- Buff the nail surface lightly to remove shine and create texture for gel adhesion.
Shaping Oval Nails
- File straight across the nail tip to establish your desired length.
- Round the corners by filing from the outer edge toward the center in one direction.
- Create symmetrical curves on both sides that mirror your cuticle shape.
- Check that the highest point of the oval sits at the center of your fingertip.
- Smooth any rough edges with a fine-grit buffer for a polished finish.
Shaping Almond Nails
- Ensure nails extend at least 3-4mm beyond your fingertip for proper almond shape.
- File the sides at an angle, creating tapered edges that slope toward the center.
- Round the tip gently to create a soft point rather than a sharp peak.
- Maintain equal filing pressure on both sides to achieve perfect symmetry.
- Refine the shape by smoothing the transition between the sidewalls and tip.
Base Coat Application
- Apply a thin layer of gel base coat starting from the cuticle line.
- Cap the free edge by running the brush along the nail tip.
- Cure under UV lamp for 60 seconds or LED lamp for 30 seconds.
- Check for any missed spots or uneven coverage before proceeding.
Gel Polish Layers
- Apply the first gel polish coat in thin, even strokes from base to tip.
- Leave a small gap near the cuticle to prevent flooding and lifting.
- Cure the first color coat according to your gel polish manufacturer instructions.
- Apply a second thin coat for opacity and depth of color.
- Cure the second coat completely before moving to the top coat stage.
Curing Process
- Position your hand flat inside the lamp with all nails exposed to light.
- Set the timer according to your specific lamp and gel brand requirements.
- Keep fingers still during the entire curing cycle to prevent smudging.
- Allow nails to cool for 10-15 seconds after removing from the lamp.
Finishing and Top Coat
- Apply a thin layer of gel top coat over the entire nail surface.
- Cap the free edge carefully to seal the polish and prevent chipping.
- Cure the top coat for the full recommended time to ensure hardness.
- Wipe away the tacky residue layer using alcohol or cleanser if your top coat requires it.
- Apply cuticle oil around the nail bed to hydrate and complete your manicure.
Pro Nail Technician Tips
- File nails when completely dry, never after soaking, to prevent splitting and peeling along the free edge.
- Always file in one direction rather than using a sawing motion to maintain nail integrity and prevent microscopic tears.
- For almond shapes, check symmetry by placing your fingertips together to compare the angle and length of each side.
- Avoid filing too far down the sidewalls on almond nails, which weakens the structure and increases breakage risk during daily activities.
- Apply thin gel coats rather than one thick layer to ensure proper curing and prevent wrinkling, bubbling, or premature peeling.
- Maintain your chosen shape with weekly gentle filing to prevent nails from growing into unintended shapes or developing sharp edges.
Common Gel Nail Mistakes
| Mistake | Why It Happens | How to Fix |
|---|---|---|
| Uneven nail shapes | Filing without checking symmetry or using inconsistent pressure | File slowly, check frequently, and use your opposite nail as a guide |
| Too-sharp almond points | Over-filing the tip without creating a rounded edge | Gently round the point with light strokes from both sides |
| Weak sidewalls | Filing too deeply into the sides while creating tapered shapes | Maintain more nail width and file at a gentler angle |
| Gel flooding cuticles | Applying polish too close to the cuticle line | Leave a 1mm gap and use a cleanup brush before curing |
| Polish lifting at edges | Skipping the edge-capping step or using thick coats | Always cap the free edge and apply thin, even layers |
Nail Design Variations
| Style | Description | Best Occasion |
|---|---|---|
| Classic French Tips | White tips with nude or pink base on oval or almond shapes | Professional settings, weddings, everyday elegance |
| Chrome Almond Nails | Metallic powder finish that enhances the dramatic almond silhouette | Evening events, parties, fashion-forward occasions |
| Ombre Oval Nails | Gradient color transition that complements the soft oval curve | Summer events, beach vacations, casual outings |
| Minimalist Accent Nail | Single detailed nail with simple color on remaining nails | Office-appropriate style with personality, daily wear |
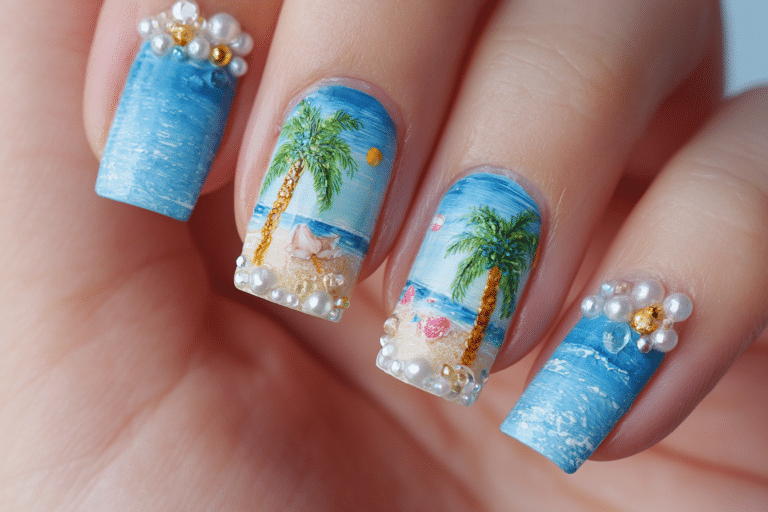
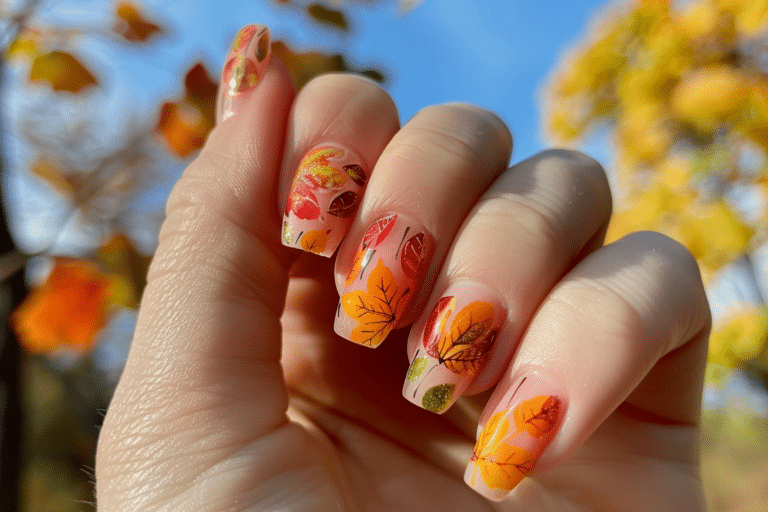
| Seasonal Nail Art | Holiday themes or seasonal colors adapted to your chosen shape | Festive celebrations, themed parties, seasonal transitions |
Both oval and almond shapes provide excellent canvases for creative nail art. Explore more gel nail design inspiration tailored to different nail shapes and personal styles.
Nail Care and Maintenance
Maintaining your oval or almond nail shape requires consistent care between manicures. Apply cuticle oil twice daily to keep the nail bed hydrated and prevent brittleness that leads to breakage. This practice is especially important for almond nails, where the tapered structure needs extra moisture to maintain strength. Quality cuticle oil penetrates the nail plate and surrounding skin, promoting healthy growth and flexibility.
Protect your manicure by wearing gloves during household chores, especially when using cleaning products or washing dishes. Water exposure softens the nail plate temporarily, making it more vulnerable to damage. For those with almond nails, be mindful of the pointed tips when typing, opening cans, or performing tasks that put pressure on the nail ends. Regular maintenance filing every seven to ten days helps preserve your chosen shape as nails grow.
Keep gel polish lasting longer by avoiding prolonged water exposure during the first 24 hours after application. The gel needs time to fully harden and bond with the nail surface. If you notice any lifting at the edges, apply a thin layer of clear gel polish and cure immediately to prevent water from seeping underneath. Schedule professional maintenance every three to four weeks to address regrowth and maintain the structural integrity of your shaped nails.
How to Remove Gel Nails Safely
- File the shiny top coat layer using a medium-grit file to break the seal and allow acetone penetration.
- Soak cotton balls in pure acetone and place one on each nail, covering the entire surface area.
- Wrap each fingertip tightly with aluminum foil to trap heat and accelerate the breakdown process.
- Wait 10-15 minutes for the acetone to dissolve the gel polish layers completely.
- Remove the foil wraps and gently push softened gel off using an orangewood stick or cuticle pusher.
- Buff away any remaining residue with a fine-grit buffer, using light pressure to avoid nail damage.
- Wash hands thoroughly with soap and water to remove all acetone traces.
- Apply cuticle oil generously to all nails and massage into the nail beds and surrounding skin.
- Moisturize hands with a rich hand cream to replenish moisture lost during the removal process.
If gel polish does not soften after 15 minutes, rewrap nails and wait an additional five minutes rather than forcing removal. Professional nail technicians recommend taking breaks between gel manicures every few months to allow natural nails to breathe and recover from repeated acetone exposure.
Nail Health and Safety
Watch for signs of nail damage or infection, including persistent redness, swelling, pain around the nail bed, or changes in nail color or texture. Green discoloration indicates bacterial infection, often caused by moisture trapped between the gel and natural nail. Yellow discoloration may suggest fungal infection or repeated trauma to the nail bed. If you notice these symptoms, remove gel polish immediately and consult a healthcare professional for proper treatment.
Prevent damage by ensuring complete curing of all gel layers during application. Under-cured gel remains soft and allows moisture penetration, creating an environment for bacterial growth. Use properly maintained UV or LED lamps with adequate bulb strength, and replace bulbs according to manufacturer recommendations. Sanitize all tools between uses with hospital-grade disinfectant, and never share nail implements to prevent cross-contamination and infection spread.
Frequently Asked Questions
How long do gel nails last on oval and almond shapes?
Gel nails typically last two to three weeks on both oval and almond shapes with proper application and care. Oval shapes may last slightly longer for people with active lifestyles because the rounded edges are less prone to catching and breaking. Almond shapes require more careful handling to prevent tip breakage, especially during the first few days after application when you are adjusting to the length and pointed shape.
Which nail shape is stronger, oval or almond?
Oval nails are structurally stronger than almond nails because they maintain more width across the free edge and have less dramatic tapering. The rounded shape distributes pressure evenly, reducing stress concentration points that cause cracking. Almond nails have thinner sidewalls and a pointed tip that concentrates force in a smaller area, making them more vulnerable to breakage if they catch on objects or experience direct impact.
Can you create almond nails on short nails?
Creating true almond nails requires at least three to four millimeters of free edge length beyond the fingertip to achieve the characteristic tapered point. Short nails can be filed into a soft almond shape, but the result more closely resembles an oval with slight tapering. Consider using nail extensions or allowing natural nails to grow longer before committing to the almond shape for the most flattering and authentic appearance.
Why do gel nails peel on almond-shaped nails?
Gel polish peeling on almond nails often occurs at the tapered sidewalls where the nail is thinnest and most flexible. Improper edge capping, thick gel layers, or filing too deeply into the sidewalls compromises adhesion and creates lift points. Ensure you apply thin coats, cap the free edge thoroughly, and avoid excessive filing of the nail plate to maintain strong gel adhesion on almond shapes.
Conclusion
Choosing between oval vs. almond nails depends on your lifestyle, natural nail characteristics, and aesthetic preferences. Both shapes offer timeless elegance and finger-lengthening benefits that enhance any gel manicure. Oval nails provide durability and versatility for active individuals, while almond nails deliver sophisticated drama for those seeking fashion-forward style. Master the shaping techniques outlined in this guide, maintain proper nail care, and enjoy beautiful, long-lasting gel manicures that showcase your chosen shape perfectly.