May Nails Ideas: Spring Manicure Designs for Every Style

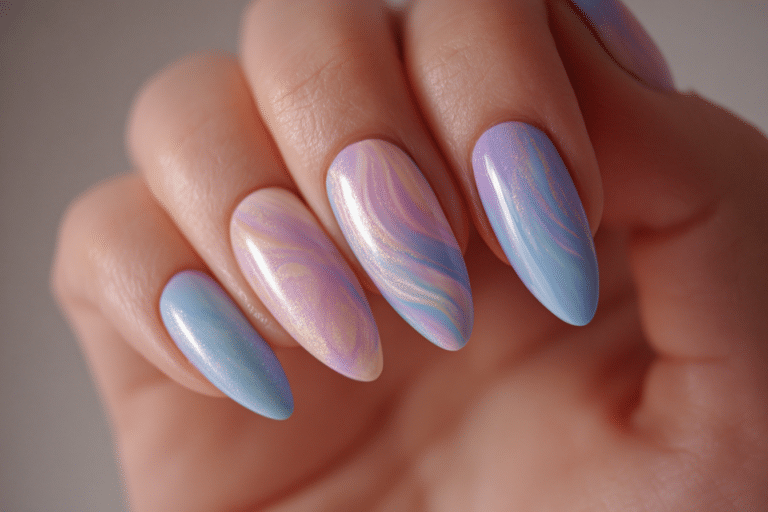
May nails ideas capture the essence of spring with blooming florals, pastel hues, and vibrant colors that celebrate warmer weather.
This transitional month offers endless opportunities to experiment with fresh nail designs that complement outdoor celebrations, Mother’s Day gatherings, and the natural beauty surrounding us. Professional nail technicians recommend incorporating both classic elegance and playful creativity into your May manicure choices for versatile, stunning results.
| Topic | Details |
|---|---|
| Category | Nail Art / Gel Nails |
| Skill Level | Beginner to Advanced |
| Time Needed | 45-90 minutes |
| Tools Needed | UV/LED lamp, gel polish, nail art brushes, dotting tools |
| Best For | Spring celebrations, everyday wear, special occasions |
Table of Contents
Why May Nails Ideas Work for Spring
May nails ideas succeed because they harmonize with seasonal color palettes and natural elements that dominate this time of year. The month marks peak spring season when flowers bloom abundantly and outdoor activities increase, making lighter and brighter nail colors more appropriate than winter’s deeper tones. Gel polish formulations in pastel shades and vibrant hues provide the durability needed for gardening, traveling, and increased hand washing that comes with warmer weather activities.
The psychology of color also plays a significant role in why May nail designs resonate with clients. Soft pinks, lavender, mint green, and buttercup yellow evoke feelings of renewal and optimism that align with spring’s transformative energy. These shades complement a wider range of wardrobe choices as people transition from heavy winter clothing to flowing dresses and lighter fabrics. Professional nail artists at Gel Nails by Lina report increased requests for floral nail art and nature-inspired designs throughout May.
The versatility of May nail designs allows for personal expression while maintaining professional polish. Whether clients prefer minimalist pastel manicures or elaborate floral nail art with dimensional elements, the season’s aesthetic supports both approaches. Gel polish technology ensures these designs remain chip-free through Mother’s Day brunches, graduation ceremonies, and early summer celebrations that define this busy month.
Tools and Products Needed
| Product | Purpose | Alternatives |
|---|---|---|
| UV/LED Lamp | Cures gel polish layers properly | Professional salon curing |
| Base Coat Gel | Protects natural nails and ensures adhesion | Strengthening base coat |
| Spring Gel Polish Colors | Creates the main nail color design | Regular nail polish with top coat |
| Detail Nail Art Brushes | Applies fine lines and floral details | Toothpick or dotting tool |
| Dotting Tools | Creates flower centers and polka dots | Bobby pin ends |
| Nail File (180 grit) | Shapes nails and smooths edges | Glass nail file |
| Nail Buffer | Prepares nail surface for polish adhesion | Fine grit buffer block |
| Cuticle Oil | Maintains nail health and hydration | Vitamin E oil or jojoba oil |
| Gel Top Coat | Seals design and adds shine | No-wipe top coat |
| Lint-Free Wipes | Cleanses nail surface before application | Cotton pads |
| Isopropyl Alcohol | Dehydrates nails for better adhesion | Nail prep solution |
Step-by-Step Application Guide
Nail Preparation
- Wash hands thoroughly with antibacterial soap and dry completely before beginning your manicure.
- Push back cuticles gently using a wooden cuticle pusher to create a clean nail bed.
- File nails into your desired shape using smooth strokes in one direction to prevent splitting.
- Buff the nail surface lightly with a 180-grit buffer to remove shine and create texture.
- Clean nails with a lint-free wipe soaked in isopropyl alcohol to remove oils and debris.
- Allow nails to air dry for 30 seconds before applying any gel products.
Base Coat Application
- Apply a thin layer of gel base coat starting from the center of the nail near the cuticle.
- Sweep the brush toward the free edge in smooth motions to ensure even coverage.
- Cap the free edge by running the brush along the nail tip to prevent lifting.
- Cure the base coat under a UV/LED lamp for the manufacturer’s recommended time, typically 30-60 seconds.
- Check that the base coat has cured properly by ensuring it feels dry and smooth to touch.
Gel Polish Layers
- Select your primary May nail color from pastel or vibrant spring shades in your collection.
- Apply the first thin layer of gel polish using the same technique as the base coat.
- Cure the first color layer under the lamp for the specified time on the product label.
- Apply a second thin coat of gel polish for opacity and depth of color.
- Cure the second layer completely before adding any nail art or design elements.
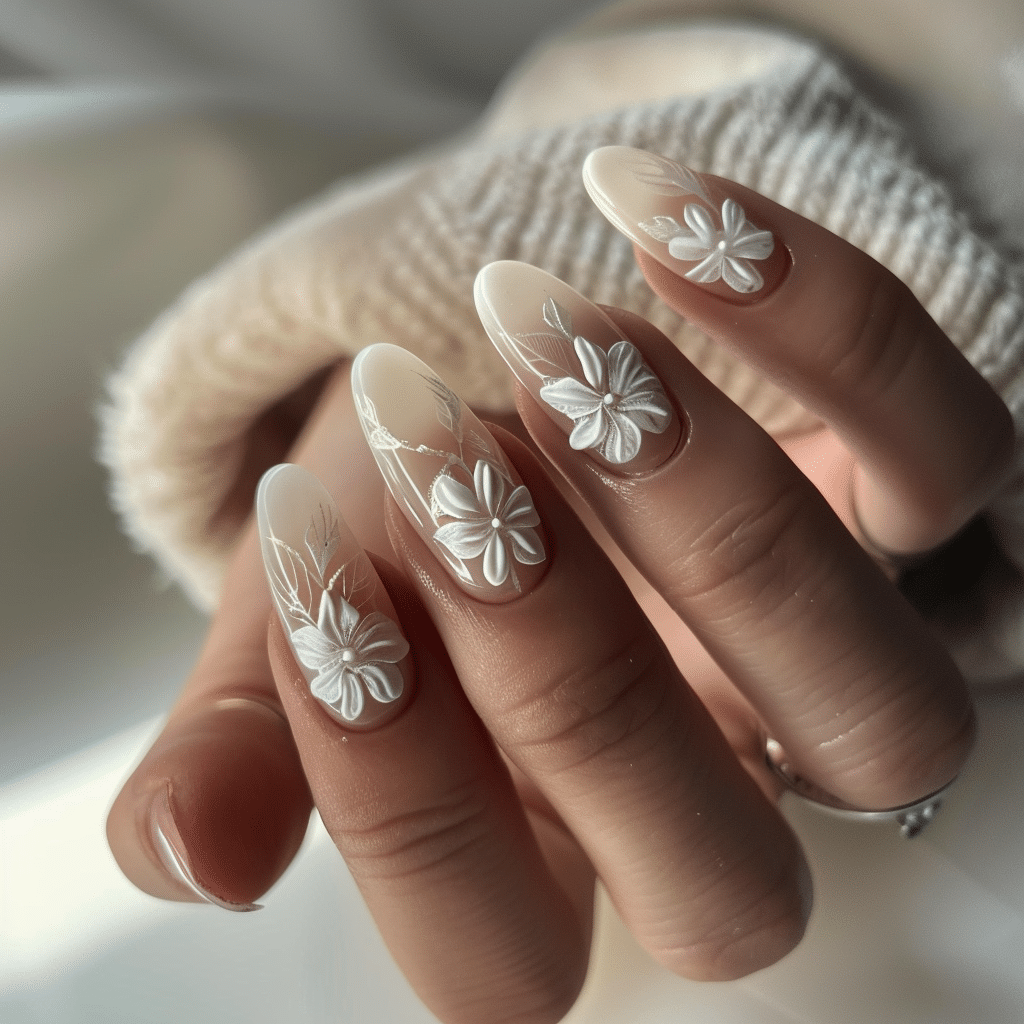
- Create floral designs using detail brushes with contrasting gel polish colors for petals and leaves.
- Add dimensional elements like dots for flower centers or thin lines for stems and vines.
Curing Process
- Place your hand completely inside the UV/LED lamp with nails positioned under the light source.
- Cure each design element individually if working with multiple colors to prevent smudging.
- Allow the lamp to complete its full cycle without removing your hand prematurely.
- Check that all polish layers have hardened by gently touching a nail with a clean finger.
- Cure design details for the full recommended time to ensure durability and prevent peeling.
Finishing and Top Coat
- Apply a generous layer of gel top coat over the entire nail surface, including the design.
- Cap the free edge again with top coat to seal the manicure and prevent chipping.
- Cure the top coat under the lamp for the longest time recommended, usually 60 seconds.
- Wipe away the sticky residue layer with alcohol if your top coat is not a no-wipe formula.
- Apply cuticle oil around each nail and massage into the skin for hydration and shine.
- Allow nails to cool for two minutes before exposing them to water or physical stress.
Pro Nail Technician Tips for May Nails Ideas
- Layer lighter spring colors over a white gel base to achieve more opaque pastel shades without multiple coats that can cause thickness issues.
- Prevent lifting at the cuticle area by avoiding polish application too close to the skin, leaving a tiny margin of approximately one millimeter.
- Extend the longevity of floral nail art by sealing delicate design elements with an extra layer of top coat for added protection.
- Cure each thin layer properly rather than applying thick coats, which prevents proper UV light penetration and leads to premature chipping.
- Prepare the nail surface thoroughly by removing all natural oils with alcohol, as proper dehydration ensures the base coat adheres correctly to prevent peeling.
- Store gel polish bottles away from direct sunlight and shake gently before use to maintain pigment consistency for vibrant May nail colors.
- Create dimension in floral designs by building petals in layers, curing between each addition to achieve realistic depth and texture.
Common Gel Nail Mistakes
| Mistake | Why it Happens | How to Fix |
|---|---|---|
| Thick Gel Layers | Applying polish too heavily to achieve opacity faster | Use multiple thin coats instead, curing between each layer |
| Improper Curing Time | Removing nails from lamp too early to save time | Follow manufacturer instructions exactly and upgrade to higher wattage lamp |
| Skipping Nail Preparation | Rushing through the cleaning and buffing process | Always dehydrate nails with alcohol and buff lightly for adhesion |
| Flooding the Cuticle | Applying polish too close to the cuticle line | Leave small margin and clean excess immediately with brush or orange stick |
| Not Capping Free Edge | Forgetting to seal the nail tip with base and top coat | Run brush along nail edge with each coat to prevent lifting and chipping |
May Nails Ideas Design Variations
| Style | Description | Best Occasion |
|---|---|---|
| Pastel French Tips | Classic French manicure with soft pink, lavender, or mint tips | Professional settings, weddings, everyday wear |
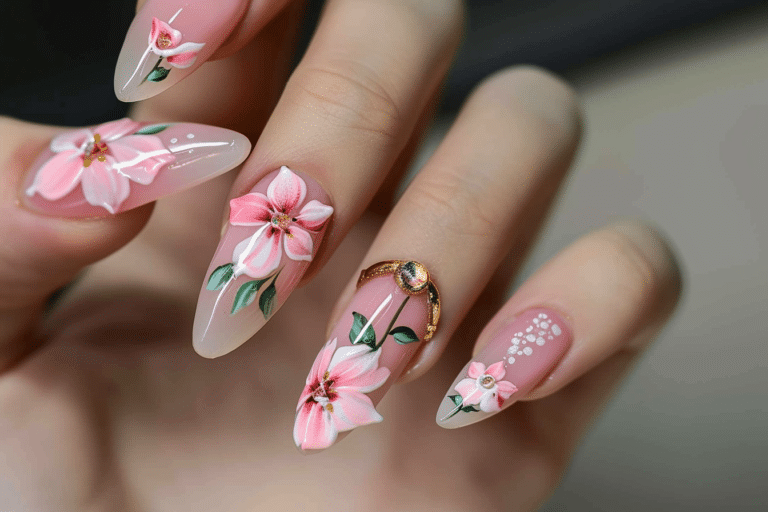
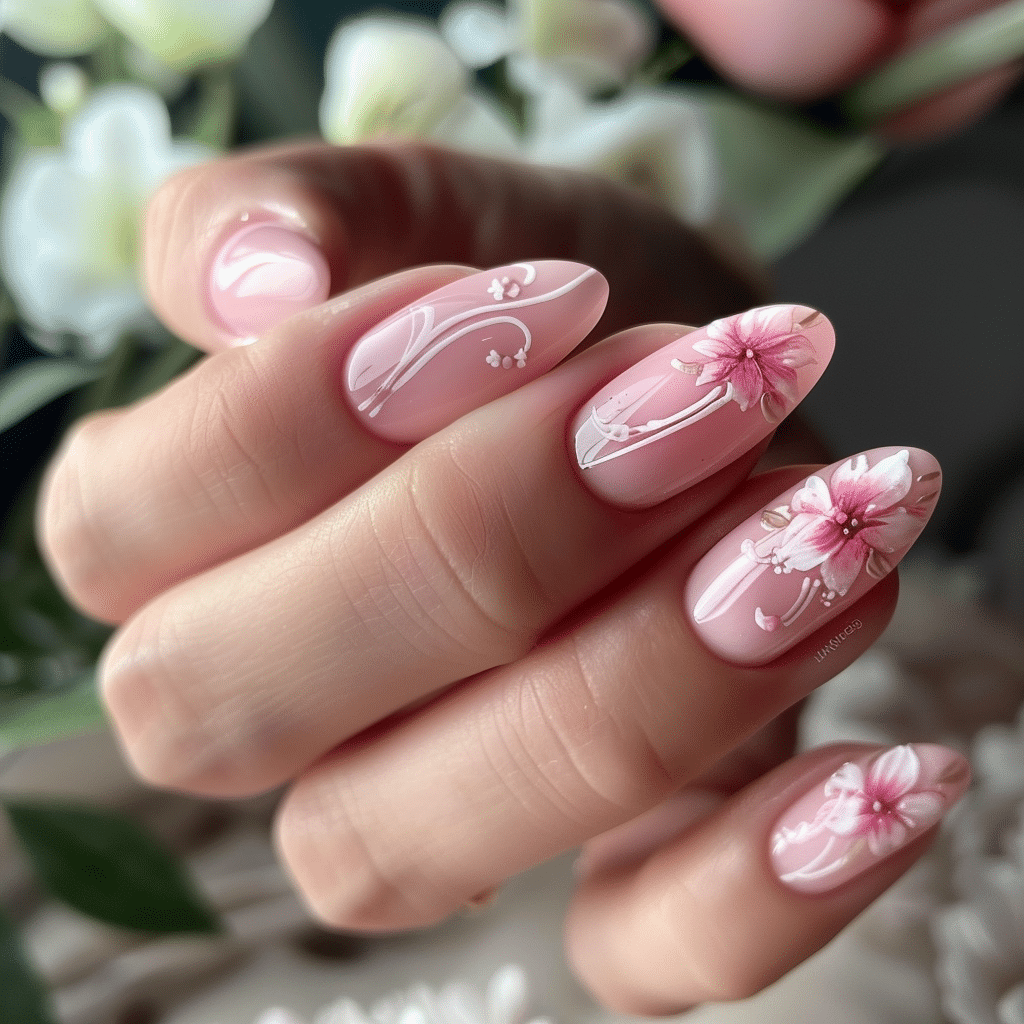
| Floral Accent Nails | Hand-painted flowers on one or two accent nails with solid color base | Garden parties, Mother’s Day, spring celebrations |
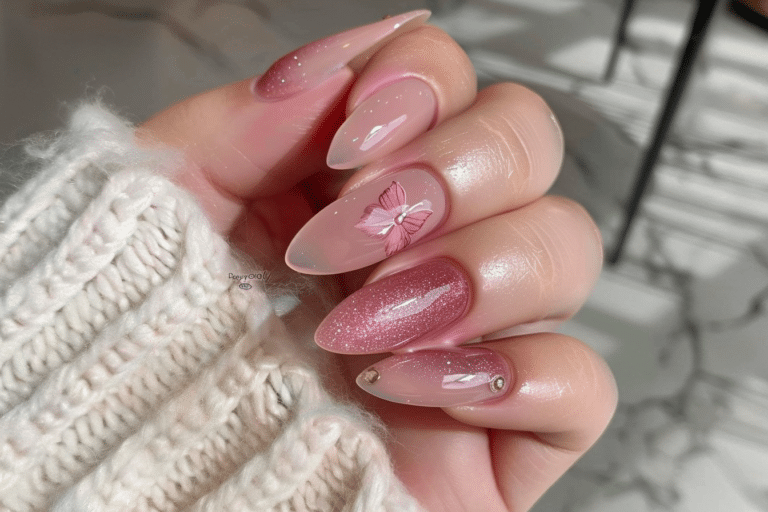
| Butterfly Nail Art | Delicate butterfly designs symbolizing transformation and spring renewal | Graduations, outdoor events, casual weekends |
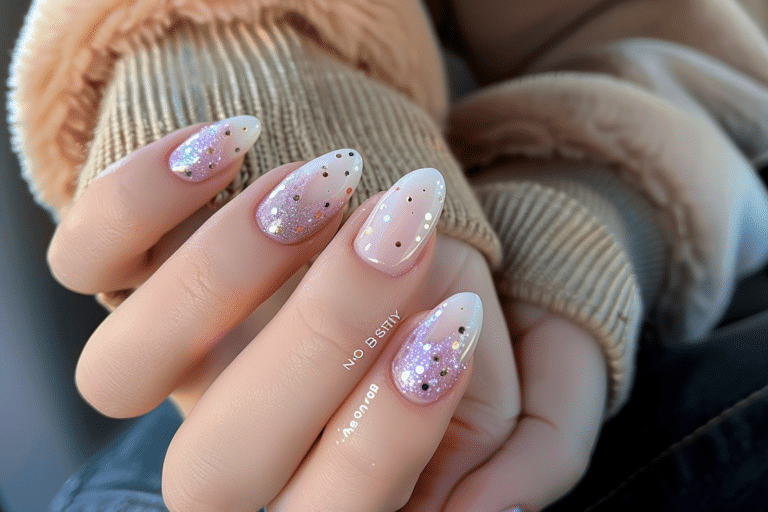
| Ombre Spring Shades | Gradient blending from white to pastel colors creating soft transitions | Bridal showers, photoshoots, romantic dinners |
| Daisy Chain Design | Small white daisies connected across nails for cheerful May aesthetic | Festivals, beach trips, casual social gatherings |
| Minimalist Line Art | Simple abstract lines and dots in spring colors for modern look | Professional environments, contemporary style preferences |
| Glitter Accent Tips | Fine glitter in gold or rose gold on tips for subtle sparkle | Evening events, date nights, special occasions |
| Negative Space Florals | Flowers painted around bare nail showing through for artistic effect | Fashion-forward events, art gallery openings, trendy gatherings |
Nail Care and Maintenance
Maintaining healthy nails while wearing May nail designs requires consistent hydration and protective practices. Apply cuticle oil at least twice daily, focusing on the cuticle area and surrounding skin to prevent dryness that can lead to lifting. Quality cuticle oils containing jojoba, vitamin E, or almond oil penetrate deeply to nourish both the nail plate and the surrounding tissue. Visit Gel Nails by Lina for professional recommendations on nail care products that complement gel manicures.
Protect your May nail art from premature wear by wearing gloves during household cleaning, gardening, and dish washing activities. Chemical cleaners and prolonged water exposure can weaken the gel polish bond and cause lifting at the edges. Reapply top coat every three to four days to maintain shine and add an extra layer of protection to intricate designs. This simple maintenance step extends the life of your manicure significantly and keeps colors vibrant.
Avoid using your nails as tools to open cans, scrape labels, or pry objects, as this creates stress on the gel polish and can cause cracking. Keep nails at a moderate length during May to reduce the risk of breakage during increased outdoor activities. Schedule regular manicure appointments every two to three weeks to maintain nail health and refresh designs as your natural nails grow. Proper removal and reapplication prevents damage that accumulates from wearing gel polish continuously without breaks.
How to Remove Gel Nails Safely
Remove May nail designs safely to protect your natural nails from damage and maintain their strength for future manicures. Begin by filing the shiny top coat layer with a coarse nail file to break the seal and allow acetone to penetrate the gel layers. Soak cotton balls or pads in pure acetone and place one on each nail, ensuring complete coverage of the gel polish surface. Wrap each finger tightly with aluminum foil strips to hold the cotton in place and trap heat that accelerates the removal process.
Allow nails to soak for 10 to 15 minutes, checking progress by gently pressing on the foil to see if gel has softened. Remove the foil and cotton from one nail at a time and use a wooden cuticle pusher to gently scrape away softened gel polish. Never force or pry gel polish that has not fully dissolved, as this strips layers of the natural nail plate. If gel remains stubborn, rewrap the nail and soak for an additional five minutes rather than scraping aggressively.
Nail Health and Safety
Maintaining nail health while enjoying May nails ideas requires attention to proper application techniques and hygiene practices. Excessive filing or buffing of the natural nail plate removes protective layers and creates weak spots that lead to peeling and breakage. Professional nail technicians recommend buffing only until the shine disappears, avoiding aggressive removal of nail layers. Sanitize all nail tools before and after each use with isopropyl alcohol or professional-grade disinfectant to prevent bacterial and fungal infections that thrive in warm spring weather.
Monitor your nails for signs of damage including yellowing, brittleness, separation from the nail bed, or persistent soreness around cuticles. These symptoms may indicate allergic reactions to gel polish ingredients, overexposure to UV light, or infection requiring professional medical attention. The American Academy of Dermatology notes that proper nail care includes limiting gel manicure frequency and ensuring adequate nail plate recovery time between applications to prevent long-term damage.
Apply sunscreen to hands before UV lamp exposure to protect skin from premature aging and potential UV damage, especially during spring when sun exposure increases overall. Choose gel polish brands that are free from harmful chemicals like formaldehyde, toluene, and dibutyl phthalate, which can cause sensitivity and allergic reactions. Professional salons prioritize client safety by using high-quality products and following strict sanitation protocols that protect both nail and overall health.
Frequently Asked Questions
How long do gel nails last?
Gel nails typically last between two to three weeks with proper application and maintenance before requiring removal or a fill. The longevity depends on factors including nail preparation quality, lifestyle activities, and nail growth rate. Most clients notice lifting near the cuticle area after 14 days as natural nails grow, which signals time for a fresh manicure. Applying cuticle oil daily and avoiding harsh chemicals extends the wear time of your May nail designs significantly.
How to remove gel nails safely at home?
Remove gel nails safely by soaking them in pure acetone for 10 to 15 minutes after filing off the top coat layer. Wrap each nail with acetone-soaked cotton and aluminum foil to contain the solvent and accelerate breakdown of the gel polish. Gently push away softened gel with a wooden cuticle stick without forcing or scraping aggressively. Always moisturize nails immediately after removal and allow them to rest for a few days before applying new gel polish to prevent damage and maintain nail plate integrity.
What is the difference between gel nails and acrylic nails?
Gel nails are cured under UV or LED light and remain flexible with a natural appearance, while acrylic nails harden through a chemical reaction when liquid monomer mixes with powder polymer. Gel manicures typically feel lighter and more natural on nails with a glossy finish that requires no buffing. Acrylics provide more strength for extensions and extreme length but require more aggressive removal with acetone soaking. Most clients prefer gel polish for natural nail overlays and intricate May nail art designs due to the thinner application and easier maintenance requirements.
Why do gel nails peel or lift?
Gel nails peel primarily due to inadequate nail preparation, including failure to remove natural oils or buff the nail surface properly. Applying gel polish too close to the cuticle causes lifting as the polish contacts skin oils and moisture. Thick gel layers that cure improperly create weak spots that separate from the nail plate under stress. Exposure to excessive water, harsh chemicals, or using nails as tools also contributes to premature lifting and peeling of gel manicures before their expected lifespan ends.
How can I make my gel nails last longer?
Make gel nails last longer by preparing nails thoroughly with proper cleaning, buffing, and dehydration before applying base coat. Cap the free edge with every layer including base coat, color, and top coat to seal the nail tip completely. Wear gloves during cleaning, gardening, and water-intensive tasks to protect the gel from chemical and moisture damage. Apply cuticle oil twice daily to maintain flexibility and prevent the gel from becoming brittle. Avoid exposing fresh manicures to hot water or steam for at least three hours after application to ensure complete bonding of all gel layers.
Conclusion
May nails ideas offer endless creative possibilities for celebrating spring with fresh, vibrant manicures that reflect the season’s natural beauty. Whether you prefer subtle pastel shades, intricate floral nail art, or modern minimalist designs, proper application techniques and quality products ensure stunning results. Professional preparation, careful curing, and consistent maintenance keep your May nail designs looking salon-fresh for weeks. Explore more inspiring nail art techniques and book your next appointment at Gel Nails by Lina to transform your spring style with gorgeous, long-lasting gel manicures.