Nail Ideas Pastel Pink: Gorgeous Gel Manicure Designs

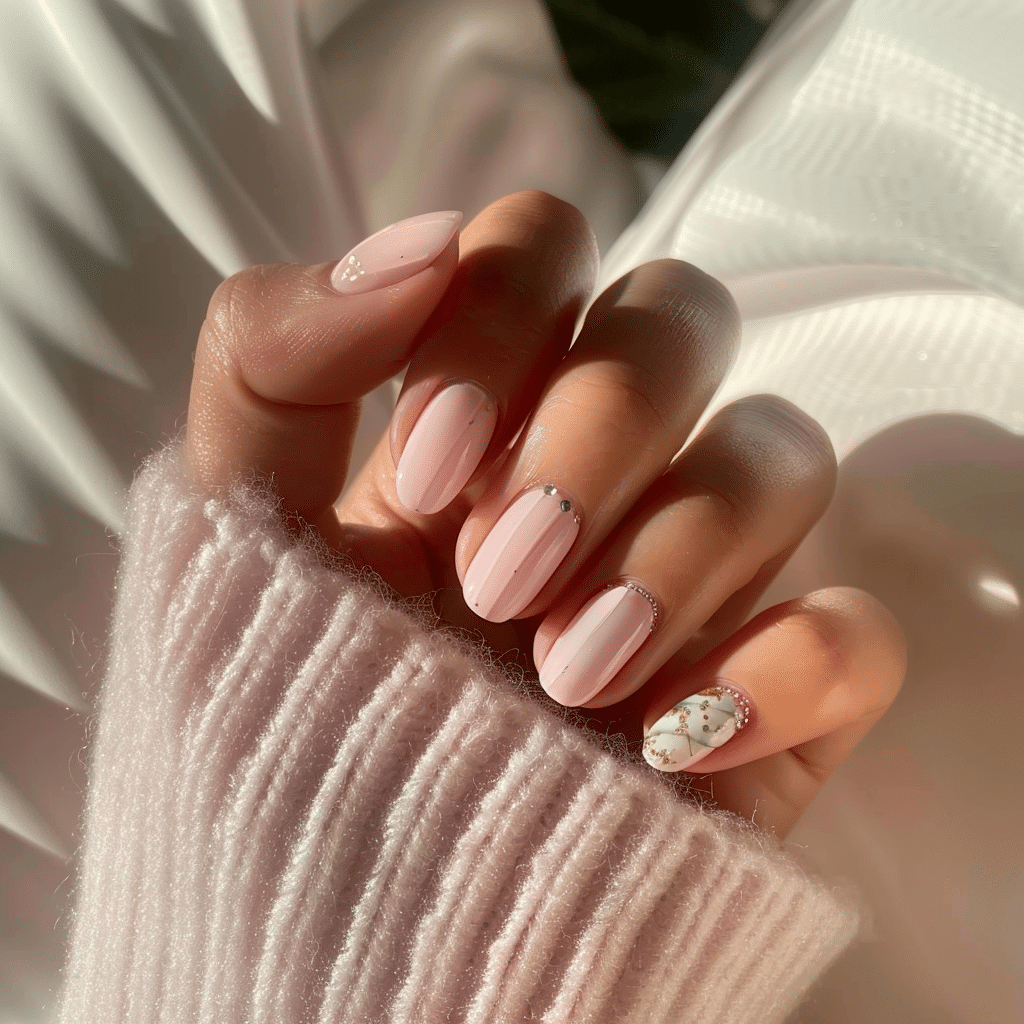
Nail ideas pastel pink represent one of the most versatile and flattering color choices in modern nail art, offering a delicate balance between femininity and sophistication.
This soft, muted shade works beautifully for everyday wear and special occasions alike. Pastel pink gel polish provides exceptional durability while maintaining the gentle aesthetic that has made this color a timeless favorite among nail enthusiasts worldwide.
| Topic | Details |
|---|---|
| Category | Gel Nails / Nail Art |
| Skill Level | Beginner to Intermediate |
| Time Needed | 45-60 minutes |
| Tools Needed | UV/LED lamp, gel polish, base coat, top coat, nail file, buffer |
| Best For | Anyone seeking elegant, wearable nail art for any occasion |
Table of Contents
Why This Nail Technique Works
Pastel pink gel polish creates stunning results because the formula combines sheer pigmentation with buildable coverage, allowing nail technicians to control the final opacity. The soft undertones in pastel pink complement all skin tones, from fair to deep, making it universally flattering. Unlike bright or dark colors that can emphasize imperfections, pastel pink naturally diffuses light across the nail surface, creating an airbrushed effect that minimizes ridges and irregularities.
The gel formula enhances the pastel pink color by providing superior shine and depth compared to traditional nail polish. Gel technology allows the pigment to cure under UV or LED light, creating a hardened layer that resists chipping and fading. This chemical bonding process locks in the delicate pink hue for weeks, maintaining the fresh, romantic appearance that makes pastel pink such a popular choice. The translucent quality of pastel shades also allows for creative layering techniques that add dimension without overwhelming the nail.
Professional nail artists favor pastel pink for its versatility in nail art applications. The neutral base works exceptionally well with gold foil, silver glitter, white French tips, and floral designs. The subtle color provides enough contrast to make embellishments stand out while maintaining an elegant, cohesive look. This adaptability makes pastel pink ideal for both minimalist designs and more elaborate nail art creations.
Tools and Products Needed
| Product | Purpose | Alternatives |
|---|---|---|
| UV/LED Lamp | Cures gel polish to create durable finish | 48W LED lamp, 36W UV lamp |
| Gel Base Coat | Protects natural nails and improves adhesion | Rubber base, strengthening base |
| Pastel Pink Gel Polish | Provides color and coverage | Sheer pink, baby pink, rose quartz shades |
| Gel Top Coat | Seals design and adds high shine | No-wipe top coat, matte top coat |
| Nail File (180 grit) | Shapes nail edges and free edge | Glass file, crystal file |
| Nail Buffer | Smooths nail surface for better adhesion | 240 grit buffer, 3-way buffer |
| Cuticle Pusher | Gently pushes back cuticle area | Metal pusher, wooden stick |
| Cuticle Oil | Hydrates cuticles and surrounding skin | Jojoba oil, vitamin E oil |
| Nail Dehydrator | Removes oils for better polish adhesion | Isopropyl alcohol, nail prep solution |
| Lint-Free Wipes | Cleans nail surface without leaving residue | Cotton pads, microfiber cloths |
For professional-quality results with your pastel pink gel manicure, explore our complete collection of gel nail supplies and tutorials designed for both beginners and experienced nail artists.
Step-by-Step Application Guide for Nail Ideas Pastel Pink
Nail Preparation
- Remove any existing nail polish using acetone or gel remover and lint-free wipes to ensure a clean surface.
- File your nails into your desired shape, whether square, round, almond, or coffin, using smooth strokes in one direction.
- Push back cuticles gently using a cuticle pusher, being careful not to damage the delicate skin around the nail bed.
- Buff the nail surface lightly with a 240-grit buffer to remove shine and create texture for better gel adhesion.
- Wash hands thoroughly with soap and warm water to remove all dust and debris from filing and buffing.
- Apply nail dehydrator to each nail, allowing it to evaporate completely before proceeding to the next step.
Base Coat Application
- Apply a thin layer of gel base coat to the entire nail surface, starting from the cuticle and pulling toward the free edge.
- Cap the free edge by running the brush along the tip of the nail to seal and prevent lifting.
- Cure the base coat under your UV/LED lamp according to manufacturer instructions, typically 30-60 seconds.
- Check that the base coat is completely cured and no tacky spots remain before applying color.
Gel Polish Layers
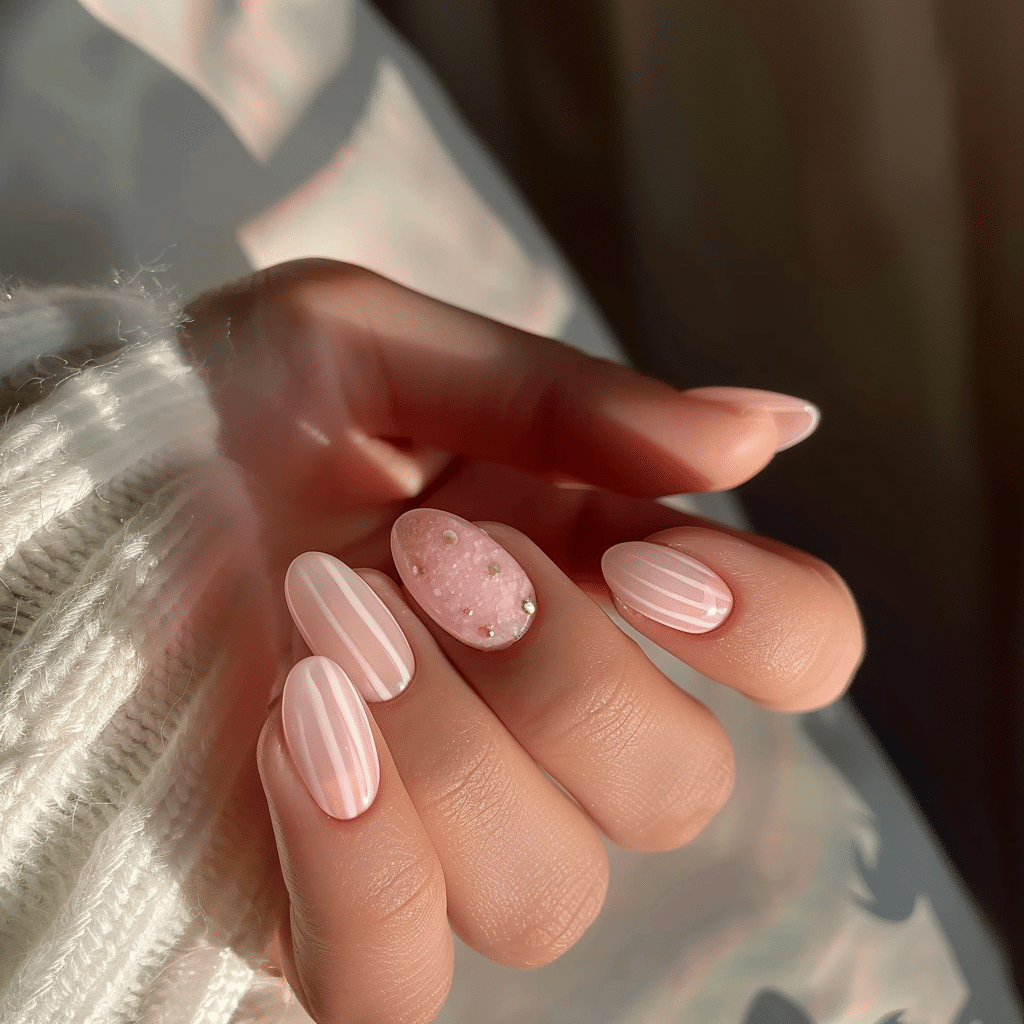
- Apply the first thin coat of pastel pink gel polish, starting with a small bead at the cuticle area.
- Drag the polish toward the free edge using gentle pressure, ensuring even coverage without flooding the cuticles.
- Cap the free edge with polish to prevent chipping and extend the life of your manicure.
- Cure the first coat under the lamp for the recommended time, usually 30-60 seconds depending on your lamp wattage.
- Apply a second thin coat of pastel pink gel polish using the same technique for full opacity and even color.
- Cure the second coat completely, ensuring the edges and center are fully hardened.
Curing Process
- Position your hand comfortably inside the lamp, ensuring all five nails receive direct light exposure.
- Keep your hand steady during the entire curing time to prevent smudging or movement of the polish.
- Allow the lamp to complete its full cycle before removing your hand to ensure complete polymerization.
- Check each nail after curing to confirm the polish is firm and no soft spots remain.
Finishing and Top Coat
- Apply a thin layer of gel top coat over the entire nail, ensuring complete coverage from cuticle to tip.
- Cap the free edge thoroughly with top coat to seal all layers and create maximum durability.
- Cure the top coat under the lamp for the full recommended time, typically 60 seconds for best results.
- Wipe away any sticky residue using a lint-free wipe with isopropyl alcohol if using a traditional top coat.
- Apply cuticle oil generously to all nails and massage into the cuticle area and surrounding skin.
Pro Nail Technician Tips
- Use thin coats of pastel pink gel polish rather than thick layers, as sheer colors build better coverage through multiple applications.
- Avoid touching the cuticle area with polish by leaving a tiny gap, preventing lifting and extending manicure longevity.
- Cure each layer fully before applying the next to prevent wrinkling, bubbling, or incomplete hardening of the gel.
- Clean your brush between coats by wiping on a lint-free pad to maintain smooth application and prevent clumping.
- Store pastel pink gel polish away from direct sunlight to prevent color fading and maintain the formula consistency.
- Apply cuticle oil daily to keep the skin around your nails hydrated and prevent the gel edges from lifting prematurely.
Discover more professional techniques and product recommendations at Gel Nails by Lina for flawless pastel pink manicures every time.
Common Gel Nail Mistakes
| Mistake | Why It Happens | How to Fix |
|---|---|---|
| Thick gel layers causing wrinkling | Applying too much product at once prevents proper curing | Remove and reapply using thin, even coats that cure completely |
| Gel polish peeling within days | Insufficient nail preparation or oil on nail surface | Ensure proper dehydration and buffing before base coat application |
| Flooding the cuticle area | Applying polish too close to cuticle or using too much product | Clean excess immediately with a brush dipped in alcohol before curing |
| Incomplete curing causing dents | Removing hand from lamp too early or insufficient lamp power | Follow manufacturer cure times and ensure lamp bulbs are functioning properly |
| Bubbles in the polish | Shaking gel polish bottle or applying in humid conditions | Roll bottle gently between hands and work in controlled temperature environment |
Nail Design Variations for Pastel Pink
| Style | Description | Best Occasion |
|---|---|---|
| French Pastel Pink Tips | Classic French manicure with pastel pink base and white tips | Weddings, professional settings, everyday elegance |
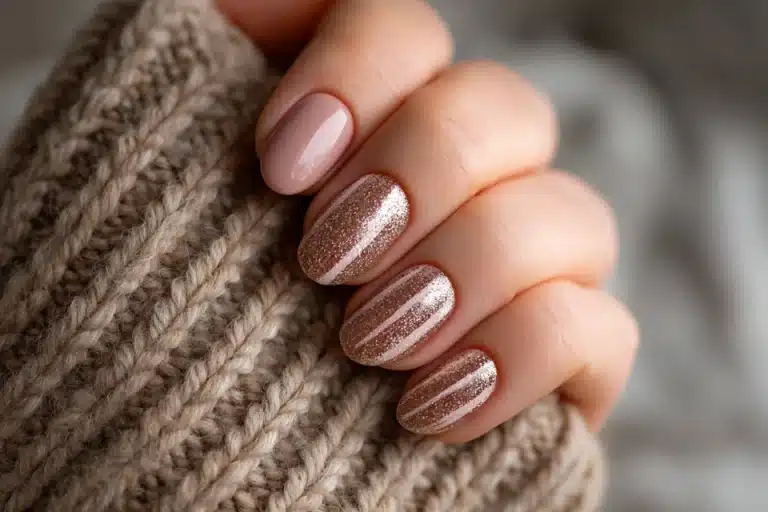
| Glitter Accent Nails | Pastel pink on most nails with one or two glitter accent nails | Parties, celebrations, evening events |
| Ombre Pastel Pink | Gradient effect from white to pastel pink or pink to deeper rose | Spring and summer events, romantic dates |
| Minimalist Line Art | Simple geometric lines or dots in white or gold over pastel pink | Modern casual wear, office-appropriate style |
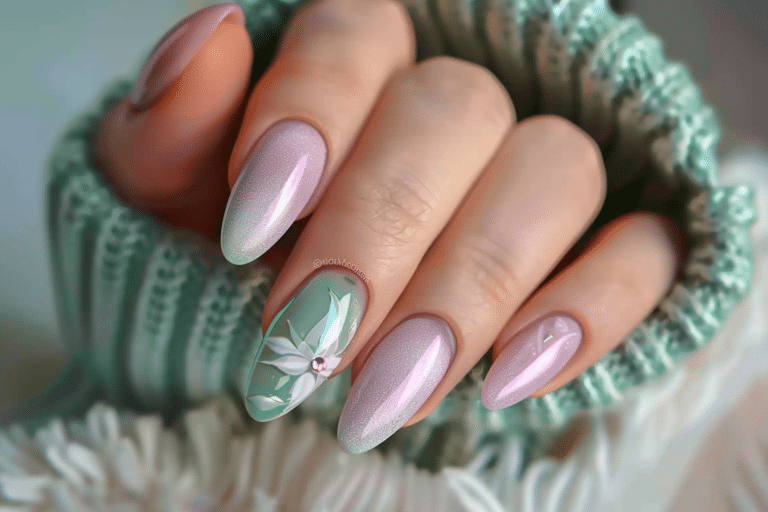
| Floral Pastel Pink | Delicate hand-painted flowers or floral decals on pastel pink base | Garden parties, spring occasions, baby showers |
| Chrome Pastel Pink | Pearl or aurora chrome powder over cured pastel pink gel | Fashion events, special occasions, trend-forward looks |
Nail Care and Maintenance
Maintaining healthy nails while wearing pastel pink gel polish requires consistent care and attention to both the gel surface and the natural nail underneath. Apply cuticle oil at least twice daily, focusing on the cuticle area and the skin surrounding each nail to prevent dryness and cracking. This regular hydration keeps the seal between the gel and cuticle intact, reducing the likelihood of lifting and extending the life of your manicure. Avoid using your nails as tools to open cans, scratch surfaces, or peel labels, as this creates stress on the gel layer and can cause premature chipping.
Protect your pastel pink gel nails from excessive water exposure by wearing gloves during household cleaning, dishwashing, and extended water activities. While gel polish is water-resistant, prolonged exposure can weaken the bond between layers and cause the edges to lift. Apply a fresh layer of cuticle oil after washing your hands or bathing to restore moisture lost during water exposure. This simple habit significantly improves gel nail longevity and keeps your natural nails strong and flexible beneath the gel coating.
How to Remove Gel Nails Safely
Safe gel nail removal protects your natural nails from damage and prepares them properly for your next pastel pink manicure. Begin by gently filing the shiny top coat layer with a 180-grit nail file to break the seal and allow acetone to penetrate the gel layers. Avoid filing down to the natural nail, as excessive filing weakens the nail plate and causes thinning. This initial step dramatically reduces the soaking time required and makes removal much easier.
Soak cotton pads in pure acetone and place one on each nail, ensuring complete coverage of the gel surface. Wrap each finger tightly in aluminum foil to hold the cotton in place and prevent acetone evaporation. Allow the nails to soak for 10 to 15 minutes, checking periodically to see if the gel has softened and begun lifting from the nail bed. The pastel pink gel should appear cloudy and loose when ready for removal.
After complete gel removal, wash your hands thoroughly to remove all acetone residue and buff the nail surface gently to smooth any roughness. Apply cuticle oil generously and allow your nails to rest for at least a few hours before applying a new gel manicure. Consider giving your natural nails a break between gel applications every few months to allow them to recover and strengthen naturally.
Nail Health and Safety
Maintaining nail health while enjoying beautiful pastel pink gel manicures requires understanding proper application techniques and recognizing signs of potential problems. Avoid over-filing the natural nail surface during preparation, as removing too much of the nail plate weakens its structure and increases sensitivity. A light buffing to remove shine is sufficient for gel adhesion. Excessive filing creates a thin, flexible nail that is prone to breaking and peeling once the gel is removed.
Take breaks from gel polish every three to four months to allow your natural nails to recover and breathe. During these breaks, focus on strengthening treatments, regular cuticle oil application, and maintaining proper nail hydration. This recovery period prevents long-term damage and keeps your nails healthy enough to continue enjoying gel manicures. Pay attention to changes in nail thickness, flexibility, or color, as these can indicate that your nails need more recovery time between gel applications.
Frequently Asked Questions
How long do gel nails last?
Gel nails typically last two to three weeks with proper application and care. The longevity depends on factors including nail preparation quality, gel polish brand, daily activities, and how well you maintain the manicure. Pastel pink gel polish tends to show less visible wear than darker colors, as minor tip wear blends more naturally with the nail. To maximize wear time, apply cuticle oil daily and wear gloves during cleaning activities.
How to remove gel nails safely at home?
Remove gel nails safely by filing the top coat, soaking nails in pure acetone for 10 to 15 minutes wrapped in foil, and gently pushing off softened gel. Never peel or force gel polish off, as this removes layers of your natural nail and causes severe damage. If gel does not slide off easily after soaking, rewrap and soak longer rather than scraping aggressively. Always follow with cuticle oil and hand moisturizer to restore hydration after acetone exposure.
What is the difference between gel nails and acrylic nails?
Gel nails use a pre-mixed polish that cures under UV or LED light, creating a flexible, glossy finish that looks more natural. Acrylic nails involve mixing liquid monomer with powder polymer to create a malleable substance that air-dries into a hard, durable layer. Gel nails generally appear more natural and cause less damage during application, while acrylics offer superior strength for those with weak or damaged natural nails. Gel removal requires acetone soaking, while acrylic removal often involves filing down the majority of the product.
Why do my gel nails peel after a few days?
Gel nails peel prematurely due to improper nail preparation, oil or moisture on the nail surface, skipping the base coat, or not capping the free edge. Ensure you thoroughly dehydrate the nail, apply thin coats, and cure each layer completely to prevent lifting. Avoiding water exposure for two hours after application allows the gel to fully bond with the natural nail. If peeling persists despite proper technique, consider switching gel polish brands or consulting a professional nail technician.
How can I make my gel nails last longer?
Make gel nails last longer by maintaining proper nail preparation, applying thin polish coats, curing completely, and capping the free edge with each layer. Apply cuticle oil twice daily to keep the skin around your nails hydrated and prevent edge lifting. Wear gloves during household chores and avoid using your nails as tools to prevent chipping and cracking. Reapply top coat every five to seven days to refresh shine and add an extra protective layer that extends wear time.
Conclusion
Nail ideas pastel pink offer endless possibilities for creating elegant, versatile manicures suitable for any occasion or personal style. By following proper application techniques, using quality products, and maintaining consistent nail care, you can achieve salon-quality results that last for weeks. Whether you prefer classic solid pastel pink or creative designs incorporating ombre, glitter, or nail art, this timeless shade flatters every skin tone and complements any wardrobe. Start experimenting with these techniques today to discover your perfect pastel pink gel manicure look.