DIY Nail Strengthener with Garlic: A Natural Trick for Stronger, Healthier Nails

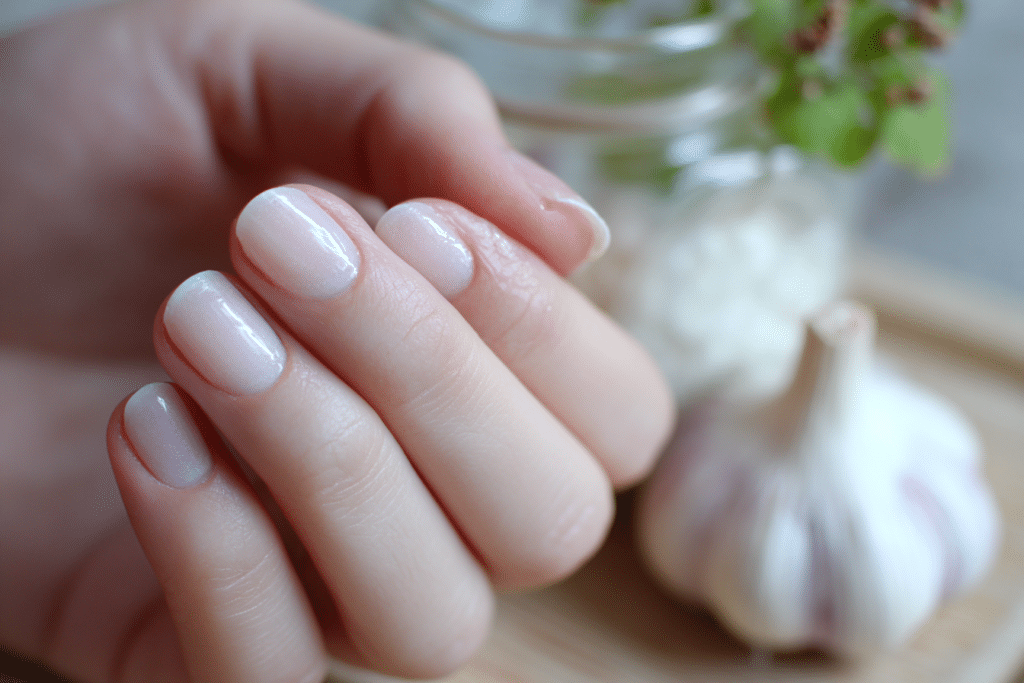
DIY nail strengthener with garlic is a natural remedy that uses the powerful sulfur compounds in garlic to fortify brittle, weak nails.
This time-tested beauty treatment helps rebuild nail structure, prevent breaking, and promote healthy growth without expensive salon products. Garlic contains allicin and other beneficial compounds that penetrate the nail plate to strengthen it from within.
| Topic | Details |
|---|---|
| Category | Nail Care |
| Skill Level | Beginner |
| Time Needed | 10 minutes preparation, 7-10 days treatment |
| Tools Needed | Fresh garlic, base coat or clear polish, small bowl, nail file |
| Best For | People with weak, brittle, or peeling nails seeking natural strengthening solutions |
Table of Contents
Why This Nail Strengthening Technique Works
Garlic contains powerful organosulfur compounds, particularly allicin, which have been recognized for their strengthening properties in nail care. When applied to nails, these sulfur-rich compounds penetrate the keratin structure of the nail plate, helping to bind protein molecules together more tightly. This creates a denser, more resilient nail surface that resists splitting, peeling, and breakage.
The natural selenium found in garlic also plays a crucial role in nail health by supporting the production of keratin, the primary structural protein in nails. Additionally, garlic possesses antimicrobial properties that help protect nails from fungal infections and bacteria that can weaken the nail bed. The vitamin C and B-6 in garlic further support nail growth and overall nail health by improving circulation to the nail matrix.
Research has shown that topical application of garlic extract can improve nail thickness and reduce brittleness over time. When combined with a clear base coat or polish, the DIY nail strengthener with garlic creates a protective barrier that seals in moisture while delivering strengthening compounds directly to the nail plate. This dual-action approach makes garlic one of the most effective natural remedies for nail strengthening available.
Tools and Products Needed for Garlic Nail Treatment
| Product | Purpose | Alternatives |
|---|---|---|
| Fresh garlic cloves | Primary strengthening ingredient containing allicin | Garlic oil, garlic powder mixed with oil |
| Clear base coat or nail polish | Carrier for garlic compounds and protective sealant | Clear top coat, nail hardener |
| Small mixing bowl | Combining garlic with polish | Empty nail polish bottle, small container |
| Garlic press or knife | Extracting garlic juice | Grater, mortar and pestle |
| Nail file | Smoothing nail edges before treatment | Glass nail file, emery board |
| Nail buffer | Creating smooth nail surface for better absorption | Fine-grit nail file |
| Cuticle oil | Moisturizing cuticles during treatment period | Vitamin E oil, jojoba oil |
| Cotton pads | Cleaning nails before application | Cotton balls, lint-free wipes |
For professional nail care products and gel nail supplies, visit Gel Nails by Lina for expert-recommended tools and treatments that complement your natural nail care routine.
Step-by-Step Application Guide for DIY Nail Strengthener
Nail Preparation and Cleaning
- Remove all existing nail polish using acetone-free remover to avoid further drying your nails.
- Wash your hands thoroughly with soap and warm water to eliminate oils and debris.
- Trim your nails to a manageable length using nail clippers, keeping them slightly short during treatment.
- File your nails gently in one direction to smooth rough edges and create an even shape.
- Buff the nail surface very lightly to remove shine and allow better absorption of the treatment.
- Push back cuticles gently using a cuticle pusher, avoiding cutting or damaging the cuticle area.
- Clean under the nail tips with a nail brush to remove any trapped dirt or buildup.
Garlic Treatment Preparation
- Peel two fresh garlic cloves and crush them using a garlic press to extract the maximum juice.
- Collect the garlic juice in a small bowl, straining out any solid pieces if desired.
- Pour your clear base coat or nail strengthener into the bowl with the garlic juice.
- Mix the garlic juice and polish together thoroughly using a clean brush or stirring stick.
- Allow the mixture to sit for two to three minutes to fully combine the ingredients.
Application of Garlic Nail Strengthener
- Apply a thin layer of the garlic and polish mixture to each nail using the polish brush.
- Start at the base of the nail near the cuticle and stroke upward toward the tip.
- Cover the entire nail surface including the edges for complete protection and strengthening.
- Apply a second thin coat after the first layer has dried completely, usually within five minutes.
- Allow the treatment to dry thoroughly for at least fifteen to twenty minutes before using your hands.
Treatment Duration and Maintenance
- Repeat the application process every other day for optimal strengthening results.
- Continue the treatment for seven to ten days to see noticeable improvement in nail strength.
- Apply cuticle oil daily to keep the surrounding skin moisturized and healthy.
- Avoid soaking your hands in water for extended periods during the treatment phase.
- Wear gloves when doing dishes or cleaning to protect the treatment and your nails.
Alternative Application Method
- Rub a fresh garlic clove directly onto clean, bare nails as a simpler application method.
- Massage the garlic juice into each nail for thirty seconds to one minute per nail.
- Allow the garlic to absorb for ten minutes before rinsing or applying a clear coat.
- Apply a regular clear base coat over the garlic treatment to seal in the beneficial compounds.
- Repeat this direct application method nightly for one week for intensive strengthening therapy.
Pro Nail Technician Tips for Maximum Results
- Use fresh garlic rather than processed garlic products for the highest concentration of allicin and sulfur compounds that provide strengthening benefits.
- Apply the DIY nail strengthener with garlic at night before bed to allow maximum absorption time without hand washing or water exposure interrupting the treatment.
- Avoid applying the garlic treatment to broken skin or damaged cuticles as the sulfur compounds can cause stinging or irritation on open wounds.
- Combine your garlic nail treatment with biotin supplements taken orally to enhance nail strength from both internal and external sources.
- Keep your nails relatively short during the strengthening treatment period to prevent stress and breakage while the nail structure is rebuilding.
- Store any premixed garlic and polish solution in the refrigerator for up to three days to maintain potency and prevent bacterial growth.
- Follow up your garlic strengthening treatment with regular maintenance using a quality nail hardener from professional nail care lines to maintain results long-term.
Common Mistakes When Using Garlic for Nail Strengthening
| Mistake | Why it Happens | How to Fix |
|---|---|---|
| Applying garlic to wet nails | Moisture prevents proper absorption of strengthening compounds | Ensure nails are completely dry before application and wait at least 30 minutes after washing hands |
| Using too much garlic concentrate | Belief that more garlic equals faster results | Use a 1:3 ratio of garlic juice to clear polish to avoid nail discoloration and skin irritation |
| Skipping the base coat carrier | Attempting to use raw garlic alone without a sealant | Always mix garlic with clear polish or apply a top coat after direct application to seal in benefits |
| Discontinuing treatment too early | Expecting immediate results within one or two days | Continue treatment for the full 7-10 day period to see visible strengthening and reduced brittleness |
| Not moisturizing cuticles during treatment | Focusing only on the nail plate while ignoring surrounding skin | Apply cuticle oil twice daily to prevent dryness and support healthy nail growth from the matrix |
Nail Design Variations After Strengthening Treatment
| Style | Description | Best Occasion |
|---|---|---|
| Natural nude gel nails | Sheer pink or beige gel polish that showcases healthy strengthened nails | Professional settings, daily wear, job interviews |
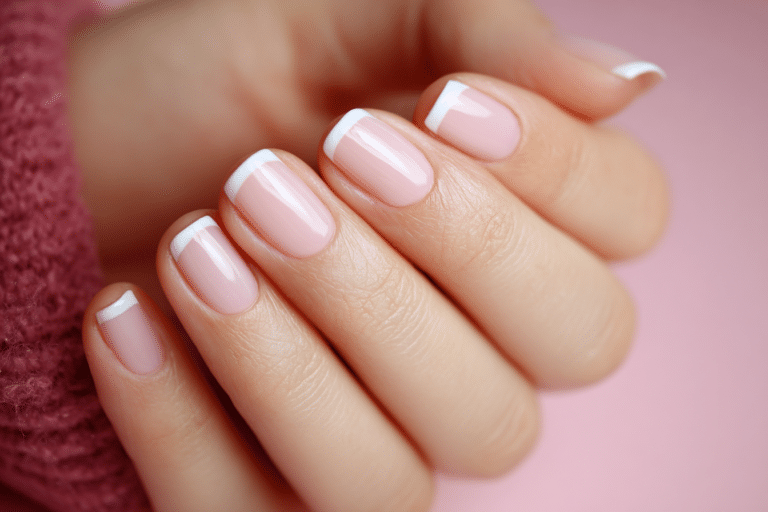
| French gel manicure | Classic white tips with natural nail bed highlighting nail strength and length | Weddings, formal events, timeless everyday look |
| Minimalist nail art | Simple geometric lines or dots on strengthened natural nails | Casual outings, modern aesthetic preferences |
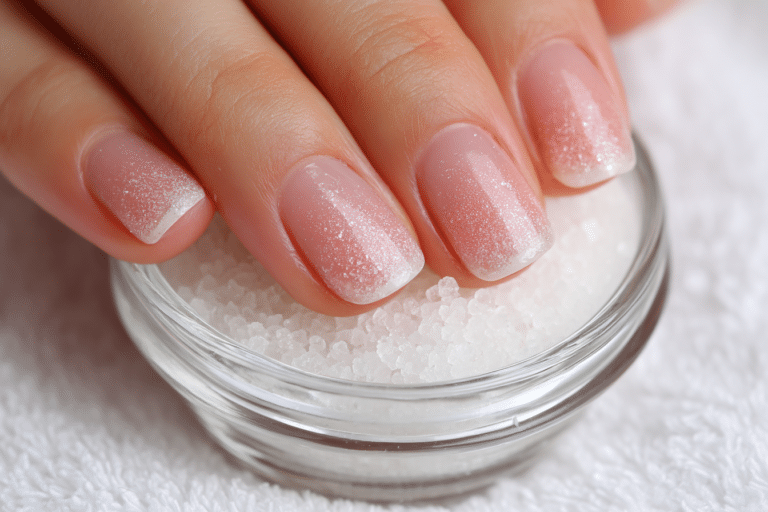
| Sheer glitter overlay | Transparent sparkle coat that adds shine while showing off improved nail health | Parties, celebrations, festive occasions |
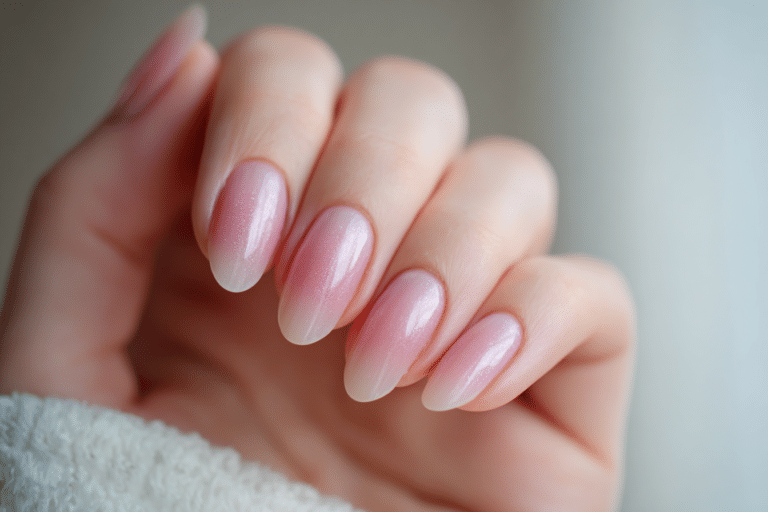
| Ombre gel nails | Gradient color transition that works beautifully on longer strengthened nails | Special events, seasonal celebrations, fashion-forward looks |
Nail Care and Maintenance After Garlic Treatment
After completing your DIY nail strengthener with garlic treatment, maintaining your newly strengthened nails requires consistent care and protection. Continue applying cuticle oil daily to keep the nail bed moisturized and support ongoing healthy growth from the nail matrix. Hydrated cuticles produce stronger, more flexible nails that resist breaking and peeling.
Protect your strengthened nails by wearing gloves during household chores, gardening, or any activity involving prolonged water exposure or harsh chemicals. Water causes nails to expand and contract, which can lead to weakening and splitting even after treatment. Apply a clear strengthening top coat every few days to maintain the protective barrier and seal in moisture.
How to Remove Gel Nails Safely Without Damaging Strengthened Nails
Proper removal of gel nails is essential to maintaining the strength you have built through your garlic treatment. Begin by gently filing the shiny top coat layer of the gel polish using a medium-grit nail file to break the seal and allow acetone to penetrate more effectively. Avoid aggressive filing that removes layers of your natural nail along with the gel polish.
Soak cotton pads in pure acetone and place one pad on each nail, ensuring complete coverage of the gel polish. Wrap each finger tightly with aluminum foil to create a seal that keeps the acetone in contact with the gel and prevents evaporation. Allow the wrapped nails to soak for ten to fifteen minutes without disturbing them.
After soaking, gently push the softened gel polish off the nail using an orange wood stick or cuticle pusher, working from the cuticle toward the tip. Never force or pry gel polish off as this removes layers of your natural nail and undoes all your strengthening efforts. If the gel does not slide off easily, rewrap and soak for an additional five minutes.
Once all gel polish is removed, wash your hands thoroughly with soap and water to remove acetone residue. Apply a rich hand cream and cuticle oil generously to rehydrate your nails and surrounding skin after the drying effects of acetone. Consider applying another round of your DIY nail strengthener with garlic treatment after gel removal to restore any strength lost during the removal process.
Nail Health and Safety Considerations
While garlic is a natural ingredient, some individuals may experience sensitivity or allergic reactions to its compounds. Perform a patch test by applying a small amount of garlic juice to your inner wrist and waiting twenty-four hours to check for redness, itching, or irritation before using it on your nails. If you notice any adverse reactions, discontinue use immediately and consult a dermatologist.
Avoid using garlic nail treatments if you have active nail infections, open wounds around the nail area, or severely damaged nail beds. Garlic can irritate broken skin and may interfere with healing or exacerbate existing conditions. If you have persistent nail problems such as chronic peeling, discoloration, or separation from the nail bed, consult a dermatologist or healthcare provider as these may indicate underlying health issues requiring medical treatment.
Never use garlic nail strengthener as a substitute for professional medical care for fungal infections or other nail diseases. While garlic has antimicrobial properties, it is not a replacement for prescription antifungal medications. Maintain proper nail hygiene by keeping nails clean and dry, avoiding sharing nail tools, and sterilizing equipment between uses to prevent infections.
Frequently Asked Questions
How long do strengthened nails last after garlic treatment?
Nails strengthened with DIY nail strengthener with garlic typically maintain their improved condition for two to four weeks after completing the treatment cycle. The duration depends on your daily activities, nail care routine, and whether you protect your nails from harsh chemicals and excessive water exposure. Repeating the garlic treatment monthly helps maintain long-term nail strength and prevents brittleness from returning.
Can I use garlic nail strengthener under gel polish?
Yes, you can apply gel polish after completing a garlic nail strengthening treatment. Wait at least twenty-four hours after your final garlic application before applying gel polish to ensure the strengthening compounds have fully absorbed and the nail surface is clean. Always use a quality base coat between your strengthened natural nail and the gel polish to provide an additional protective layer and prevent staining.
Why does garlic turn my nails yellow and how can I prevent it?
Garlic contains sulfur compounds that can cause temporary yellowing of the nail plate when applied directly in high concentrations. Prevent discoloration by always mixing garlic juice with clear polish rather than applying raw garlic alone, or by applying a clear base coat before direct garlic application. Any yellowing that occurs typically fades within one to two weeks after discontinuing treatment.
How does garlic nail strengthener compare to commercial nail hardeners?
DIY nail strengthener with garlic provides natural strengthening through sulfur compounds and selenium without the formaldehyde or other harsh chemicals found in some commercial hardeners. While commercial products may show faster results, garlic offers a gentler alternative for sensitive individuals and costs significantly less. Many people combine both approaches by using garlic treatment as a base and applying commercial strengtheners for maintenance.
Can garlic treatment help nails grow faster?
Garlic nail treatment primarily strengthens existing nails rather than directly accelerating growth rate. However, stronger nails break less frequently, allowing them to reach greater lengths and creating the appearance of faster growth. The vitamins and selenium in garlic do support healthy nail matrix function, which can indirectly promote optimal growth rate over time when combined with proper nutrition and nail care.
Conclusion
DIY nail strengthener with garlic offers an effective, natural solution for brittle and weak nails using a simple ingredient found in most kitchens. By following the proper application techniques and maintaining consistent treatment for seven to ten days, you can achieve noticeably stronger, healthier nails without expensive salon treatments or harsh chemical formulations. This time-tested remedy harnesses the power of sulfur compounds and nutrients in garlic to rebuild nail structure and prevent breaking. Try this natural strengthening method and combine it with quality nail care products and proper maintenance for beautiful, resilient nails that last.