Cute Nails: Complete Guide to Adorable Nail Art and Designs

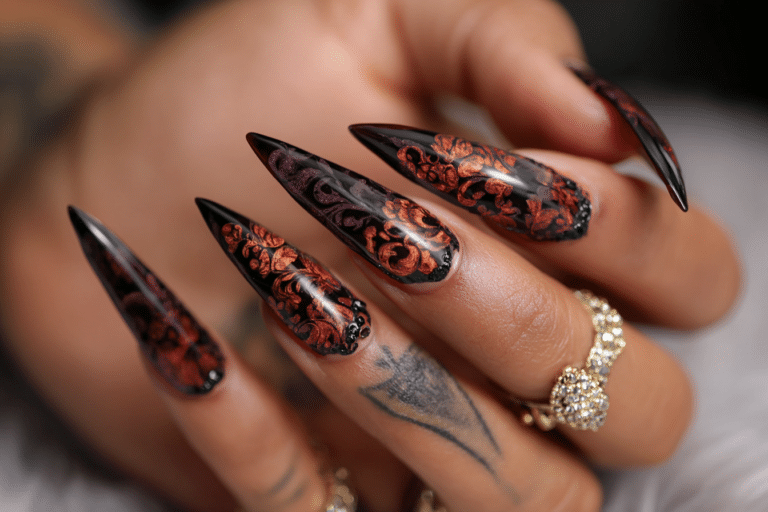
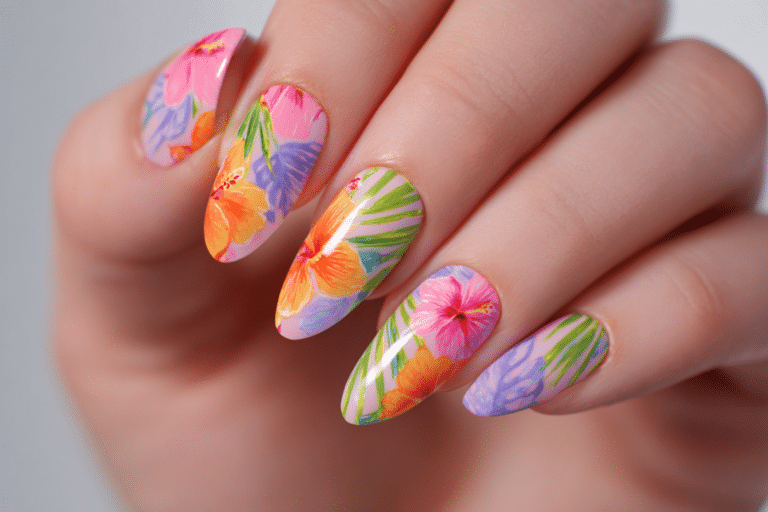
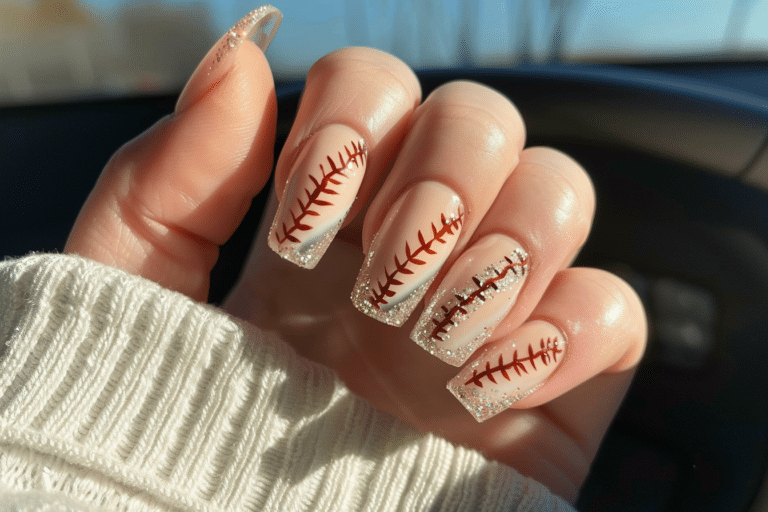
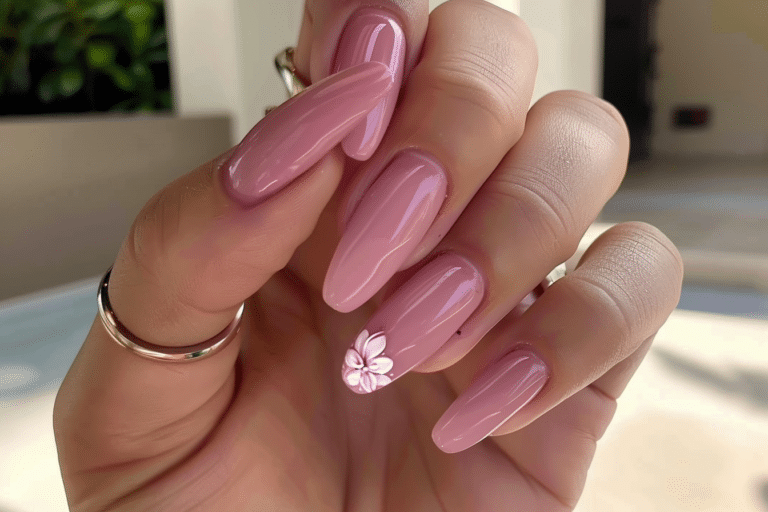
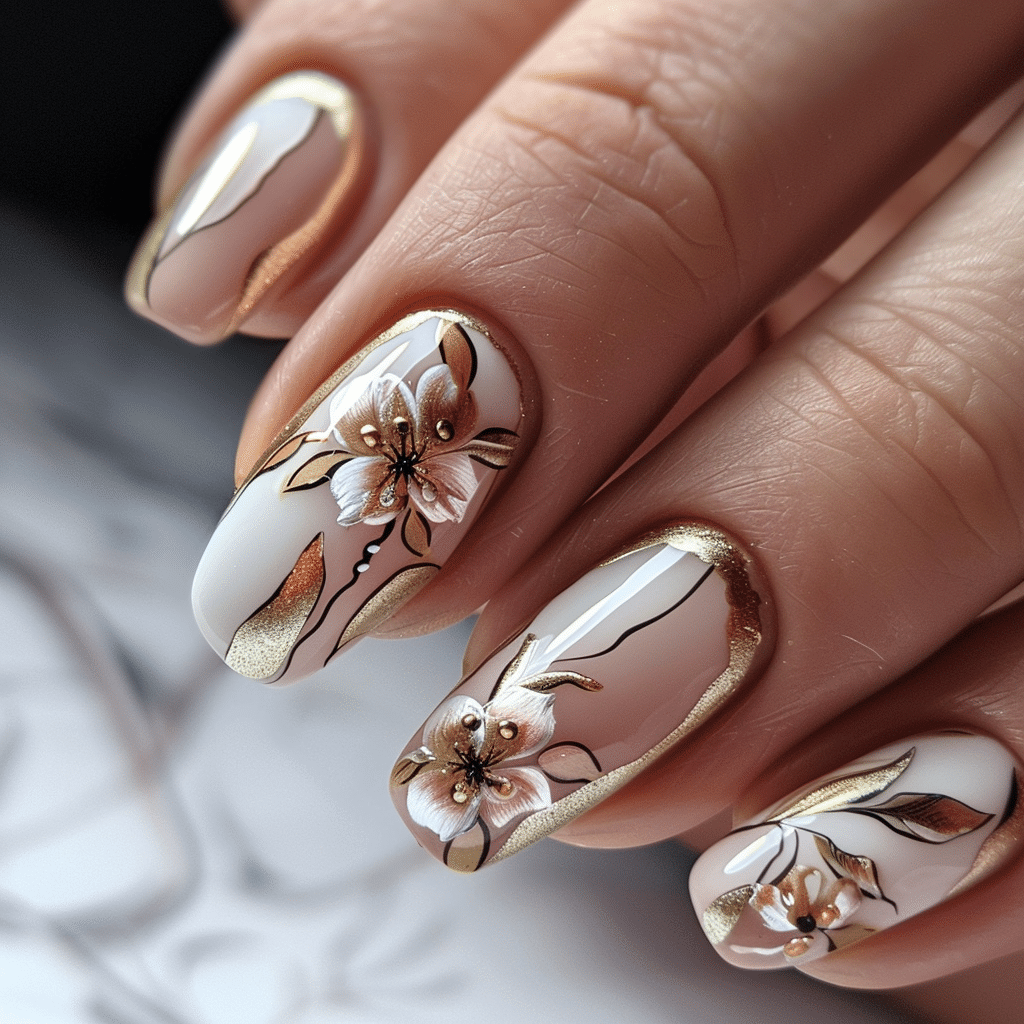
Cute nails are characterized by playful designs, soft colors, and charming details that express personality through nail art.
These adorable manicures combine creative elements like hearts, flowers, and pastel shades to create visually appealing looks. Understanding proper application techniques ensures your cute nail designs stay vibrant and chip-free for weeks.
| Topic | Details |
|---|---|
| Category | Nail Art / Gel Nails |
| Skill Level | Beginner to Intermediate |
| Time Needed | 60-90 minutes |
| Tools Needed | UV/LED lamp, gel polish, nail art brushes, dotting tools |
| Best For | Anyone wanting playful, expressive nail designs |
Table of Contents
Why This Nail Technique Works
Cute nails work exceptionally well because they combine the durability of gel polish with creative artistic expression. The gel formula provides a smooth canvas that allows intricate details to stand out clearly. Unlike regular polish, gel maintains its glossy finish without chipping, which keeps adorable designs looking fresh throughout wear time.
The psychological appeal of cute nail designs stems from their ability to boost mood and confidence. Soft colors and charming patterns create positive visual associations that make people feel happy when they look at their hands. Professional nail technicians report that clients who choose cute nail designs often receive more compliments, reinforcing the social benefits of these styles.
The versatility of cute nail art makes it suitable for various occasions and personal styles. You can adapt the cuteness level from subtle minimalist touches to bold statement designs. This flexibility allows anyone to experiment with adorable elements while maintaining their individual aesthetic preferences and professional requirements.
Tools and Products Needed
| Product | Purpose | Alternatives |
|---|---|---|
| UV/LED Lamp | Cures gel polish properly | Professional salon curing |
| Base Coat | Protects natural nails | Strengthening base coat |
| Gel Polish Colors | Creates main design colors | Regular polish with top coat |
| Nail File | Shapes nail edges | Glass nail file |
| Nail Buffer | Smooths nail surface | Fine-grit buffer block |
| Cuticle Oil | Maintains nail health | Vitamin E oil |
| Top Coat | Seals design and adds shine | No-wipe top coat |
| Nail Art Brushes | Creates detailed designs | Thin paintbrushes |
| Dotting Tools | Makes dots and patterns | Bobby pins or toothpicks |
For premium gel polish products and professional nail tools, visit Gel Nails by Lina for expert recommendations and supplies.
Step-by-Step Application Guide
Nail Preparation
- Remove any existing polish using acetone-soaked cotton pads and gentle pressure.
- Wash hands thoroughly with soap and dry completely to remove oils.
- Push back cuticles gently using a wooden cuticle pusher or orangewood stick.
- File nails into your desired shape using smooth strokes in one direction.
- Buff the nail surface lightly to create texture for better gel adhesion.
- Wipe nails with alcohol or nail prep solution to remove dust and oils.
Base Coat Application
- Apply a thin layer of base coat starting from the cuticle area.
- Cap the free edge by running the brush along the nail tip.
- Cure under UV/LED lamp according to manufacturer instructions, typically 30-60 seconds.
- Check for complete coverage without flooding the cuticles or sidewalls.
Gel Polish Layers
- Select your base color for the cute nail design background.
- Apply the first thin coat of colored gel polish evenly across the nail.
- Cure the first color layer completely under the lamp for 60 seconds.
- Apply a second thin coat to achieve full opacity and vibrant color.
- Cure the second layer thoroughly before proceeding to nail art details.
- Create cute designs using nail art brushes, dotting tools, or stickers.
- Add details like hearts, flowers, stars, or polka dots with contrasting colors.
- Cure each decorative layer separately to prevent smudging or mixing.
Curing Process
- Position your hand completely inside the lamp with nails facing the bulbs.
- Set the timer according to your gel polish brand specifications.
- Keep fingers still during the entire curing cycle to prevent movement.
- Check that all layers feel completely dry and hard after curing.
Finishing and Top Coat
- Apply a generous layer of gel top coat over the entire design.
- Cap the free edge again to seal the nail tip completely.
- Cure the top coat for the full recommended time, usually 60-90 seconds.
- Wipe away the tacky layer if your top coat requires it using alcohol.
- Apply cuticle oil around each nail and massage gently into the skin.
Learn more professional techniques at Gel Nails by Lina for flawless cute nail applications.
Pro Nail Technician Tips
- Keep gel polish layers thin to prevent wrinkling, peeling, and improper curing that leads to premature chipping.
- Avoid touching the cuticle area by leaving a tiny gap to prevent lifting and allow natural nail growth.
- Cure each layer for the full recommended time even if it appears dry earlier for maximum durability.
- Clean your nail art brushes immediately after use with brush cleaner to maintain precise application capabilities.
- Work in a well-lit area when creating detailed cute designs to see fine lines and small elements clearly.
- Store gel polish bottles upside down for 24 hours before use to ensure even pigment distribution throughout the formula.
Common Gel Nail Mistakes
| Mistake | Why it Happens | How to Fix |
|---|---|---|
| Thick Gel Layers | Applying too much product at once | Use thin coats and build coverage gradually with multiple layers |
| Improper Curing | Insufficient lamp wattage or time | Upgrade to 48W lamp and cure full recommended duration |
| Skipping Nail Prep | Rushing the initial preparation steps | Always buff, cleanse, and dehydrate nails before base coat |
| Flooding the Cuticle | Placing brush too close to skin | Leave small gap and use cleanup brush with acetone |
| Over-Filing Natural Nails | Excessive buffing removes protective layers | Buff lightly only to remove shine, not nail thickness |
Cute Nail Design Variations
| Style | Description | Best Occasion |
|---|---|---|
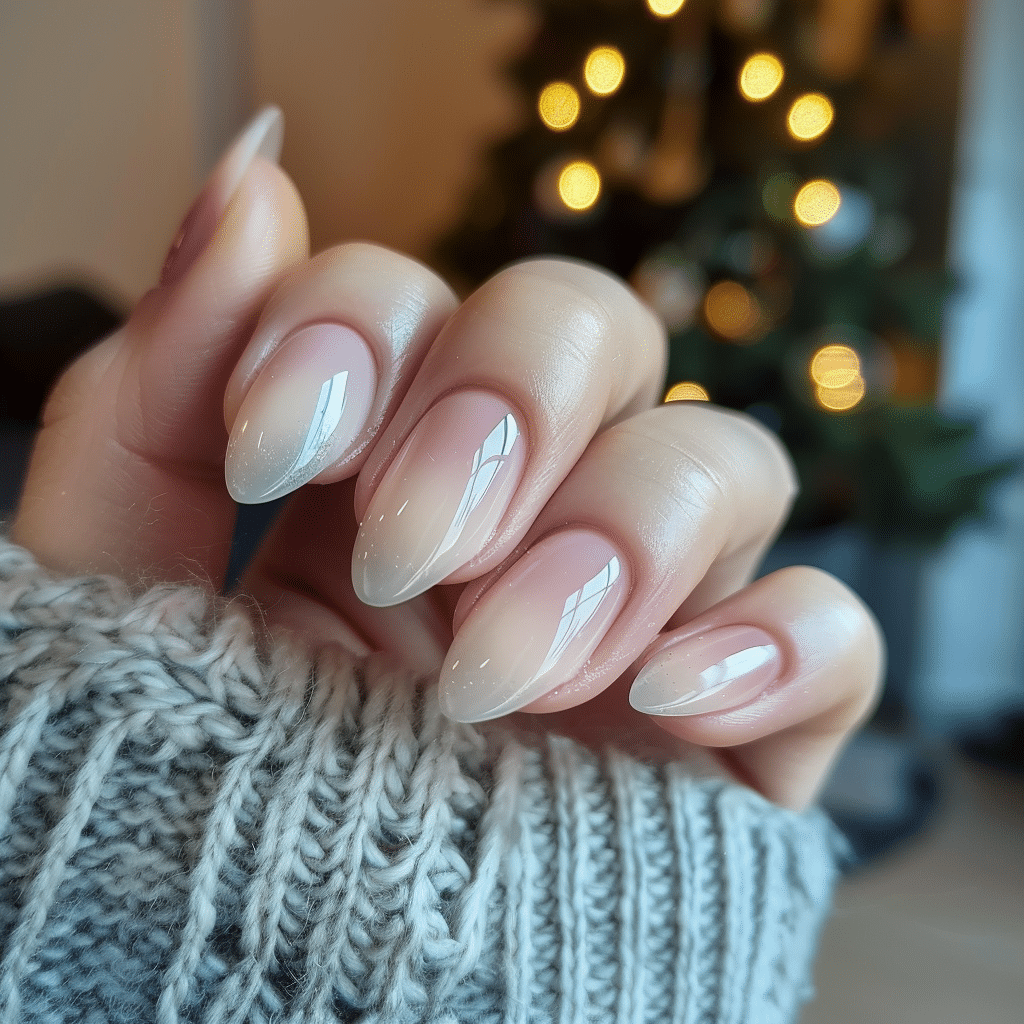
| Pastel French Tips | Soft pink, lavender, or mint tips with nude base | Everyday wear, office settings |
| Heart Accent Nails | Small hearts on one or two accent fingers | Date nights, romantic occasions |
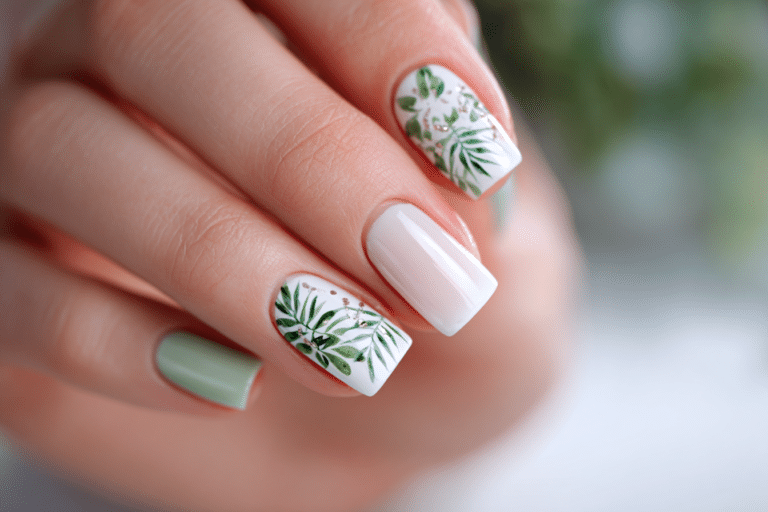
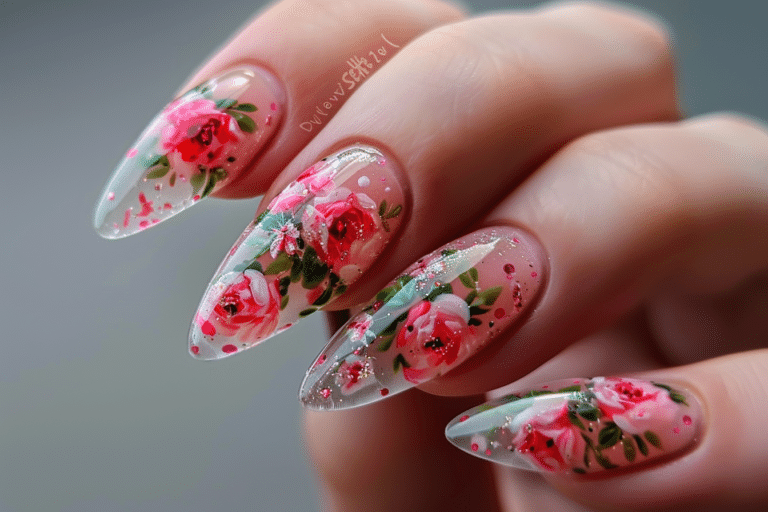
| Floral Nail Art | Tiny flowers with leaves on colored background | Spring events, garden parties |
| Polka Dot Patterns | Colorful dots in various sizes across nails | Casual outings, fun gatherings |
| Kawaii Character Nails | Cute cartoon faces or animals on accent nails | Creative events, personal expression |
| Glitter Gradient | Sparkle fading from tip to base on soft colors | Celebrations, parties, holidays |
| Minimalist Line Art | Simple thin lines forming cute shapes | Professional settings, modern style |
Nail Care and Maintenance for Cute Nails
Maintaining cute nails requires daily attention to keep both the design and natural nails healthy. Apply cuticle oil twice daily to prevent dryness and maintain flexibility around the nail bed. This simple habit prevents lifting at the cuticle area and keeps your manicure looking fresh for the full two to three weeks.
Protect your cute nail designs by wearing gloves during household cleaning tasks and avoiding prolonged water exposure. Excessive moisture weakens the gel bond and causes premature lifting. When washing dishes or cleaning, rubber gloves create a barrier that preserves your manicure while protecting your natural nails from harsh chemicals.
Schedule regular maintenance appointments every two to three weeks to prevent overgrowth and damage. As natural nails grow, the gap at the cuticle becomes visible and creates weak points where lifting can occur. Professional fills or complete removal with fresh application maintains the cute appearance and nail health simultaneously.
Discover complete nail care routines at Gel Nails by Lina for maintaining beautiful cute nails between salon visits.
How to Remove Gel Nails Safely
- File the top coat surface gently to break the seal and allow acetone penetration.
- Soak cotton balls or pads thoroughly in pure acetone nail polish remover.
- Place saturated cotton on each nail and wrap fingertips with aluminum foil strips.
- Wait 10 to 15 minutes to allow acetone to dissolve the gel polish layers completely.
- Remove foil wraps and gently push off softened gel using an orangewood stick.
- Avoid forcefully scraping or peeling gel as this damages the natural nail surface.
- Buff nails lightly to smooth any remaining residue and restore natural shine.
- Wash hands thoroughly and apply nourishing cuticle oil and hand cream immediately.
- Allow natural nails to rest for 24 hours before applying new gel manicure.
Nail Health and Safety
Protecting nail health while wearing cute gel designs requires understanding potential risks and prevention strategies. Over-filing the natural nail surface removes protective keratin layers and creates thin, weak nails prone to breakage. Always buff lightly only to remove shine rather than aggressively thinning the nail plate before gel application.
Monitor for signs of infection or allergic reactions including redness, swelling, or persistent pain around the nail area. These symptoms indicate potential bacterial growth or sensitivity to gel products. Discontinue use immediately and consult a dermatologist if symptoms persist beyond 24 hours after removal.
Maintain proper sanitization of all nail tools between uses to prevent bacterial and fungal infections. Wash metal tools with antibacterial soap and disinfect with rubbing alcohol or professional-grade sanitizer. Replace disposable items like nail files and buffers regularly to avoid transferring contaminants to healthy nails.
Frequently Asked Questions
How long do cute gel nails last?
Cute gel nails typically last two to three weeks with proper application and care. The longevity depends on factors including nail preparation quality, gel brand, and daily hand use. Regular cuticle oil application and avoiding excessive water exposure extends wear time significantly. Most people schedule removal or fills around the 14-day mark when natural growth becomes visible.
How to remove gel nails safely at home?
Remove gel nails safely by soaking acetone-saturated cotton on each nail wrapped in foil for 10 to 15 minutes. Gently push off softened gel with a wooden cuticle stick without forcing or scraping aggressively. Never peel or pull gel polish as this removes layers of your natural nail and causes damage. Apply nourishing cuticle oil immediately after removal to restore moisture.
What is the difference between gel nails and acrylic nails?
Gel nails use a polish-like substance cured under UV or LED light, while acrylic nails combine liquid monomer with powder polymer to create extensions. Gel polish appears more natural, feels lighter, and has less odor during application compared to acrylics. Acrylics provide stronger extensions for length but require more aggressive removal, whereas gel polish soaks off more easily with acetone.
Why do my cute gel nails peel after a few days?
Gel nails peel prematurely due to improper nail preparation, moisture on the nail bed, or insufficient curing time. Oils and debris prevent proper adhesion between the natural nail and gel base coat. Always cleanse nails thoroughly with alcohol prep solution and buff lightly before application. Ensure each layer cures completely under a properly functioning UV or LED lamp.
How can I make my cute gel nails last longer?
Make gel nails last longer by applying cuticle oil daily, wearing gloves during cleaning tasks, and avoiding prolonged water submersion. Keep gel layers thin for proper curing and better flexibility that resists chipping. Cap the free edge with each coat including base, color, and top coat to seal the nail tip. Avoid using nails as tools to prevent lifting and breakage at stress points
Conclusion
Cute nails offer endless creative possibilities while maintaining the durability and professional finish of gel manicures. By following proper application techniques, using quality products, and maintaining consistent nail care routines, anyone can achieve adorable nail designs that last for weeks. The combination of playful aesthetics and practical longevity makes cute gel nails perfect for expressing personality through nail art. Start experimenting with simple designs and gradually advance to more intricate patterns as your skills develop. Visit Gel Nails by Lina for additional inspiration and professional guidance on creating your perfect cute nail look.