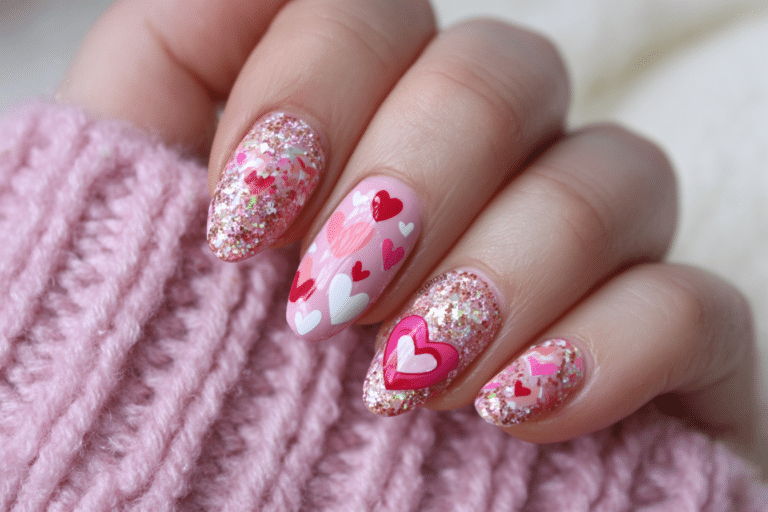
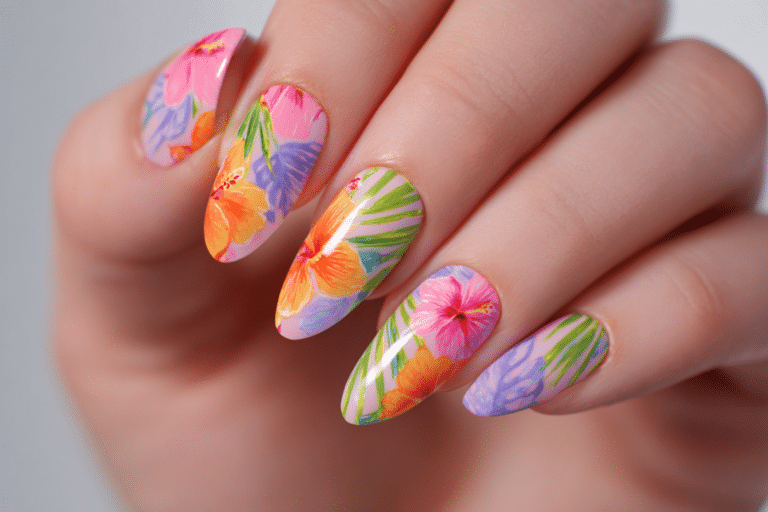
40+ Pink Floral Nails – April Nails Trend You’ll Love

It was April 2020, and I stood in my local drugstore, clutching a neon Pink Floral Nails polish I’d never seen before. After my third salon disaster a chipped design and a $100 invoice for what felt like five minutes of work I decided it was time to take control. My first attempt? A floral explosion with clashing pastels and an uneven base coat. It was… artistic.
But I learned something precious that day: with the right tools and patience, those overpriced salon nails can be yours to create at home. This spring, I’m sharing everything I’ve learned about perfecting pink floral nails for the modern DIY queen like you.
Table of Contents
What is the April 2025 Pink Floral Nails Manicure Trend?
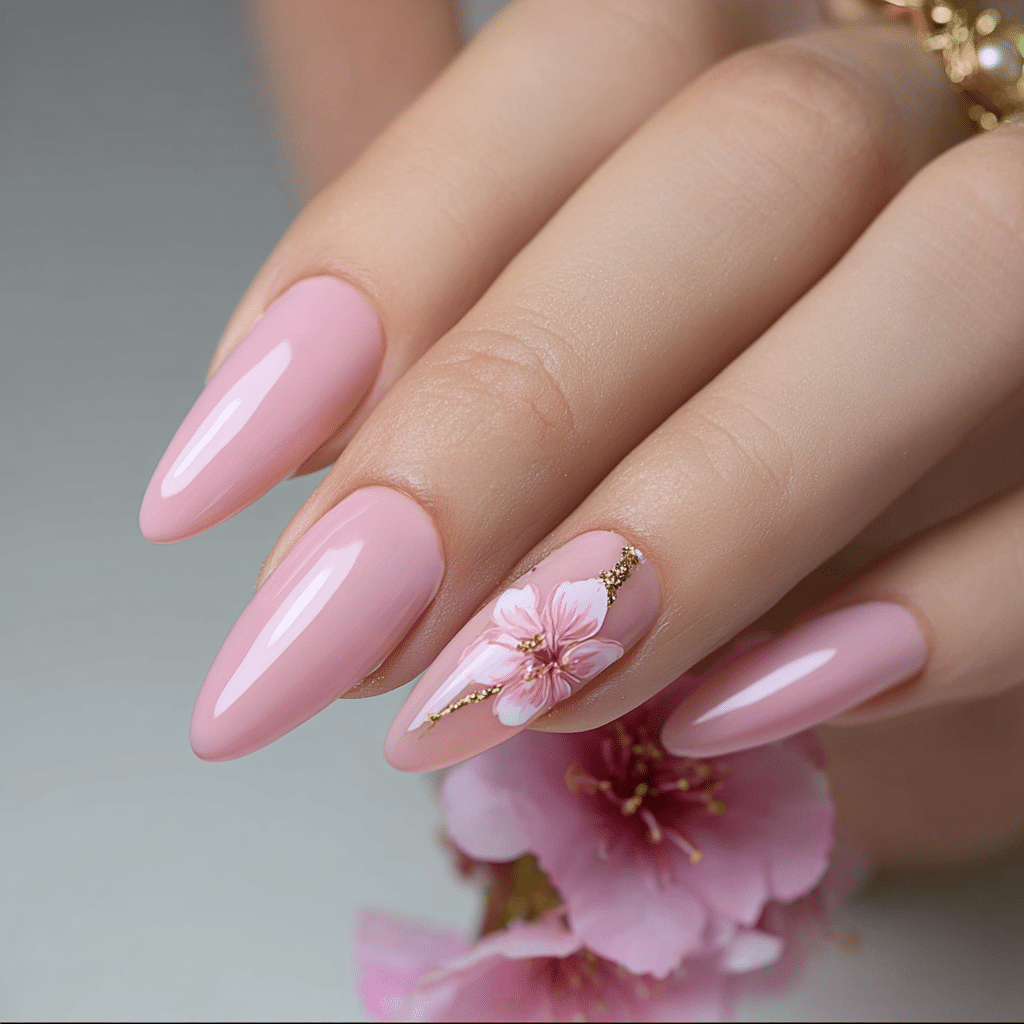
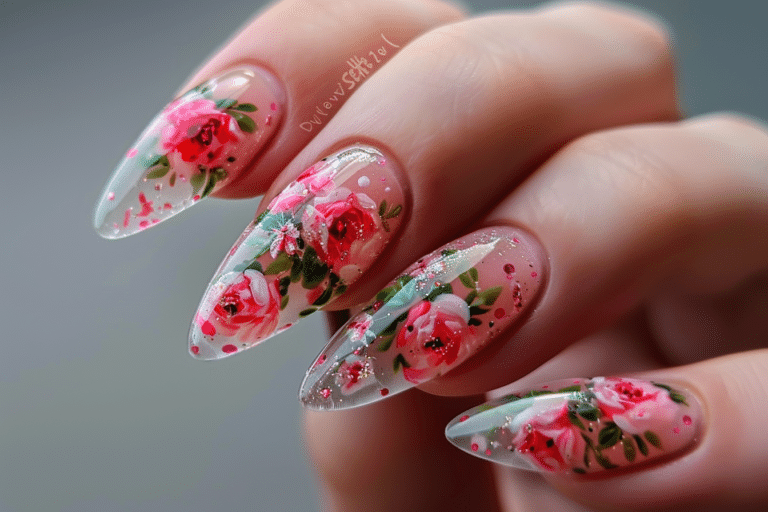
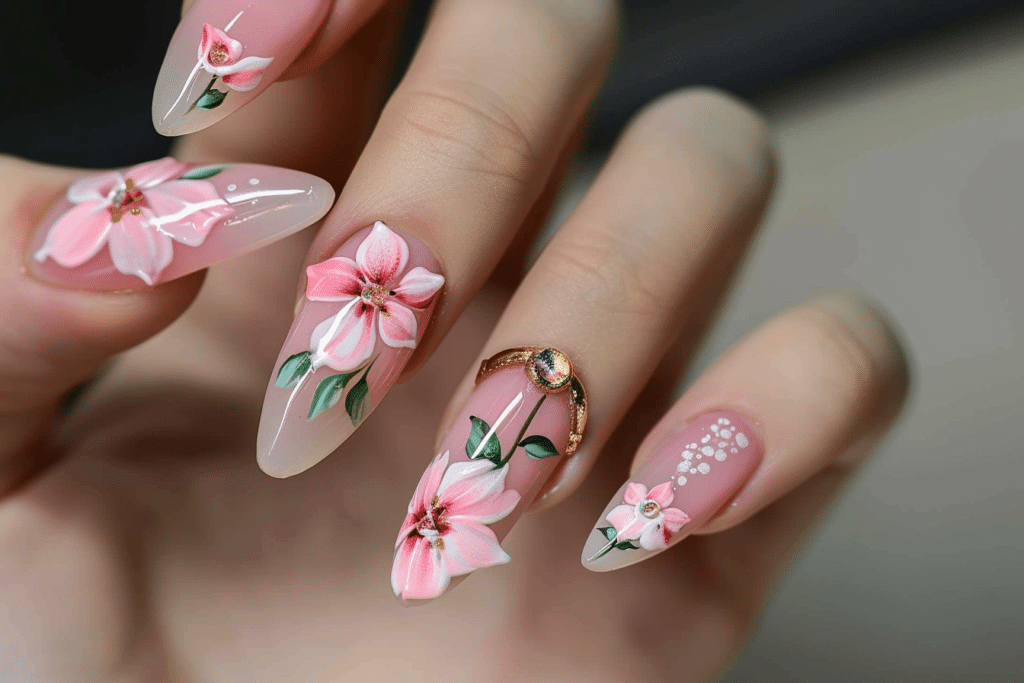
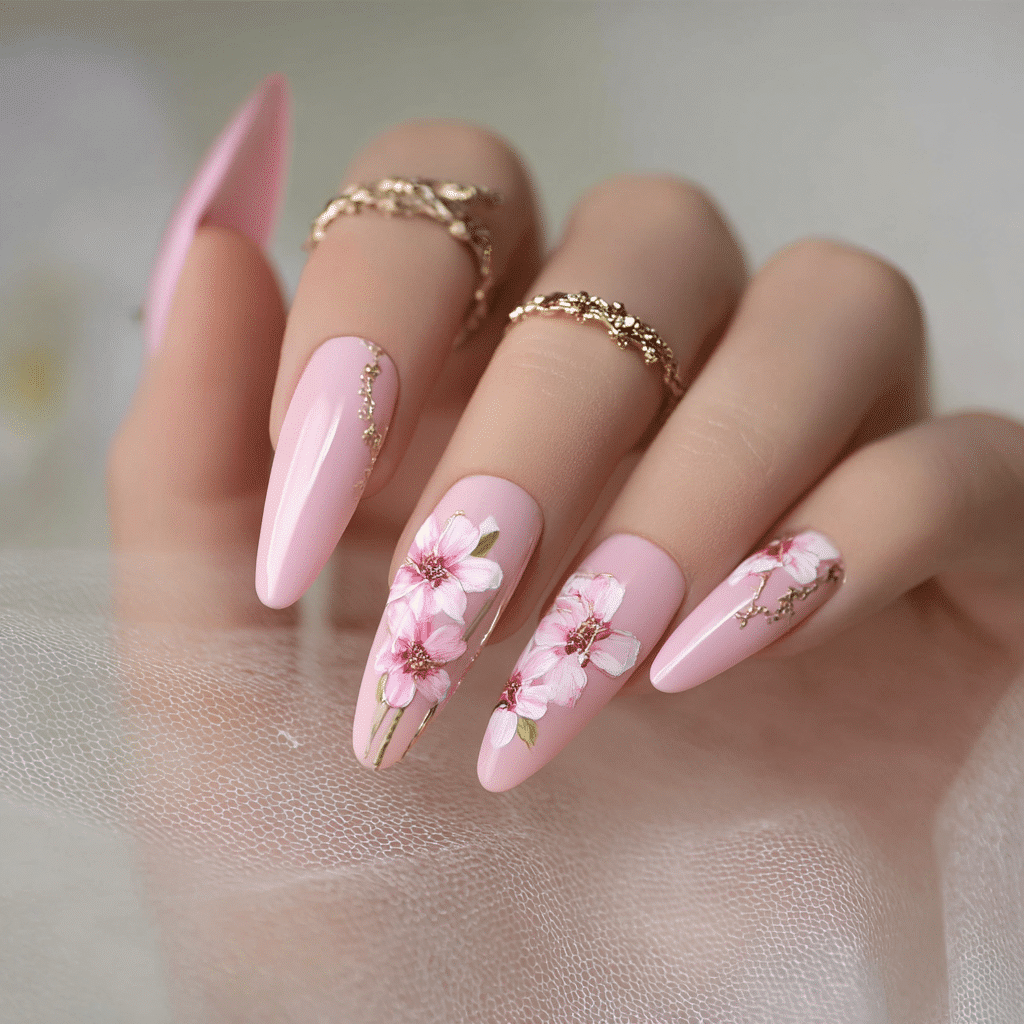
Floral nail designs for April have evolved beyond your grandmother’s polka dots. The trend in 2025 merges soft, spring-inspired pinks with delicate botanical patterns in a way that feels fresh yet polished. Think blush tones paired with 3D petals, minimalist ink-style flowers, or intricate hand-painted blooms that capture the essence of blooming cherry trees and peonies in full flourish.
Key Elements of the Trend
- Soft pastel pinks (from lilac to coral)
- Layered flower accents (pressed, 3D, or hand-painted)
- Transparent or glass-like finishes
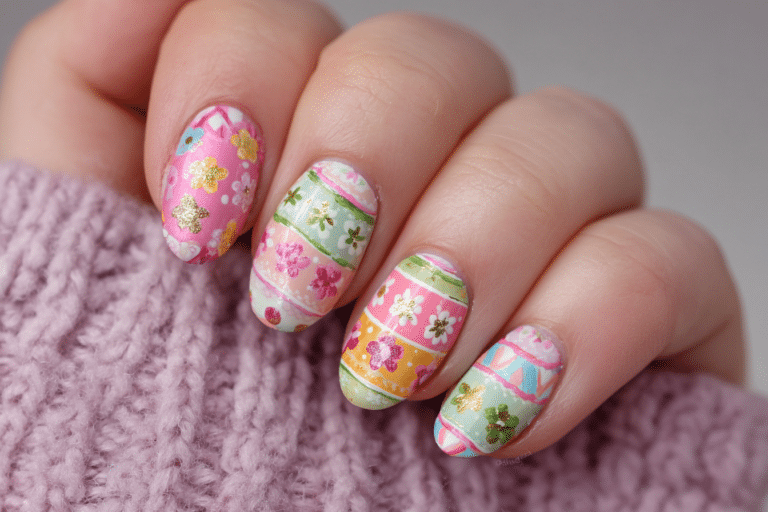
- Springtime themes like raindrops, butterflies, and dewy petals
Step-by-Step DIY Guide for Perfect Pink Floral Nails
Step 1: Prep Your Nails Like a Professional
Good application starts with bare, clean nails. Follow these prep steps:
- Push back cuticles with a wooden cuticle stick
- Apply a gentle cuticle remover
- File nails to desired shape (oval or squoval recommended)
- Buff surface with a dual-sided buffer
- Use isopropyl alcohol to clean each nail
Pro Tip: Let your alcohol-dipped cotton pad dry completely before using it. Wipe it once dry for maximum surface cleanliness!
Step 2: Build a Pink Base
Choose a base coat that strengthens but remains flexible. Apply two thin layers of your chosen pink shade with a gel-polish brush, waiting 30 seconds between layers for proper self-leveling. Consider these techniques:
- Gradient effect: Use a white or sheer pink over a deep pink
- Two-tone look: Alternate light and dark pink in vertical sections
- Single tone: Let a sheer lavender or coral shine
Step 3: Add Floral Accents
Here are three DIY-safe methods I recommend.
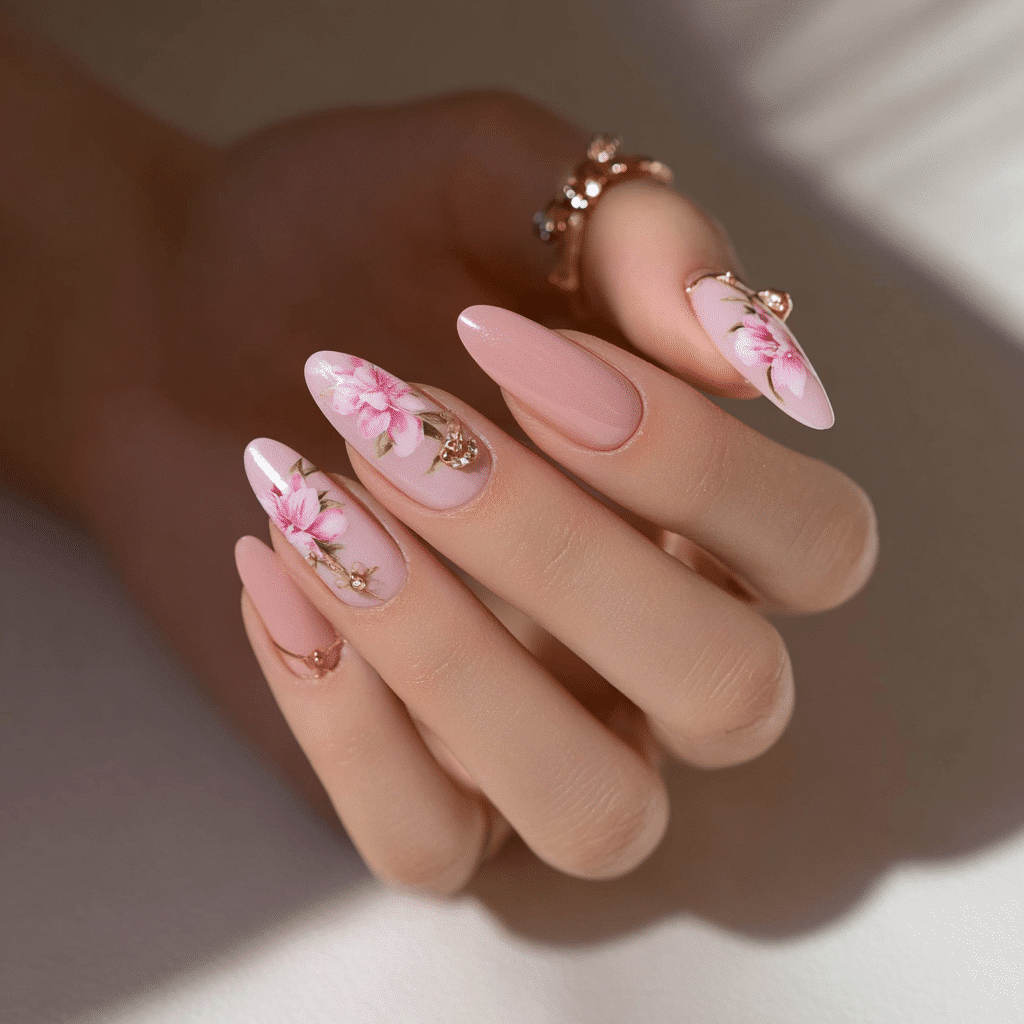
- Pressed Flowers: Heat-activated floral stickers from brands like Essie require no painting skill
- 3D Gel Flowers: Use builder gels for texture (try Konad or Gelish kits)
- Hand-Painted Designs: Use thin-tipped dotting tools and gel stamp plates
Step 4: Cure, Topcoat, and Finish
Cure each layer in a UV/LED lamp (2 minutes for UV, 30 seconds for LED). Apply a top coat that adds gloss while preserving the design. My favorite is the Seche Vite Solar Dry which gives a natural finish.
Common DIY Mistakes to Avoid
Even seasoned nail artists hit snags when working with delicate designs. These errors often lead to premature peeling or mismatched results:
- Overworking builder gel (creates cracks)
- Using water for nail prep (creates bubbles in gel)
- Curing without proper ventilation (smells linger unpleasantly)
- Adding 3D elements to uncured base (destroys shape)
- Skimping on base coat layers (weakens overall durability)
When I tried pressing a flower onto my cousin’s fresh polish, we both laughed at the misshapen mess—until I learned these essential timing rules!
Top Tools & Products for Success Pink Floral Nails
| Tool | Why It Matters | Recommended Brand |
|---|---|---|
| Cleansing Wipes | Remove oils that prevent proper adhesion | Lina’s Ultimate Gel Cleanser Kit |
| UV/LED Lamp | Proper hardening is vital for longevity | Kure UV LED Lamp (60W recommended) |
| Precision Brushes | Essential for fine floral details | Lina’s Detailing Set |
| Floral Decals | Tips for beginners—no painting required! | Jessica Press-On Blooms |
| Dryer Sheets | Dust catchers between curing intervals | Royal Velvet Anti-Dust Sheets (used in 90% of salons) |
Read my full builder gel guide here to understand why tool quality matters!
April 2025 Pro Tips for Maximum Beauty
After perfecting over 30 pink floral variations in my home studio, I’ve discovered these secrets:
- Use nail glue for 3D elements instead of pressing directly
- Outline florals in silver or gold first with a thin brush
- Let stamp plates cure fully to avoid smudging
- Try cherry-blossom foil around your design for extra dimension
- Opt for translucent pink base under hand-painted florals for a dreamy effect
Frequently Asked About Pink Floral Nails
1. How long will my April floral nails last?
With proper cure and daily top-coats, expect 2-3 weeks of wear. The durability depends on your daily activities—painters, bakers, and fitness enthusiasts may need more frequent touch-ups.
2. Can I recreate 3D florals without an airbrush?
Absolutely! Use hand-applied builder gels. My favorite technique is to outline a pressed floral in gel and fill in each petal by hand. You can even create tiny peony or cherry blossom clusters for that salon-level detail.
3. Is this trend only for spring months?
Pink floral nails add elegance year-round. Pair with fall’s marbled brown tones, summer’s tropical vibes, or winter’s frosted accents to keep it timeless. I’ve even created peach floral xmas designs that my clients adore!
4. What’s the best way to remove these at home?
Use a 100% cotton round soaked in non-acetone polish remover. Wrap each nail with foil to stay in contact with the remover, then gently wipe after 20 minutes.
5. How can I customize my floral pattern?
Experiment with placement! I recommend centering a larger floral on your center fingers and scattering smaller blossoms around the tips. Use nail stencils or freehand with a precipitation stamp if you’re feeling creative. Need more ideas? Try this DIY pattern guide.
Don’t Miss Your Chance to Try This Trend
This April trend is as forgiving as it is gorgeous. My first pink nail attempts were clumsy, but now I can whip up a floral masterpiece in under 30 minutes. If you want to try the trend safely, you’ll need non-porous acrylics for durability and glass-top gels for clarity.
Better yet, sign up for our mailing list and we’ll send you our full April 2025 color forecast with printable templates for perfect flowers! I can’t wait to see how you’ll style your springtime nails. Browse my curated collection on Pinterest.