Best Trendy Spring Nails 2026 – Colors 2026 & Simple Spring Designs

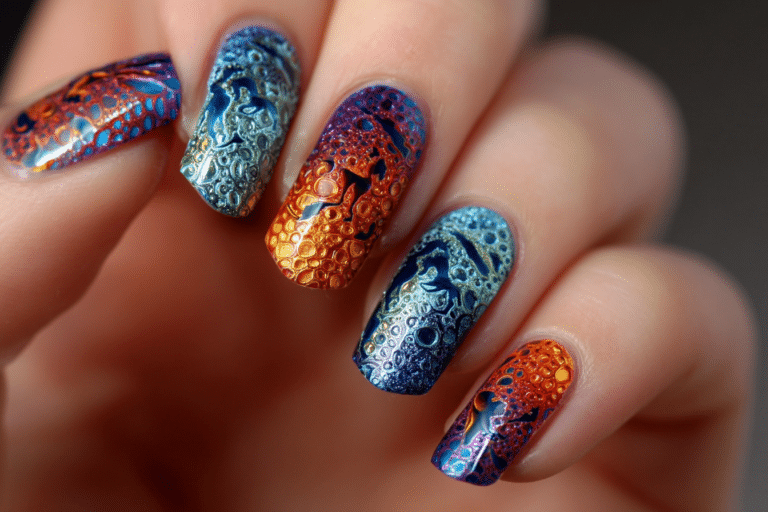
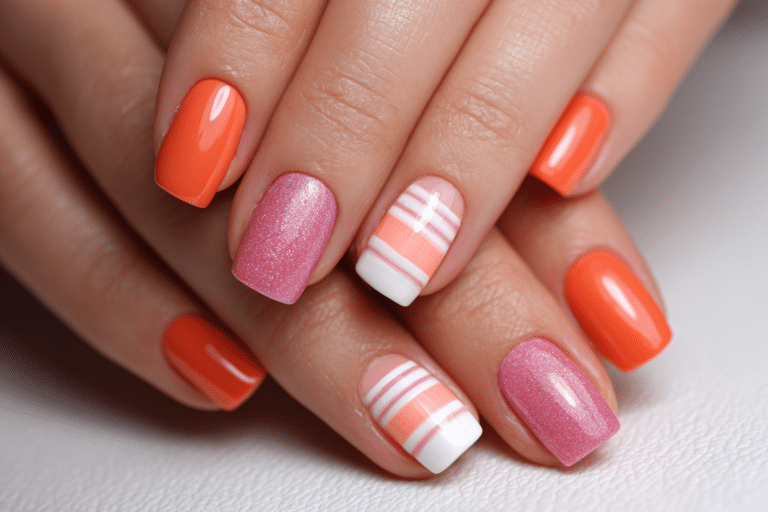
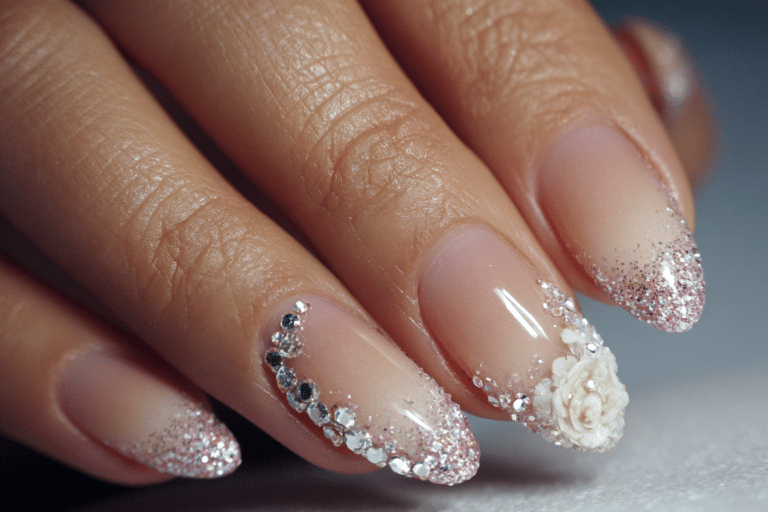
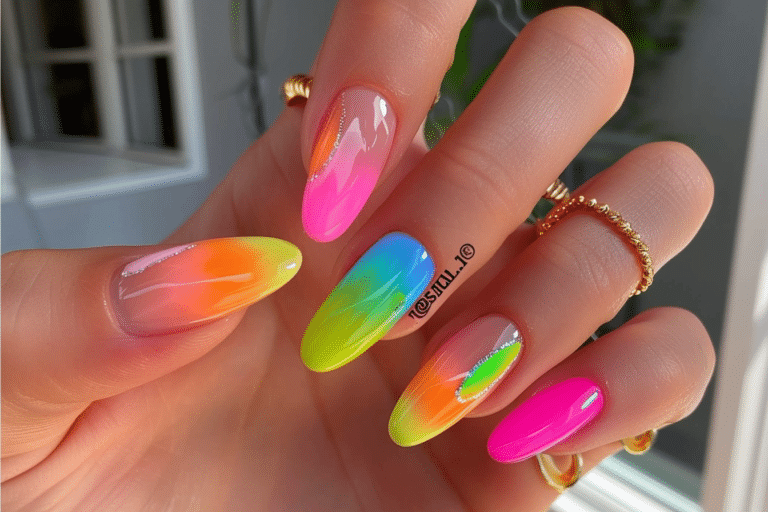
Best trendy spring nails 2026 showcase a vibrant palette of soft pastels, bright neons, and nature-inspired hues that capture the essence of renewal and growth.
This season brings fresh interpretations of classic spring nail art combined with innovative textures and finishes that make gel manicures stand out. Professional nail technicians recommend embracing simple yet striking designs that complement the blooming flowers and warmer weather ahead.
| Topic | Details |
|---|---|
| Category | Gel Nails / Nail Art |
| Skill Level | Beginner to Intermediate |
| Time Needed | 60 to 90 minutes |
| Tools Needed | UV/LED lamp, gel polish, nail file, base coat, top coat |
| Best For | Anyone seeking fresh, seasonal nail designs for spring occasions |
Table of Contents
Why This Nail Technique Works
Spring nail designs for 2026 work exceptionally well because they combine seasonal color psychology with proven gel polish application methods. The pastel shades and bright accent colors reflect increased daylight and warmer temperatures, creating visual harmony with spring wardrobes and natural environments. Gel formulations provide the perfect canvas for these delicate colors because they maintain vibrancy without chipping for up to three weeks.
The simple spring designs trending in 2026 focus on clean lines, negative space, and minimalist floral accents that appeal to both professional settings and casual occasions. These designs work because they balance artistic expression with wearability, ensuring your manicure remains appropriate for various activities. Gel polish technology allows these intricate details to cure smoothly and maintain their crisp appearance throughout the wear period.
Color selection plays a crucial role in why spring nails 2026 achieve such stunning results. The trending palette includes soft lavender, mint green, butter yellow, coral pink, and sky blue shades that flatter diverse skin tones. These colors work synergistically with the gel application process, as modern formulas contain improved pigments that require fewer coats while delivering maximum color payoff and shine.
Tools and Products Needed
| Product | Purpose | Alternatives |
|---|---|---|
| UV/LED Lamp | Cures gel polish for long-lasting wear | Hybrid lamps with adjustable settings |
| Base Coat | Protects natural nails and ensures adhesion | Strengthening base coat for weak nails |
| Spring Gel Polish Colors | Provides trendy 2026 color palette | Regular polish with gel top coat |
| Nail File (180 Grit) | Shapes nails and smooths edges | Glass nail file for gentle filing |
| Nail Buffer | Creates smooth surface for polish application | Fine grit buffer block |
| Cuticle Pusher | Removes excess cuticle from nail plate | Wooden orange stick |
| Cuticle Oil | Hydrates and maintains healthy cuticles | Vitamin E oil or jojoba oil |
| Top Coat | Seals design and adds glossy finish | Matte top coat for different texture |
| Nail Cleanser | Removes oils and prepares nail surface | Isopropyl alcohol wipes |
| Nail Art Brush | Creates simple floral and line designs | Dotting tools for easier patterns |
For professional results with your spring nail designs, visit Gel Nails by Lina for expert application techniques and premium product recommendations tailored to your nail care needs.
Step-by-Step Application Guide for Spring Nails 2026
Nail Preparation
- Remove any existing polish using acetone-based remover and wash hands thoroughly with antibacterial soap to eliminate residue and oils.
- Push back cuticles gently using a cuticle pusher, working in circular motions to avoid damaging the delicate skin around the nail bed.
- File nails into your desired spring shape, with almond and oval shapes being the most popular choices for 2026 trends.
- Buff the nail surface lightly using a fine-grit buffer to remove natural shine and create better adhesion for the gel base coat.
- Clean the nail plate with nail cleanser or isopropyl alcohol to remove all dust, oils, and debris from the filing and buffing process.
Base Coat Application
- Apply a thin layer of gel base coat to each nail, leaving a small gap between the polish and cuticle to prevent flooding.
- Cap the free edge of each nail by running the brush along the tip to seal and prevent premature lifting.
- Cure the base coat under your UV/LED lamp according to manufacturer specifications, typically 30 to 60 seconds depending on lamp wattage.
Gel Polish Layers for Spring Colors 2026
- Select your primary spring color from trending 2026 shades like soft lavender, mint green, or butter yellow for the base design.
- Apply the first thin coat of colored gel polish using smooth, even strokes from cuticle to free edge without flooding the sides.
- Cure the first color coat for the recommended time, usually 30 to 60 seconds depending on the gel formula and lamp type.
- Apply a second thin coat of the same color to build opacity and achieve the vibrant spring look characteristic of 2026 trends.
- Cure the second coat completely before proceeding to any nail art or design elements for your simple spring designs.
Simple Spring Design Application
- Create delicate floral accents using a fine nail art brush dipped in contrasting gel polish colors like coral or white.
- Add simple line work, dots, or negative space designs that reflect the minimalist aesthetic popular in spring nails 2026.
- Cure each design element separately if using multiple colors to prevent smudging or color bleeding between shades.
Finishing and Top Coat
- Apply a thin layer of gel top coat over the entire nail, ensuring complete coverage from cuticle to free edge.
- Cap the free edge again with top coat to seal the design and maximize the longevity of your spring manicure.
- Cure the top coat for the full recommended time, typically 60 seconds, to ensure complete polymerization and maximum shine.
- Wipe away the sticky residue layer using nail cleanser or alcohol if your top coat is not a no-wipe formula.
- Apply cuticle oil generously around each nail to hydrate the surrounding skin and complete your professional spring nail look.
Master these techniques with guidance from professionals at Gel Nails by Lina for flawless spring nails that showcase the best trends of 2026.
Pro Nail Technician Tips for Spring Nails 2026
- Apply gel polish in thin layers rather than thick coats to prevent wrinkling, incomplete curing, and premature peeling that ruins your spring design.
- Ensure complete nail preparation by thoroughly removing all natural oils and moisture from the nail plate before applying any gel products.
- Avoid touching the cuticle area with gel polish by leaving a small gap to prevent lifting and allow for natural nail growth.
- Cure each layer for the full recommended time based on your specific lamp wattage to achieve proper polymerization and maximum durability.
- Cap the free edge with every layer including base coat, color, and top coat to seal the nail and prevent chipping at the tips.
- Store gel polishes in a cool, dark place away from direct sunlight to maintain color integrity and prevent premature curing in the bottle.
- Use a lint-free wipe when cleansing nails to avoid fibers sticking to the tacky gel layer and creating imperfections in your spring design.
Common Gel Nail Mistakes in Spring Designs
| Mistake | Why It Happens | How to Fix |
|---|---|---|
| Thick gel layers | Applying too much product at once to save time or achieve color quickly | Use thin coats and build coverage gradually with multiple layers |
| Improper curing time | Removing nails from lamp too early or using insufficient wattage | Follow manufacturer cure times and ensure lamp bulbs are fresh |
| Skipping nail preparation | Rushing through the process without proper cleansing and buffing | Always cleanse, buff, and dehydrate nails before base coat application |
| Flooding the cuticle | Applying polish too close to the cuticle area or using too much product | Leave a small gap and use a cleanup brush dipped in alcohol if needed |
| Not capping free edge | Forgetting to seal the tip of the nail with each layer | Run the brush along the free edge with every coat applied |
Nail Design Variations for Spring 2026
| Style | Description | Best Occasion |
|---|---|---|
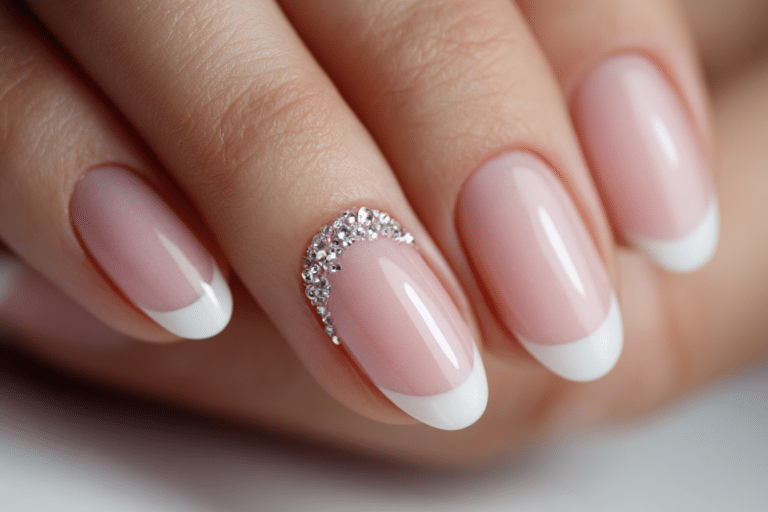
| French Tip Spring Nails | Classic white or pastel tips with nude or sheer pink base for timeless elegance | Professional settings and formal spring events |
| Chrome Spring Nails | Metallic powder finish in rose gold, silver, or iridescent shades over spring colors | Evening events and special celebrations |
| Ombre Spring Gradient | Soft color transitions between complementary spring shades like pink to lavender | Casual outings and everyday wear |
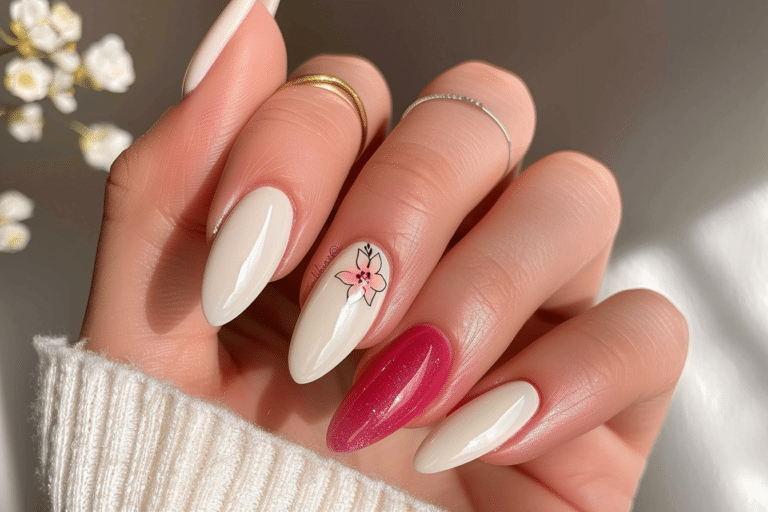
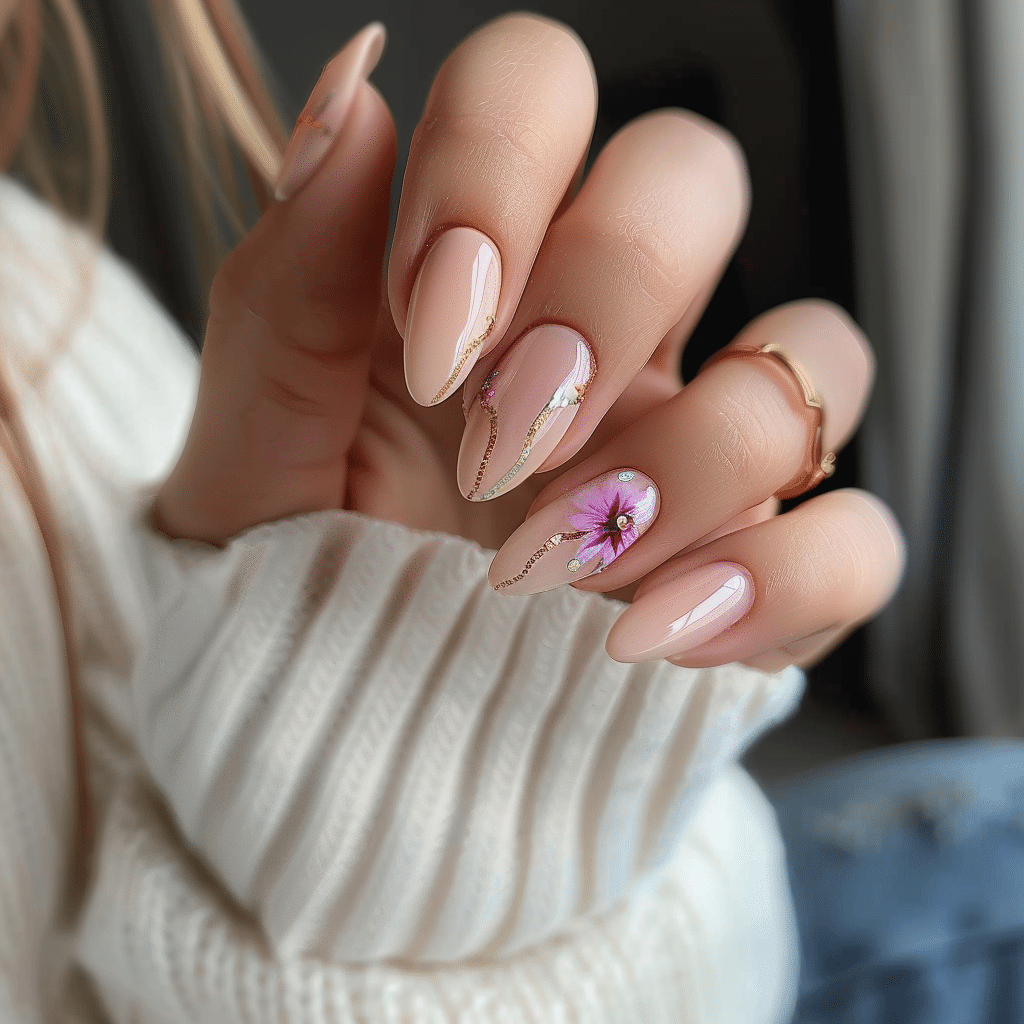
| Minimalist Floral Art | Simple line-drawn flowers or single petals on neutral or pastel base colors | Garden parties and spring weddings |
| Negative Space Designs | Strategic bare nail areas combined with geometric shapes or floral elements | Modern professional environments and creative settings |
| Pastel Color Blocking | Different spring colors on each nail or half-moon designs with contrasting shades | Fashion-forward events and artistic occasions |
Nail Care and Maintenance for Long-Lasting Spring Designs
Maintaining your spring nails 2026 requires consistent care to preserve the vibrant colors and intricate designs throughout the wear period. Apply cuticle oil twice daily to keep the skin around your nails hydrated and prevent dryness that can lead to lifting at the edges. Avoid using your nails as tools to open cans, scratch surfaces, or remove stickers, as these activities place unnecessary stress on the gel and can cause cracking.
Protect your spring manicure from harsh chemicals by wearing gloves when cleaning, washing dishes, or handling household products that contain strong detergents. These chemicals can break down the gel structure and cause premature dulling of the glossy finish. Keep your nails moisturized by using hand cream regularly, focusing on massaging the product into the nail bed and surrounding skin to promote healthy growth.
Monitor your nails for signs of lifting or damage throughout the wear period and address issues immediately to prevent moisture from getting trapped beneath the gel. If you notice any lifting at the cuticle or free edge, visit Gel Nails by Lina for professional repair before the problem worsens. Schedule regular maintenance appointments every two to three weeks to keep your spring nails looking fresh and prevent overgrowth from creating an unbalanced appearance.
How to Remove Gel Nails Safely
Safe removal of spring gel nails preserves the health and integrity of your natural nails for future manicures. Begin by gently buffing the shiny top coat layer to break the seal and allow acetone to penetrate more effectively. Soak cotton balls or pads in pure acetone and place them directly on each nail, ensuring complete coverage of the gel surface.
Wrap each finger tightly with aluminum foil to hold the acetone-soaked cotton in place and create a warm environment that accelerates the breakdown process. Allow the nails to soak for 10 to 15 minutes, checking periodically to see if the gel has softened and begun to lift from the nail plate. Use a wooden cuticle pusher to gently scrape away the softened gel, working from cuticle to free edge with minimal pressure.
Never force or peel gel polish off your nails, as this removes layers of the natural nail plate and causes significant damage and weakness. If gel remains after soaking, rewrap the nails and soak for an additional five minutes rather than scraping aggressively. After complete removal, wash your hands thoroughly, buff the nail surface gently to smooth any rough patches, and apply cuticle oil and hand cream to restore moisture.
Nail Health and Safety for Spring Manicures
Maintaining healthy nails while enjoying trendy spring designs requires attention to both application practices and overall nail care habits. Avoid excessive filing and buffing that thins the nail plate and creates weakness, making nails more susceptible to breakage and damage. Allow your nails to breathe between gel applications by taking breaks every three to four months, during which you can focus on strengthening treatments and natural nail care.
Watch for signs of infection such as redness, swelling, pain, or discharge around the nail area, which may indicate bacterial or fungal issues requiring medical attention. Keep nail tools clean and sanitized between uses to prevent the spread of bacteria and fungi that thrive in moist environments. According to dermatological research, proper sanitation practices reduce infection risks significantly and support long-term nail health.
Frequently Asked Questions About Spring Nails 2026
How long do gel nails last with spring designs?
Gel nails with spring designs typically last two to three weeks with proper application and care. The longevity depends on factors including nail preparation quality, gel product formulation, and daily activities that may stress the nails. Proper maintenance such as applying cuticle oil daily and avoiding harsh chemicals extends wear time significantly. Most people schedule fills or complete removal after two weeks to maintain the best appearance as natural nail growth becomes visible.
How to remove gel nails safely without damaging natural nails?
Remove gel nails safely by soaking them in pure acetone for 10 to 15 minutes using cotton balls wrapped in aluminum foil. Gently scrape away softened gel with a wooden cuticle pusher, never forcing or peeling the product off forcefully. If gel remains stuck, soak for additional time rather than scraping aggressively to prevent damage to the natural nail plate. Apply nourishing cuticle oil and hand cream immediately after removal to restore moisture and promote healing.
What are the differences between gel nails and acrylic nails for spring designs?
Gel nails cure under UV or LED light and provide a glossy, flexible finish that appears more natural than acrylics. Acrylic nails use a liquid monomer and powder polymer system that air-dries to create a harder, more rigid structure. Gel nails work better for spring designs because they showcase pastel colors with superior clarity and shine. Acrylics offer more strength for nail extensions but require more maintenance and professional removal compared to gel systems.
Why do gel nails peel or lift prematurely?
Gel nails peel or lift prematurely due to insufficient nail preparation, particularly when natural oils remain on the nail plate before application. Other causes include applying gel too close to the cuticle, using thick layers that cure improperly, or failing to cap the free edge. Exposure to excessive moisture, harsh chemicals, or physical trauma also contributes to lifting and peeling. Proper preparation, thin application layers, and regular cuticle oil use prevent most lifting issues.
How can I make my spring gel nails last longer?
Make spring gel nails last longer by applying cuticle oil twice daily to maintain flexibility and prevent lifting at the edges. Wear gloves when cleaning, washing dishes, or exposing hands to water for extended periods. Avoid using nails as tools and be gentle with activities that place stress on the tips. Apply thin gel layers during application and ensure proper curing time for maximum adhesion and durability throughout the wear period.
Conclusion
Best trendy spring nails 2026 offer endless possibilities for expressing personal style through vibrant colors and simple yet elegant designs. By following proper application techniques, maintaining consistent nail care, and choosing quality gel products, you can achieve salon-worthy results that last throughout the spring season. Embrace the fresh palette of pastels, bright accents, and nature-inspired elements that define this year’s trends. Visit professional nail technicians or explore detailed tutorials to perfect your spring manicure and enjoy beautiful, healthy nails all season long.