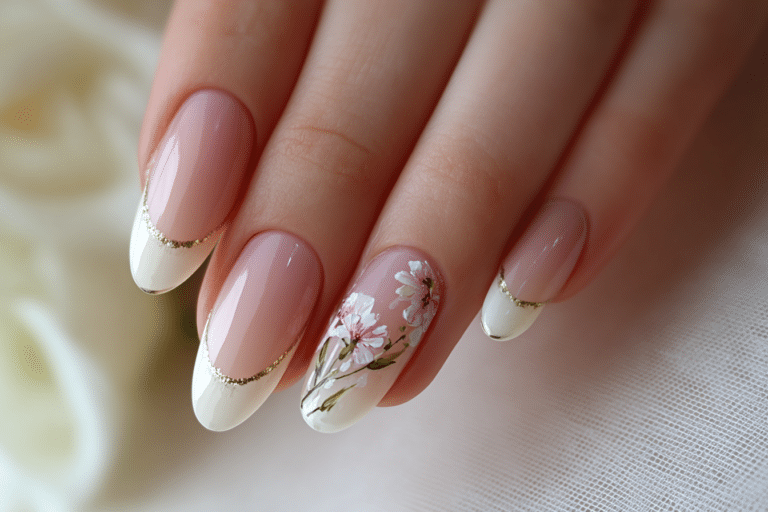
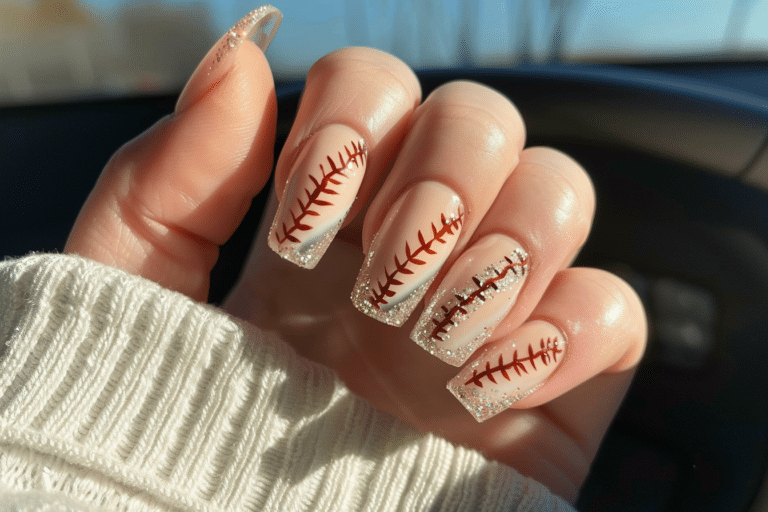
25 Easter Egg Nail Ideas for Spring Lovers

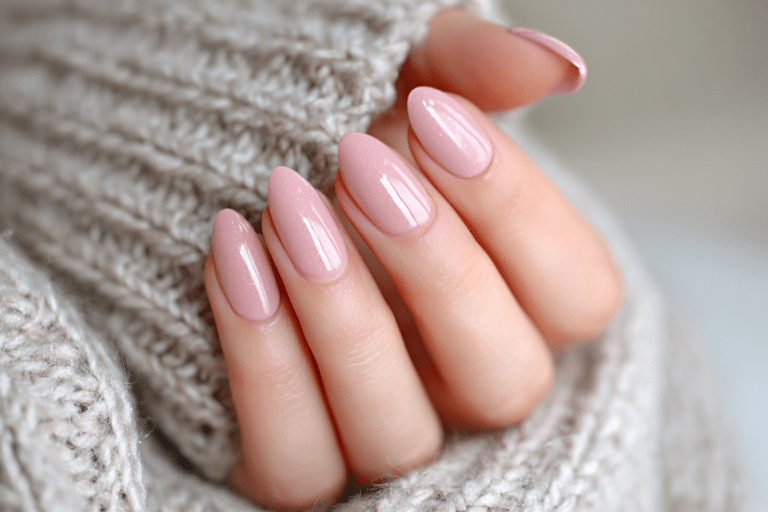
Easter egg nail ideas for spring lovers celebrate the season with pastel colors, playful patterns, and festive designs inspired by decorated eggs.
These whimsical manicures incorporate soft pinks, mint greens, lavender purples, and buttery yellows that capture spring’s fresh energy. Professional nail artists use gel polish to create long-lasting Easter designs featuring stripes, polka dots, florals, and bunny motifs perfect for seasonal celebrations.
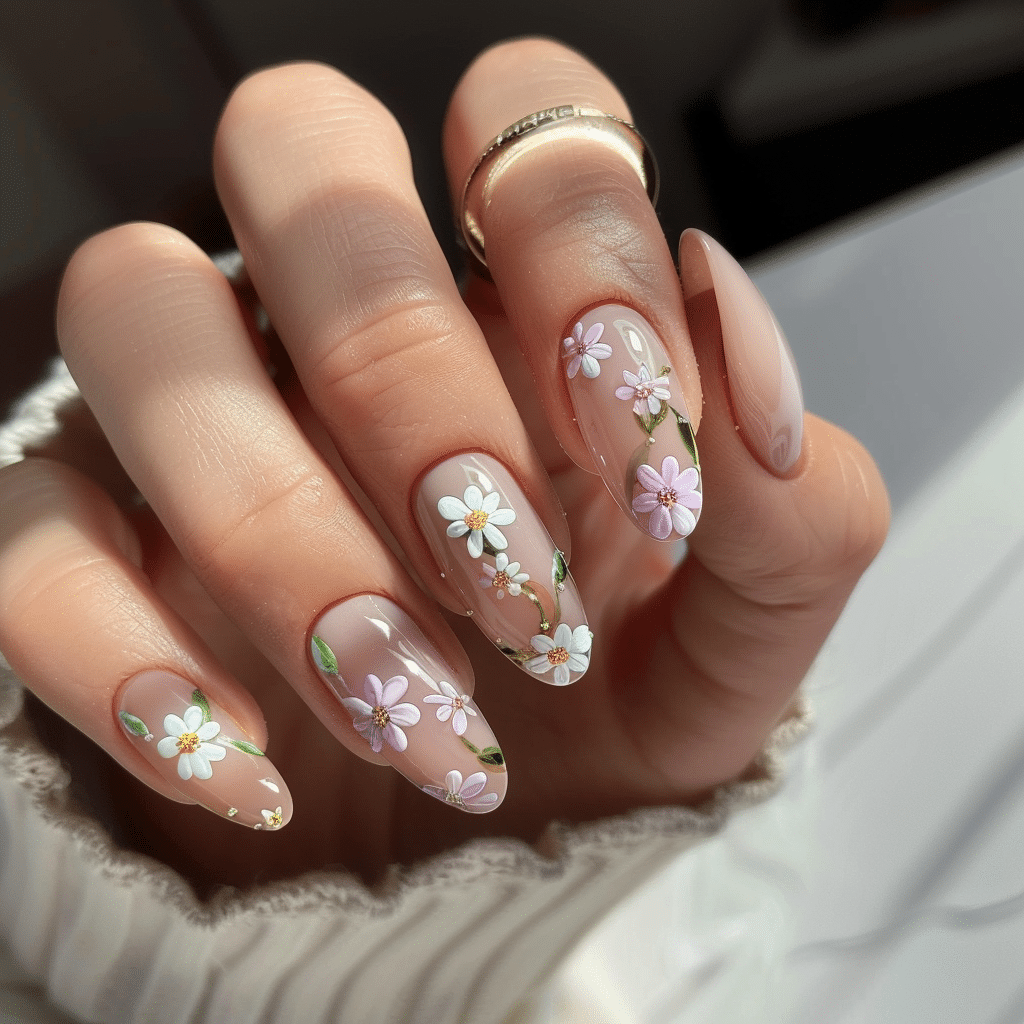
| Topic | Details |
|---|---|
| Category | Nail Art |
| Skill Level | Beginner to Intermediate |
| Time Needed | 45-90 minutes |
| Tools Needed | UV/LED lamp, gel polish, nail art brushes, dotting tools |
| Best For | Spring celebrations, Easter events, pastel nail art enthusiasts |
Table of Contents
Why Easter Egg Nail Art Works for Spring
Easter egg nail designs work exceptionally well for spring because they channel the season’s spirit of renewal and celebration through color and pattern. The pastel color palette naturally complements spring wardrobes while providing a cheerful contrast to winter’s darker tones. Gel polish formulations allow these intricate designs to maintain their vibrant appearance for up to three weeks without chipping or fading.
The playful nature of Easter egg patterns makes them versatile for various nail lengths and shapes. Short nails benefit from simple two-tone designs or single accent nails, while longer nails provide canvas space for detailed illustrations including bunnies, chicks, and floral elements. The combination of base colors with decorative overlays creates dimension that photographs beautifully for social media sharing.
Professional nail technicians appreciate Easter egg designs because they accommodate multiple skill levels and client preferences. Beginners can achieve stunning results with striping tape and dotting tools, while advanced artists create hand-painted masterpieces with fine detail brushes. The forgiving nature of pastel colors means slight imperfections blend seamlessly, making these designs accessible to home manicure enthusiasts exploring gel nail art.
Tools and Products Needed for Easter Egg Nail Designs
| Product | Purpose | Alternatives |
|---|---|---|
| UV/LED Lamp | Cures gel polish layers | Dual wavelength lamp for all gel types |
| Base Coat | Protects natural nails and ensures adhesion | Rubberized base for added strength |
| Pastel Gel Polish Collection | Provides Easter egg color palette | Regular polish with extended dry time |
| White Gel Polish | Creates clean base for designs | Light nude or cream shade |
| Detail Nail Art Brushes | Paints fine lines and patterns | Toothpick or dotting tool |
| Dotting Tools | Creates polka dots and circular patterns | Bobby pin or ballpoint pen |
| Striping Tape | Produces clean geometric lines | Regular tape cut into thin strips |
| Top Coat | Seals design and adds glossy finish | Matte top coat for different texture |
| Nail File | Shapes nails and smooths edges | Glass file for gentle shaping |
| Cuticle Oil | Maintains nail health and hydration | Vitamin E oil or jojoba oil |
For comprehensive gel nail application techniques and product recommendations, visit Gel Nails by Lina for professional guidance and tutorials.
Step-by-Step Application Guide for Easter Egg Nails
Nail Preparation
- Remove any existing nail polish using acetone-based remover and lint-free wipes to ensure a clean surface.
- Shape your nails using a 180-grit file, moving in one direction to prevent splitting and create your desired nail shape.
- Push back cuticles gently using a wooden cuticle stick after softening them with warm water or cuticle remover.
- Buff the nail surface lightly with a 240-grit buffer to remove shine and create texture for better gel adhesion.
- Cleanse nails thoroughly with isopropyl alcohol or nail cleanser to remove oils and debris that could cause lifting.
Base Coat Application
- Apply a thin layer of gel base coat, starting from the cuticle and pulling toward the free edge in smooth strokes.
- Cap the free edge by running the brush along the nail tip to seal and prevent premature chipping.
- Cure the base coat under your UV/LED lamp according to manufacturer instructions, typically 30-60 seconds.
- Check for any tacky residue, which is normal for most gel base coats and provides adhesion for color layers.
Creating the Easter Egg Base Color
- Select your first pastel shade and apply a thin, even layer across the nail, avoiding cuticle flooding.
- Cure the first color coat for the recommended time, usually 30-60 seconds depending on your lamp wattage.
- Apply a second thin coat of the same color to build opacity and achieve true pastel vibrancy.
- Cure the second coat thoroughly before moving to design elements to prevent smudging or color mixing.
- Repeat this process on each nail if creating a different base color for variety in your Easter egg collection.
Adding Easter Egg Patterns and Designs
- Choose your design technique: hand-painted details, dotting tool patterns, or striping tape for geometric lines.
- Create polka dots by dipping a dotting tool in contrasting gel polish and gently pressing onto cured base color.
- Paint stripes using a thin detail brush loaded with gel polish, working from cuticle to tip in steady motions.
- Add zigzag patterns by creating connected V-shapes across the nail using a fine liner brush.
- Incorporate spring elements like tiny flowers, bunnies, or grass blades using a detail brush and steady hand.
- Cure each design layer for 30 seconds to prevent smearing when adding additional pattern elements.
- Layer multiple design elements by curing between each addition to maintain clean, distinct patterns.
Finishing and Top Coat Application
- Apply a thin layer of gel top coat over the entire nail, ensuring complete coverage of all design elements.
- Cap the free edge again with top coat to seal the entire manicure and maximize longevity.
- Cure the top coat for the full recommended time, typically 60 seconds, for maximum hardness and shine.
- Wipe away any sticky inhibition layer using isopropyl alcohol and a lint-free wipe if using a traditional top coat.
- Apply cuticle oil around each nail to hydrate the skin and add extra shine to your finished Easter egg nails.
Pro Nail Technician Tips for Easter Egg Designs
- Use a white or light cream base color under pastel shades to make them appear more opaque and vibrant with fewer coats needed.
- Keep gel polish layers thin rather than thick to prevent wrinkling, ensure proper curing, and avoid premature peeling or lifting.
- Clean your nail art brushes immediately after use with brush cleaner or isopropyl alcohol to maintain bristle flexibility for future detailed work.
- Create a practice palette on a plastic sheet or old business card to test color combinations before applying designs to nails.
- Work on one nail completely before moving to the next when creating intricate designs to maintain focus and pattern consistency.
- Extend curing time by 10-15 seconds for heavily pigmented or glitter-containing polishes that require additional UV exposure for complete hardening.
Discover more professional nail art techniques and seasonal design inspiration at Gel Nails by Lina where expert tutorials guide you through trending manicure styles.
Common Gel Nail Mistakes with Easter Egg Designs
| Mistake | Why it Happens | How to Fix |
|---|---|---|
| Thick gel layers causing wrinkling | Applying too much product at once prevents proper UV penetration | Use thin coats and build opacity gradually with multiple layers |
| Design bleeding or smudging | Adding new colors before previous layer fully cures | Cure each design element for minimum 30 seconds before proceeding |
| Pastel colors appearing streaky | Insufficient pigment opacity or too few coats applied | Apply white base first, then build pastel color in 2-3 thin layers |
| Cuticle flooding with design elements | Overloading brush or dotting tool with gel polish | Wipe excess product before application and maintain 1mm gap from cuticle |
| Premature chipping at free edge | Forgetting to cap the edge with each layer | Run brush along nail tip with base coat, color, and top coat |
25 Easter Egg Nail Design Variations
| Style | Description | Best Occasion |
|---|---|---|
| Classic Pastel Ombre | Gradient blend of pink to purple or blue to green | Easter brunch, spring weddings |
| Polka Dot Easter Eggs | Multicolored dots on pastel base mimicking decorated eggs | Family gatherings, casual spring events |
| Striped Candy Eggs | Vertical or diagonal stripes in contrasting pastel shades | Easter egg hunts, children’s parties |
| Bunny Silhouette Accent | Single accent nail featuring white or pink bunny shape | Easter Sunday services, holiday photos |
| Floral Easter Garden | Tiny hand-painted flowers with pastel backgrounds | Spring festivals, garden parties |
| Chevron Pattern Eggs | Zigzag lines creating geometric Easter egg effect | Modern spring celebrations |
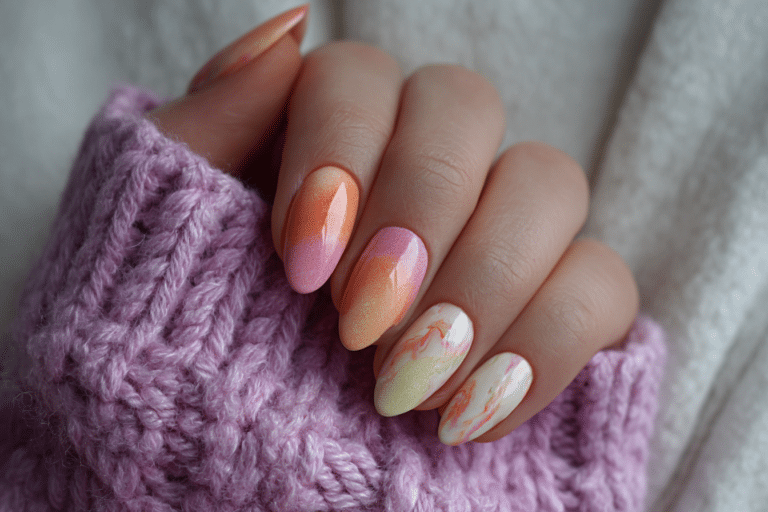
| Watercolor Wash Eggs | Soft blended colors mimicking watercolor painting technique | Artistic events, creative gatherings |
| Gold Foil Accent Eggs | Pastel base with gold foil details for elegant touch | Upscale Easter brunches, formal events |
| Negative Space Eggs | Clear nail showing through egg-shaped cutout designs | Minimalist spring style, everyday wear |
| Glitter Gradient Eggs | Pastel colors with glitter concentration at tips | Evening Easter events, celebrations |
| Checkered Easter Pattern | Small checkerboard design in spring colors | Trendy spring outings, fashion events |
| Baby Chick Illustrations | Yellow chicks with orange beaks on accent nails | Children’s Easter activities, family photos |
| Marble Easter Eggs | Swirled pastel colors creating marble stone effect | Sophisticated spring gatherings |
| French Tips with Egg Designs | Classic French with tiny eggs painted on nude base | Professional settings, elegant occasions |
| Tie-Dye Easter Nails | Swirled multiple pastels mimicking tie-dye fabric | Casual spring festivals, outdoor events |
| Confetti Easter Celebration | Multicolored dots and shapes scattered randomly | Birthday parties, joyful celebrations |
| Pastel Color Block | Each nail different solid pastel shade | Everyday spring wear, versatile styling |
| Lace Pattern Overlay | White lace design over pastel backgrounds | Romantic spring dates, weddings |
| Grass and Eggs Scene | Green grass base with small eggs nestled above | Easter egg hunts, outdoor gatherings |
| Rainbow Easter Collection | Each nail represents different rainbow color in pastel | Cheerful celebrations, pride events |
| Minimalist Single Stripe | One thin contrasting line across pastel base | Professional wear, understated elegance |
| Cartoon Character Eggs | Popular characters rendered as Easter eggs | Children’s events, playful occasions |
| Pearl Accent Eggs | 3D pearl embellishments on pastel egg designs | Luxury events, special celebrations |
| Gradient Egg Shapes | Ombre within egg-shaped outlines on each nail | Artistic spring showcases |
| Vintage Floral Eggs | Retro flower patterns with muted pastel palette | Vintage-themed parties, nostalgic gatherings |
Nail Care and Maintenance for Easter Egg Designs
Maintaining your Easter egg nail designs requires daily attention to keep both the artistic elements and natural nails healthy. Apply cuticle oil twice daily, focusing on the cuticle area and sides of each nail to prevent dryness and maintain flexibility. This prevents the gel from lifting at the edges and keeps your natural nails hydrated beneath the polish layers.
Protect your Easter manicure by wearing gloves during household cleaning, gardening, or any activity involving harsh chemicals or excessive water exposure. Gel polish remains durable, but prolonged water submersion can weaken the bond between layers and cause premature lifting. Avoid using your nails as tools to open cans or scrape surfaces, as this creates stress points that lead to cracking.
Monitor your manicure daily for any signs of lifting, especially around the cuticle area and free edge. Address small lifting immediately by gently filing the lifted area smooth and applying a thin layer of top coat to reseal. Schedule removal after two to three weeks to prevent overgrowth that stresses the nail plate and maintain optimal nail health between manicures.
How to Remove Easter Egg Gel Nails Safely
Safe gel nail removal preserves your natural nail health and prepares them for your next manicure. Begin by gently filing the shiny top coat layer with a 180-grit file to break the seal and allow acetone penetration. Avoid aggressive filing that reaches the natural nail, focusing only on removing the glossy top coat surface.
Soak cotton balls or pads in pure acetone and place one on each nail, ensuring complete coverage of the gel polish. Wrap each finger tightly with aluminum foil, shiny side facing inward, to create heat that accelerates the breakdown process. Allow nails to soak for 10-15 minutes without peeking, as premature unwrapping extends removal time.
Remove foil wraps one at a time and gently push softened gel polish toward the free edge using a wooden cuticle stick. The gel should slide off easily without force or scraping. If resistance occurs, rewrap the nail and soak for an additional five minutes rather than forcing removal. Wash hands thoroughly, apply cuticle oil generously, and allow nails to rest for at least 24 hours before applying new gel polish.
Nail Health and Safety for Gel Manicures
Protecting your natural nails during gel application and wear prevents common issues like thinning, brittleness, and peeling. Always ensure proper nail preparation without over-buffing, as excessive filing removes too much of the protective nail plate. Limit buffing to light surface smoothing that removes shine without creating heat or discomfort.
Take breaks between gel manicures every eight to twelve weeks to allow natural nails to breathe and regenerate. During break periods, focus on strengthening treatments containing biotin, keratin, or calcium to rebuild nail structure. Apply ridge-filling base coats and nourishing oils daily to support natural nail recovery and growth.
Watch for signs of nail damage including persistent tenderness, discoloration, separation from the nail bed, or unusual texture changes. These symptoms may indicate fungal infection, allergic reaction, or over-processing that requires professional evaluation. Consult a dermatologist if symptoms persist beyond a few days or worsen despite discontinuing gel applications.
Explore additional nail health resources and professional care advice at Gel Nails by Lina for maintaining beautiful, healthy nails year-round.
Frequently Asked Questions
How long do Easter egg gel nails last?
Easter egg gel nails typically last two to three weeks with proper application and care. The longevity depends on your daily activities, natural nail growth rate, and how well you protect your manicure from excessive water exposure. Detailed designs may show minor wear at tips after ten days, but overall appearance remains vibrant throughout the wear period with proper top coat application and cuticle oil maintenance.
How do you remove gel nails safely at home?
Safe home removal requires soaking nails in pure acetone for 10-15 minutes after filing off the top coat layer. Wrap acetone-soaked cotton around each nail and cover with aluminum foil to create heat that speeds the process. Gently push softened gel toward the free edge with a wooden stick, never forcing or scraping aggressively. If gel resists, soak longer rather than prying, which damages the natural nail plate beneath.
What is the difference between gel nails and acrylic nails for Easter designs?
Gel nails cure under UV light and offer a glossier, more natural appearance ideal for pastel Easter colors. Acrylic nails use liquid monomer and powder polymer that air-dry, creating thicker, more durable extensions better suited for extreme lengths. For Easter egg designs, gel polish provides better color clarity and easier application of detailed patterns, while acrylics offer superior strength for three-dimensional embellishments like pearls or rhinestones.
Why do gel nails peel or lift prematurely?
Gel nails peel when proper nail preparation is skipped, oils remain on the nail surface, or layers are applied too thickly. Moisture trapped under gel from insufficient dehydration causes separation from the nail plate. Cuticle flooding during application creates weak points where lifting begins, and failure to cap the free edge allows water to penetrate between layers causing premature failure.
How can you make Easter egg gel nails last longer?
Make gel nails last longer by applying cuticle oil twice daily to maintain flexibility and prevent dryness that causes cracking. Wear gloves during cleaning and avoid prolonged water submersion that weakens adhesion. Reapply top coat every five to seven days to refresh shine and seal any micro-lifting at edges. Avoid using nails as tools and be gentle with tips to prevent stress cracks that shorten wear time.
Conclusion
Easter egg nail ideas for spring lovers offer endless creative possibilities through pastel colors, playful patterns, and festive designs perfect for seasonal celebrations. These gel manicures combine durability with artistic expression, lasting two to three weeks while showcasing your spring style. Whether you choose simple polka dots or intricate hand-painted scenes, proper application techniques and daily maintenance ensure your Easter nails remain vibrant throughout the holiday season. Try these cheerful designs to welcome spring with beautiful, festive nails that capture the joy of the season.