French Tips Flower Nails – Cute Daisy French Tip Nails Inspo for Spring

It was my junior year of college when I first splurged on a $200 manicure. The salon promised “long-lasting French tip designs,” but a week later, my carefully curated daisies were half-chipped. I sat in my dorm room, staring at my ruined nails, wondering why doing this myself felt so impossible.
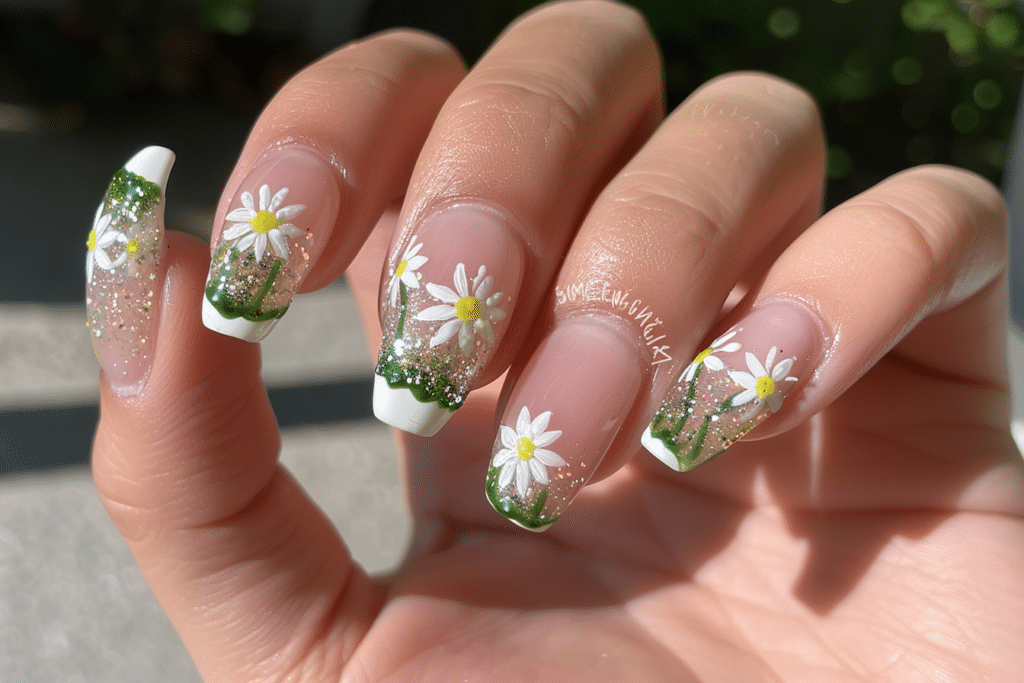
Fast forward five years, and I’ve turned my kitchen table into my own nail bar creating stunning daisy French tips that last for weeks without the salon price tag. Today, I want to share this story and guide with you so your next nail art experience is both beautiful and budget-friendly.
Table of Contents
What Are French Tips Flower Nails?
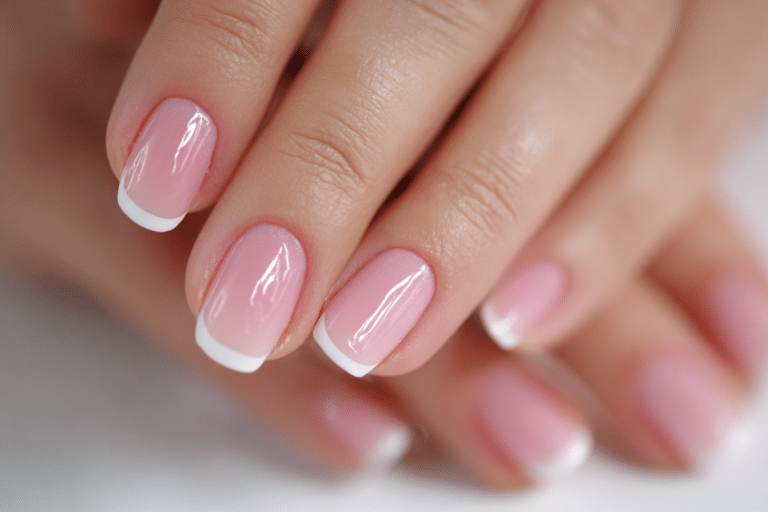
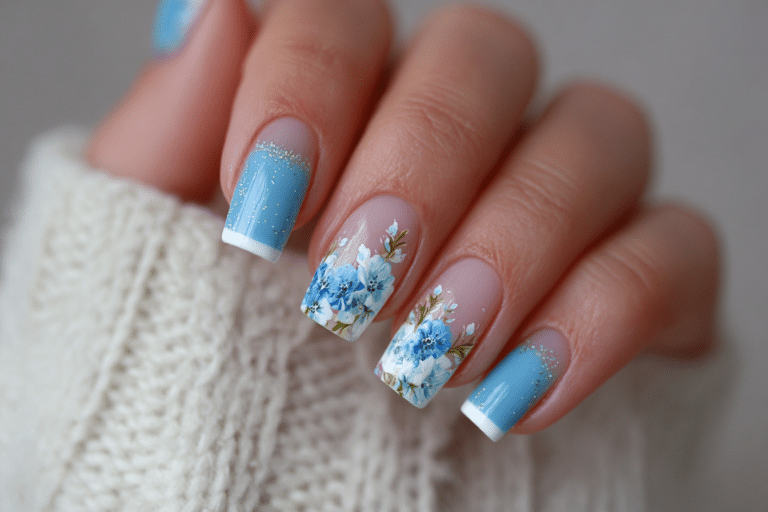
French Tips Flower Nails blend the classic French manicure with floral accents. While the traditional French tip features a white crescent at the nail’s edge, this trend adds delicate flowers often daisies to the white tip area. The result is a fresh, spring-ready look that’s perfect for weddings, Easter, or everyday charm. The daisy design mimics the simplicity and purity of the blossoms, making it a timeless choice.
Why Choose the Daisy Design?
- Subtle Elegance: Daisies add sophistication without bold colors.
- Universal Appeal: Works for both casual and formal occasions.
- Easy to Customize: Adjust sizes, shapes, and arrangements.
Complete Step-by-Step Guide to Daisy French Tips Flower Nails – Cute Daisy French Tip Nails Inspo for Spring
Step 1: Prepare Your Nails
- File nails into your preferred shape (oval or squoval work well).
- Buff the surface lightly to remove oils and create adhesion.
- Wipe with isopropyl alcohol to clean thoroughly.
- Apply a base coat to protect your natural nails.
- Paint a pale pink or nude shade over the nail and let it cure.
Step 2: Create the French Tip
- Apply white gel only to the tip (avoid the sides to keep it clean).
- Use a dotting tool or small brush to remove any excess off the sides.
- Flash cure the tips for 30 seconds to harden them slightly.
Step 3: Add Daisy Centers
- Paint the top portion of the white tip with a lemon-yellow or buttercream gel.
- Use a dotting tool to create small circles (centers) on each tip.
- Apply a dot of clear UV gel over each circle to add dimension.
Step 4: Paint Daisy Petals
- Use a small, fine tip brush to outline petals around the yellow dot in white gel.
- Create 6-8 teardrop shapes for a realistic daisy.
- Add a tiny white dot at the tip of each petal for highlights.
Step 5: Seal and Shine
- Apply a thin layer of clear UV gel to protect the design.
- Cure all nails in a gel lamp to ensure durability.
- Finish with a top coat and gentle file smoothing.
Essential Tools and Products for Success
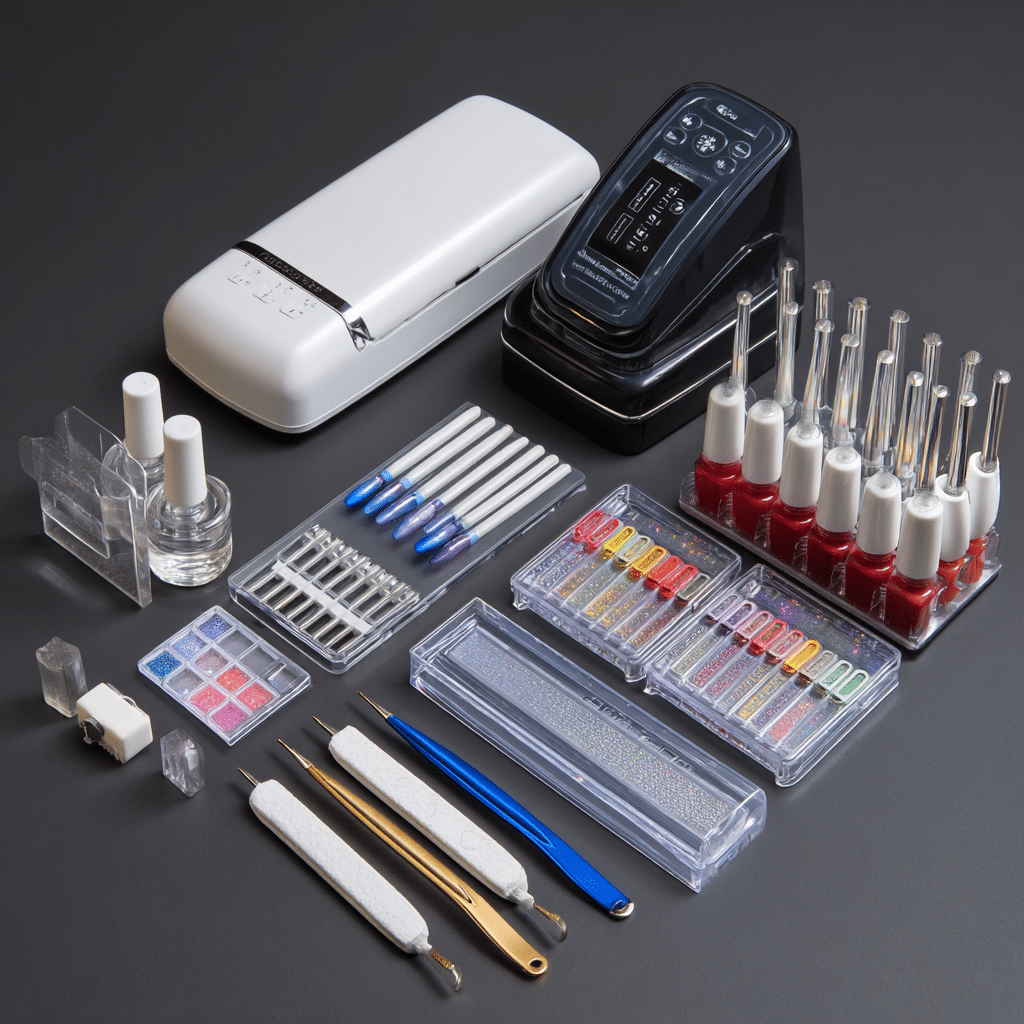
- Gel Polish Set: Includes base, UV gel, and a pink/nude shade
- Dotting Tools: 1mm and 2mm for precise daisy centers and petals.
- Fine-Tip Detailer Brushes: For intricate petal strokes.
- UV Gel Nail Lamp: 36W LED lamps cure faster than older 9W models.
- Acetone-Free Remover: Protects your natural nails from drying out.
- Nail Files and Buffers: Oval file for shaping, buffer for smoothing.
Common Mistakes to Avoid
1. Overlapping Colors
Applying too much white gel or yellow polish can cause hues to blend. Flash cure layers frequently to prevent smudges.
2. Uneven Tip Shapes
Sketch the tip with a pencil before painting ensures perfect symmetry and consistency across all nails.
3. Rushing the Curing Process
Always use the recommended time in your UV lamp. Undercured gel will chip faster and damage the design.
Pro Tips for Flawless Daisy French Tips
- Stenciling Magic: Use a white tip stencil for beginners to avoid hand trembles.
- Gel Consistency Check: Gel that’s too runny creates blurry details. Thinner gels are ideal for petal edges.
- Layering Technique: Build daisies in two layers first outline the petals, then fill in the center.
- Accent Nails: Add a larger daisy or multiple daisies on one thumbnail for visual balance.
Comparing Daisy Designs with Other Flower Trends
| Flower Type | Difficulty Level | Materials Needed | Pros/Cons |
|---|---|---|---|
| Daisies | Beginner-Intermediate | White gel, yellow gel | Simple shapes, lasts up to 3 weeks |
| Roses | Advanced | Multiple gel colors, 3D flower forms | 3D dimension, requires more tools |
| Peonies | Intermediate | White and pink blends | Soft pastel vibe |
| Watercolor Blooms | Intermediate | Colored nail gels | Unique art look |
5 FAQs About French Tips Flower Nails
1. How long do daisy French tips last at home?
With proper curing and layering, they can stay intact for 2–3 weeks. Apply a clear top coat every 5 days for extra protection.
2. Can I fix a smudged daisy?
Yes! Gently file the damaged area, re-base with quick-fix gel, and reapply the design.
3. Do I need acrylics for the best results?
Not necessarily. Long, curved natural nails provide a great canvas. Acrylic adds strength but is optional.
4. How can I recreate this on short nails?
Focus on tiny daisies using 1mm dots and scale down petal size. A pink base and minimalist look still works beautifully.
Why You Should Master This Trend in 2025
French Tips Flower Nails are a perfect marriage of simplicity and style. While some may fear the complexity of 3D designs, daisies require only basic tools and a steady hand. I’ve taught hundreds at my workshops how to nail this look, and many admit it’s their favorite springtime design. Don’t let a fear of mistakes hold you back you’ll feel accomplished once those delicate blooms are yours alone.
Browse my curated collection on Pinterest. Let’s grow together and your next set of adorable, chipping-resistant daisies could be your best work yet!