Blooming Gel Florals Are 2025’s Must-Try Nail Trend

As I reflect on my journey with gel nails, I can’t help but smile at my first experience a complete disaster. I had been so excited to try out a gorgeous set of almond-shaped gel nails, closely resembling the glamorous designs sported by my favorite nail influencers. I bought a cheap gel kit, and with my heart racing, I started the application.
Let’s just say it ended with my nails looking clumpy, uneven, and far from what I’d envisioned. But over the years, I learned the art of creating stunning designs at home, and now I’m here to share with you the blooming gel florals trend that’s taking the nail world by storm in 2025.
What Are Blooming Gel Florals?
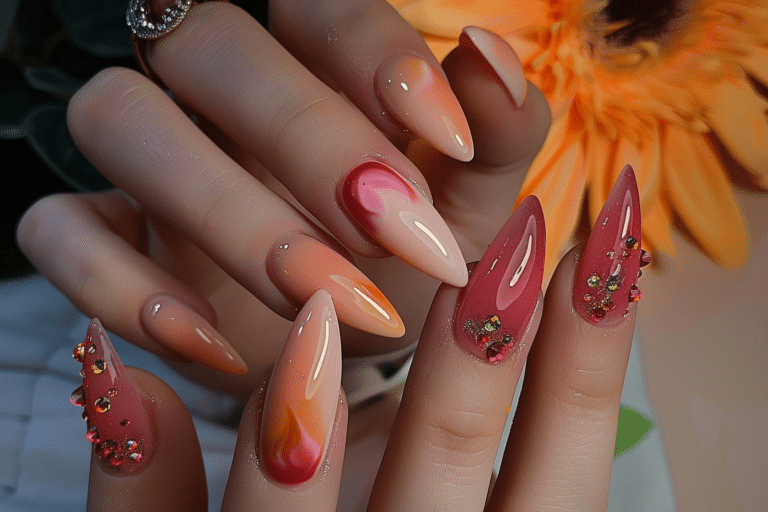
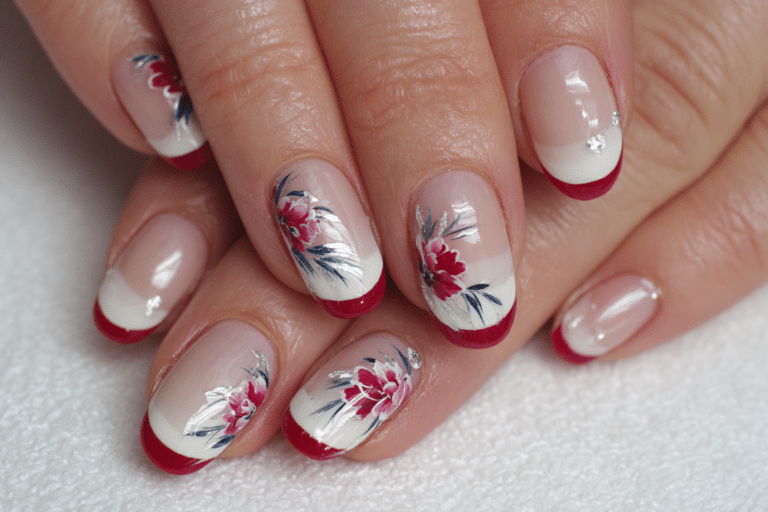
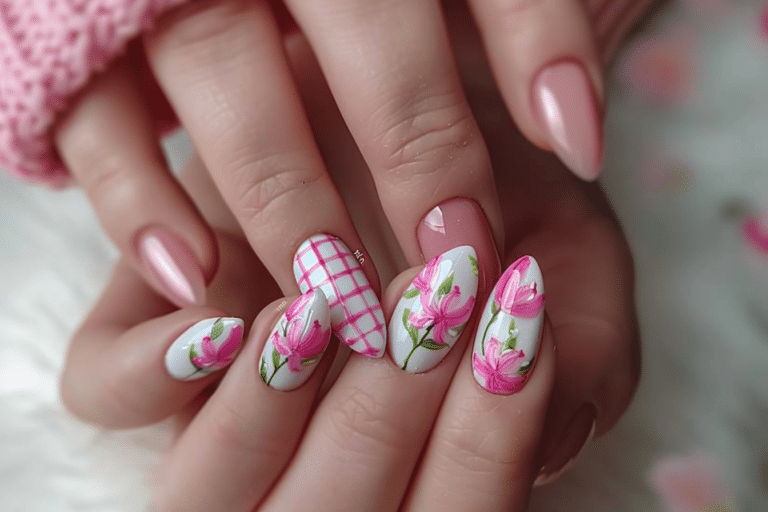
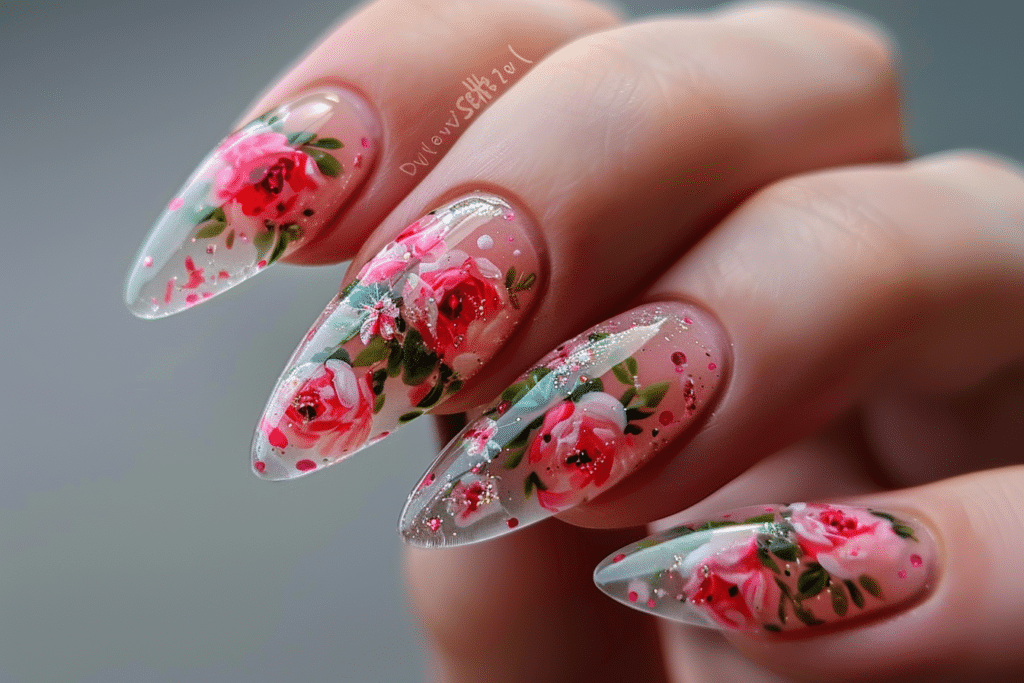
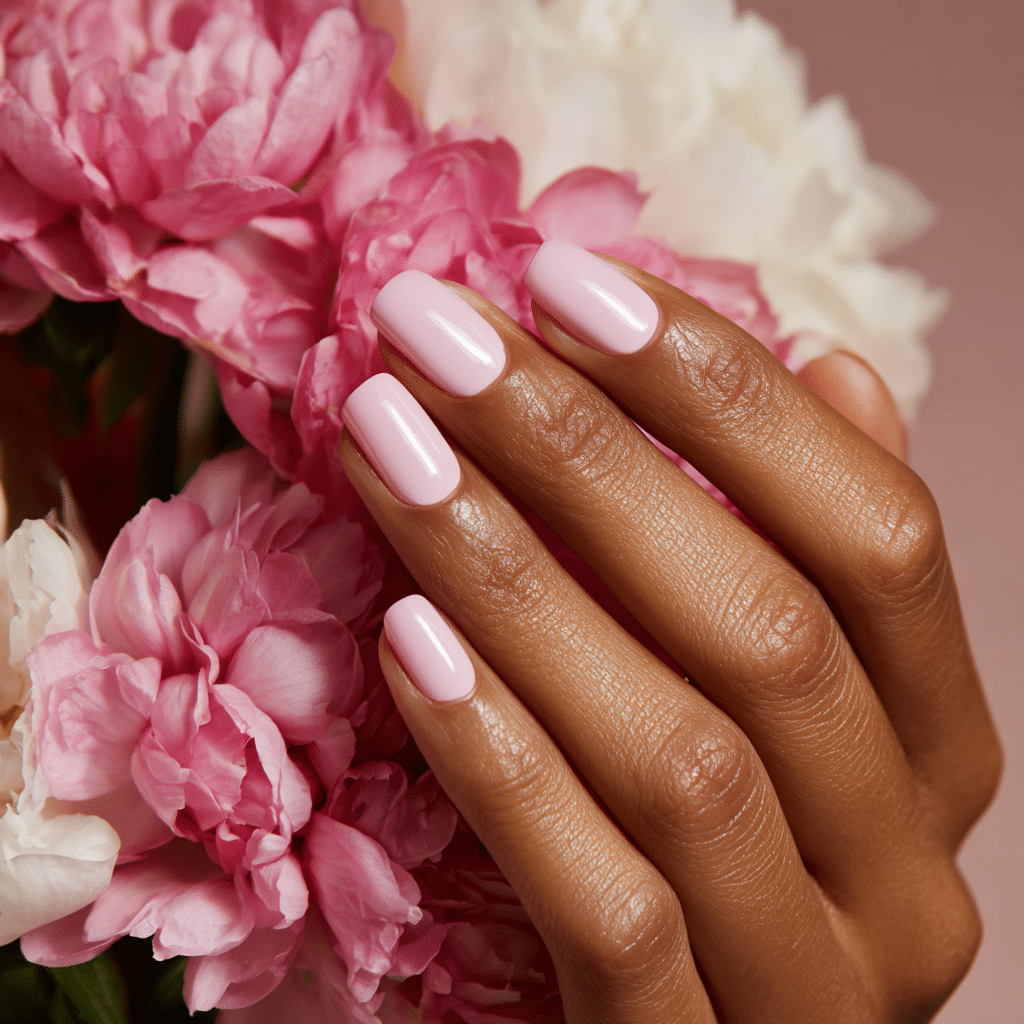
Blooming gel florals are a unique nail art technique that creates beautiful, three-dimensional floral designs using blooming gel. This specialized gel enhances your nail art by allowing colors to spread and blend seamlessly, creating a soft, watercolor effect. The combination of elegant floral patterns and gel nails will make your manicure truly stand out this year.
Why You Should Try Blooming Gel Florals
- Versatile Designs: These designs can range from simple floral patterns to intricate wallpapers of blooms.
- Perfect for All Occasions: Whether it’s a classy summer gathering or a casual brunch, blooming gel florals can suit any style.
- Long-Lasting Beauty: With proper technique, gel nails can last up to three weeks, making your floral nails look fresh longer.
Step-by-Step Guide to Create Blooming Gel Florals
Ready to dive into the blooming gel florals trend? Here’s a straightforward guide to help you achieve stunning results at home!
- Gather Your Supplies:
- Blooming gel
- Base coat and top coat
- Gel polish in milky pink and other desired colors
- Nail art brush or dotting tool
- UV or LED lamp
- Prepare Your Nails:
Start by filing your nails into an almond shape, then push back your cuticles and buff the nail surface lightly.
- Apply Base Coat:
Apply a thin layer of the base coat and cure it under the lamp according to manufacturer instructions.
- Apply Gel Polish:
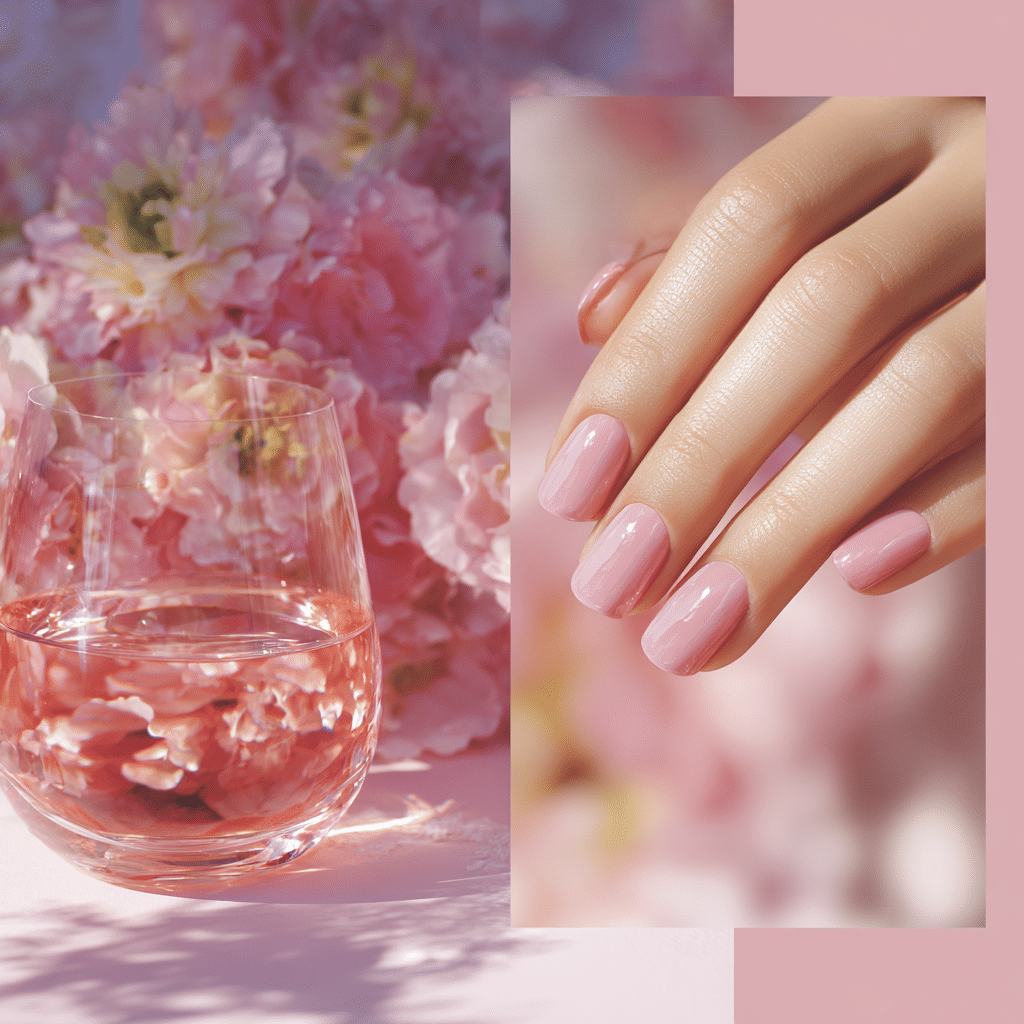
Next, add two coats of milky pink gel polish, curing each layer before moving on.
- Design with Blooming Gel:
Using your desired colors, apply small dots of gel polish on the nail. Then, apply a layer of blooming gel over the top. Watch as the colors spread and mix beautifully!
- Cure the Design:
Cure the blooming gel in your lamp. You may need to experiment with curing time to achieve your desired effect.
- Finish with Top Coat:
Seal your design with a top coat for a glossy finish and additional protection. Cure one last time.
Common Mistakes to Avoid
Even seasoned nail artists can make mistakes while applying blooming gel florals. Here are a few common pitfalls:
- Using Too Much Blooming Gel: A little goes a long way! Too much can lead to muddy designs.
- Not Curing Properly: Make sure to follow the curing times for each layer to avoid smudging.
- Rushing the Process: Nail art requires patience. Don’t rush through the steps for the best results.
Pro Tips for Mastering the Trend
- Experiment with color combinations; soft pastels work beautifully for spring and summer.
- Use a small brush for detailed designs and a dotting tool for perfect dots.
- Take your time to perfect each layer before curing.
Tools and Products Needed
Here’s a quick recap of the tools and products you’ll need to create blooming gel florals:
- Base coat
- Top coat
- Blooming gel
- Gel polish in multiple colors
- Nail tools (brushes, dotters)
- UV/LED lamp
FAQs About Blooming Gel Florals
- How long do blooming gel florals last?
With proper care, your blooming gel florals can last up to three weeks.
- Can I do blooming gel florals on natural nails?
Yes! You can apply blooming gel florals over gel extensions or your natural nails.
- What colors work best for blooming gel florals?
Soft pastels and vibrant colors work beautifully, but experimenting with neutrals can also yield stunning results!
- Do I need a special lamp for blooming nails?
A standard UV or LED lamp will work great as long as it cures gel polish.
- How do I remove blooming gel nails?
Soak your nails in acetone, then gently file off the remnants of the gel polish.
Conclusion: Embrace the Blooming Gel Floral Trend
As we step into 2025, blooming gel florals offer a unique way to express creativity and style through nail art. The mix of colors, the elegance of floral designs, and the soothing process of applying gel nails make it a perfect combination for your next manicure. Whether you’re a beginner or an experienced nail artist, this trend is definitely worth trying. Embrace the beauty of blooming gel florals, and let your nails become a canvas for your artistry!
Feeling inspired? Don’t forget to join my email list for more tips and tricks or check out my full guide on gel nail techniques!