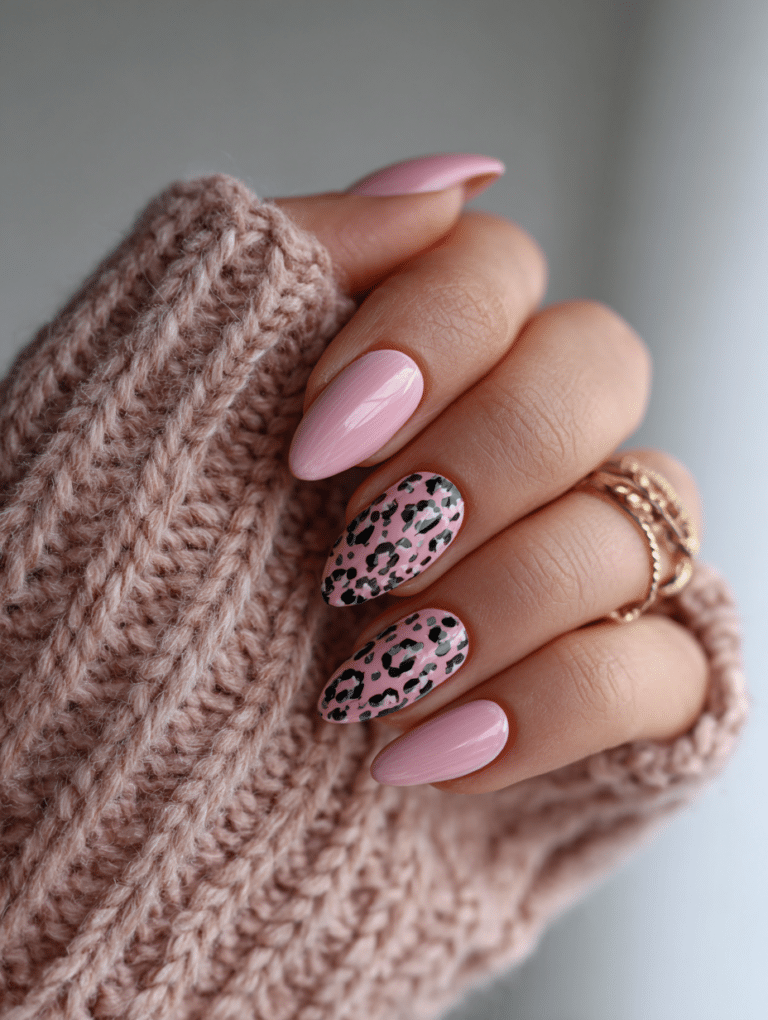
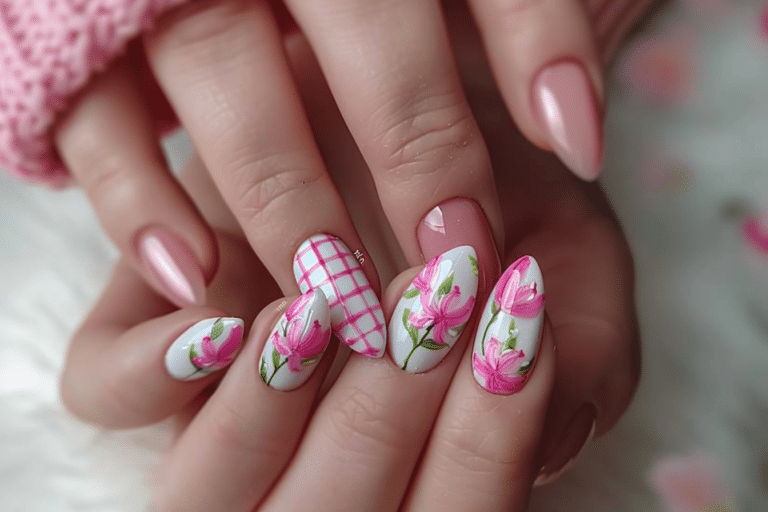
35 Stunning March Nail Design Ideas – Leap With Grace

March nail design ideas bring fresh spring energy to your fingertips with vibrant pastels, floral patterns, and playful accents.
This transitional month offers endless creative possibilities as winter fades and nature awakens. Whether you prefer soft watercolor blooms or bold shamrock greens, these nail designs capture the essence of renewal and celebration that defines this unique month.
| Topic | Details |
|---|---|
| Category | Nail Art / Gel Nails |
| Skill Level | Beginner to Advanced |
| Time Needed | 60-90 minutes |
| Tools Needed | UV/LED lamp, gel polish, nail art brushes, dotting tools |
| Best For | Spring enthusiasts, seasonal nail art lovers, anyone wanting fresh manicure ideas |
Table of Contents
Why March Nail Design Ideas Work
March nail design ideas work exceptionally well because they align perfectly with seasonal transitions and cultural celebrations throughout the month. The color palettes naturally complement the emerging spring landscape while accommodating St. Patrick’s Day festivities and the symbolic leap year occasions. These designs provide versatility that matches both professional settings and casual spring gatherings, making them practical for diverse lifestyles.
The psychological impact of seasonal nail art cannot be underestimated for overall mood enhancement and self-expression. March designs featuring soft greens, pastel pinks, lavender hues, and cheerful yellows mirror nature’s awakening and trigger positive emotional responses. When you wear nail art that reflects the current season, you create harmony between your personal style and environmental surroundings, which enhances confidence and draws compliments.
From a technical standpoint, March nail designs benefit from gel polish formulations that offer superior durability during weather fluctuations. Spring weather brings temperature changes and increased outdoor activities, requiring manicures that withstand varied conditions. Gel application provides chip-resistant wear for two to three weeks, ensuring your March nail art remains pristine throughout the entire month without constant touch-ups or maintenance.
Tools and Products Needed
| Product | Purpose | Alternatives |
|---|---|---|
| UV/LED Lamp | Cures gel polish layers properly | 48W lamp for faster curing |
| Base Coat | Protects natural nails and ensures adhesion | Ridge-filling base for textured nails |
| Gel Polish Collection | Creates color designs and patterns | Regular polish with quick-dry top coat |
| Nail File (180 grit) | Shapes nails and smooths edges | Glass file for gentler filing |
| Nail Buffer | Creates smooth surface for application | 4-way buffer block |
| Cuticle Oil | Maintains nail health and hydration | Vitamin E oil or jojoba oil |
| Gel Top Coat | Seals design and adds shine | Matte top coat for different finish |
| Nail Art Brushes | Creates detailed designs and patterns | Toothpick for simple dots |
| Dotting Tools | Makes perfect circles and florals | Bobby pin ends |
| Nail Cleanser | Removes sticky residue after curing | Rubbing alcohol with lint-free wipes |
Find all essential gel nail supplies and professional-grade products at Gel Nails by Lina for guaranteed quality results.
Step-by-Step Application Guide for March Nail Designs
Nail Preparation
- Remove any existing polish completely using acetone and cotton pads until nails are clean.
- Wash hands thoroughly with soap and warm water to eliminate oils and debris.
- Push back cuticles gently using a wooden cuticle pusher at a 45-degree angle.
- File nails into your desired shape using smooth, one-directional strokes from sides to center.
- Buff the nail surface lightly with a fine-grit buffer to create slight texture for adhesion.
- Wipe nails with nail cleanser or rubbing alcohol to remove all dust and natural oils.
Base Coat Application
- Apply a thin layer of gel base coat starting from the cuticle area toward the free edge.
- Cap the free edge by running the brush along the nail tip to prevent chipping.
- Cure the base coat under UV/LED lamp according to manufacturer specifications, typically 30-60 seconds.
- Check for any uncured spots and ensure complete polymerization before proceeding to color.
Gel Polish Layers for March Designs
- Select your primary March-inspired color such as soft pink, mint green, or lavender shade.
- Apply the first thin coat of gel polish in three strokes: center, left, right.
- Cure the first color layer for the recommended time, usually 30-60 seconds depending on lamp.
- Apply a second thin coat for opacity and depth, maintaining consistent thin layers throughout.
- Cure the second color coat completely before adding any decorative nail art elements.
- Create March-themed designs using detail brushes for florals, shamrocks, or abstract spring patterns.
- Add dimensional elements like glitter, rhinestones, or metallic accents while polish remains tacky.
- Cure each decorative layer individually to prevent smudging or design distortion.
Curing Process
- Position your hand completely inside the lamp with all nails exposed to light.
- Set the timer according to the gel polish brand recommendations for optimal curing.
- Keep fingers still during the entire curing cycle to prevent movement and smudging.
- Remove hand carefully and check for any sticky residue which indicates proper curing occurred.
Finishing and Top Coat
- Apply a thin layer of gel top coat over the entire nail including all design elements.
- Cap the free edge again with top coat to seal everything and maximize longevity.
- Cure the top coat for the full recommended time, often slightly longer than color layers.
- Wipe away the sticky inhibition layer using nail cleanser and a lint-free wipe.
- Apply cuticle oil around each nail and massage gently to restore moisture and flexibility.
- Admire your stunning March nail designs and photograph them in natural lighting for best results.
Pro Nail Technician Tips for March Designs
- Always work with thin gel layers rather than thick applications to prevent wrinkling, peeling, or incomplete curing that leads to premature lifting and disappointing wear time.
- Seal the free edge with every single layer including base coat, color coats, and top coat to create a protective barrier against water infiltration and daily wear stress.
- Allow each layer to cure fully before applying the next product to ensure proper chemical bonding and prevent the gel from remaining soft or gummy underneath subsequent layers.
- Store gel polishes away from direct sunlight and heat sources to maintain proper viscosity and prevent premature polymerization that affects application smoothness and color accuracy.
- Clean your nail art brushes immediately after use with brush cleaner or rubbing alcohol to prevent bristle damage and maintain precision for intricate March floral designs and details.
- Create depth in March nail art designs by layering translucent colors over opaque bases to achieve watercolor effects that perfectly capture spring’s delicate aesthetic and natural beauty.
Common Gel Nail Mistakes
| Mistake | Why It Happens | How to Fix |
|---|---|---|
| Thick Gel Layers | Applying too much product at once to save time or achieve opacity faster | Use multiple thin coats instead, curing between each layer for proper adhesion |
| Improper Curing | Using wrong lamp wattage or insufficient curing time for specific gel brand | Follow manufacturer guidelines exactly and invest in quality 48W LED lamp |
| Skipping Nail Prep | Rushing the preparation phase to get to the fun design portion quickly | Always cleanse, buff, and dehydrate nails thoroughly before base coat application |
| Flooding the Cuticle | Applying polish too close to cuticle area or using excessive product | Leave tiny gap near cuticles and clean up immediately with small brush dipped in cleanser |
| Not Capping Free Edge | Forgetting this crucial step or not understanding its importance for longevity | Run brush tip along nail edge with every coat to seal and prevent premature chipping |
March Nail Design Variations
| Style | Description | Best Occasion |
|---|---|---|
| Shamrock Accent Nails | Classic green base with gold shamrocks on ring fingers | St. Patrick’s Day celebrations and Irish-themed events |
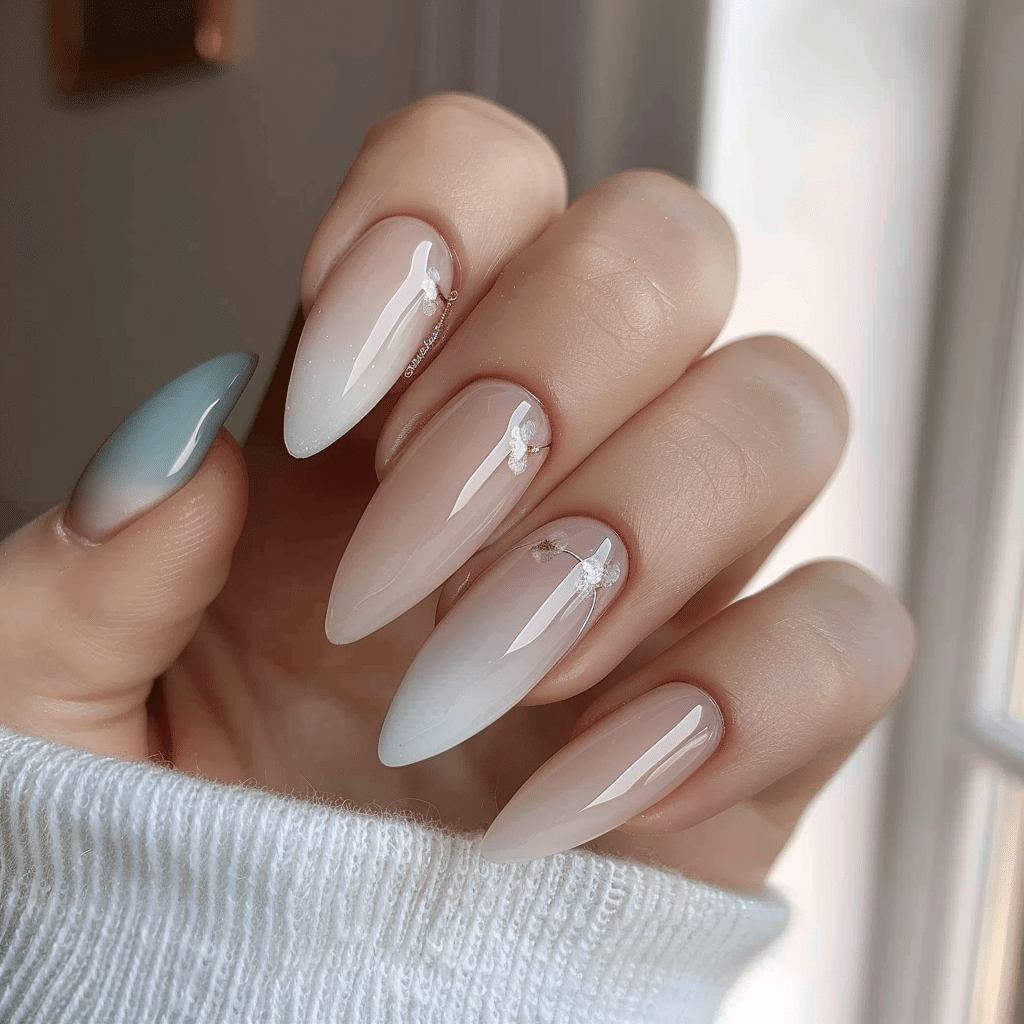
| Pastel Ombre | Gradient transition from pink to lavender to mint | Spring weddings, brunch gatherings, everyday wear |
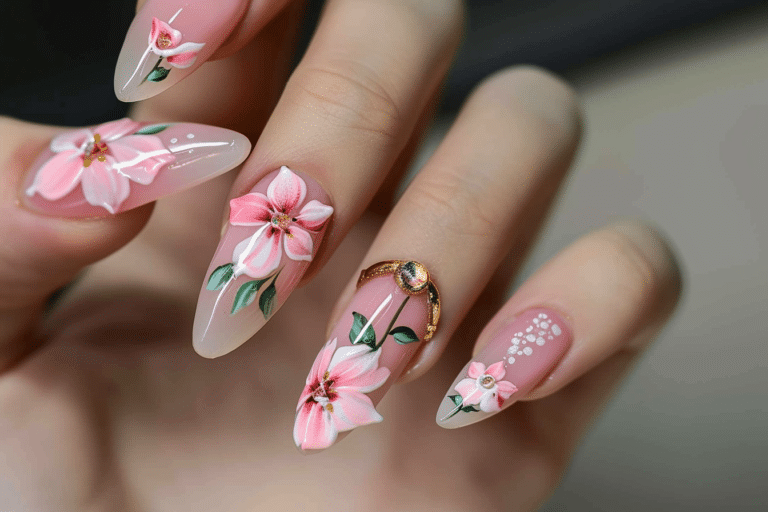
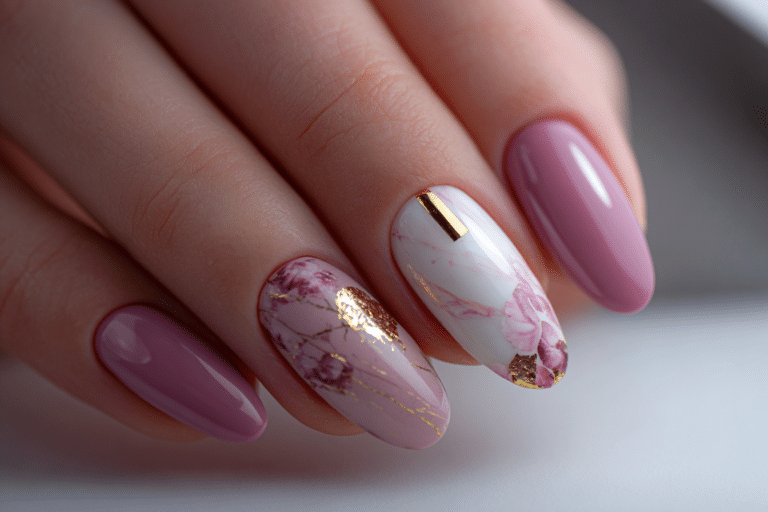
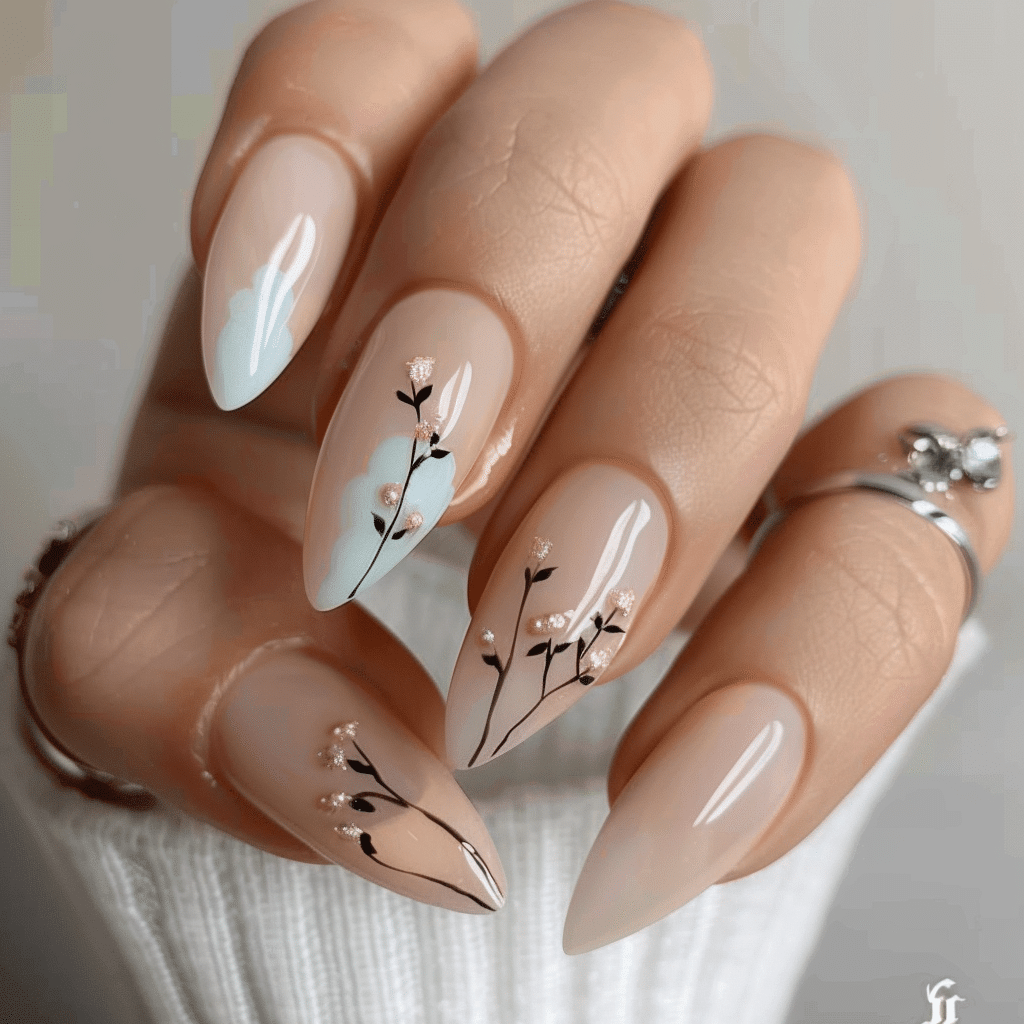
| Cherry Blossom Florals | Nude base with delicate pink cherry blossoms and branches | Spring festivals, date nights, professional settings |
| Lucky Rainbow Tips | French manicure with rainbow tips and gold accents | Playful occasions, casual outings, luck-themed events |
| Mint Chrome Nails | Metallic mint finish with mirror-like shine | Modern events, fashion-forward gatherings, nightlife |
| Watercolor Butterfly | Soft blended colors featuring delicate butterfly silhouettes | Garden parties, spring photoshoots, artistic events |
| Green Glitter Gradient | Clear to emerald glitter fade for sparkly sophistication | Celebrations, concerts, festive gatherings |
| Minimalist Line Art | White base with thin black line drawings of spring elements | Professional environments, minimalist aesthetic lovers |
Explore more seasonal nail inspiration and design tutorials at Gel Nails by Lina for year-round creative ideas.
Nail Care and Maintenance for March Designs
Proper maintenance extends the life of your March nail design ideas and keeps natural nails healthy underneath gel applications. Apply cuticle oil at least twice daily, focusing on the cuticle area and underneath the free edge where dryness commonly occurs. This simple habit prevents lifting, maintains flexibility, and adds natural shine that complements your spring nail art beautifully.
Protect your March manicure from harsh chemicals by wearing gloves during cleaning activities and avoiding prolonged water exposure when possible. While gel polish resists water better than traditional lacquer, excessive moisture exposure weakens adhesion over time. Pat hands dry thoroughly after washing and reapply cuticle oil to restore the protective moisture barrier that keeps nails strong.
Avoid using your nails as tools for opening cans, scratching labels, or prying objects apart during daily activities. These actions create stress points that lead to cracking, lifting, and premature chipping regardless of application quality. Instead, use appropriate tools for tasks and treat your nails gently to maximize wear time and maintain the pristine appearance of your designs.
Schedule regular maintenance appointments every two to three weeks to address regrowth and refresh your March nail designs as needed. Professional fill-ins prevent lifting at the cuticle area where new growth creates gaps. If visiting a salon is not feasible, learn safe removal techniques and reapplication methods from trusted sources like Gel Nails by Lina for at-home care.
How to Remove Gel Nails Safely
- File the shiny top coat layer gently using a coarse nail file to break the seal and allow acetone penetration without excessive abrasion.
- Soak cotton pads in pure acetone and place them directly on each nail, covering the entire surface area completely.
- Wrap each fingertip tightly with aluminum foil to create heat and prevent acetone evaporation during the soaking process.
- Wait patiently for 10-15 minutes without disturbing the wraps to allow acetone to dissolve the gel polish properly.
- Remove foil and cotton from one nail first to test if gel has softened sufficiently and slides off easily.
- Gently push softened gel toward the free edge using a wooden cuticle stick without applying excessive pressure on the nail plate.
- Repeat the soaking process for stubborn areas rather than forcing removal, which damages the natural nail surface unnecessarily.
- Buff nails lightly after complete removal to smooth any remaining residue and restore a natural nail surface appearance.
- Wash hands thoroughly with soap and warm water to remove all acetone traces from skin and nails.
- Apply generous amounts of cuticle oil and hand cream to restore moisture that acetone removed during the soaking process.
Nail Health and Safety
Maintaining nail health while enjoying March nail design ideas requires balancing creative expression with protective practices that preserve natural nail integrity. Never skip the base coat application, as this crucial layer creates a barrier between natural nails and pigmented gel polish that can cause staining. Base coats also provide the chemical foundation for proper adhesion, reducing lifting risks that expose nails to moisture and bacterial infiltration.
Limit consecutive gel manicure cycles to prevent over-curing damage and allow natural nails periodic recovery time between applications. Consider taking a one-week break every three to four months, during which you apply strengthening treatments and intensive cuticle oil therapy. This restoration period allows nails to regain natural moisture balance and repairs any micro-damage from filing or buffing activities.
Sterilize all nail tools between uses with rubbing alcohol or professional-grade disinfectant to prevent bacterial and fungal transmission. This practice is especially important when sharing tools among family members or using salon equipment. Proper sanitation protects against infections that compromise nail health and cause serious complications requiring medical intervention and extended treatment periods.
Frequently Asked Questions
How long do gel nails last?
Gel nails typically last two to three weeks with proper application and maintenance practices. The longevity depends on factors including nail preparation quality, lifestyle activities, and natural nail growth rate. Proper capping of the free edge and avoiding harsh chemicals significantly extends wear time beyond the average duration.
How to remove gel nails safely at home?
Remove gel nails safely by soaking them in pure acetone for 10-15 minutes after filing off the top coat layer. Wrap each nail in acetone-soaked cotton and aluminum foil to accelerate the softening process without forcing removal. Gently push softened gel off with a wooden cuticle stick and moisturize thoroughly afterward to restore nail hydration.
What is the difference between gel nails and acrylic nails?
Gel nails cure under UV or LED light and offer a more natural, flexible finish compared to acrylic nails. Acrylics use a liquid monomer and powder polymer system that air-dries to create harder, more durable extensions. Gel nails generally cause less damage during application and removal while providing a glossier appearance that requires less buffing.
Why do my gel nails peel after a few days?
Gel nails peel prematurely due to inadequate nail preparation, oil residue on the nail plate, or improper curing time. Moisture trapped under gel layers or applying product too close to cuticles also causes lifting and peeling. Always cleanse nails thoroughly, apply thin layers, cure completely, and cap the free edge to prevent early peeling problems.
How can I make my gel nails last longer?
Make gel nails last longer by applying cuticle oil daily, wearing gloves during household tasks, and avoiding excessive water exposure. Proper preparation including thorough cleansing and light buffing creates ideal adhesion conditions that extend wear time. Sealing the free edge with every coat and scheduling timely fill appointments prevents lifting and maintains pristine appearance throughout the wear period.
Conclusion
March nail design ideas offer endless creative possibilities that celebrate spring’s arrival and seasonal festivities with style and sophistication. From delicate cherry blossoms to playful shamrock accents, these designs transform ordinary manicures into wearable art that brightens every day. Apply these professional techniques, maintain proper nail health practices, and experiment with the seasonal color palettes that make March nails truly special. Visit Gel Nails by Lina for more inspiration and quality products that help you achieve salon-worthy results at home throughout the entire spring season.