Oval Nails Minimalist Design: The Ultimate Guide

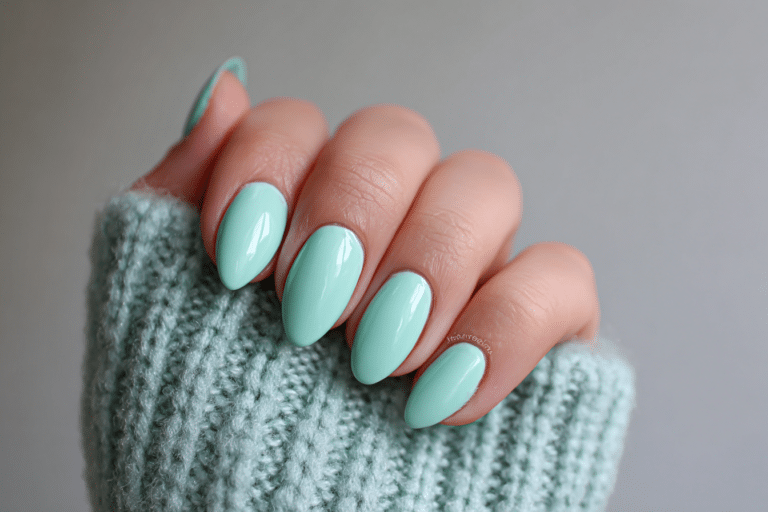
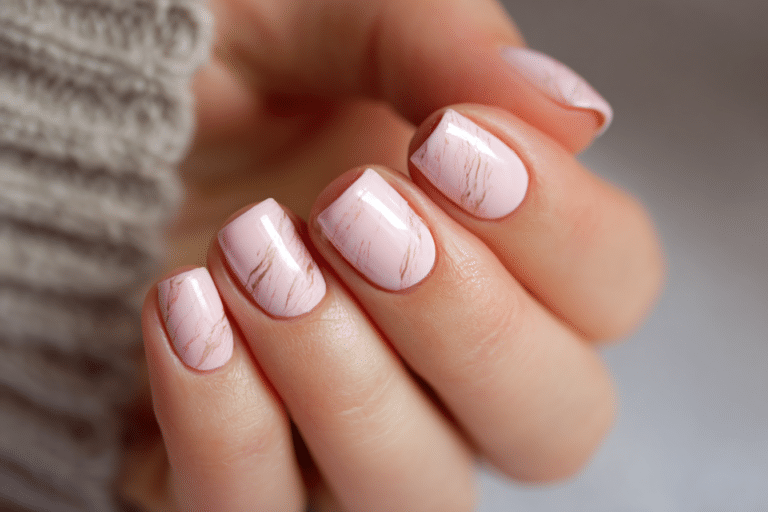
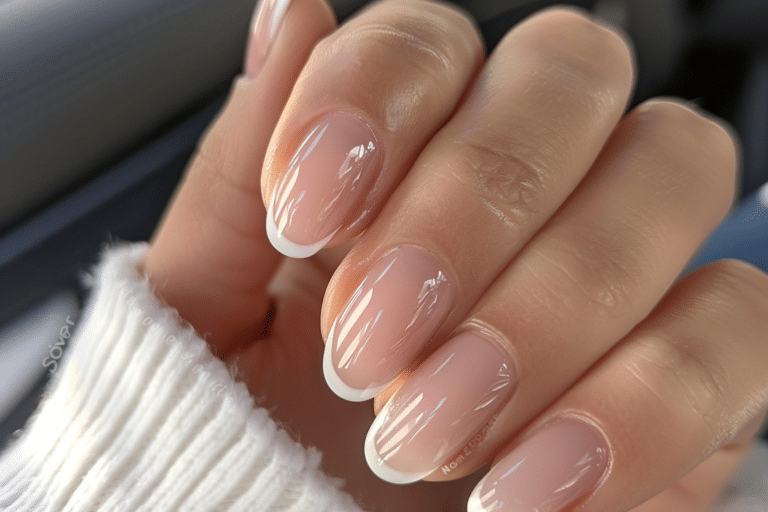
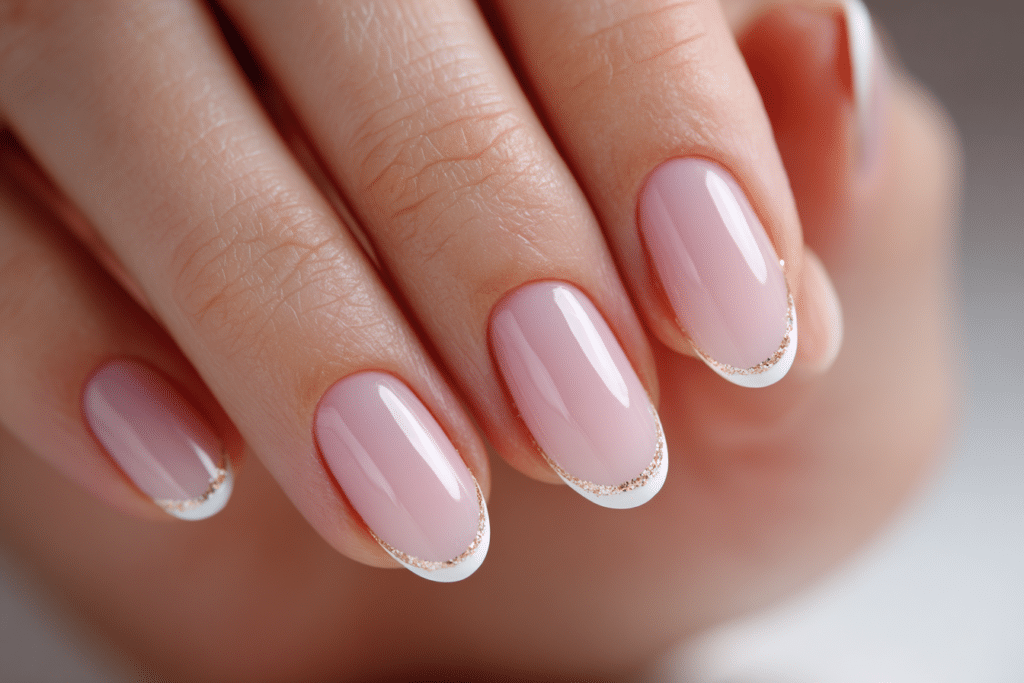
Oval nails minimalist design represents the perfect fusion of elegant shape and understated beauty.
This sophisticated nail style features gently rounded tips that elongate fingers while incorporating clean lines, negative space, and subtle color palettes. The combination creates timeless manicures suitable for any occasion from professional settings to special events.
| Topic | Details |
|---|---|
| Category | Nail Art / Gel Nails |
| Skill Level | Beginner to Intermediate |
| Time Needed | 45-60 minutes |
| Tools Needed | UV/LED lamp, gel polish, nail file, buffer, base and top coat |
| Best For | Anyone seeking elegant, versatile nail designs with low maintenance |
Table of Contents
Why This Nail Technique Works
The oval nail shape provides a universally flattering silhouette that complements various finger types and lengths. Unlike sharp stiletto or extreme almond shapes, oval nails distribute stress evenly across the nail plate, reducing breakage and extending wearability. This makes them ideal for natural nail growth and everyday activities without compromising aesthetic appeal.
Minimalist design principles enhance the oval shape by drawing attention to clean lines and balanced proportions. Simple geometric patterns, delicate accent lines, or strategically placed negative space create visual interest without overwhelming the nail canvas. This approach allows the natural beauty of the nail shape to shine while adding personalized artistic touches.
The combination of oval shape and minimalist aesthetics works particularly well with gel polish application. Gel formulas provide the smooth, high-gloss finish that minimalist designs require to achieve their sophisticated appearance. The cured gel surface creates a perfect backdrop for precise line work and subtle details that define this elegant style.
Tools and Products Needed
| Product | Purpose | Alternatives |
|---|---|---|
| UV/LED Lamp | Cures gel polish layers | Professional salon curing |
| Gel Base Coat | Protects natural nails and ensures adhesion | Ridge-filling base coat |
| Neutral Gel Polish | Primary color for minimalist designs | Sheer nude or soft pink shades |
| Detail Brush | Creates fine lines and precise patterns | Striping brush or dotting tool |
| Nail File 180 Grit | Shapes nails into oval form | Glass nail file |
| Nail Buffer | Smooths nail surface for even application | Fine-grit buffing block |
| Cuticle Oil | Hydrates nail bed and surrounding skin | Vitamin E oil or jojoba oil |
| Gel Top Coat | Seals design and adds shine | No-wipe top coat |
| Lint-Free Wipes | Removes sticky residue between layers | Cotton pads with minimal fibers |
| Isopropyl Alcohol | Cleanses nails before application | Nail prep dehydrator |
For more professional nail tools and products, visit Gel Nails by Lina to explore our curated collection of premium gel nail supplies.
Step-by-Step Application Guide
Nail Preparation
- Remove any existing polish completely using acetone or gel remover and lint-free wipes.
- Wash hands thoroughly with soap and water to eliminate oils and debris from nail surfaces.
- Push back cuticles gently using a wooden or rubber cuticle pusher to expose the entire nail plate.
- Trim nails to your desired length using professional nail clippers with smooth cutting edges.
- File nails into an oval shape by creating a gentle curve from sidewalls to the center tip.
- Buff the nail surface lightly with a fine-grit buffer to remove shine and create texture for adhesion.
- Cleanse each nail with isopropyl alcohol on a lint-free wipe to remove dust and oils completely.
Base Coat Application
- Apply a thin layer of gel base coat starting from the cuticle area and sweeping toward the tip.
- Cap the free edge by running the brush along the nail tip to seal and prevent chipping.
- Cure the base coat under your UV/LED lamp according to manufacturer specifications, typically 30-60 seconds.
- Check for any uncured spots or uneven coverage before proceeding to the next layer.
Gel Polish Layers
- Select your neutral or minimalist color palette, focusing on soft nudes, whites, or sheer pinks.
- Apply the first thin layer of gel polish using smooth, even strokes from cuticle to tip.
- Avoid flooding the cuticle area by leaving a small margin around the nail perimeter.
- Cure the first color layer in the UV/LED lamp for the recommended time, usually 30-60 seconds.
- Apply a second thin coat if additional opacity or color depth is desired for your design.
- Cure the second layer completely before adding any minimalist design elements or details.
Minimalist Design Application
- Choose your minimalist design elements such as thin lines, dots, negative space, or geometric shapes.
- Use a detail brush or striping tool dipped in contrasting gel polish to create precise lines.
- Apply designs to accent nails only or distribute subtle elements across all nails for cohesive appearance.
- Work with steady hands and light pressure to maintain clean, crisp edges in your design work.
- Cure each design layer separately if using multiple colors to prevent smudging or bleeding.
Finishing and Top Coat
- Apply a generous layer of gel top coat over the entire nail including all design elements.
- Cap the free edge thoroughly to seal the design and prevent premature lifting or chipping.
- Cure the top coat layer for the full recommended time, typically 60 seconds for complete hardening.
- Wipe away the sticky inhibition layer using isopropyl alcohol and a lint-free wipe if applicable.
- Apply cuticle oil generously around the nail perimeter to hydrate and nourish the surrounding skin.
- Massage the oil into cuticles and sidewalls to promote healthy nail growth and flexibility.
Explore more detailed tutorials and techniques at Gel Nails by Lina for comprehensive nail art education.
Pro Nail Technician Tips
- Keep gel polish layers thin and even to prevent premature lifting, wrinkling, or inadequate curing during the lamp exposure phase.
- File oval nails with smooth, consistent strokes in one direction to prevent splitting and maintain symmetrical shape across all fingers.
- Use striping tape as a guide for creating perfectly straight lines in minimalist designs, then remove immediately after curing.
- Allow each gel layer to cure completely before applying the next to ensure proper adhesion and prevent contamination between colors.
- Maintain proper nail preparation by ensuring nails are completely dry and oil-free before applying base coat for maximum longevity.
- Store gel polishes away from direct sunlight and heat sources to preserve consistency and prevent premature thickening or separation.
Common Gel Nail Mistakes
| Mistake | Why it Happens | How to Fix |
|---|---|---|
| Thick Gel Layers | Applying too much product in single application creates uneven curing | Use thin coats and build opacity gradually with multiple layers |
| Improper Curing | Insufficient lamp wattage or expired bulbs prevent complete polymerization | Replace lamp bulbs regularly and cure for full recommended time |
| Skipping Nail Prep | Rushing preparation steps leaves oils and debris that block adhesion | Always cleanse, buff, and dehydrate nails thoroughly before base coat |
| Flooding the Cuticle | Applying polish too close to cuticle area causes lifting and premature peeling | Leave small margin around cuticles and clean excess immediately with brush |
| Inconsistent Oval Shape | Filing without reference points creates asymmetrical or unbalanced nail shapes | Mark center point of each nail and file symmetrically from both sides |
Oval Nails Minimalist Design Variations
| Style | Description | Best Occasion |
|---|---|---|
| Negative Space Lines | Clear sections combined with thin geometric lines in nude or black | Professional workplace, modern events |
| Single Accent Stripe | One vertical or horizontal line on neutral base color | Everyday wear, casual outings |
| Dot Minimalism | Small dots arranged in simple patterns on sheer or nude base | Date nights, social gatherings |
| Half-Moon Design | Defined cuticle area in contrasting shade with bare or colored tips | Formal events, weddings |
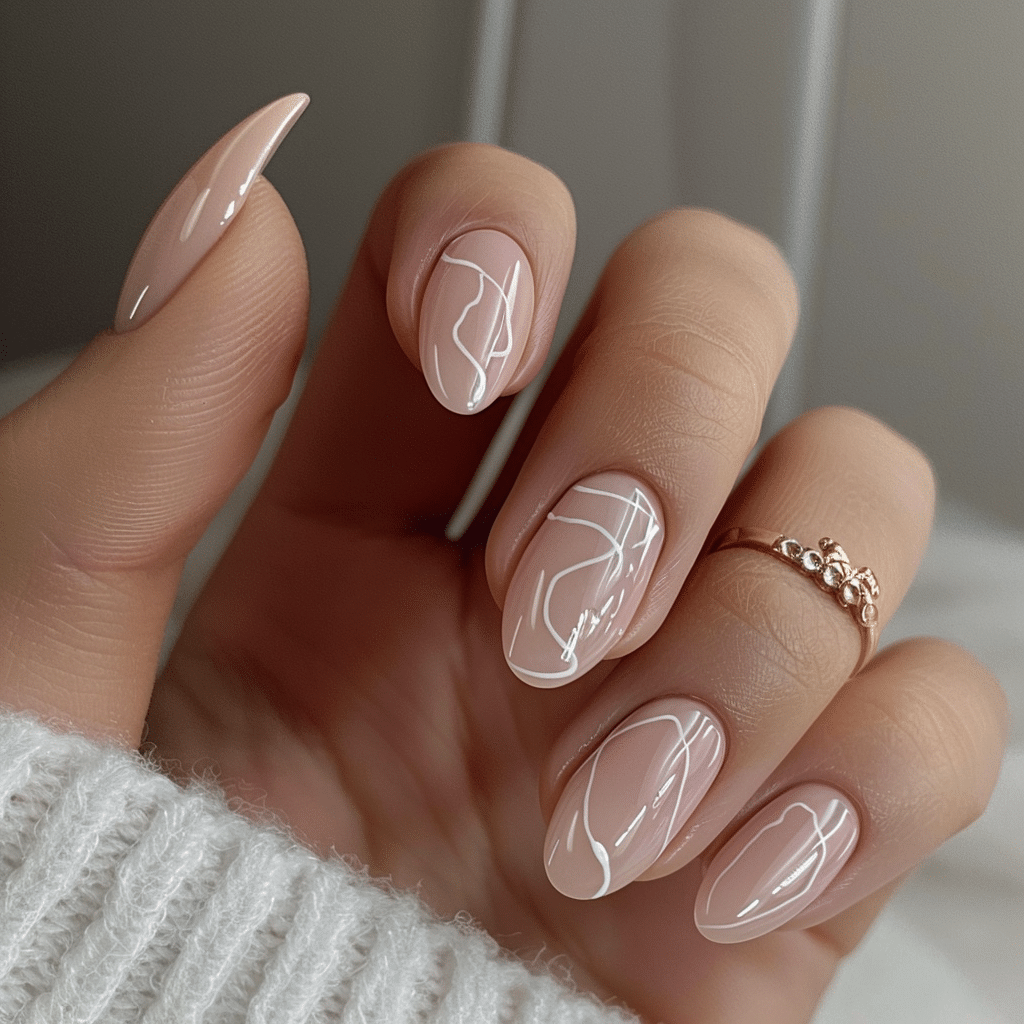
| Abstract Single Line | One curved or angular line across nail for artistic statement | Creative settings, fashion events |
| Monochrome Minimalist | Single neutral color with matte or glossy finish variations | All occasions, timeless versatility |
Nail Care and Maintenance
Proper maintenance of oval nails with minimalist designs ensures long-lasting wear and healthy natural nails underneath. Apply cuticle oil daily, preferably twice per day, to maintain moisture balance and prevent dryness that leads to lifting. Focus application around the cuticle area and massage gently to promote blood circulation and encourage strong nail growth.
Protect your gel manicure by wearing gloves during household cleaning tasks or activities involving harsh chemicals and prolonged water exposure. Avoid using nails as tools for opening cans, scratching surfaces, or picking at objects, as this creates stress points that cause cracking. Keep nails at a practical length that suits your lifestyle to minimize accidental breakage while maintaining the elegant oval shape.
Schedule regular maintenance appointments every two to three weeks to address regrowth and maintain design integrity. During this time, assess nail health and allow nails to breathe occasionally between gel applications. Hydrate hands regularly with quality hand cream to support overall nail and skin health, complementing your beautiful oval nails minimalist design aesthetic.
How to Remove Gel Nails Safely
- File the shiny top coat layer gently using a coarse nail file to break the seal and allow acetone penetration.
- Soak cotton pads in pure acetone and place them directly on each nail surface covering the entire area.
- Wrap each finger with aluminum foil strips to secure cotton pads and prevent acetone evaporation during soaking.
- Wait 10-15 minutes to allow acetone to dissolve the gel polish layers without forceful scraping or peeling.
- Remove foil wraps and cotton pads, then gently push softened gel off using a wooden cuticle stick.
- Buff nails lightly to remove any remaining gel residue without over-filing the natural nail plate.
- Wash hands thoroughly with soap and warm water to remove all acetone traces from skin.
- Apply cuticle oil and rich hand cream generously to restore moisture lost during the removal process.
Nail Health and Safety
Maintaining healthy nails while enjoying gel manicures requires attention to proper application and removal techniques. Over-filing the nail surface during preparation weakens the nail plate and increases sensitivity, so use light pressure with appropriate grit files. Allow nails periodic breaks between gel applications to restore natural moisture levels and assess underlying nail condition for any signs of damage or infection.
Watch for warning signs such as persistent yellowing, green discoloration, pain, or separation between nail and nail bed, which may indicate fungal or bacterial infections. If these symptoms appear, discontinue gel applications immediately and consult a dermatologist for proper diagnosis and treatment. Keep tools sanitized and avoid sharing nail implements to prevent cross-contamination and infection transmission.
Frequently Asked Questions
How long do gel nails last?
Gel nails typically last two to three weeks with proper application and care before requiring maintenance or removal. The longevity depends on factors including nail preparation quality, lifestyle activities, and natural nail growth rate. Proper cuticle care and avoiding harsh chemicals extend wear time significantly. Some individuals experience up to four weeks of wear with minimal chipping or lifting.
How to remove gel nails safely at home?
Safe gel nail removal requires soaking nails in pure acetone for 10-15 minutes while wrapped in foil to soften the polish. Never peel or force gel polish off, as this damages the natural nail layers underneath. Gently push softened gel with a wooden cuticle stick and buff away residue carefully. Follow removal with intensive moisturizing using cuticle oil and hand cream to restore hydration.
What is the difference between gel nails and acrylic nails?
Gel nails use light-cured polish that remains flexible and creates a natural appearance with glossy finish. Acrylic nails involve liquid monomer and powder polymer that air-dry into hard extensions suitable for added length and strength. Gels offer easier removal and less damage to natural nails, while acrylics provide more durability for extreme lengths. Gels suit those preferring natural-looking manicures, whereas acrylics work better for dramatic nail enhancements.
Why do my gel nails peel after a few days?
Gel nails peel prematurely due to inadequate nail preparation, moisture or oil on the nail plate, or improper curing time. Skipping dehydration steps or applying thick gel layers prevents proper adhesion and polymerization. Flooding the cuticle area during application creates lift points where moisture enters and separates the gel. Ensure thorough nail prep, thin polish layers, and complete curing to prevent peeling issues.
How can I make my gel nails last longer?
Making gel nails last longer requires meticulous nail preparation including proper buffing, dehydration, and cuticle care before application. Apply thin, even gel layers and cure each completely under appropriate wattage UV/LED lamp. Use cuticle oil daily to maintain flexibility and prevent dryness that causes lifting. Wear gloves during cleaning tasks and avoid prolonged water exposure to protect the gel manicure integrity.
For more expert advice and professional gel nail services, visit Gel Nails by Lina for personalized consultations and premium products.
Conclusion
Oval nails minimalist design offers the perfect balance of elegance and practicality for any nail enthusiast seeking sophisticated style. This timeless approach combines flattering nail shaping with understated artistic elements that suit every occasion and personal aesthetic. By following proper application techniques, maintaining nail health, and experimenting with subtle design variations, you can achieve salon-quality results that showcase your refined taste. Embrace the beauty of simplicity and create stunning oval nails minimalist design manicures that reflect your personal style while prioritizing nail health and longevity.