Easy Wedding Nail Art Ideas for Short Nails

It was my best friend’s wedding day, and I was tasked with the honor of being a bridesmaid. I was thrilled! But as the day approached, panic set in. My nails looked like they belonged to a construction worker rather than a bridal party member. I headed to the salon, eagerly awaiting my dazzling nail transformation. But what I got instead was a disaster. The long, gaudy extensions weren’t just impractical; they also felt like they could fall off any moment!
After that embarrassing experience, I decided to take my nail fate into my own hands. I learned how to create stunning nail art on short nails, and now I’m excited to share some easy ideas with you that are perfect for weddings.
Table of Contents
Why Choose Short Nails for Your Wedding Look?
Short nails are often easier to maintain and can be just as beautiful and sophisticated as longer ones. Here are some benefits:
- Practicality: Short nails are functional and less likely to get snagged.
- Variety: You can experiment with various designs that speak to your style.
- Comfort: Perfect for brides who want to enjoy their big day without any discomfort.
Easy Wedding Nail Art Ideas for Short Nails
1. Classic French Tip
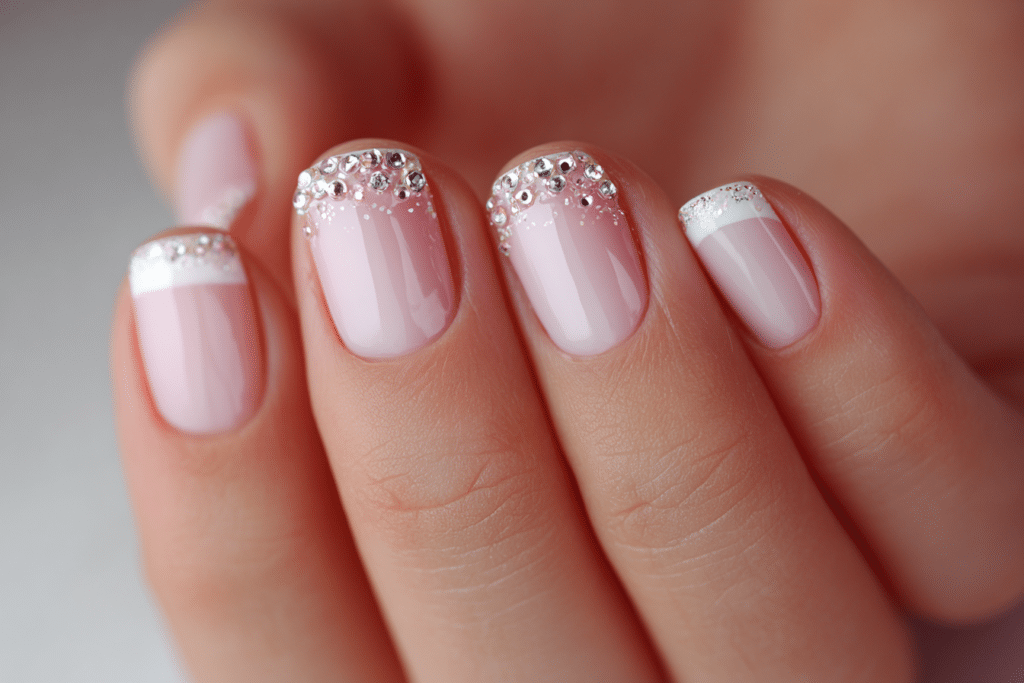
A timeless design that never goes out of style. You can personalize it by adding a colored tip or some glitter.
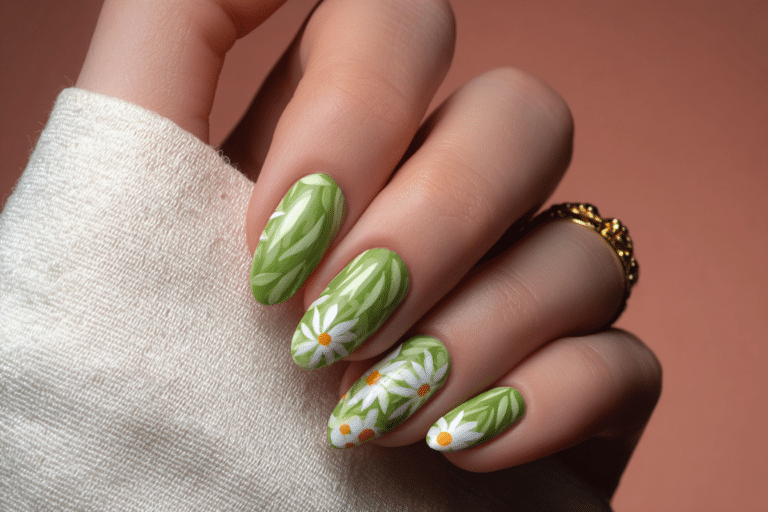
2. Floral Elegance
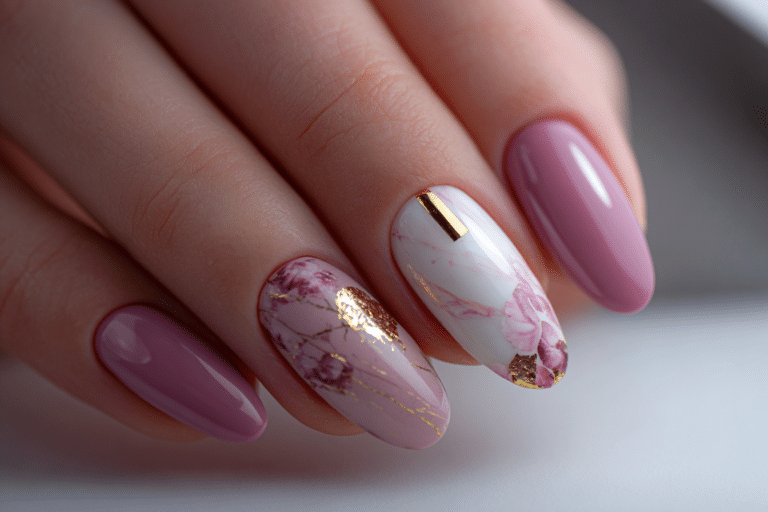
Floral designs are perfect for a wedding. You can paint small blooms using gentle pastels that blend beautifully.
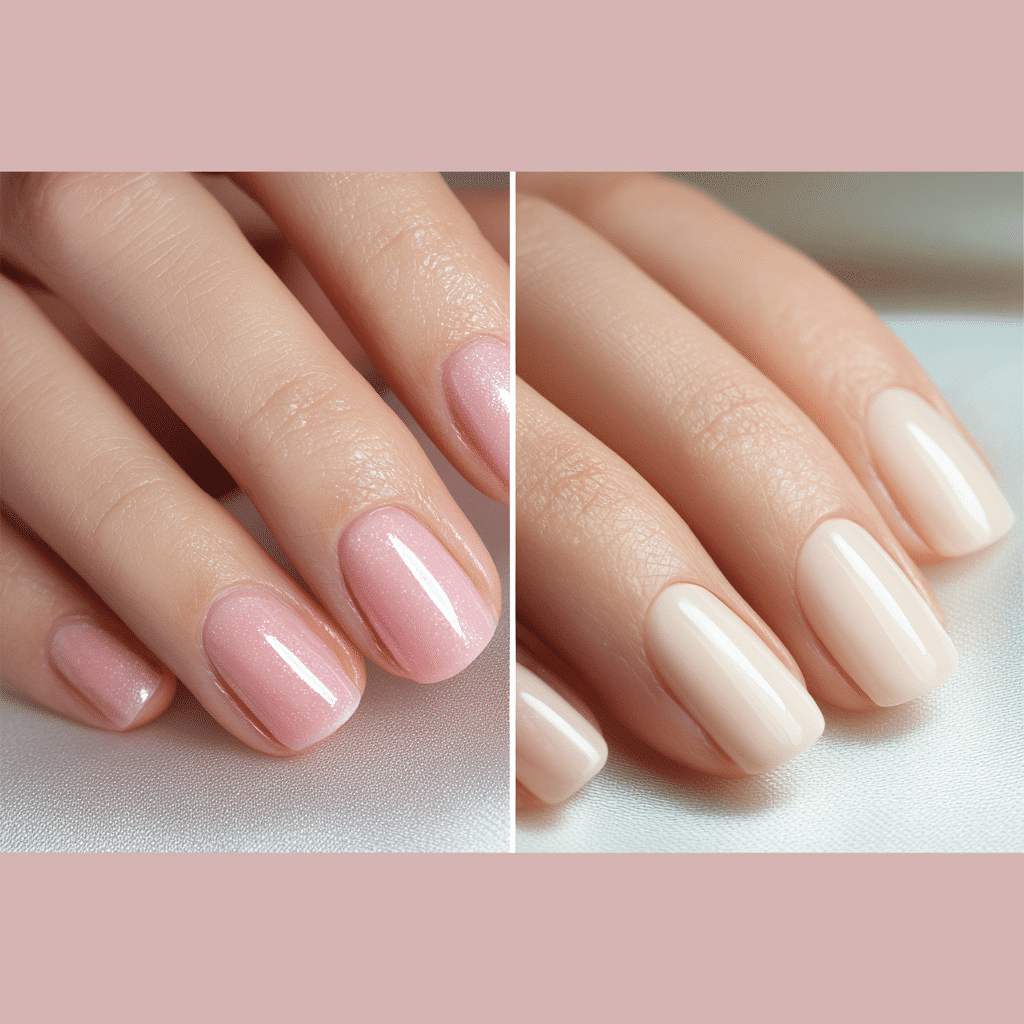
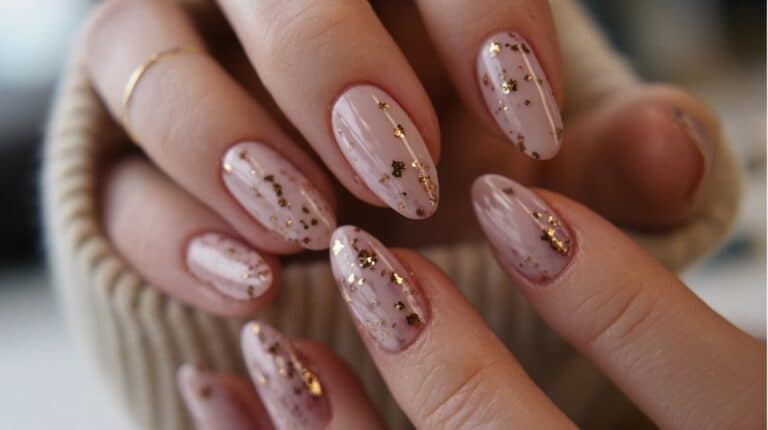
3. Minimalist Metallics
A metallic accent can elevate your nail game. Try a simple coat of nude with a metallic line or dot for a chic look.
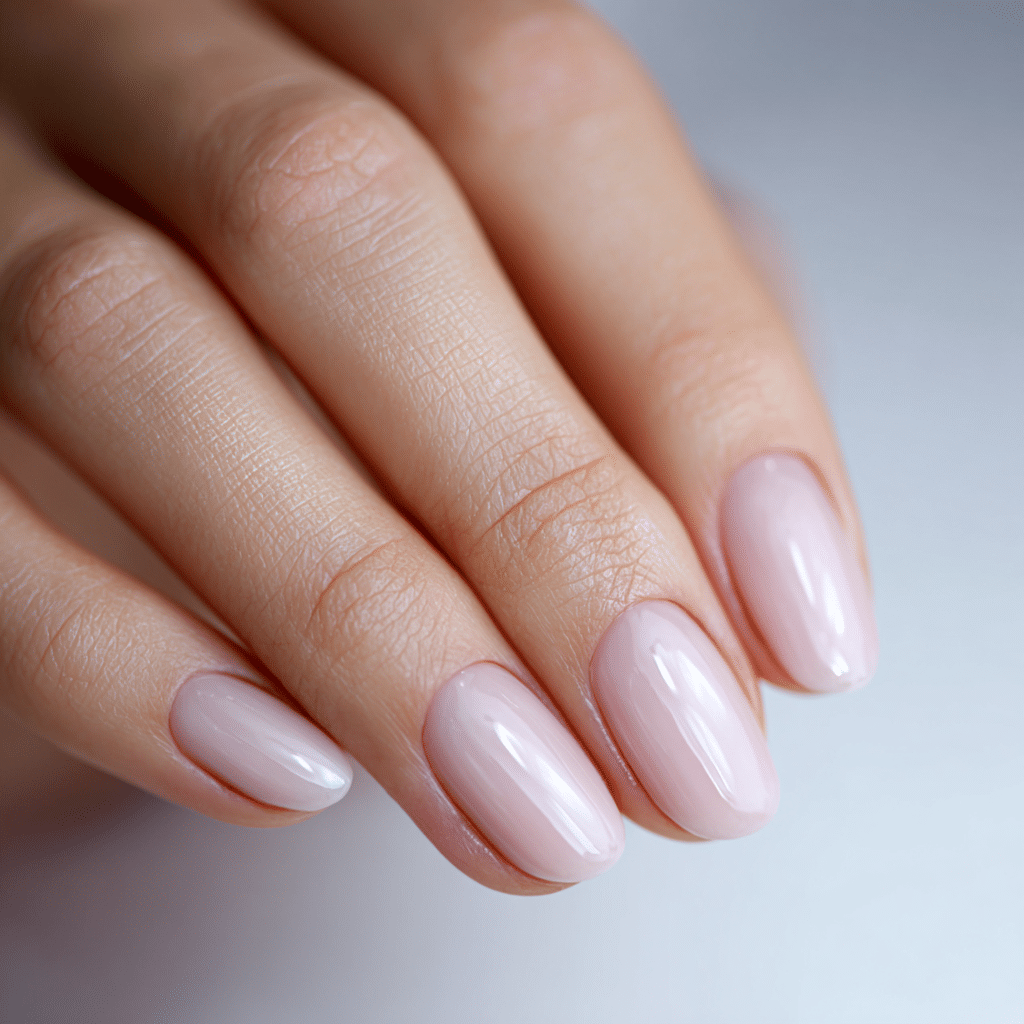
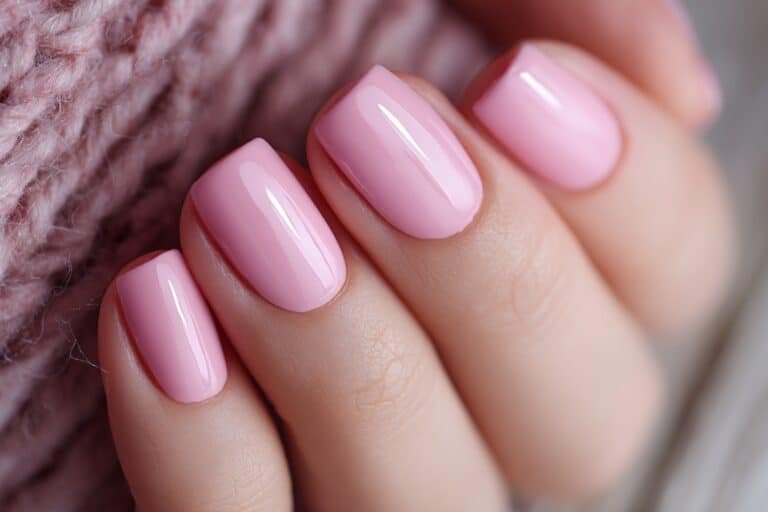
4. Ombre Bliss
Blend two soft colors for a subtle ombre effect. Think beautiful shades of pink and peach for a romantic vibe.
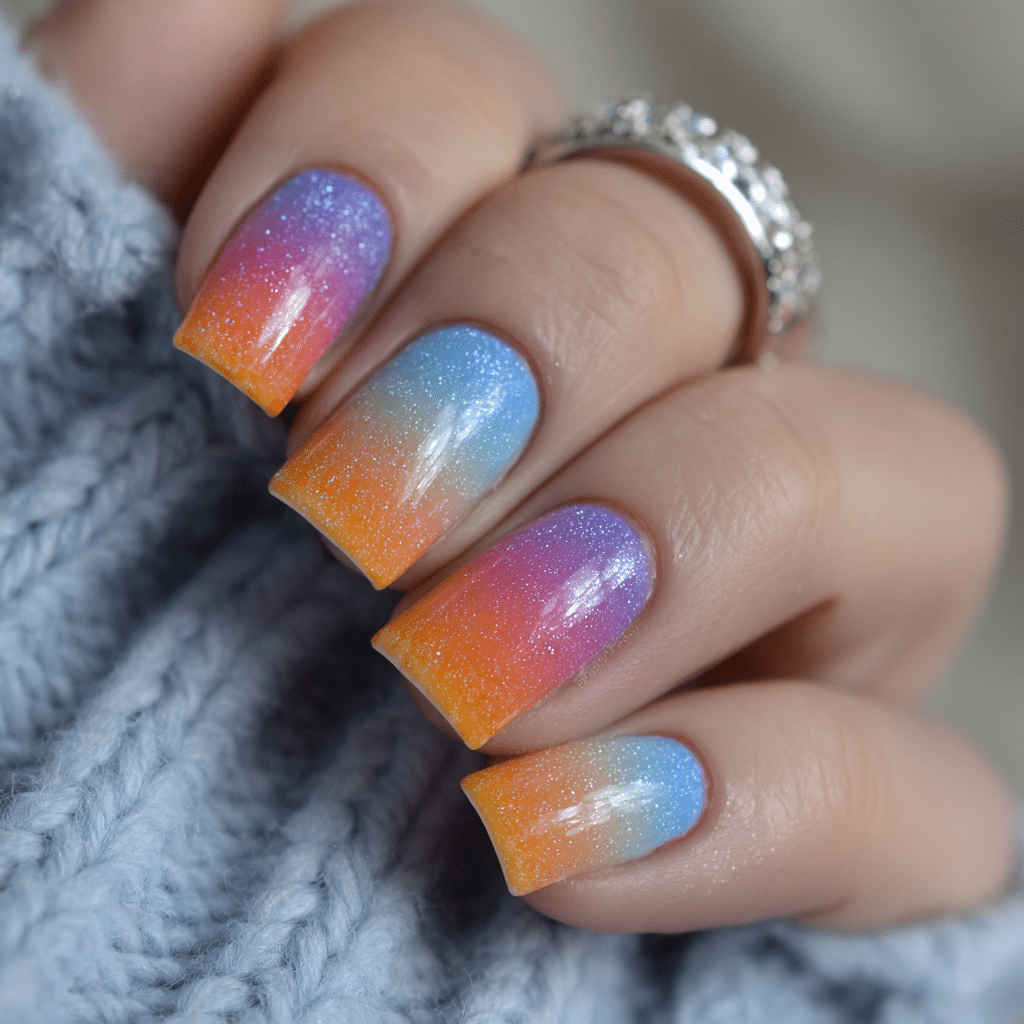
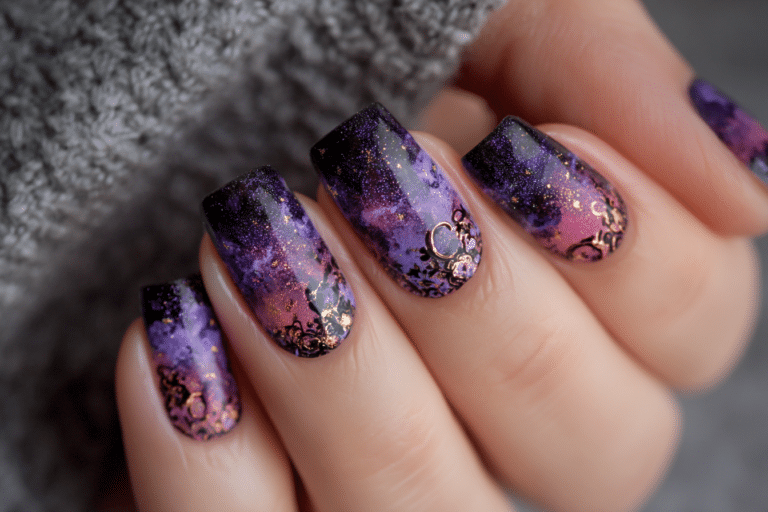
5. Sparkling Glitter
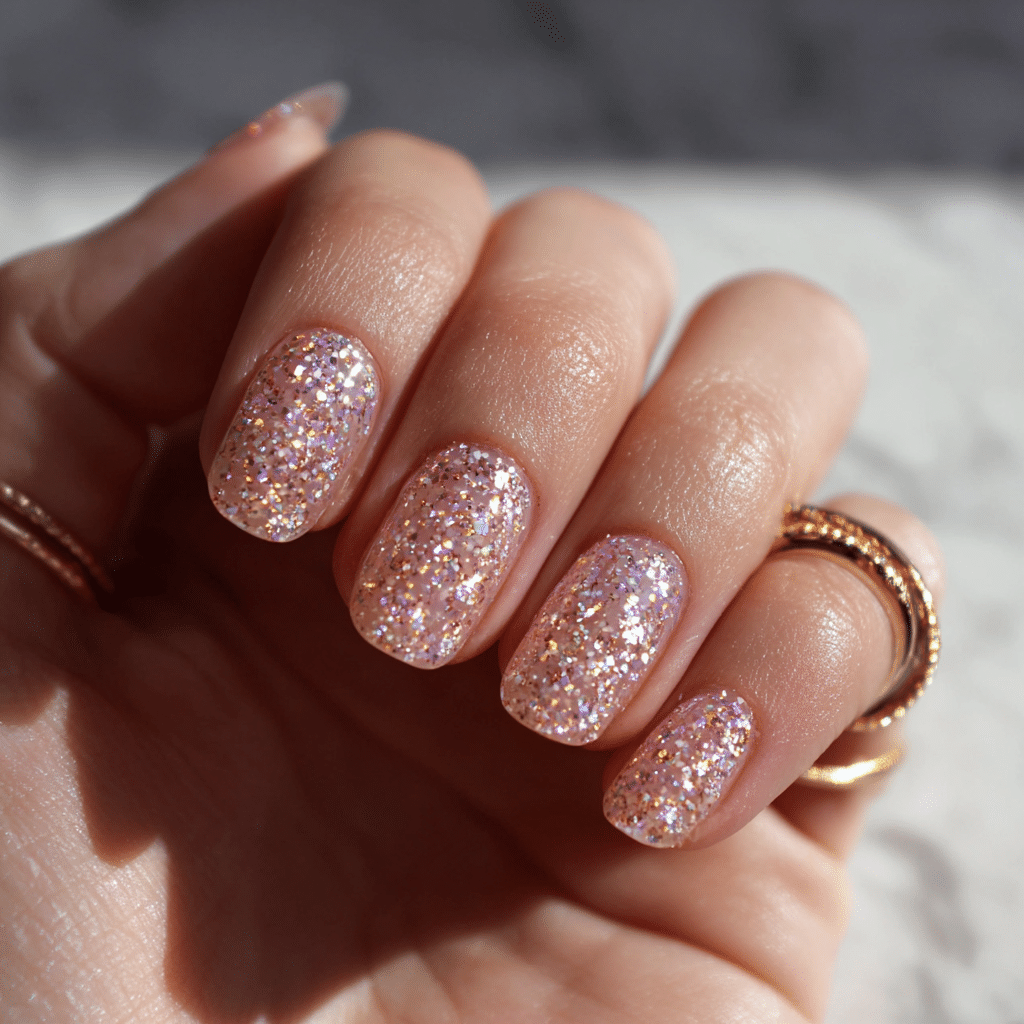
Add some sparkle to your short nails! A glitter gradient starting from the cuticle can create a stunning effect.
Step-by-Step Guide to Creating Easy Wedding Nail Art
What You’ll Need:
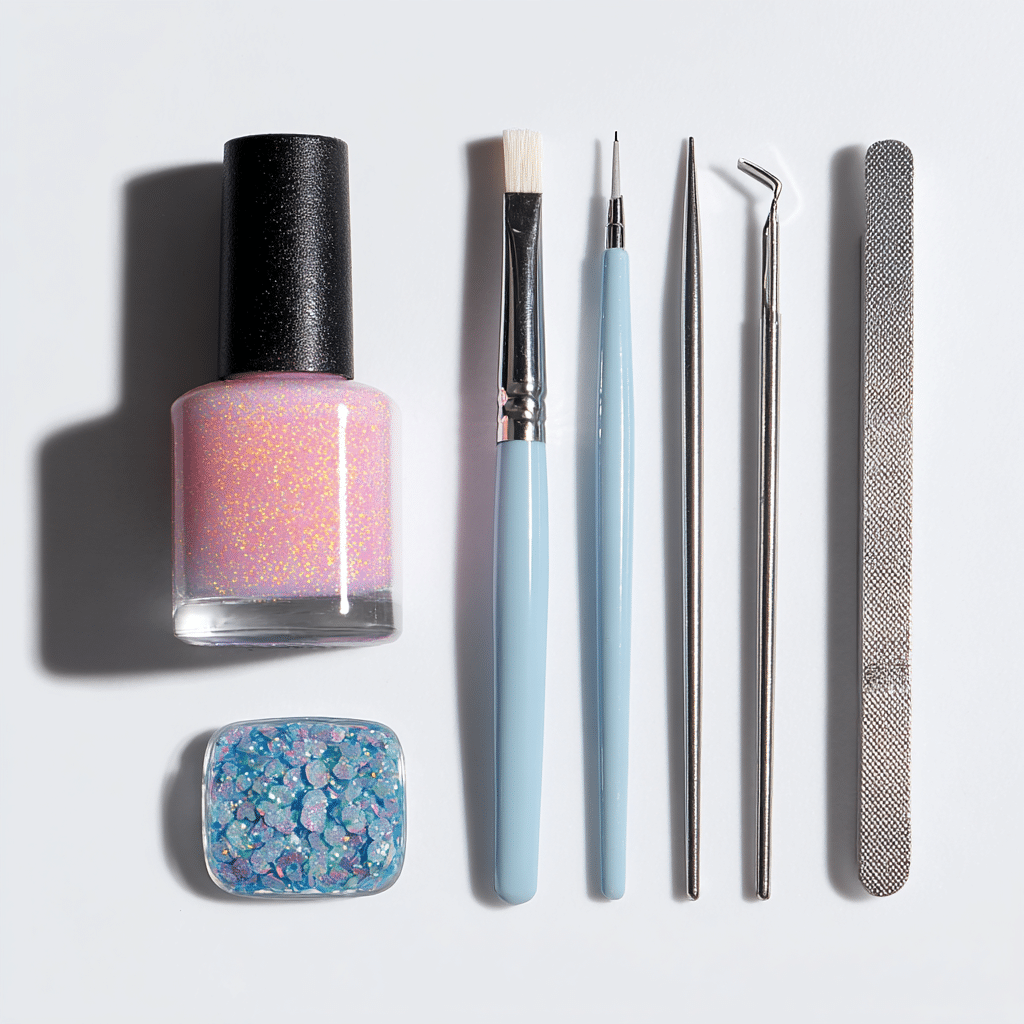
- Nail polish (base coat, color, top coat)
- Nail art brushes or dotting tools
- Striping tape
- Glitter or gems (optional)
- Nail file & buffer
Steps:
- Start with clean, shaped nails.
- Apply a base coat to protect your nails.
- Once dry, paint your chosen base color.
- Add your designs using a nail art brush or dotting tool.
- Finish with a top coat to seal in your design.
Common Mistakes and Pro Tips
Common Mistakes:
- Skipping the base coat can lead to staining.
- Painting too thickly can cause bubbles.
- Not allowing adequate drying time between coats.
Pro Tips:
- Practice your design on a piece of paper before applying it to your nails.
- Use professional quality nail polish for better results.
- Always carry a small nail polish for touch-ups on your wedding day.
Tools & Products Recommended
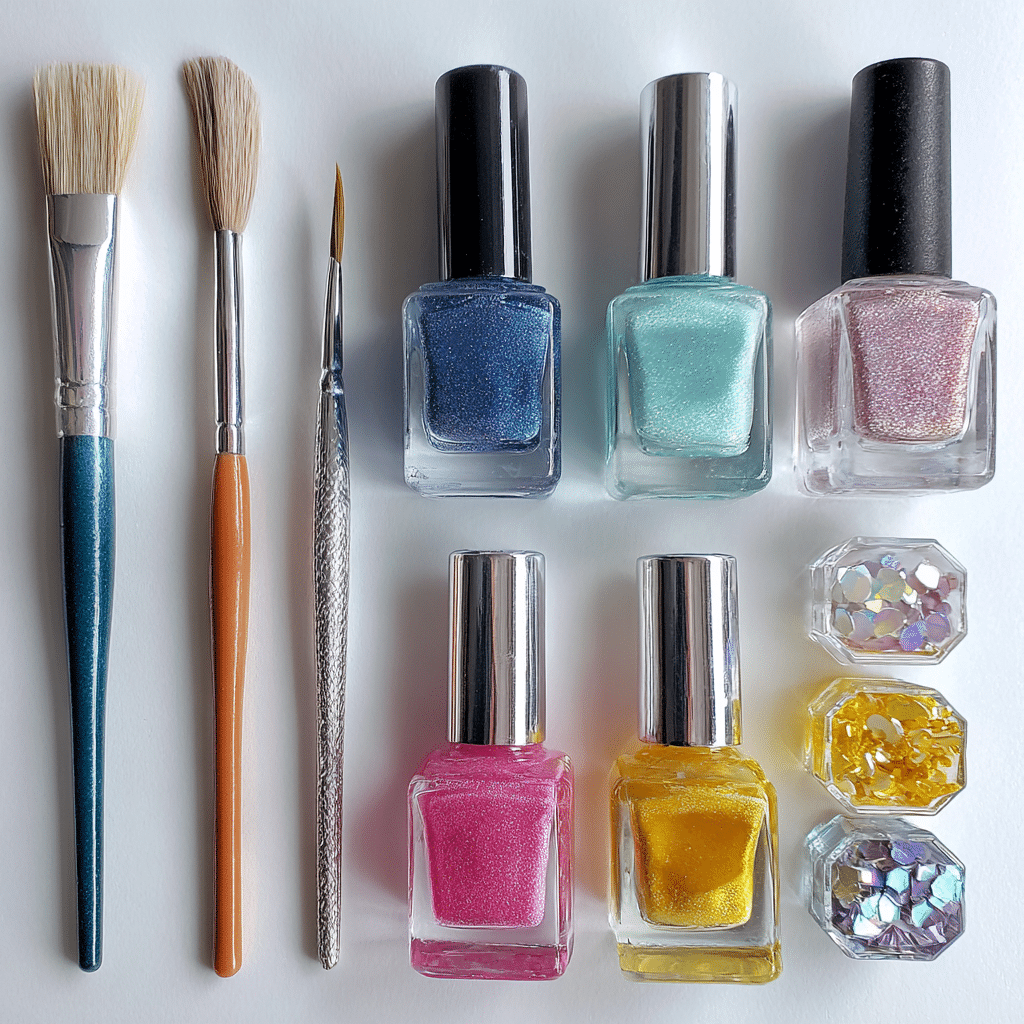
To achieve the perfect wedding nail art, consider these must-have products:
- Quality base and top coat
- Variety of nail polish colors
- Nail art brushes and tools
- Glitter and gems for added flair
- Nail strengthening treatments
FAQs About Wedding Nail Art
1. Can I do nail art on my own?
Absolutely! With practice, you can master easy designs.
2. How long will the nail art last?
If done correctly, it can last up to two weeks with proper care.
3. How do I remove nail art?
Use a gentle nail polish remover and soak the nails for a few minutes.
4. Are there any specific colors to avoid?
Bright neons might not fit all wedding themes; consider soft pastels or neutrals instead.
5. How can I make my nails look healthier?
Use a strengthening treatment and ensure to hydrate your cuticles.
Conclusion: Your Perfect Wedding Nails Await
Choosing easy nail art ideas for short nails can transform your wedding look and boost your confidence. With the right tools and a little practice, you can create stunning designs that reflect your personal style. As you prepare for your special day, remember that your nails deserve just as much attention as your dress and bouquet. Don’t forget to join our Pinterest for more inspiring nail art tips