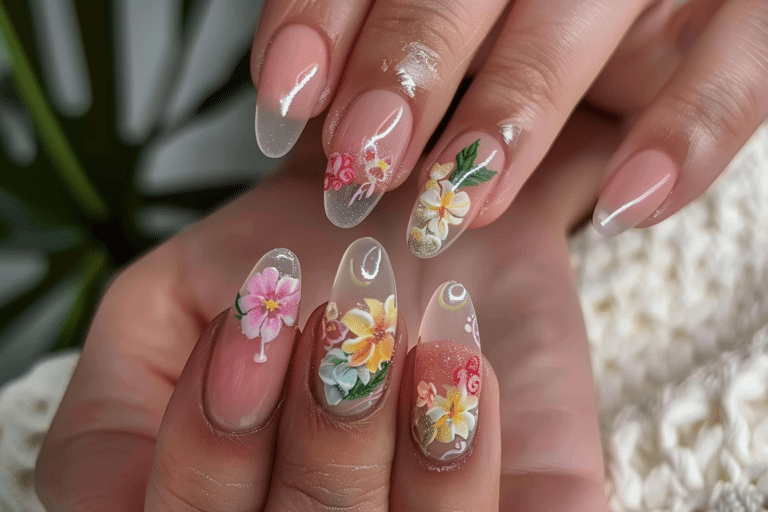
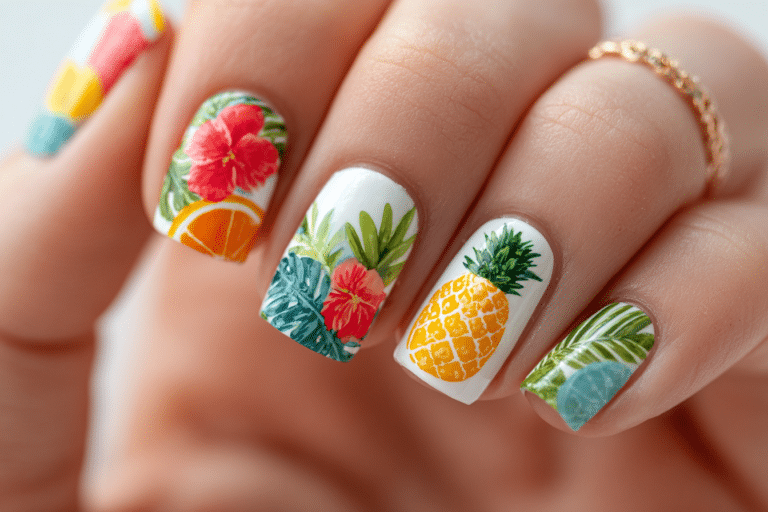
Simple And Beautiful Nails

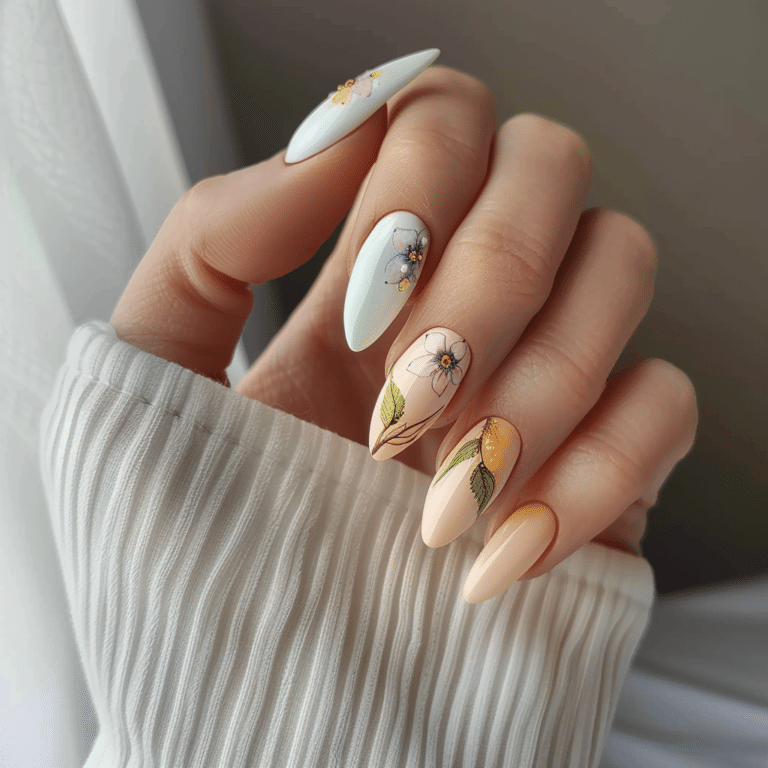
Simple and beautiful nails represent the perfect balance between elegance and ease, making them ideal for anyone seeking a polished look without complex designs.
This approach to nail care emphasizes clean lines, healthy nail beds, and flawless application techniques that highlight natural beauty. Whether you are preparing for a special occasion or maintaining your everyday style, mastering these fundamentals will transform your manicure routine.
| Topic | Details |
|---|---|
| Category | Gel Nails / Nail Art |
| Skill Level | Beginner to Intermediate |
| Time Needed | 45-60 minutes |
| Tools Needed | UV/LED lamp, gel polish, nail file, base coat, top coat |
| Best For | Anyone seeking elegant, low-maintenance nail styles |
Table of Contents
Why This Nail Technique Works
The philosophy behind simple and beautiful nails focuses on creating a timeless aesthetic that complements any outfit or occasion. This approach works because it prioritizes nail health and proper application over complicated embellishments that may overwhelm the natural nail shape. By concentrating on flawless execution of basic techniques, you create a foundation that makes even the simplest color choice look professionally done.
Gel polish systems excel at delivering simple beauty because they provide superior shine, durability, and color saturation compared to traditional nail lacquers. The curing process creates a chemical bond with the nail plate that resists chipping for up to three weeks. This longevity means your simple design maintains its pristine appearance throughout your daily activities, from typing at work to household tasks.
Professional nail technicians recognize that simplicity requires precision, making proper preparation and application techniques absolutely essential. When you master the fundamentals of cuticle care, even polish layers, and proper curing times, you create a canvas that showcases the true beauty of well-maintained nails. This technique works universally across all nail lengths, shapes, and skin tones, making it an accessible option for everyone.
Tools and Products Needed
| Product | Purpose | Alternatives |
|---|---|---|
| UV/LED Lamp | Cures gel polish to create durable finish | LED-only lamp for faster curing |
| Base Coat | Protects natural nail and ensures adhesion | Peel-off base for easy removal |
| Gel Polish | Provides color and long-lasting wear | Gel nail strips for quick application |
| Top Coat | Seals design and adds brilliant shine | Matte top coat for different finish |
| Nail File | Shapes nail edges and smooths surface | Glass file for gentler filing |
| Nail Buffer | Creates smooth surface for polish adhesion | Fine-grit file block |
| Cuticle Oil | Hydrates cuticles and surrounding skin | Vitamin E oil or jojoba oil |
| Cuticle Pusher | Gently pushes back cuticle line | Orangewood stick for softer approach |
| Nail Cleanser | Removes oils and prepares nail surface | Isopropyl alcohol as substitute |
| Lint-Free Wipes | Cleans nails without leaving residue | Cotton pads with minimal lint |
For premium gel nail products and professional-grade tools, visit Gel Nails by Lina to explore curated collections perfect for achieving simple and beautiful nails at home.
Step-by-Step Application Guide
Nail Preparation
- Remove any existing polish completely using acetone-based remover and lint-free wipes to ensure a clean starting surface.
- Trim nails to your desired length using sharp nail clippers, cutting straight across to prevent ingrown edges.
- File nails into your preferred shape using smooth, one-directional strokes from corner to center to avoid splitting.
- Soak fingertips in warm water for three to five minutes to soften cuticles and make them easier to manage.
- Push back cuticles gently using a cuticle pusher at a 45-degree angle, never cutting them to avoid infection risk.
- Buff the nail surface lightly using a fine-grit buffer to remove shine and create better adhesion for gel products.
- Clean nails thoroughly with nail cleanser or isopropyl alcohol to remove all oils, dust, and residue from buffing.
Base Coat Application
- Apply a thin layer of base coat starting from the cuticle line and sweeping toward the free edge in smooth strokes.
- Cap the free edge by running the brush along the nail tip to seal and prevent premature lifting.
- Ensure the base coat covers the entire nail surface without flooding the cuticles or touching the skin.
- Cure the base coat under your UV/LED lamp according to manufacturer instructions, typically 30 to 60 seconds.
Gel Polish Layers
- Apply the first gel polish layer thinly and evenly, maintaining distance from the cuticle and side walls to prevent flooding.
- Cap the free edge with color just as you did with the base coat to ensure complete coverage.
- Cure the first color layer under the lamp for the recommended time, usually 60 seconds for LED lamps.
- Apply a second thin layer of gel polish to build opacity and achieve rich, saturated color without thickness.
- Cure the second color layer completely, ensuring the lamp reaches all five fingers simultaneously for even polymerization.
Curing Process
- Position your hand correctly inside the lamp chamber so all nails receive equal light exposure during curing.
- Avoid moving your hand during the curing cycle to prevent incomplete polymerization that leads to peeling.
- Follow specific curing times for each product, as different brands require varying durations for proper hardening.
- Allow nails to cool briefly between coats if they feel warm, as excessive heat can cause gel to lift.
Finishing and Top Coat
- Apply a thin layer of top coat over the cured color, ensuring complete coverage from cuticle to free edge.
- Cap the free edge generously with top coat to create a sealed barrier against water and daily wear.
- Cure the top coat for the full recommended time to achieve maximum hardness and brilliant shine.
- Wipe away the tacky residue layer using cleanser and a lint-free wipe if your top coat is not a no-wipe formula.
- Apply cuticle oil around each nail and massage gently to hydrate the skin and add finishing touches.
Find detailed tutorials and product recommendations at Gel Nails by Lina to perfect your technique and achieve salon-quality results.
Pro Nail Technician Tips
- Apply gel polish in thin layers rather than thick coats to prevent wrinkling, shrinking, or incomplete curing that compromises durability.
- Maintain a two-millimeter gap between the gel product and your cuticle line to allow for natural nail growth without visible lifting.
- Clean your LED lamp bulbs regularly with rubbing alcohol to maintain optimal curing power and prevent inconsistent results over time.
- Store gel polish bottles upside down for 24 hours before use to ensure pigments mix evenly and prevent streaky application.
- Dehydrate the nail plate properly before application by using a pH-balancing prep solution to remove invisible oils that cause lifting.
- Cure each hand separately rather than both simultaneously to ensure every nail receives adequate light exposure for complete polymerization.
Common Gel Nail Mistakes
| Mistake | Why It Happens | How to Fix |
|---|---|---|
| Thick Gel Layers | Applying too much product at once to save time | Use thin coats and build coverage gradually with multiple layers |
| Improper Curing | Wrong lamp wattage or insufficient curing time | Follow product instructions exactly and replace lamp bulbs annually |
| Skipping Nail Prep | Rushing through cleaning and buffing steps | Always cleanse thoroughly and buff lightly for proper adhesion |
| Flooding the Cuticle | Applying polish too close to the cuticle line | Leave small gap and use cleanup brush with acetone if needed |
| Not Capping Edges | Forgetting to seal the free edge with each layer | Run brush along nail tip with every coat including base and top |
Nail Design Variations for Simple And Beautiful Nails
| Style | Description | Best Occasion |
|---|---|---|
| Classic French Tips | Nude base with white tips for timeless elegance | Weddings, professional settings, formal events |
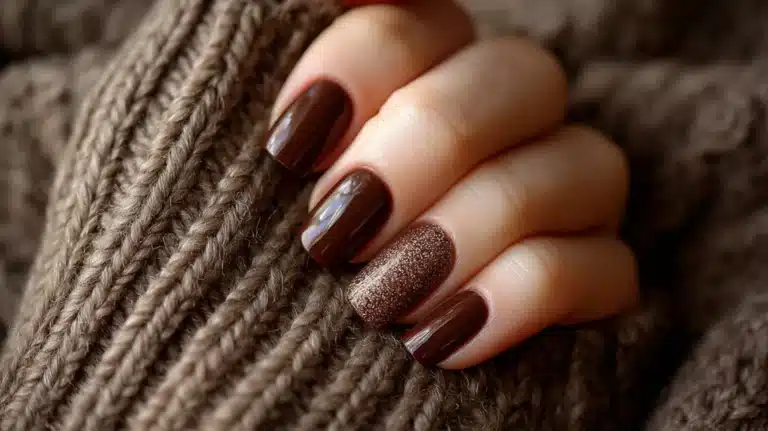
| Minimalist Accent Nail | Single nail featuring subtle metallic or glitter detail | Date nights, casual outings, everyday wear |
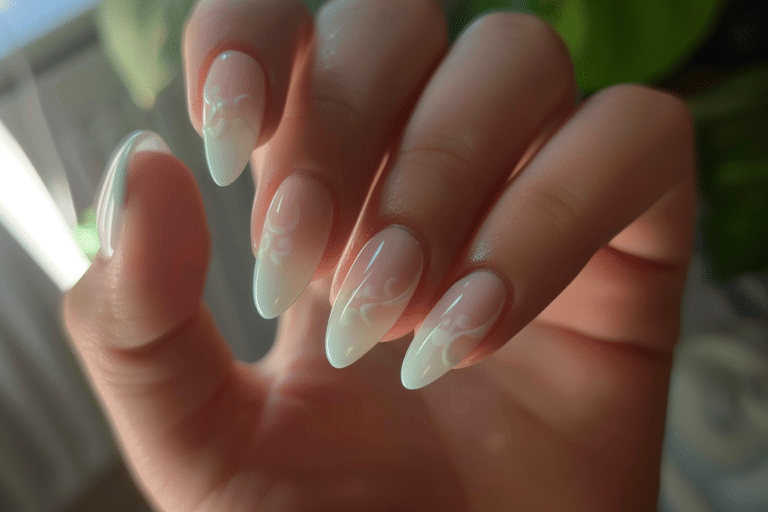
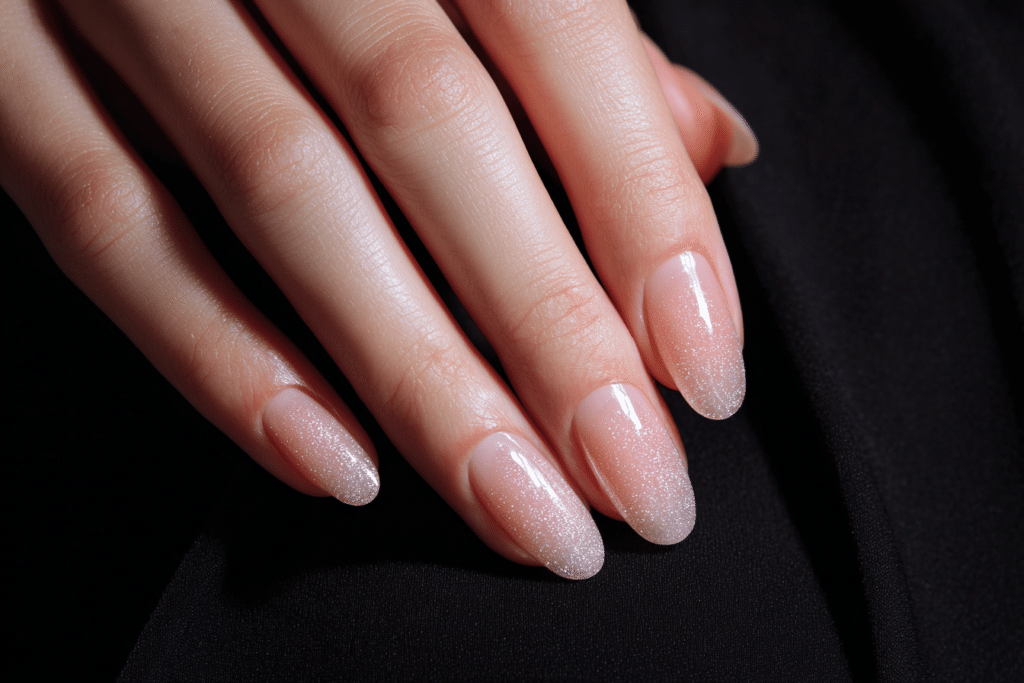
| Soft Ombre Fade | Gradual color transition from nude to pastel shade | Spring events, bridal showers, garden parties |
| Chrome Finish | Mirror-like metallic powder over neutral base color | Evening events, celebrations, holiday parties |
| Nude Perfection | Single shade matching skin tone for natural appearance | Job interviews, conservative workplaces, daily routine |
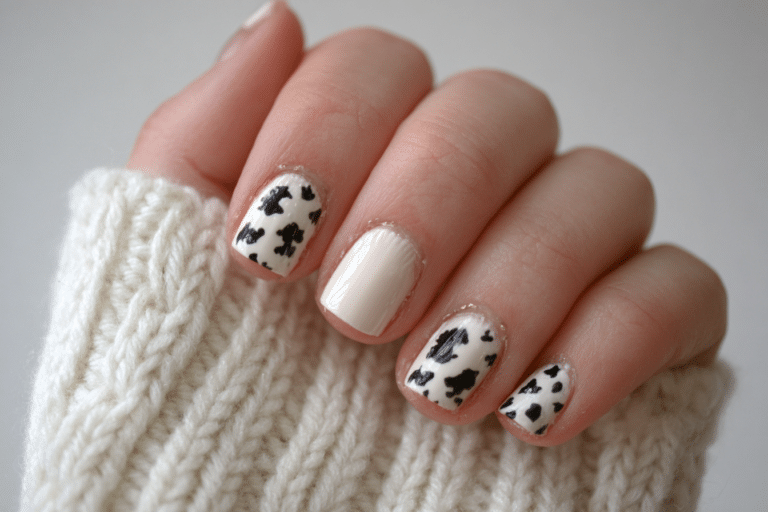
| Delicate Line Art | Fine lines or dots creating geometric patterns | Fashion-forward events, creative industries, social gatherings |
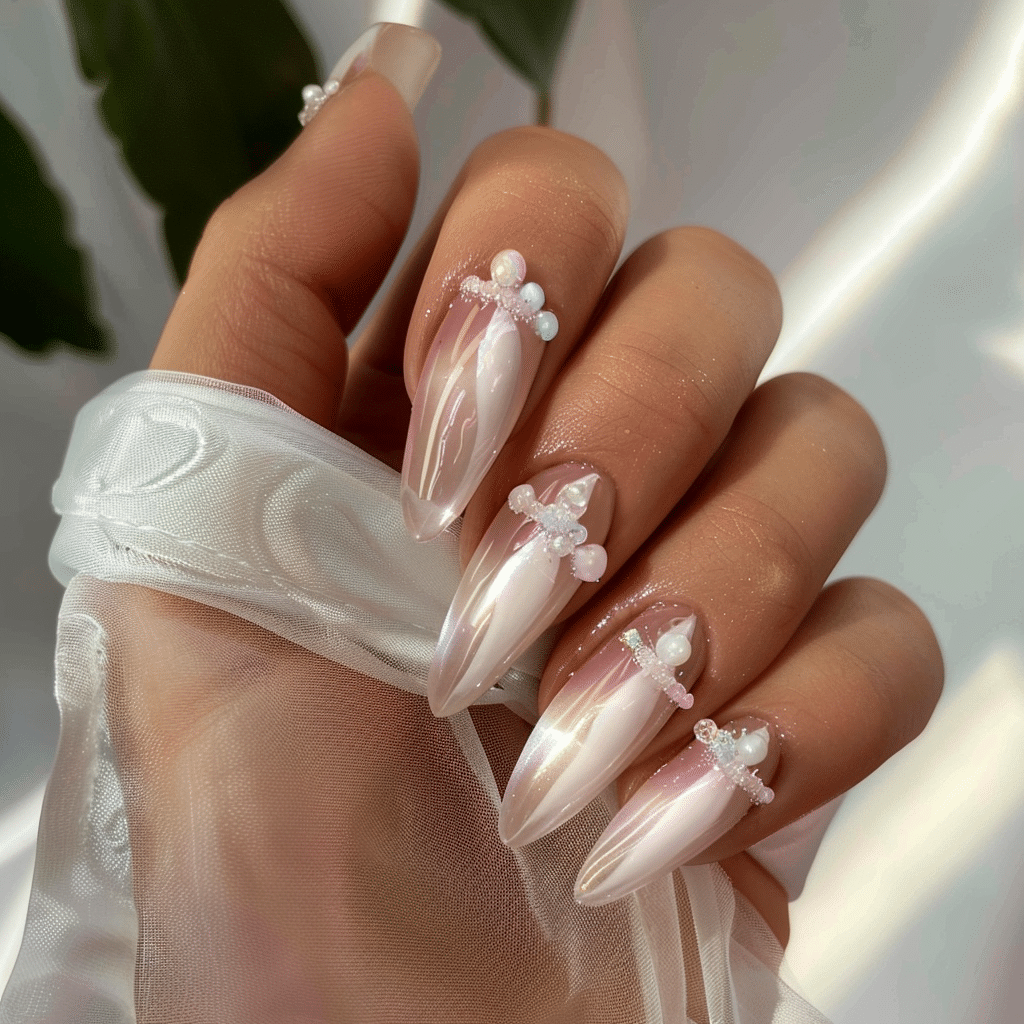
Explore more simple and beautiful nails inspiration and design ideas at Gel Nails by Lina where you will find seasonal collections and trending styles.
Nail Care and Maintenance
Maintaining simple and beautiful nails requires consistent aftercare that protects both the gel manicure and your natural nail health. Apply cuticle oil at least twice daily, focusing on the cuticle line and surrounding skin to prevent dryness and hangnails. This hydration keeps the area flexible and reduces the risk of the gel lifting at the edges where moisture loss is most significant.
Wear protective gloves during household cleaning tasks or when working with water for extended periods to shield your manicure from harsh chemicals and excessive moisture exposure. Avoid using your nails as tools to open cans, scrape labels, or perform tasks that put pressure on the free edge. These habits cause stress fractures in the gel layer that lead to chipping and premature breakdown of your manicure.
Schedule regular maintenance appointments or at-home touch-ups every two to three weeks to address nail growth and prevent lifting at the cuticle area. If you notice any lifting, resist the urge to peel or pick at the gel, as this removes layers of your natural nail and causes damage. Instead, file down the lifted area gently and apply a fresh layer of top coat to seal the edge until you can properly address the issue.
How to Remove Gel Nails Safely
Safe gel nail removal protects your natural nails from damage and preserves their strength for future manicures. Begin by filing the shiny top coat layer using a coarse nail file to break the seal and allow acetone to penetrate the gel layers. This step significantly reduces soaking time and makes removal more efficient without excessive exposure to harsh chemicals.
Soak cotton pads in pure acetone and place them directly on each nail, then wrap fingertips securely with aluminum foil to hold the pads in place. Allow the acetone to work for 10 to 15 minutes, which softens the gel enough to gently push it off with a cuticle pusher. Never force gel off the nail if it resists removal, as this tears the nail plate and causes lasting damage.
After removing all gel residue, wash hands thoroughly with soap and water to remove chemical residue from the skin. Apply a rich hand cream and cuticle oil generously to rehydrate nails and surrounding skin after acetone exposure. Give your nails a break between gel applications if possible, allowing at least a few days for natural nail recovery and strengthening.
Nail Health and Safety
Protecting nail health while enjoying simple and beautiful nails requires awareness of proper application techniques and recognizing signs of potential problems. Over-filing the nail plate weakens its structure and makes nails prone to breakage, peeling, and sensitivity. Use a light touch when buffing and avoid filing the same area repeatedly, as excessive removal of nail layers causes permanent thinning that takes months to recover.
Monitor your nails for signs of infection such as redness, swelling, pain, or discharge around the cuticle area or nail bed. Fungal infections appear as discoloration, thickening, or separation of the nail from the bed, requiring prompt medical attention. Always ensure tools are properly sanitized between uses, and never share nail implements with others to prevent cross-contamination and infection transmission.
Allow your nails to breathe periodically by taking breaks from gel polish every few months to prevent long-term damage. During these breaks, focus on strengthening treatments and intensive moisturizing to restore nail health and flexibility. If you notice persistent peeling, brittleness, or changes in nail color or texture, consult a dermatologist to rule out underlying health conditions that manifest through nail changes.
Avoid aggressive cuticle cutting, which creates entry points for bacteria and increases infection risk significantly. Instead, gently push back cuticles after softening them in warm water, and trim only dead hangnail tissue with sanitized nippers. Proper nail hygiene combined with gentle maintenance techniques ensures your pursuit of simple and beautiful nails never compromises your overall nail health.
Frequently Asked Questions
How long do gel nails last?
Gel nails typically last between two to three weeks with proper application and maintenance routines. The longevity depends on factors including your nail growth rate, daily activities, and how well you follow aftercare instructions. To maximize wear time, apply cuticle oil daily and avoid exposing nails to excessive water or harsh chemicals. If you notice lifting or chipping before two weeks, review your application technique to identify potential issues with nail preparation or curing.
How to remove gel nails safely at home?
Safe gel nail removal requires soaking nails in pure acetone for 10 to 15 minutes after filing off the top coat layer. Wrap acetone-soaked cotton pads around each nail with aluminum foil to hold them in place during the soaking process. Gently push softened gel off with a cuticle pusher, never forcing or peeling it away forcefully. After removal, hydrate nails thoroughly with cuticle oil and hand cream to counteract the drying effects of acetone exposure.
What is the difference between gel nails and acrylic nails?
Gel nails cure under UV or LED light and offer a more flexible, natural appearance compared to acrylic nails. Acrylics are created by mixing liquid monomer with powder polymer that air-dries into a hard layer, resulting in a stronger but less flexible finish. Gel nails typically cause less damage during removal and emit fewer harsh odors during application. However, acrylics often provide better length extension and durability for those with very weak or damaged natural nails.
Why do my gel nails peel after a few days?
Gel nails peel prematurely due to inadequate nail preparation, such as failing to remove all natural oils before application. Other common causes include applying gel layers too thickly, insufficient curing time, or flooding the cuticle area during application. Ensure you buff the nail surface lightly, cleanse thoroughly with nail prep solution, and maintain proper distance from cuticles. Using expired gel products or a weak lamp also contributes to poor adhesion and early peeling problems.
How can I make my gel nails last longer?
Make gel nails last longer by applying thin, even layers and curing each coat for the full recommended time. Cap the free edge with every layer including base coat, color, and top coat to seal the nail tip completely. Avoid hot water exposure for the first 24 hours after application, and wear gloves during cleaning tasks or extended water contact. Apply cuticle oil twice daily to maintain flexibility and prevent the gel from becoming brittle and prone to chipping or cracking.
Conclusion
Achieving simple and beautiful nails at home is entirely possible when you master fundamental techniques and maintain consistent care routines. By focusing on proper preparation, thin gel applications, and adequate curing times, you create manicures that rival professional salon results. Remember that nail health always comes first, so prioritize gentle removal methods and regular hydration to keep your natural nails strong. With practice and patience, you will develop the skills needed to maintain stunning, simple nail designs that enhance your personal style and boost your confidence every day.