Nails With One Finger Design: Simple Accent Nail Art Guide

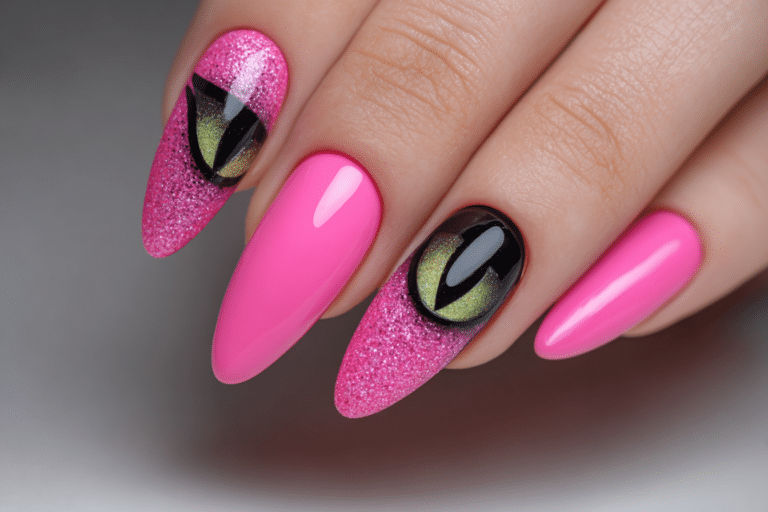
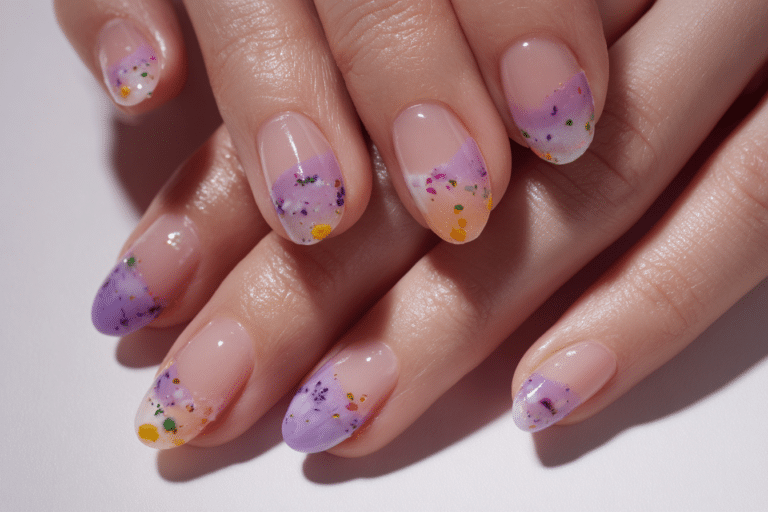
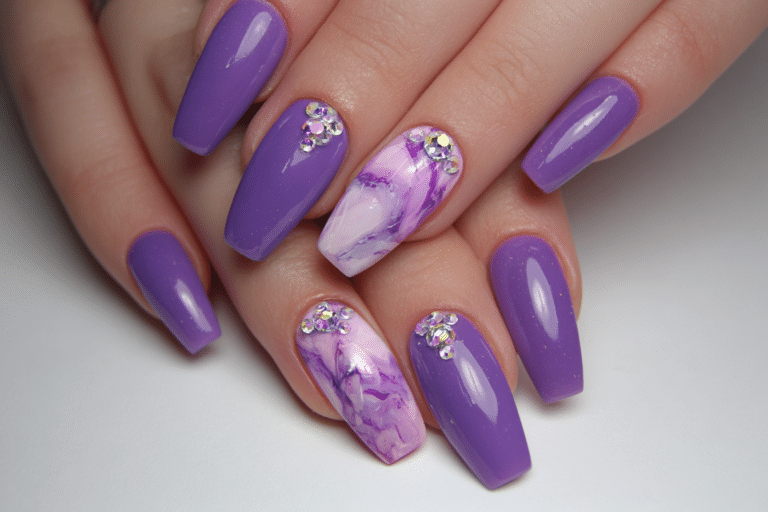
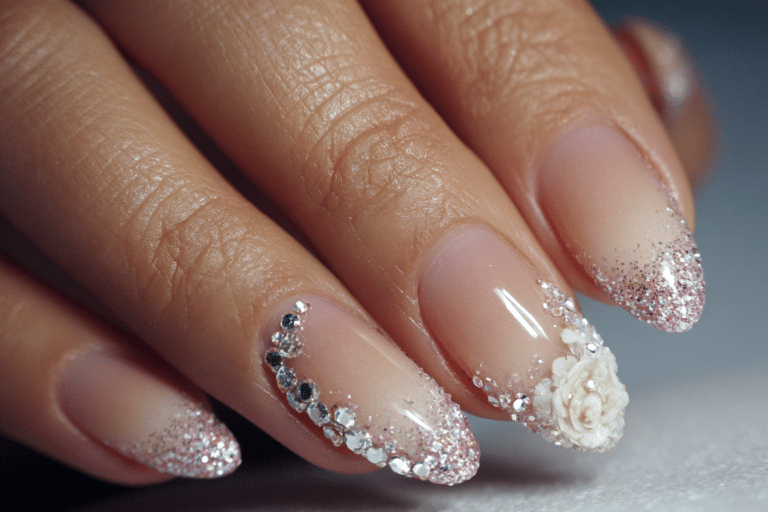
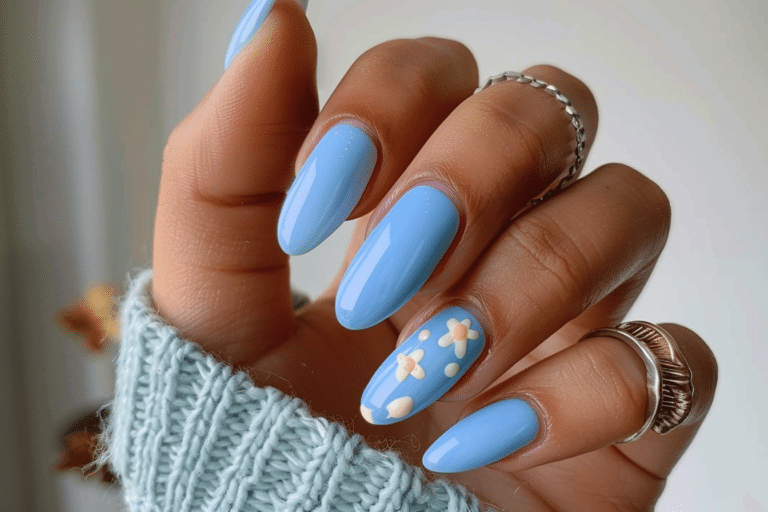
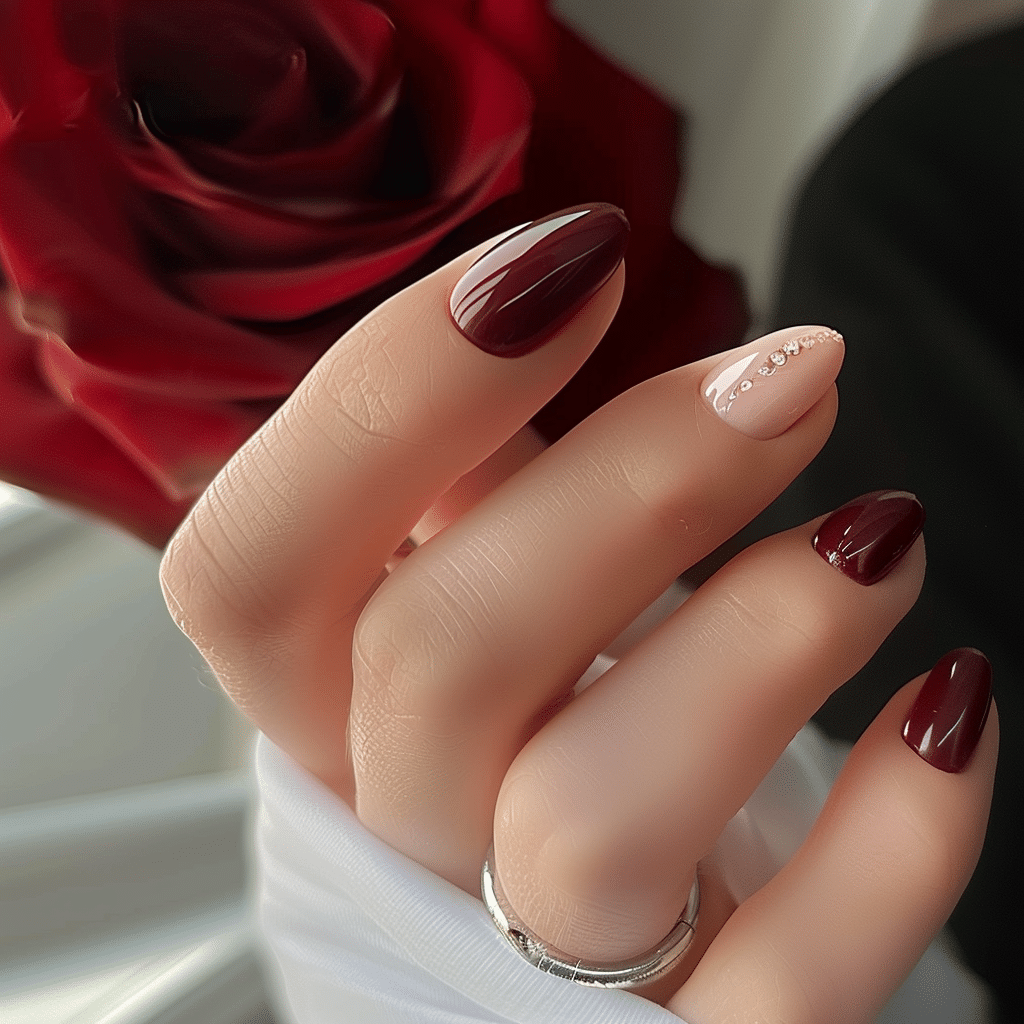
Nails with one finger design feature a single accent nail decorated differently from the other fingers, creating an eye-catching focal point.
This popular nail art technique allows you to showcase creativity while maintaining elegance and simplicity. The accent nail approach offers versatility for any skill level and works beautifully with gel polish applications.
| Topic | Details |
|---|---|
| Category | Nail Art / Gel Nails |
| Skill Level | Beginner to Intermediate |
| Time Needed | 45-60 minutes |
| Tools Needed | UV/LED lamp, gel polish, nail art brushes, embellishments |
| Best For | Anyone wanting subtle yet stylish nail art |
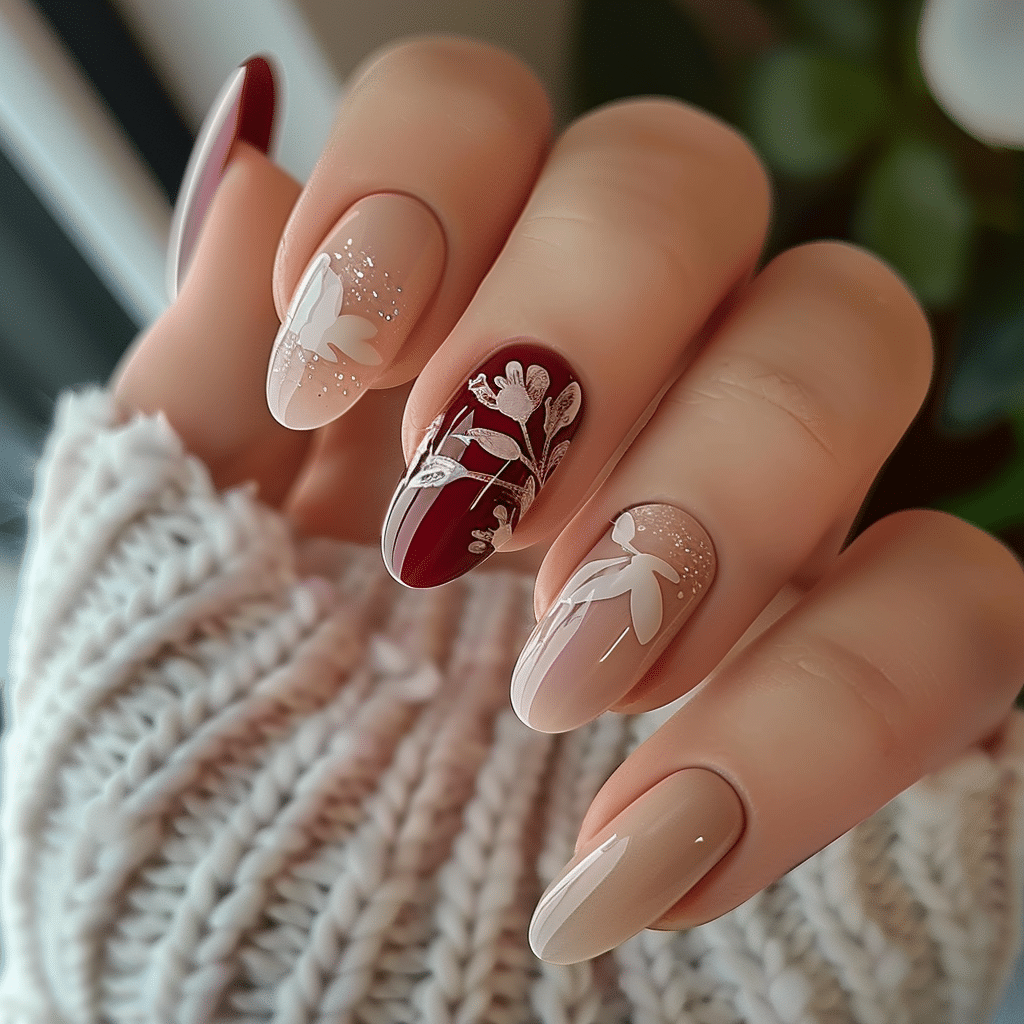
Table of Contents
Why This Nail Technique Works
The accent nail technique succeeds because it balances artistic expression with wearability. Decorating just one or two fingers prevents overwhelming the overall look while allowing experimentation with bold colors, textures, or embellishments. This approach originated from runway fashion where designers used contrast to draw attention to specific details.
From a psychological perspective, the single decorated finger creates visual interest without competing with your outfit or accessories. The technique works particularly well with gel polish because the formula provides a smooth canvas for detailed designs. Professional nail technicians appreciate this method because it reduces application time while delivering impressive results that satisfy clients seeking something special.
The beauty industry has embraced nails with one finger design because they accommodate various aesthetics from minimalist to maximalist. Whether you choose subtle shimmer or intricate hand-painted art, the accent nail serves as a signature element that personalizes your manicure.
Tools and Products Needed
| Product | Purpose | Alternatives |
|---|---|---|
| UV/LED Lamp | Cure gel polish layers | Professional salon curing system |
| Base Coat | Protect natural nail and improve adhesion | Strengthening base coat |
| Gel Polish (Base Color) | Create foundation for design | Traditional nail polish |
| Gel Polish (Accent Color) | Decorate featured finger | Nail art paint |
| Top Coat | Seal design and add shine | No-wipe top coat |
| Nail File (180 grit) | Shape nails and smooth edges | Glass nail file |
| Nail Buffer | Remove shine for better adhesion | Fine grit buffer block |
| Cuticle Oil | Hydrate surrounding skin | Vitamin E oil |
| Nail Art Brushes | Create detailed designs | Dotting tools, striping brushes |
| Nail Cleanser | Remove residue before application | Rubbing alcohol |
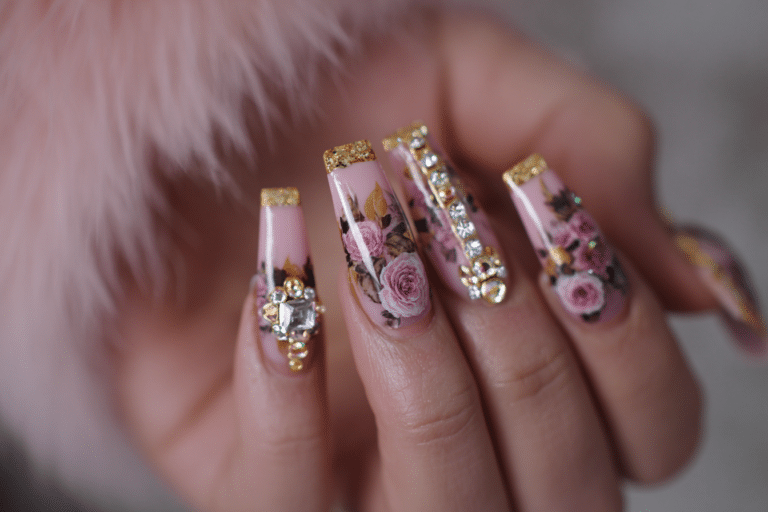
| Embellishments | Add dimension to accent nail | Rhinestones, foils, studs |
Step-by-Step Application Guide
Nail Preparation
- Remove any existing polish using acetone-based remover and cotton pads thoroughly.
- Trim nails to desired length using professional nail clippers or scissors.
- File nails into your preferred shape using smooth, one-directional strokes.
- Push back cuticles gently using a wooden or rubber cuticle pusher.
- Buff the nail surface lightly to remove natural oils and shine.
- Wash hands with soap and water, then dry completely.
- Apply nail cleanser or rubbing alcohol to dehydrate the nail plate.
Base Coat Application
- Apply a thin layer of base coat to all ten nails, avoiding the cuticle area.
- Cap the free edge by running the brush along the nail tip.
- Cure nails under UV/LED lamp according to manufacturer instructions, typically 30-60 seconds.
- Check for any missed spots and apply a second thin layer if needed.
Gel Polish Layers
- Select your base color for the nine non-accent nails.
- Apply the first thin coat of gel polish to these nails using smooth, even strokes.
- Cure under the lamp for the recommended time, usually 30-60 seconds.
- Apply a second coat for opacity and cure again completely.
- Choose your accent nail, typically the ring finger or pointer finger.
- Apply your chosen base color to the accent nail and cure if different from main color.
Accent Nail Design Creation
- Plan your design before starting to ensure proper placement and balance.
- Apply specialized gel polish, chrome powder, or nail art elements to the accent finger.
- Use thin nail art brushes for detailed painting or patterns.
- Cure each layer of design work separately to prevent smudging.
- Add embellishments using small amounts of gel as adhesive.
- Allow creativity while maintaining cohesion with the overall color scheme.
Finishing and Top Coat
- Apply a generous layer of top coat to all nails, including the accent design.
- Cap the free edges again to seal and prevent chipping.
- Cure for the full recommended time, often 60 seconds for top coats.
- Wipe away the sticky residue with cleanser if using a regular top coat.
- Apply cuticle oil around each nail to restore moisture.
- Massage the oil into the cuticles and surrounding skin thoroughly.
Pro Nail Technician Tips
- Select the ring finger as your accent nail for traditional elegance, as this placement naturally draws the eye and has historical significance in jewelry wearing.
- Keep gel polish layers thin and build coverage gradually to prevent peeling, lifting, and uneven curing that leads to premature wear.
- Clean your nail art brushes immediately after use with brush cleaner or alcohol to maintain their shape and prevent polish buildup that affects precision.
- Match your accent design to your base color undertones for cohesive looks that appear professionally coordinated rather than mismatched.
- Cure accent nails with heavy embellishments for extra time, adding 15-30 seconds to ensure complete polymerization around dimensional elements.
- Create depth by layering translucent gels over opaque bases on your accent nail, building dimension that catches light beautifully throughout the day.
Common Gel Nail Mistakes
| Mistake | Why It Happens | How to Fix |
|---|---|---|
| Thick Gel Layers | Applying too much product at once to save time | Use thin coats and build coverage gradually over multiple layers |
| Improper Curing | Insufficient lamp wattage or incorrect timing | Verify lamp specifications and follow exact curing times for each product |
| Skipping Nail Prep | Rushing through dehydration and buffing steps | Always cleanse, buff, and remove oils before any polish application |
| Flooding the Cuticle | Placing polish too close to the skin | Leave a tiny gap and use cleanup brush with acetone for mistakes |
| Overloading Accent Nail | Adding too many contrasting elements or colors | Choose one focal design element and support with complementary details |
Nail Design Variations
| Style | Description | Best Occasion |
|---|---|---|
| French Accent Tip | Classic French manicure with one finger featuring colored or glitter tips | Office settings, weddings, formal events |
| Chrome Accent | Mirror-finish chrome powder applied to one statement finger | Evening events, parties, fashion-forward looks |
| Glitter Gradient | Solid color nails with one finger displaying ombre glitter fade | Celebrations, holidays, festive occasions |
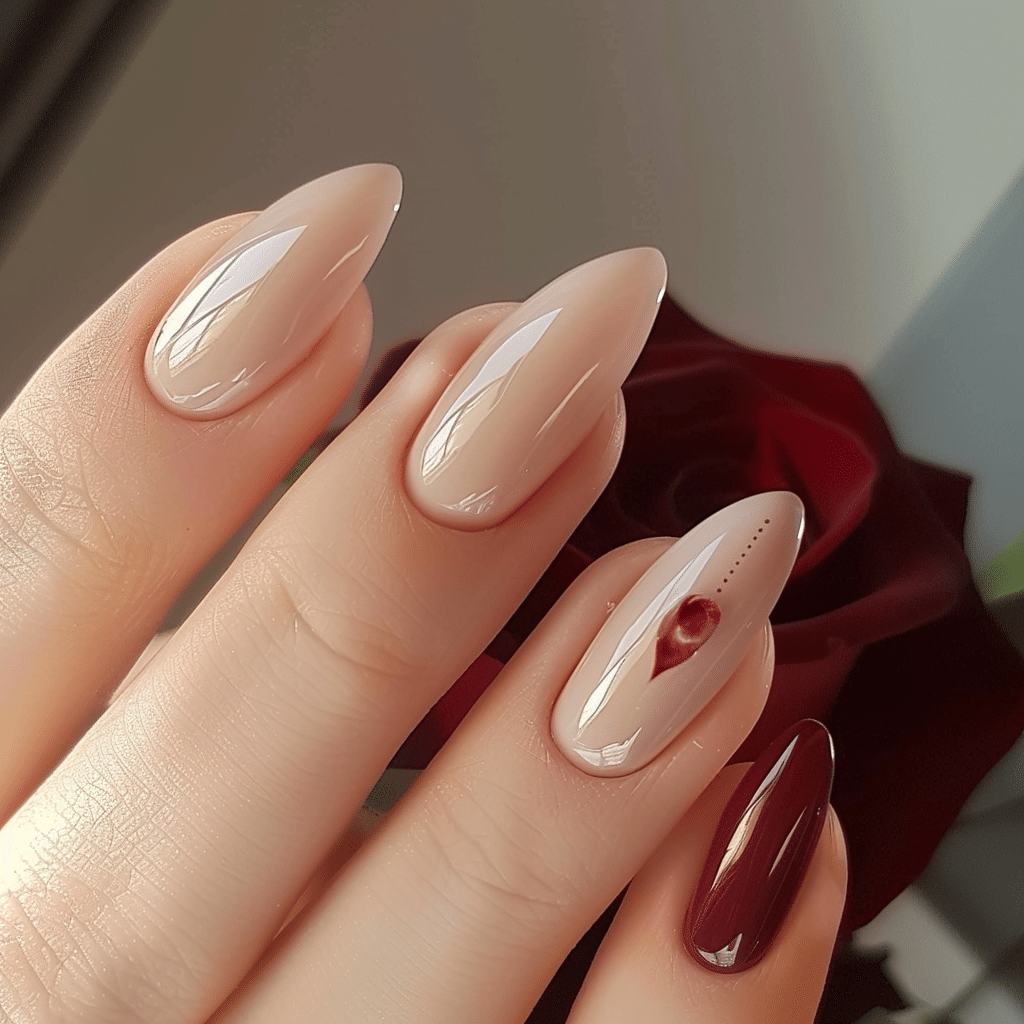
| Minimalist Line Art | Nude base with single finger featuring geometric lines or abstract shapes | Professional settings, everyday wear |
| Seasonal Florals | Coordinating base with one finger showcasing hand-painted flowers | Spring events, garden parties, casual outings |
| Jeweled Elegance | Simple polish with accent nail covered in rhinestones or crystals | Weddings, galas, special celebrations |
Nail Care and Maintenance
Maintaining your nails with one finger design requires consistent care to preserve both the artistic elements and overall nail health. Apply cuticle oil twice daily, focusing on the skin surrounding each nail to prevent dryness that leads to lifting. Wear gloves during household cleaning tasks to protect your manicure from harsh chemicals that deteriorate gel polish and weaken embellishments.
Avoid using your nails as tools for opening cans, scratching surfaces, or picking at objects. These actions create stress points that cause cracking, particularly on the accent nail where embellishments add weight. The gel manicure typically lasts two to three weeks with proper care, but accent designs with heavy decorations may need earlier touch-ups.
Hydration extends beyond cuticle oil application. Drink adequate water and use hand cream several times daily to maintain skin elasticity around the nails. Schedule regular maintenance appointments every two to three weeks to prevent excessive growth that strains the gel bond. If you notice any lifting or separation, address it immediately rather than allowing moisture to penetrate beneath the gel layer.
How to Remove Gel Nails Safely
- File the shiny top coat layer using a coarse nail file to break the seal.
- Soak cotton balls or pads in pure acetone until saturated.
- Place acetone-soaked cotton directly on each nail, covering completely.
- Wrap each finger in aluminum foil to create heat and enhance penetration.
- Wait 10-15 minutes, allowing the acetone to dissolve the gel polish layers.
- Remove foil wraps and gently push off softened gel using a wooden cuticle stick.
- Avoid scraping or forcing gel off, as this damages the natural nail plate.
- Buff nails gently to smooth any remaining residue with a fine-grit buffer.
- Wash hands thoroughly with soap and water to remove acetone residue.
- Apply cuticle oil and rich hand cream to restore moisture immediately.
Nail Health and Safety
Protecting your natural nails while enjoying decorative designs requires awareness of potential risks and preventive measures. Over-filing the nail surface damages the protective keratin layers that shield against infection and breakage. Limit buffing to light surface preparation rather than aggressive thinning that weakens the nail structure.
Sanitize all tools before each use with hospital-grade disinfectant or alcohol to prevent bacterial and fungal infections. Pay special attention to items that contact multiple clients in salon settings. Watch for signs of infection including redness, swelling, pain, or discharge around the nail bed, and seek medical attention promptly if these symptoms appear.
Choose reputable salons that follow proper hygiene protocols and use quality products free from harmful chemicals. Ask about ventilation systems that remove fumes during application and curing processes. If you experience burning sensations during LED lamp curing, remove your hand immediately as this indicates potential skin sensitivity.
Frequently Asked Questions
How long do gel nails last with accent designs
Gel nails with one finger design typically last two to three weeks with proper application and care. The longevity depends on your daily activities, nail growth rate, and how well you maintain the manicure. Accent nails with heavy embellishments may require earlier touch-ups if the decorations loosen.
How to remove gel nails safely at home
Remove gel nails safely by filing the top coat, soaking nails in acetone for 10-15 minutes using cotton and foil wraps, then gently pushing off softened gel. Never peel or force gel polish off, as this damages your natural nail layers. Apply cuticle oil immediately after removal to restore moisture.
Are gel nails better than acrylic nails for accent designs
Gel nails work better for accent designs because they provide a smoother, more natural canvas for detailed art and maintain flexibility. Acrylic nails offer more strength for extreme lengths but can appear bulkier and require more maintenance. Gel polish also offers easier removal and typically causes less nail damage over time.
Why do gel nails peel or lift prematurely
Gel nails peel because of improper nail preparation, thick polish layers, or exposure to excessive moisture and oils. Skipping the dehydration step, flooding the cuticles, or insufficient curing also cause lifting. Proper preparation and thin, well-cured layers prevent premature peeling and ensure lasting wear.
How to make gel nails last longer on accent fingers
Make gel nails last longer by applying thin layers, curing completely, capping free edges, and avoiding heavy embellishments that create stress points. Use cuticle oil daily, wear gloves during cleaning, and avoid using nails as tools. Schedule fill appointments before excessive growth causes lifting at the base.
Conclusion
Nails with one finger design offer the perfect balance between creative expression and wearable elegance for any occasion. This versatile technique accommodates all skill levels while delivering professional results that showcase your personal style. Whether you choose subtle shimmer or bold embellishments, the accent nail approach creates visual interest without overwhelming your overall look. Start experimenting with different designs and discover how this simple technique transforms your manicure into a true fashion statement.