The Coolest Nail Ideas to Try Now

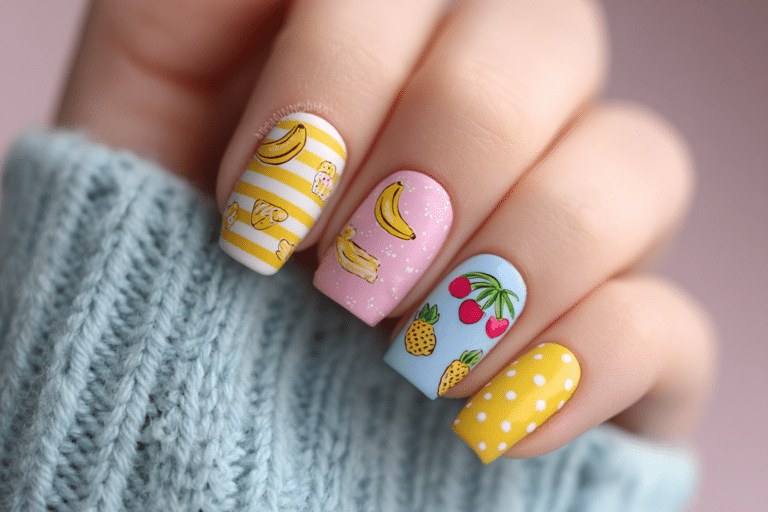
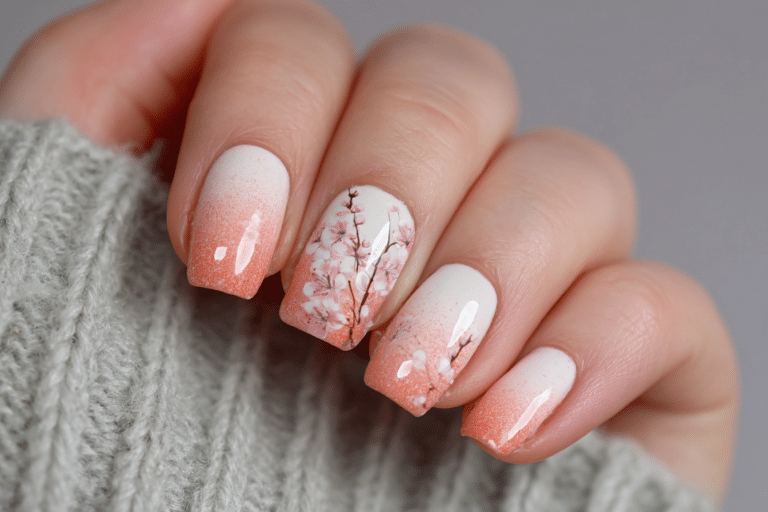
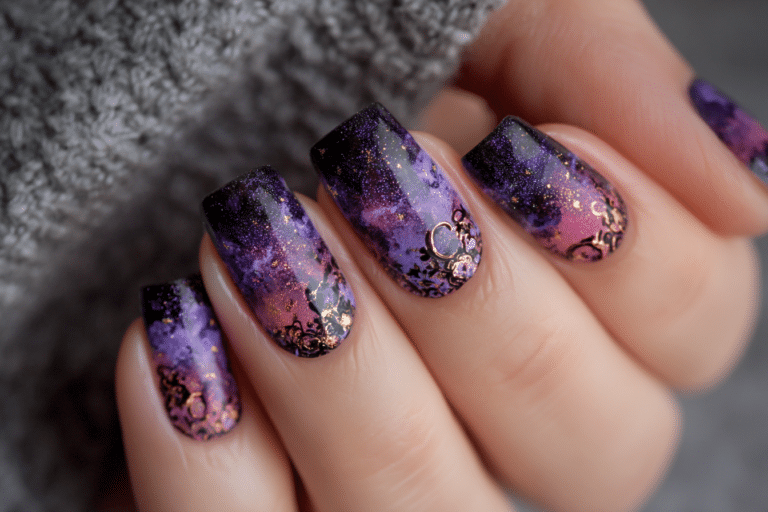
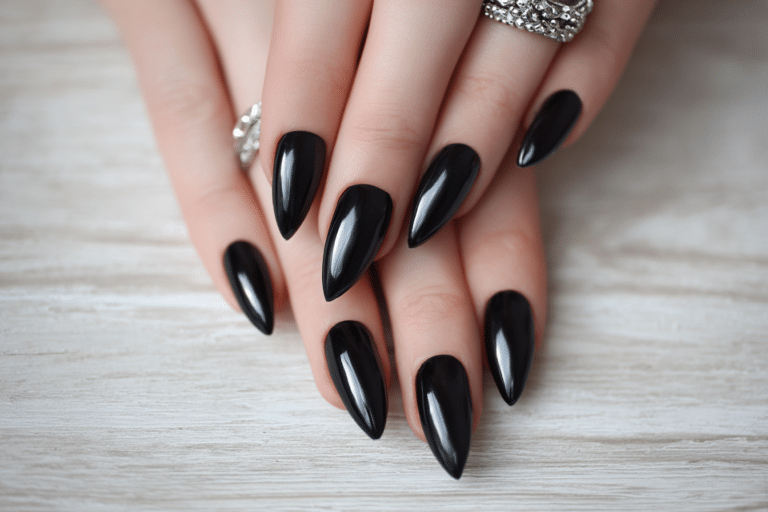
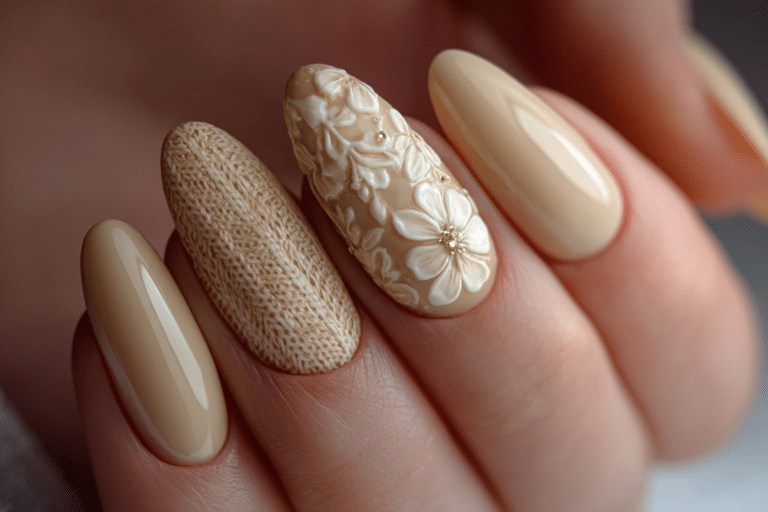
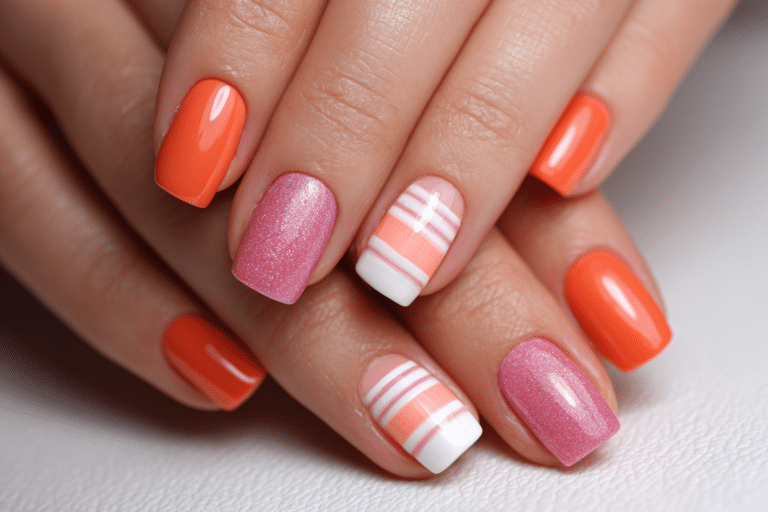
The coolest nail ideas to try now combine innovative techniques with timeless elegance, offering endless possibilities for self-expression through nail art.
Modern nail designs range from minimalist chic to bold statement pieces that showcase your personality. These trending styles work perfectly with gel polish systems that provide durability and professional-quality results at home or in the salon.
| Topic | Details |
|---|---|
| Category | Nail Art |
| Skill Level | Beginner to Advanced |
| Time Needed | 45-90 minutes |
| Tools Needed | UV/LED lamp, gel polish, nail art brushes, dotting tools |
| Best For | Anyone wanting trendy, long-lasting nail designs |
Table of Contents
Why These Nail Techniques Work
The coolest nail ideas trending right now work exceptionally well because they combine artistic creativity with advanced gel technology. Gel polish formulations have evolved to offer superior pigmentation, allowing nail artists to create intricate designs that maintain their vibrancy for weeks. The curing process through UV or LED light creates a hard, protective layer that resists chipping and maintains glossy shine without daily maintenance.
These modern nail techniques also work because they accommodate various skill levels and personal styles. Whether you prefer subtle elegance or bold statements, current trends offer accessible options that anyone can master with practice. The flexibility of gel systems allows for layering, blending, and detailed artwork that would be impossible with traditional nail polish. Additionally, the extended wear time means your artistic investment lasts significantly longer than conventional manicures.
Contemporary nail ideas succeed because they reflect current fashion trends while maintaining practical wearability. Designs incorporate elements from runway fashion, seasonal color palettes, and cultural influences that resonate with diverse audiences. The combination of aesthetic appeal and functional durability makes these nail techniques particularly effective for busy lifestyles that demand both beauty and practicality.
Tools and Products Needed
| Product | Purpose | Alternatives |
|---|---|---|
| UV/LED Lamp | Cures gel polish for hardening | Dual-wavelength LED lamp |
| Base Coat | Protects natural nail and ensures adhesion | Strengthening base coat |
| Gel Polish Collection | Provides color and design options | Hybrid gel polishes |
| Top Coat | Seals design and adds shine | Matte or glossy finish options |
| Nail File (180 grit) | Shapes nail edges and length | Glass nail file |
| Nail Buffer | Smooths nail surface for application | Multi-sided buffing block |
| Cuticle Oil | Hydrates cuticles and nail beds | Vitamin E oil |
| Nail Art Brushes | Creates detailed designs and patterns | Fine detail brushes |
| Dotting Tools | Makes dots and circular patterns | Bobby pins or toothpicks |
| Nail Cleanser | Removes residue and oils | Isopropyl alcohol solution |
You can find professional-grade gel nail products and comprehensive tutorials at Gel Nails by Lina to help you achieve salon-quality results.
Step-by-Step Application Guide
Nail Preparation
- Remove any existing nail polish using acetone-based remover and cotton pads thoroughly.
- Wash hands with soap and warm water to eliminate oils and debris completely.
- Push back cuticles gently using a wooden or rubber cuticle pusher tool.
- File nails to your desired shape using smooth, unidirectional strokes consistently.
- Buff the nail surface lightly with a fine-grit buffer to create texture.
- Wipe nails with nail cleanser or isopropyl alcohol to remove all dust particles.
Base Coat Application
- Apply a thin layer of gel base coat starting from the cuticle area.
- Cap the free edge by running the brush along the nail tip.
- Cure under UV lamp for 60 seconds or LED lamp for 30 seconds.
- Check for complete coverage without flooding the cuticles or skin areas.
Gel Polish Layers
- Apply the first thin layer of chosen gel polish color with steady strokes.
- Keep polish away from cuticles by leaving a small gap around edges.
- Cure the first color layer according to manufacturer recommendations for timing.
- Apply a second thin coat for optimal color saturation and coverage.
- Cure the second layer completely before proceeding with nail art designs.
Creating Nail Art Designs
- Select your desired design pattern from trending nail ideas and gather tools.
- Use nail art brushes to create lines, swirls, or geometric patterns carefully.
- Apply dotting tools for polka dots, flowers, or abstract design elements.
- Work on one nail at a time to maintain precision and control.
- Cure each design element if using multiple gel colors or layers.
- Add embellishments like rhinestones or foils while gel remains tacky if desired.
Finishing and Top Coat
- Apply a thin layer of gel top coat over the entire nail design.
- Cap the free edge thoroughly to seal and prevent chipping early.
- Cure the top coat for the full recommended time without interruption.
- Wipe away the tacky residue layer using nail cleanser and lint-free wipes.
- Apply cuticle oil around each nail to hydrate and nourish the skin.
- Massage oil into cuticles and surrounding skin for complete absorption and moisture.
Pro Nail Technician Tips
- Always apply thin layers of gel polish rather than thick coats to prevent lifting and ensure proper curing throughout the product.
- Clean the nail plate thoroughly before application because any oils or debris will compromise adhesion and reduce wear time significantly.
- Avoid touching the cuticle area with gel polish as this causes premature lifting and potential infection from trapped moisture underneath.
- Cure each layer for the complete recommended time because under-cured gel remains soft and chips easily within days of application.
- Cap the free edge with every layer including base coat, color, and top coat to create a sealed barrier against water and daily wear.
- Store gel polish bottles upside down when not in use to prevent settling and maintain consistent formula texture for application.
For more professional techniques and expert guidance, visit Gel Nails by Lina for comprehensive nail art resources.
Common Gel Nail Mistakes
| Mistake | Why it Happens | How to Fix |
|---|---|---|
| Thick Gel Layers | Applying too much product at once | Use thin coats and build color gradually with multiple layers |
| Improper Curing | Wrong lamp wattage or insufficient time | Follow manufacturer timing and ensure lamp bulbs are functional |
| Skipping Nail Prep | Rushing through preparation steps | Always cleanse, buff, and dehydrate nails before application |
| Flooding the Cuticle | Applying polish too close to skin | Leave small gap at cuticle line and clean excess immediately |
| Not Capping Edges | Forgetting to seal the free edge | Run brush along nail tip with each layer application |
Cool Nail Design Variations to Try Now
| Style | Description | Best Occasion |
|---|---|---|
| French Gel Nails | Classic white tips with natural or colored base | Professional settings, weddings, everyday wear |
| Chrome Nails | Metallic mirror-finish powder over gel base | Evening events, parties, fashion-forward occasions |
| Ombre Nails | Gradual color transition from light to dark | Casual outings, summer events, beach vacations |
| Minimalist Nail Art | Simple lines, dots, or single accent designs | Work environments, subtle elegance, daily wear |
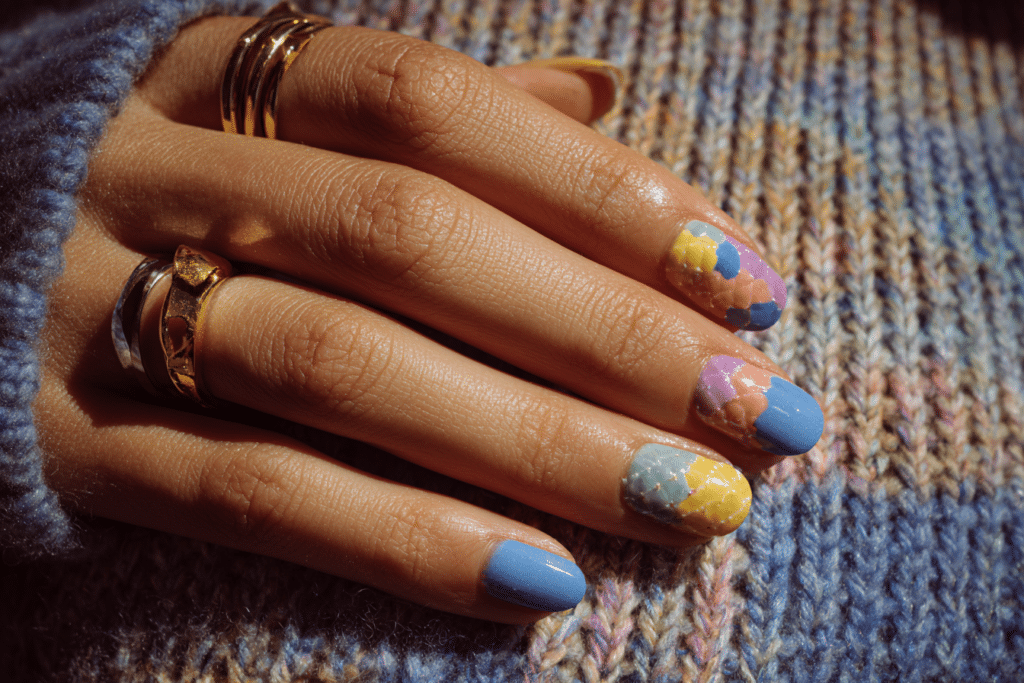
| Seasonal Designs | Holiday themes, florals, or weather-inspired patterns | Celebrations, seasonal parties, festive gatherings |
| Geometric Patterns | Angular shapes, negative space, and modern lines | Contemporary events, artistic settings, social media |
| Abstract Art Nails | Freeform designs, swirls, and artistic expressions | Creative events, galleries, personal expression |
Nail Care and Maintenance
Maintaining healthy nails while wearing the coolest nail ideas requires consistent care and attention to hydration. Apply cuticle oil at least twice daily to keep the nail bed and surrounding skin nourished and prevent dryness. Gel manicures can last two to three weeks, but proper maintenance ensures your nails remain strong and healthy underneath the polish. Avoid using your nails as tools to open packages or scratch surfaces, as this causes stress and potential lifting.
Protect your gel manicure by wearing gloves during household cleaning tasks and when exposed to harsh chemicals. Water exposure should be minimized during the first 24 hours after application to allow complete bonding. Keep nails moisturized by applying hand cream regularly and focusing on the cuticle area where dryness first appears. If you notice any lifting at the edges, resist the urge to peel or pick at the gel, as this damages the natural nail plate.
How to Remove Gel Nails Safely
- File the shiny top coat layer gently to break the seal and allow acetone penetration.
- Soak cotton balls or pads in pure acetone nail polish remover thoroughly.
- Place saturated cotton on each nail and wrap with aluminum foil squares securely.
- Wait 10 to 15 minutes for the acetone to dissolve the gel layers completely.
- Remove foil wraps and gently push softened gel off with a wooden cuticle pusher.
- Avoid forcing or scraping gel that has not loosened sufficiently to prevent damage.
- Buff nails lightly to smooth any remaining residue after complete gel removal.
- Wash hands thoroughly and apply cuticle oil generously to restore moisture levels.
- Apply a strengthening treatment or nail serum to nourish recovering natural nails.
Never peel or pick off gel polish as this removes layers of your natural nail plate and causes significant damage. The proper removal process takes time but protects nail health and integrity for future applications.
Nail Health and Safety
Watch for signs of infection including redness, swelling, pain, or discharge around the nail area. Proper sanitation of tools between uses prevents bacterial or fungal infections that compromise nail health. If you develop an allergic reaction to gel products, discontinue use immediately and consult a dermatologist for alternative options. Some individuals experience sensitivity to UV light exposure, so applying sunscreen to hands before curing can provide protection.
Avoid applying gel polish to damaged, infected, or extremely weak nails until they heal completely. Healthy nails should have a slight natural flexibility and a smooth, pink nail bed without discoloration. If you notice persistent problems like peeling, brittleness, or changes in nail texture, take a break from gel applications. Professional nail technicians should always assess nail health before proceeding with services and recommend appropriate treatments when necessary.
Frequently Asked Questions
How long do gel nails last?
Gel nails typically last between two to three weeks when applied correctly with proper preparation and maintenance. The longevity depends on factors like your natural nail growth rate, daily activities, and how well you care for the manicure. Some people experience longer wear time up to four weeks, while others notice lifting or growth after 10 days. To maximize durability, apply cuticle oil daily and avoid exposing nails to excessive water or harsh chemicals during the first 24 hours.
How to remove gel nails safely at home?
Remove gel nails safely by soaking them in pure acetone for 10 to 15 minutes after filing the top coat layer. Wrap each nail in acetone-soaked cotton and aluminum foil to contain the solution and enhance penetration. Gently push off softened gel with a wooden cuticle stick, never forcefully scraping or peeling the product. If gel does not slide off easily, rewrap and soak for an additional five minutes rather than forcing removal that damages natural nails.
What is the difference between gel nails and acrylic nails?
Gel nails cure under UV or LED light and offer a more flexible, natural-looking finish compared to acrylic nails. Acrylic nails use a liquid monomer and powder polymer that air-dry to create a harder, more rigid enhancement. Gel applications typically cause less damage to natural nails and emit fewer strong odors during application. Acrylics provide more strength for extreme length and are often preferred for nail extensions, while gels excel at natural nail overlays and artistic designs.
Why do my gel nails peel or lift prematurely?
Gel nails peel or lift prematurely due to improper nail preparation, applying product too close to cuticles, or insufficient curing time. Oil or moisture on the nail plate before application prevents proper adhesion and causes early failure. Thick gel layers that do not cure completely remain soft underneath and separate from the nail easily. To prevent lifting, thoroughly cleanse and lightly buff nails before application, use thin coats, and cure each layer for the complete recommended duration.
How can I make my gel nails last longer?
Make gel nails last longer by applying cuticle oil twice daily, wearing gloves during cleaning tasks, and avoiding excessive water exposure. Proper preparation including thorough cleansing and light buffing creates the foundation for extended wear. Always cap the free edge with each layer of base coat, color, and top coat to seal the nail. Avoid using your nails as tools and schedule fills or removal before significant lifting occurs to maintain healthy nails underneath the gel.
For additional tips and professional advice, explore the resources available at Gel Nails by Lina for expert guidance on achieving long-lasting results.
Conclusion
The coolest nail ideas to try now offer endless creative possibilities that combine artistic expression with practical durability for every lifestyle. From minimalist elegance to bold statement designs, modern gel techniques provide professional-quality results that last for weeks with proper care. By mastering fundamental application skills, avoiding common mistakes, and maintaining nail health, you can confidently explore trending nail art styles. Start experimenting with these innovative designs today and discover how the coolest nail ideas transform your personal style with stunning, long-lasting manicures that showcase your unique personality.