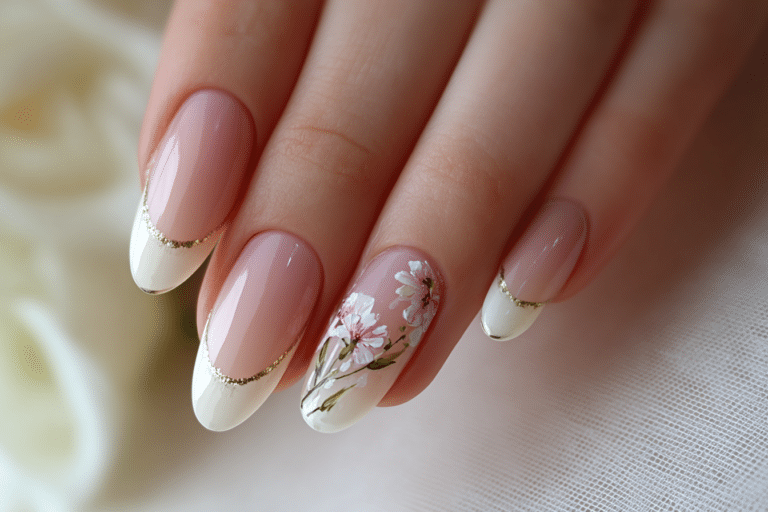
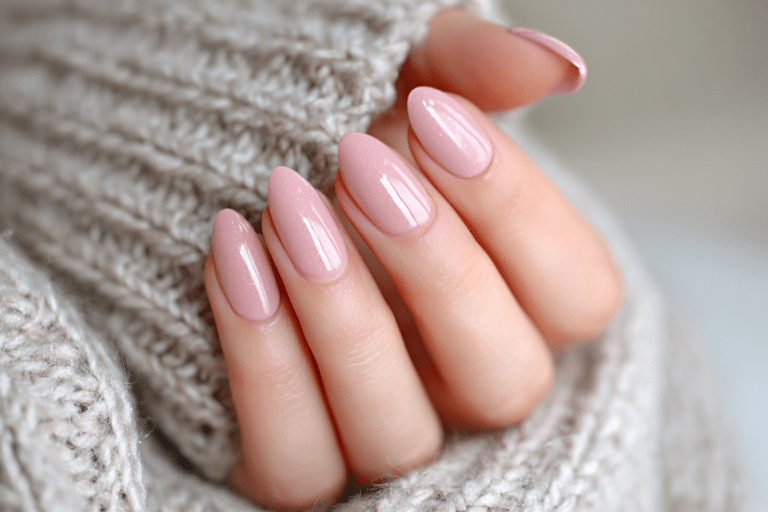
Pink Cat Eye Nails Design You’ll Want To Copy

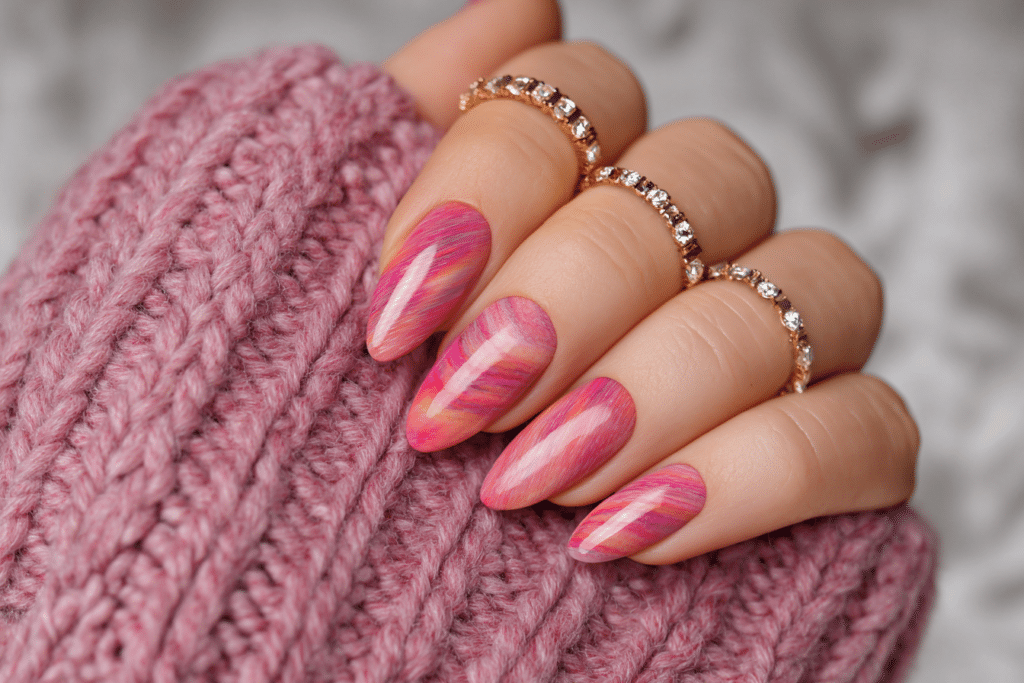
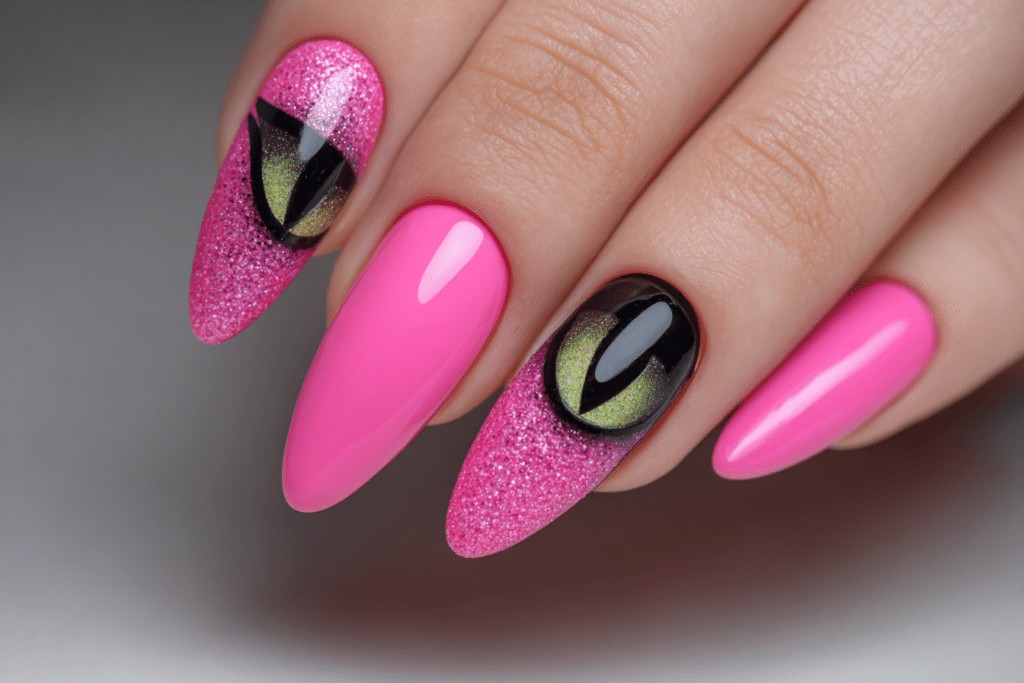
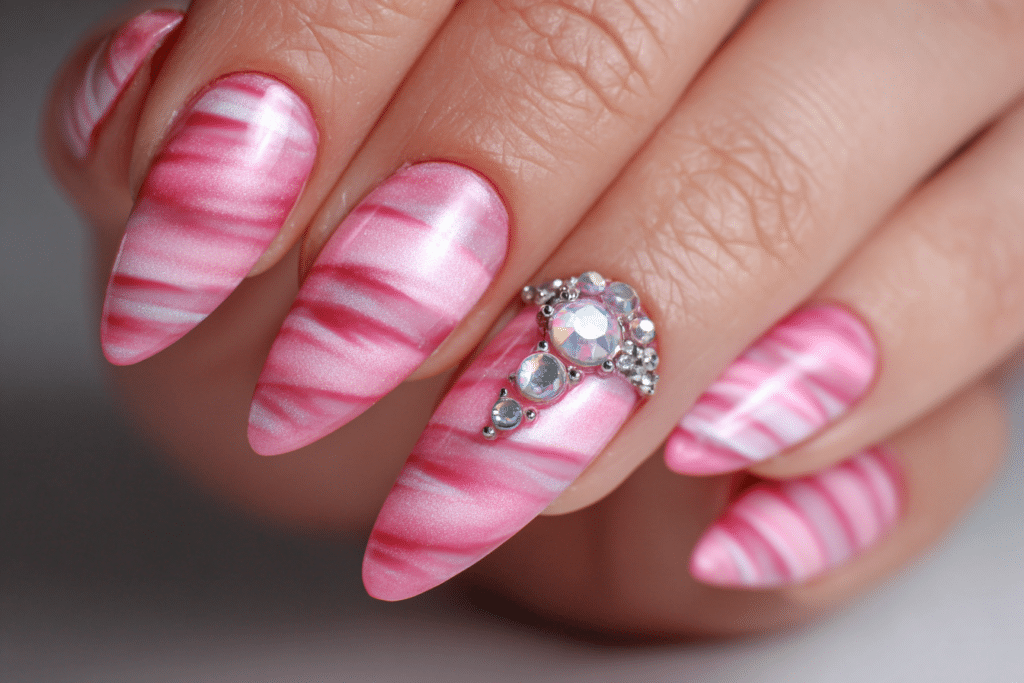
Pink Cat Eye Nails Design You’ll Want To Copy combines the mesmerizing magnetic effect of cat eye gel polish with soft, feminine pink tones.
This stunning nail art technique uses special magnetic particles within gel polish that create a luminous stripe resembling a cat’s eye gemstone. The result is a sophisticated, dimensional look that catches light beautifully and works for any occasion.
| Topic | Details |
|---|---|
| Category | Nail Art / Gel Nails |
| Skill Level | Intermediate |
| Time Needed | 45-60 minutes |
| Tools Needed | Cat eye magnet, UV/LED lamp, pink cat eye gel polish |
| Best For | Anyone seeking elegant dimensional nail art |
Table of Contents
Why This Nail Technique Works
The pink cat eye nails design works exceptionally well because it combines color psychology with optical physics. Pink shades evoke feelings of romance, femininity, and sophistication while remaining versatile enough for professional and casual settings. The cat eye effect occurs when metallic particles suspended in gel polish respond to magnetic force, aligning to create a striking light reflection stripe.
This technique stands out from traditional nail art because it creates depth and movement without requiring advanced painting skills. The magnetic particles continuously shift to catch light from different angles, making your nails appear to shimmer and change throughout the day. Pink tones particularly enhance this effect because they provide excellent contrast against the metallic stripe, making the cat eye phenomenon more pronounced and visually captivating.
Professional nail technicians favor this design because it delivers impressive results with relatively simple application. The durability of gel polish combined with the permanent magnetic effect means clients enjoy stunning nails that maintain their dimensional quality for weeks. This makes pink cat eye nails an excellent choice for anyone seeking low maintenance glamour.
Tools and Products Needed
| Product | Purpose | Alternatives |
|---|---|---|
| UV/LED Lamp | Cures gel polish layers properly | 48W or higher LED lamp |
| Pink Cat Eye Gel Polish | Creates magnetic effect in pink shades | Any brand with magnetic particles |
| Cat Eye Magnet | Manipulates metallic particles | Wand or stick magnets |
| Base Coat | Protects natural nails and ensures adhesion | Rubber or acid-free base |
| Top Coat | Seals design and adds shine | No-wipe or regular gel top coat |
| Nail File | Shapes nail edges and tips | 180 grit glass or emery file |
| Nail Buffer | Smooths nail surface for better adhesion | 220 grit buffer block |
| Cuticle Oil | Hydrates cuticles after application | Jojoba or vitamin E oil |
| Nail Cleanser | Removes oils before polish application | 70% isopropyl alcohol |
| Cuticle Pusher | Prepares nail bed area | Metal or wooden pusher |
For professional quality results, explore the full range of gel nail supplies available at Gel Nails by Lina where you can find specialized tools and premium pink cat eye gel polishes.
Step-by-Step Application Guide
Nail Preparation
- Wash your hands thoroughly with soap and warm water to remove dirt and oils.
- Push back cuticles gently using a cuticle pusher, working in small circular motions.
- File your nails to your desired shape, whether square, round, almond, or coffin.
- Buff the nail surface lightly with a 220 grit buffer to create texture for adhesion.
- Cleanse each nail with nail cleanser or alcohol to remove all dust and oils completely.
Base Coat Application
- Apply a thin layer of gel base coat to each nail, avoiding contact with cuticles.
- Cap the free edge by running the brush along the nail tip for added durability.
- Cure the base coat under your UV/LED lamp according to manufacturer instructions, typically 30-60 seconds.
- Check that the base coat is completely dry and smooth before proceeding to color.
Gel Polish Layers
- Apply a thin layer of pink cat eye gel polish, ensuring even coverage from cuticle to tip.
- Avoid applying polish too thickly as this interferes with the magnetic effect and curing.
- Hold the cat eye magnet approximately 2-3 millimeters above the wet polish without touching the surface.
- Position the magnet at your preferred angle for 10-15 seconds to create the desired stripe effect.
- Observe as the metallic particles align and form the signature cat eye stripe pattern.
Curing Process
- Cure the first layer of pink cat eye polish under the LED lamp for the recommended time.
- Apply a second thin coat of cat eye gel polish for deeper color and more dramatic effect.
- Use the magnet again immediately after application, holding steady to maintain consistent pattern.
- Cure the second layer completely, ensuring the magnetic particles are locked in position permanently.
Finishing and Top Coat
- Apply a thin layer of gel top coat over the entire nail surface, working quickly but carefully.
- Cap the free edge again to seal the design and prevent chipping or peeling.
- Cure the top coat under the lamp according to product specifications, usually 60 seconds.
- Wipe off the sticky residue layer if using a regular top coat with a lint-free wipe.
- Apply cuticle oil around each nail to hydrate and complete your professional manicure.
For more detailed guidance on gel polish techniques, visit Gel Nails by Lina for expert tutorials and product recommendations.
Pro Nail Technician Tips
- Work on one nail at a time when creating the cat eye effect to prevent polish from starting to cure before you apply the magnet.
- Experiment with magnet positioning by holding it diagonally, vertically, or horizontally to create different stripe patterns and effects.
- Apply thin coats rather than thick ones to ensure proper curing and prevent wrinkling or bubbling in your pink cat eye design.
- Keep your magnet clean by wiping it gently after each use to prevent polish buildup that could interfere with magnetic strength.
- Use a darker pink base color if you want a more dramatic cat eye stripe, or lighter pink for subtle elegance.
- Avoid shaking the cat eye gel polish bottle vigorously as this can disperse the magnetic particles unevenly throughout the formula.
Common Gel Nail Mistakes
| Mistake | Why It Happens | How to Fix |
|---|---|---|
| Weak cat eye stripe | Magnet held too far from polish or moved too quickly | Hold magnet closer and steadier for 15 seconds minimum |
| Thick gel layers | Applying too much polish in single application | Use thin coats and build color gradually with multiple layers |
| Polish peeling early | Insufficient nail preparation or skipping cleansing step | Properly buff nails and remove all oils before base coat |
| Blurry cat eye effect | Moving magnet during application or uneven polish layer | Keep hand steady and ensure smooth polish application |
| Improper curing | Using low wattage lamp or insufficient curing time | Use 48W LED lamp and follow recommended cure times |
Pink Cat Eye Nails Design Variations
| Style | Description | Best Occasion |
|---|---|---|
| Light Pink Cat Eye | Soft baby pink with subtle metallic stripe | Weddings, formal events, office wear |
| Hot Pink Cat Eye | Vibrant fuchsia with bold magnetic effect | Parties, girls night out, summer events |
| Rose Gold Pink | Dusty rose with warm metallic particles | Romantic dinners, date nights, everyday elegance |
| Pink Ombre Cat Eye | Gradient pink shades with flowing cat eye stripe | Special celebrations, artistic expression |
| Pink Chrome Accent | Cat eye pink with chrome powder on accent nails | Fashion events, trendsetting looks |
| Pink French Cat Eye | French tip design with cat eye effect on tips | Professional settings, classic elegance |
Nail Care and Maintenance
Maintaining your pink cat eye nails requires consistent care to preserve both the design and your natural nail health. Apply cuticle oil daily, preferably twice a day, to keep the nail bed hydrated and prevent lifting around the edges. The oil creates a protective barrier that also enhances the shine of your gel manicure, making the cat eye effect appear even more luminous and dimensional.
Wear gloves when cleaning with harsh chemicals or washing dishes for extended periods to protect your gel polish from premature breakdown. Avoid using your nails as tools to open cans, scrape labels, or perform tasks that put pressure on the tips. These activities can cause cracks in the gel or lifting at the free edge, compromising the longevity of your manicure.
Keep your nails at a manageable length to reduce the risk of breakage or snagging on fabrics and surfaces. If you notice any lifting or chipping, resist the urge to peel or pick at the gel polish, as this damages the natural nail layers underneath. Instead, visit Gel Nails by Lina for proper repair techniques or schedule a fill appointment.
How to Remove Gel Nails Safely
Safe removal of pink cat eye gel nails begins with filing off the shiny top coat layer using a coarse nail file. This breaks the seal and allows acetone to penetrate the gel layers more effectively. Avoid filing too aggressively as this can damage your natural nail plate beneath the gel polish.
Soak cotton balls or pads in pure acetone and place one on each nail, ensuring complete coverage of the gel polish. Wrap each fingertip tightly with aluminum foil to create heat and hold the acetone-soaked cotton in place. Allow the nails to soak for 12-15 minutes, checking periodically to see if the gel has softened sufficiently.
Gently push off the softened gel using a cuticle pusher or orangewood stick, working from the cuticle toward the free edge. Never force or scrape aggressively if the gel has not fully dissolved. If resistance occurs, rewrap and soak for an additional five minutes rather than risking damage to your natural nails.
Nail Health and Safety
Protecting your natural nails while enjoying pink cat eye designs requires attention to proper application and removal techniques. Over-filing the nail surface during preparation can thin the nail plate, making it weak and prone to breakage. Always use a light touch when buffing and stop once you see a slight matte finish appear on the nail surface.
Allow your nails to breathe between gel applications by taking breaks every two to three months. During these rest periods, focus on nail strengthening treatments and intensive cuticle care to restore any moisture lost during gel wear. Dermatologists recommend keeping natural nails hydrated and protected even when not wearing polish.
Ensure your UV/LED lamp is used correctly by following manufacturer guidelines for exposure time and distance. While modern LED lamps are considered safe for regular use, you can apply broad spectrum sunscreen to your hands before curing if you have concerns about UV exposure.
Frequently Asked Questions
How long do gel nails last?
Gel nails typically last two to three weeks with proper application and care before requiring a fill or removal. The longevity depends on your natural nail growth rate, daily activities, and how well you maintain the manicure. Pink cat eye gel nails can last the full three weeks if you avoid excessive water exposure and apply cuticle oil regularly. Some people experience longer wear time while others may see lifting or tip wear after two weeks.
How to remove gel nails safely at home?
Remove gel nails safely by filing the top coat, soaking nails in pure acetone for 12-15 minutes wrapped in foil, and gently pushing off softened gel. Never peel or force gel polish off as this removes layers of your natural nail and causes significant damage. After removal, hydrate nails thoroughly with cuticle oil and give them a break before your next gel application. Using the proper acetone soaking method protects your nail health.
What is the difference between gel nails and acrylic nails?
Gel nails are cured under UV or LED light and offer a more flexible, natural looking finish compared to acrylic nails. Acrylics are created by mixing powder and liquid that air dries to form a hard protective layer over natural nails. Gel polish like pink cat eye designs tends to be thinner and lighter on the nail, while acrylics provide more strength for extreme length. Gel removal requires acetone soaking while acrylics need filing down or professional removal.
Why do gel nails peel or lift?
Gel nails peel when natural oils remain on the nail surface during application, preventing proper adhesion of the base coat. Other causes include applying gel layers too thickly, inadequate curing time, or moisture trapped under the polish. Proper nail preparation including thorough cleansing and light buffing prevents most lifting issues. Contact with excessive water or harsh chemicals shortly after application can also compromise the bond between gel and natural nail.
How can I make my gel nails last longer?
Make gel nails last longer by applying cuticle oil daily, wearing gloves during cleaning tasks, and avoiding using nails as tools. Proper preparation including nail cleansing and light buffing ensures strong adhesion from the start. Keep nails at a reasonable length to reduce stress on the free edge where chipping commonly occurs. Schedule regular fills every two to three weeks to maintain the appearance and prevent damage from excessive growth or lifting.
Conclusion
Pink Cat Eye Nails Design You’ll Want To Copy offers the perfect combination of elegance, dimension, and versatility for any nail enthusiast. This stunning technique delivers professional quality results that last for weeks while requiring only intermediate skills and specialized magnetic tools. Whether you choose soft baby pink for understated sophistication or vibrant fuchsia for bold glamour, the mesmerizing cat eye effect elevates your manicure to artwork. Try this captivating design at home using proper techniques and quality products, and enjoy nails that shimmer and catch light beautifully from every angle.