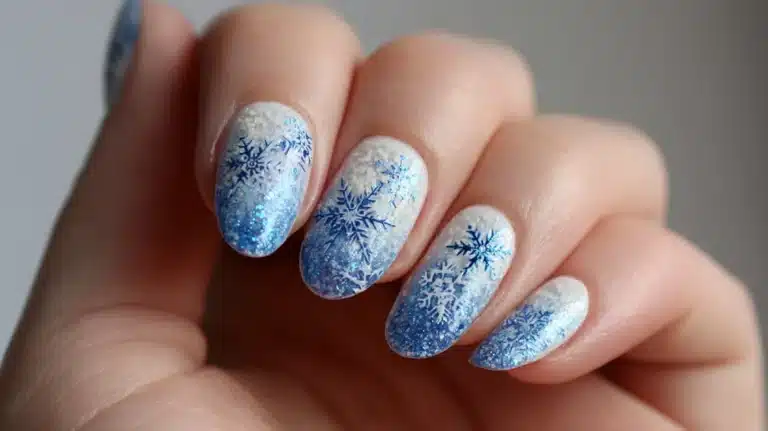
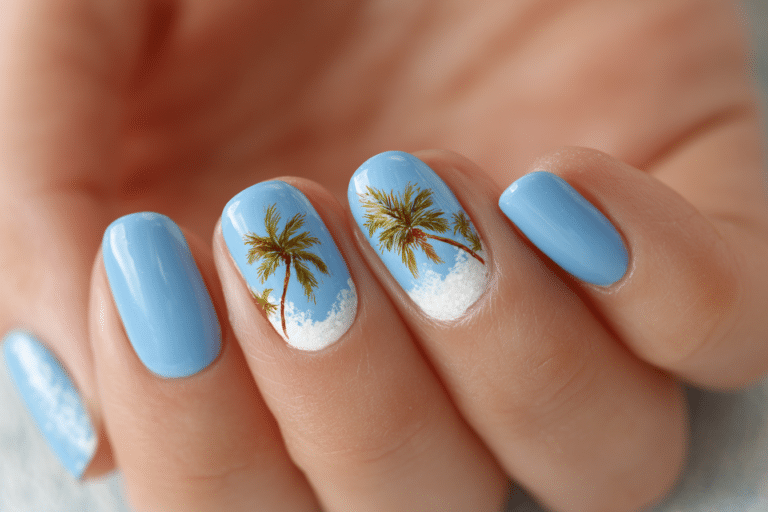
Insanely Good Nail Art Ideas To Try At Your Next Appointment

Insanely good nail art ideas transform ordinary manicures into stunning works of wearable art that express your unique personality and style.
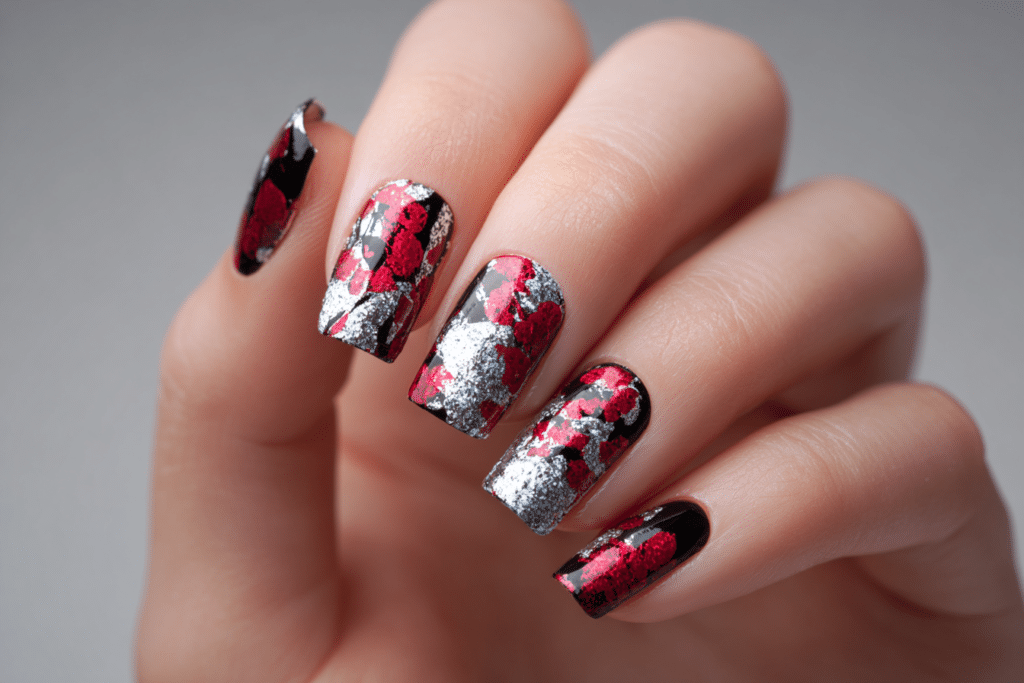
These creative designs range from elegant minimalist patterns to bold statement nails that capture attention and spark conversation. Whether you prefer subtle sophistication or dramatic flair, the right nail art can elevate your entire look and boost your confidence for any occasion.
| Topic | Details |
| Category | Nail Art |
| Skill Level | Beginner to Advanced |
| Time Needed | 60-120 minutes |
| Tools Needed | UV/LED lamp, gel polish, nail art brushes, dotting tools |
| Best For | Anyone seeking creative, long-lasting nail designs |
Table of Contents
Why This Nail Technique Works
Nail art has evolved from simple polish application to intricate designs that combine multiple techniques and textures for breathtaking results. The success of modern nail art lies in the advancement of gel polish formulations that provide vibrant pigmentation, extended wear time, and a smooth canvas for detailed work. Gel polishes cure under UV or LED light, creating a hardened surface that resists chipping and allows layering of colors and embellishments without smudging.
Professional nail artists utilize specialized tools and techniques to create dimensional effects that traditional polish cannot achieve. Fine detail brushes enable precision line work, while dotting tools create perfect circles and patterns with consistent sizing. The chemical composition of quality gel products ensures proper adhesion to the nail plate and compatibility between layers, preventing lifting and peeling that would ruin intricate designs.
The psychological impact of beautifully designed nails extends beyond aesthetics, contributing to increased self-confidence and personal expression. Studies show that maintaining well-groomed nails positively influences how individuals present themselves in professional and social settings. Creative nail art serves as a form of self-care and artistic expression, allowing people to showcase their personality through color choices, patterns, and embellishments that reflect current trends or personal preferences.
Tools and Products Needed
| Product | Purpose | Alternatives |
| UV/LED Lamp | Cures gel polish layers | 48W LED lamp or higher wattage models |
| Base Coat | Protects natural nail and ensures adhesion | Rubber base or peel-off base |
| Gel Polish Colors | Creates design foundation and details | Multiple brands with similar pigmentation |
| Nail Art Brushes | Applies detailed line work and patterns | Striping brush, liner brush, flat brush |
| Dotting Tools | Creates dots and circular patterns | Bobby pins or toothpicks |
| Nail File 180 Grit | Shapes nail edges and smooths surface | Glass file or electric file |
| Nail Buffer | Removes shine for better adhesion | 240 grit buffer or sanding band |
| Cuticle Oil | Hydrates skin and maintains nail health | Vitamin E oil or jojoba oil |
| Top Coat | Seals design and adds shine | No-wipe top coat or matte top coat |
| Nail Dehydrator | Removes moisture and oils | Isopropyl alcohol 70% or higher |
| Nail Primer | Enhances adhesion to nail plate | Acid-free primer or bonder |
For more guidance on selecting the right products for your nail art journey, visit Gel Nails by Lina for expert recommendations and tutorials.
Step-by-Step Application Guide
Nail Preparation
- Remove any existing polish using acetone-soaked cotton pads and gentle pressure to avoid damaging the nail plate.
- Wash hands thoroughly with soap and water to remove oils, lotions, and debris that could interfere with adhesion.
- Push back cuticles gently using a wooden or rubber cuticle pusher at a 45-degree angle to the nail plate.
- Trim excess cuticle skin carefully with professional cuticle nippers, removing only dead tissue to prevent bleeding.
- File nails to desired shape using smooth, one-directional strokes from edge to center on each side.
- Buff the nail surface lightly with a 240-grit buffer to remove shine and create texture for better adhesion.
- Dust off nail debris using a clean brush or lint-free wipe to ensure a clean working surface.
- Apply nail dehydrator to each nail, allowing it to air dry completely before proceeding to the next step.
- Apply a thin layer of primer to the natural nail, avoiding skin contact to prevent irritation or burning.
Base Coat Application
- Apply a thin, even layer of base coat starting from the cuticle area and extending to the free edge.
- Cap the free edge by running the brush along the nail tip to seal and prevent chipping.
- Cure the base coat under your UV/LED lamp according to manufacturer specifications, typically 30-60 seconds.
- Check for any uncured spots or uneven areas that may require additional product or curing time.
Gel Polish Layers
- Apply the first color coat in thin layers, starting at the cuticle and pulling the brush toward the free edge.
- Maintain even pressure throughout the stroke to prevent thick spots that can cause wrinkling or improper curing.
- Cure the first color layer for the recommended time, usually 60 seconds under LED or 2 minutes under UV.
- Apply a second color coat if needed for full opacity, ensuring consistent coverage without flooding the cuticles.
- Cure the second color layer completely before proceeding to any nail art designs or embellishments.
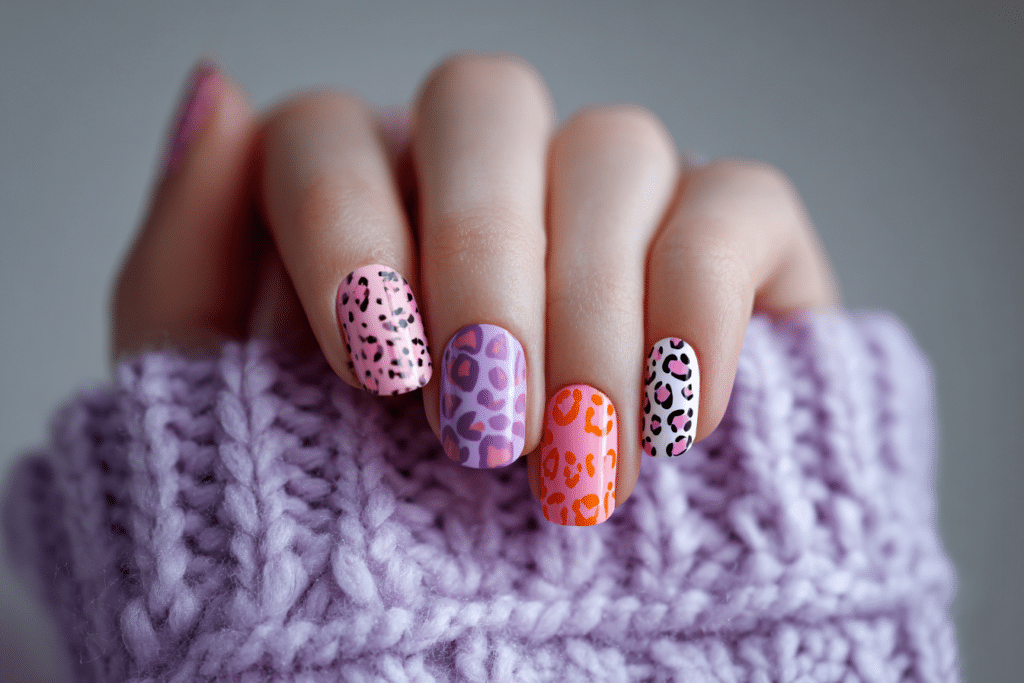
Creating Nail Art Designs
- Select complementary colors for your chosen design and test color combinations on a practice palette first.
- Use a fine detail brush for line work, dipping only the tip into gel polish for precise control.
- Create dots using a dotting tool by dipping into gel polish and pressing gently onto the cured base color.
- Build dimensional designs by layering and curing each element separately to prevent smudging or color mixing.
- Add metallic accents, chrome powder, or foil after applying a tacky layer of gel polish for maximum adhesion.
- Cure each design element individually according to the product requirements to ensure proper hardening.
- Clean up any mistakes using a small brush dipped in isopropyl alcohol before curing the layer.
Finishing and Top Coat
- Apply a thin layer of top coat over the entire nail design, ensuring complete coverage of all art elements.
- Cap the free edge generously with top coat to seal the design and prevent premature chipping.
- Cure the top coat for the full recommended time to achieve maximum hardness and shine.
- Wipe away the tacky residue layer using a lint-free wipe soaked in isopropyl alcohol or gel cleanser.
- Apply cuticle oil to the skin surrounding each nail to hydrate and restore moisture after the curing process.
- Massage the cuticle oil into the skin for improved circulation and to promote healthy nail growth.
Pro Nail Technician Tips
- Always cap the free edge with every layer of product, including base coat, color, and top coat, to prevent lifting and extend wear time significantly.
- Keep gel polish layers thin and build opacity gradually rather than applying thick coats that lead to wrinkling, incomplete curing, and premature peeling.
- Maintain a small margin between the gel product and the cuticle line to prevent flooding, which causes lifting when the gel touches skin oils.
- Cure nails for the full recommended time based on your specific lamp wattage, as under-curing results in soft gel that chips and peels easily.
- Use a lint-free wipe instead of cotton pads when cleaning the nail surface, as cotton fibers can stick to tacky gel layers and ruin the smooth finish.
- Store gel polishes away from direct sunlight and heat sources to prevent premature thickening and maintain consistent viscosity for easier application.
Discover more professional techniques and tutorials at Gel Nails by Lina to perfect your nail art skills.
Common Gel Nail Mistakes
| Mistake | Why It Happens | How to Fix |
| Thick Gel Layers | Applying too much product in one coat to achieve faster opacity | Apply thin layers and build coverage gradually with multiple coats |
| Improper Curing Time | Removing nails from lamp too early or using incorrect wattage settings | Follow manufacturer curing times and verify lamp bulbs are functioning properly |
| Skipping Nail Preparation | Rushing through prep steps to save time during application | Complete all prep steps including buffing, dehydrating, and priming for best adhesion |
| Flooding The Cuticles | Applying gel too close to the skin or using excessive product amounts | Leave a small gap near cuticles and clean up excess before curing |
| Using Old Products | Continuing to use thickened or separated gel polish beyond shelf life | Replace products showing consistency changes and store properly between uses |
Nail Design Variations
| Style | Description | Best Occasion |
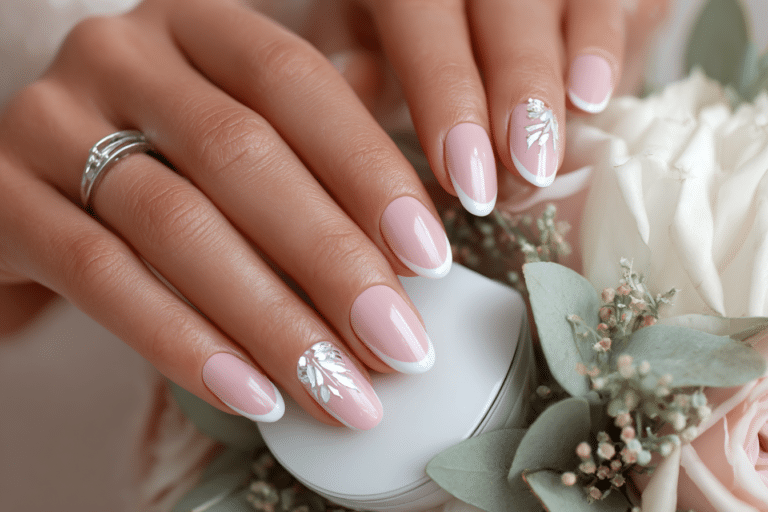
| French Gel Nails | Classic white tips with nude or pink base for timeless elegance | Professional settings, weddings, everyday wear |
| Chrome Nails | Metallic mirror finish created with chrome powder over gel polish | Evening events, parties, fashion-forward occasions |
| Ombre Nails | Gradient color blend from light to dark using sponge or brush techniques | Casual outings, summer events, creative expressions |
| Minimalist Nail Art | Simple lines, dots, or geometric shapes on neutral base colors | Office environments, understated elegance, daily wear |
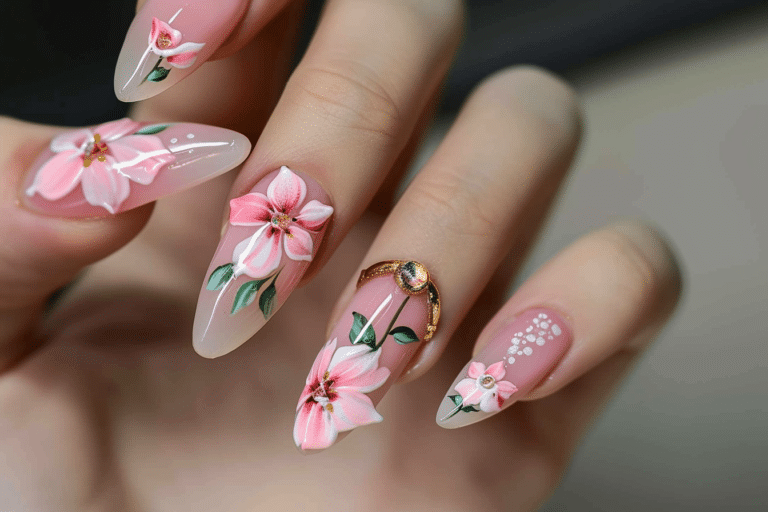
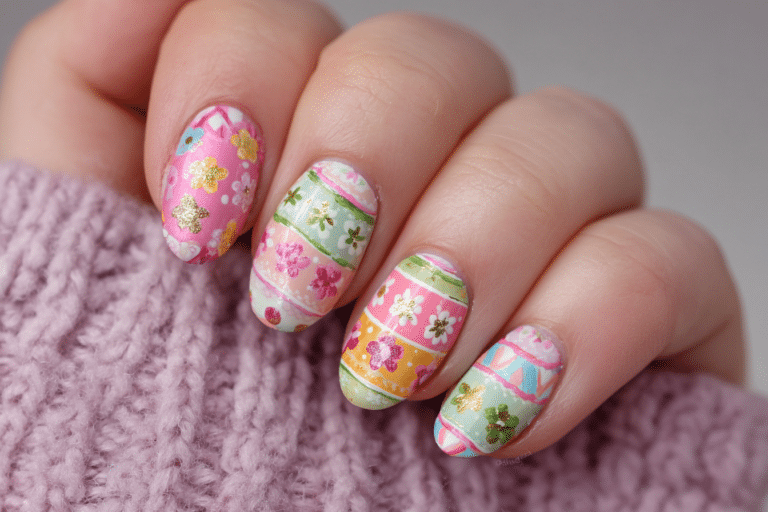
| Seasonal Nail Designs | Holiday themes, floral patterns, or weather-inspired color palettes | Seasonal celebrations, themed parties, festive gatherings |
| Marble Effect | Swirled patterns mimicking natural stone using multiple gel colors | Sophisticated events, artistic showcases, special occasions |
| Glitter Gradient | Concentrated glitter at tips fading toward cuticles for sparkle | Celebrations, night events, glamorous occasions |
| Negative Space | Strategic areas of bare nail incorporated into the design | Modern settings, artistic events, trendy expressions |
Nail Care and Maintenance
Maintaining healthy nails while enjoying beautiful gel nail art requires consistent care and attention to both the artificial product and natural nail beneath. Daily application of cuticle oil provides essential moisture to the nail bed and surrounding skin, preventing dryness that leads to hangnails and brittle nails. Quality cuticle oils containing vitamin E, jojoba, or almond oil penetrate deeply to nourish the nail matrix where new nail cells form, promoting stronger growth and flexibility.
Protecting gel manicures from excessive water exposure extends their lifespan and maintains the integrity of the design. Wearing protective gloves during household cleaning, dishwashing, or gardening prevents chemicals and prolonged moisture from weakening the gel bond. Avoid using nails as tools to open packages or scrape surfaces, as this creates stress points that cause cracking and lifting at the free edge.
Regular maintenance appointments every two to three weeks address regrowth and prevent damage from outgrown gel products. Professional removal and reapplication ensure the natural nail remains healthy and strong beneath the gel layers. Between appointments, monitor nails for signs of lifting or damage, addressing issues promptly to prevent moisture or bacteria from becoming trapped beneath the gel, which could lead to infections.
Hydration plays a critical role in nail health, as dehydrated nails become brittle and prone to breakage. Drinking adequate water throughout the day supports nail strength from within, while external moisturization with hand creams and cuticle oils addresses surface dryness. Supplement your diet with biotin-rich foods and protein to support keratin production, the primary structural component of healthy nails.
Learn more about maintaining beautiful, healthy nails at Gel Nails by Lina where expert advice meets practical application.
How to Remove Gel Nails Safely
- File the shiny top coat layer using a medium-grit file to break the seal and allow acetone penetration.
- Soak cotton pads in pure acetone until thoroughly saturated but not dripping excessively.
- Place the acetone-soaked cotton directly onto each nail, ensuring complete coverage of the gel surface.
- Wrap each fingertip with aluminum foil squares, sealing tightly to prevent acetone evaporation during soaking.
- Wait 10 to 15 minutes for the acetone to dissolve the gel polish layers completely.
- Remove the foil and cotton from one nail to check if gel has softened and lifted from the nail plate.
- Gently push away softened gel using a wooden cuticle stick, applying minimal pressure to avoid nail damage.
- Repeat the soaking process for any remaining gel that has not fully dissolved after the initial application.
- Buff the nail surface lightly to remove any residual gel particles or roughness left behind.
- Wash hands thoroughly with soap and water to remove acetone residue that can dry out skin.
- Apply a rich hand cream and cuticle oil to restore moisture lost during the acetone soaking process.
Nail Health and Safety
Protecting natural nail health while enjoying gel nail art requires understanding proper application techniques and recognizing warning signs of damage. Over-filing the nail plate to create texture for gel adhesion removes protective layers and causes thinning that leads to sensitivity and breakage. Professional nail technicians recommend gentle buffing that removes only the shine without creating visible grooves or heat from friction.
Infections can develop when proper sanitation protocols are not followed or when damaged skin around nails provides an entry point for bacteria and fungi. Ensure all tools are properly sterilized between clients in salon settings, and never share personal nail tools with others. Watch for signs of infection including redness, swelling, pain, or discharge around the nail area, seeking medical attention promptly if these symptoms appear.
Allergic reactions to gel products manifest as itching, redness, or blistering around the nail area and fingertips. Methacrylate compounds in some gel formulas can cause contact dermatitis in sensitive individuals, requiring discontinuation of the product and consultation with a dermatologist. Patch testing new products on a small area before full application can identify potential allergens before widespread reaction occurs.
Frequently Asked Questions
How long do gel nails last?
Gel nails typically last two to three weeks with proper application and care before requiring maintenance or removal. The longevity depends on factors including nail preparation quality, product brands used, and daily activities that stress the nails. Some individuals experience longer wear while others may see lifting or tip wear earlier based on their natural nail growth rate and lifestyle habits.
How to remove gel nails safely at home?
Remove gel nails safely by soaking them in pure acetone for 10 to 15 minutes after filing away the shiny top coat layer. Wrap each nail in acetone-soaked cotton and aluminum foil to maximize penetration and softening of the gel layers. Gently push away softened gel with a wooden stick, never forcing or peeling the product, which damages the natural nail underneath.
What is the difference between gel nails and acrylic nails?
Gel nails use a polish-like substance that cures under UV or LED light, creating a flexible, glossy finish that looks more natural. Acrylic nails involve a liquid monomer and powder polymer that harden through air exposure, forming a stronger but more rigid extension that can appear thicker. Gel nails generally require less filing during application and removal, causing less damage to the natural nail plate.
Why do gel nails peel or lift prematurely?
Gel nails peel when proper nail preparation steps are skipped, moisture or oils remain on the nail surface, or product application is too thick. Flooding the cuticle area with gel causes lifting as the product touches skin and its natural oils. Under-curing gel layers or using incompatible products from different brands can also result in poor adhesion and premature failure of the manicure
How can I make my gel nails last longer?
Make gel nails last longer by completing thorough nail preparation including dehydrating and priming before application. Apply thin, even layers of each product and cure for the full recommended time to ensure complete hardening. Protect nails by wearing gloves during cleaning tasks, applying cuticle oil daily, and avoiding using nails as tools that create stress and lifting points.
Conclusion
Insanely good nail art ideas offer endless possibilities for creative expression and personal style that elevate any manicure into a stunning statement. From classic French tips to bold chrome finishes and intricate hand-painted designs, these techniques transform nails into miniature canvases that showcase your personality. With proper preparation, quality products, and attention to detail, you can achieve salon-worthy results that last for weeks while maintaining the health of your natural nails. Book your next appointment prepared with inspiration and knowledge to communicate exactly what nail art vision you want to bring to life.