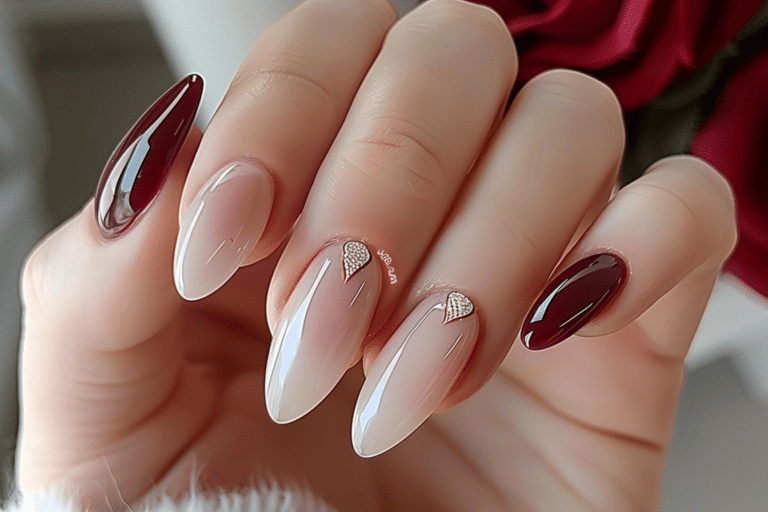
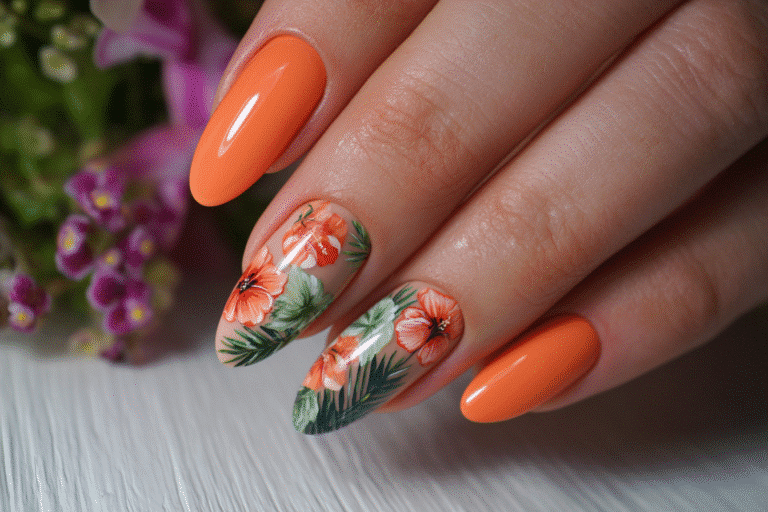
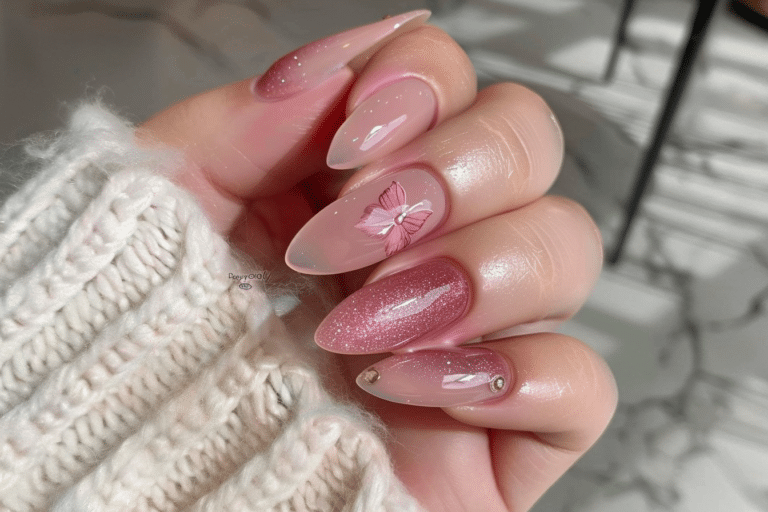
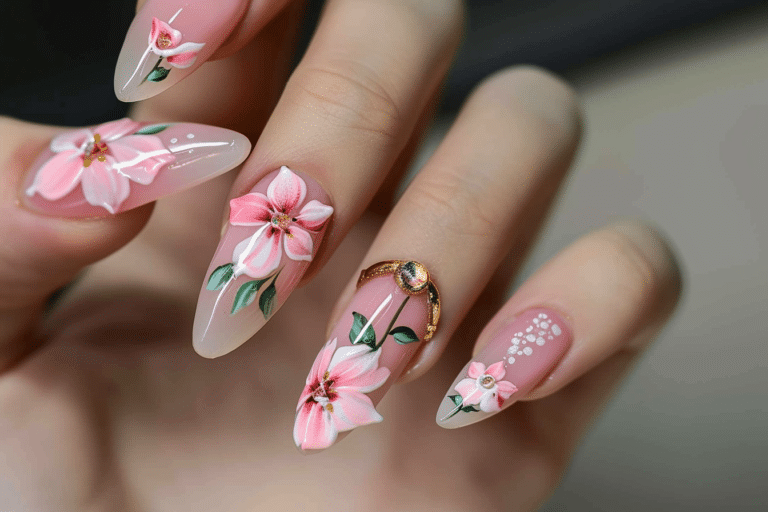
15 Elegant Old Money Nails for a Quiet Luxury Aesthetic

Old money nails represent the epitome of understated elegance and timeless sophistication in nail design.
These refined manicures embody the quiet luxury aesthetic through neutral tones, impeccable finishes, and classic shapes that whisper wealth rather than shout it. The appeal lies in their ability to complement any outfit while projecting confidence and refined taste.
| Topic | Details |
| Category | Nail Art / Gel Nails |
| Skill Level | Beginner to Intermediate |
| Time Needed | 60 to 90 minutes |
| Tools Needed | UV lamp, gel polish, nail file, buffer, base and top coat |
| Best For | Anyone seeking timeless, sophisticated nail designs |
Table of Contents
Why This Nail Technique Works
Old money nail aesthetics work exceptionally well because they prioritize quality and subtlety over trends and extravagance. The technique focuses on creating a polished canvas with neutral shades like ballet pink, soft beige, creamy ivory, and muted mauve that flatter all skin tones. These colors enhance the natural beauty of your hands without competing for attention with your overall appearance.
The quiet luxury approach emphasizes perfect application and maintenance rather than bold statements. This method creates versatility that allows your manicure to transition seamlessly from business meetings to evening events. The classic shapes like oval, almond, and short square nails maintain an elegant silhouette that elongates fingers while remaining practical for daily activities.
Professional nail technicians prefer these techniques because they showcase technical skill through flawless cuticle work, smooth polish application, and impeccable finishing. The understated palette requires precision since every imperfection becomes visible against neutral backgrounds. This attention to detail creates long-lasting results that maintain their sophisticated appearance throughout the wear period.
Tools and Products Needed
| Product | Purpose | Alternatives |
| UV/LED Lamp | Cures gel polish properly | Professional salon curing |
| Base Coat | Protects natural nails | Ridge-filling base |
| Gel Polish in Neutral Shades | Creates elegant color | Traditional nail lacquer |
| Top Coat | Adds shine and protection | Matte top coat for variation |
| Nail File (180 grit) | Shapes nail edges | Glass nail file |
| Nail Buffer | Smooths nail surface | Buffer block |
| Cuticle Oil | Hydrates cuticles | Vitamin E oil |
| Cuticle Pusher | Preps nail bed | Orange wood stick |
| Lint-Free Wipes | Removes residue | Cotton pads |
| Alcohol or Cleanser | Dehydrates nail plate | Nail prep solution |
For premium gel polish options and professional-grade tools, visit Gel Nails by Lina to explore curated collections perfect for creating old money aesthetics.
Step-by-Step Application Guide
Nail Preparation
- Remove any existing polish completely using acetone-soaked cotton pads and gentle pressure to ensure a clean starting surface.
- Wash hands thoroughly with soap and warm water to eliminate oils, lotions, and debris that could interfere with adhesion.
- Push back cuticles gently using a cuticle pusher at a 45-degree angle to expose the entire nail plate.
- File nails into your desired shape using smooth, one-directional strokes from corner to center for a refined edge.
- Buff the nail surface lightly with a buffer to remove shine and create slight texture for better gel adhesion.
- Clean nails with alcohol or nail cleanser using a lint-free wipe to dehydrate the nail plate completely.
Base Coat Application
- Apply a thin layer of base coat starting from the center of the nail and extending to the edges.
- Cap the free edge by running the brush along the nail tip to seal and prevent chipping.
- Ensure the base coat remains away from cuticles by leaving a tiny gap to avoid lifting.
- Cure the base coat under UV/LED lamp according to manufacturer instructions, typically 30 to 60 seconds.
Gel Polish Layers
- Select your neutral shade gel polish and roll the bottle between palms to mix without creating bubbles.
- Apply the first thin layer of color using minimal pressure and smooth, even strokes from base to tip.
- Cap the free edge again with color to extend wear and prevent edge chipping.
- Cure the first color layer under the lamp for the recommended time, usually 30 to 60 seconds.
- Apply a second thin layer of gel polish to achieve full opacity and rich color saturation.
- Cure the second layer completely before proceeding to the finishing stage.
Curing Process
- Position your hand completely inside the UV/LED lamp ensuring all nails receive equal light exposure.
- Keep your hand still and relaxed throughout the entire curing duration to prevent movement or smudging.
- Verify that your lamp bulbs are functioning properly and have not exceeded their recommended usage life.
- Allow proper curing time between layers to ensure complete polymerization and prevent wrinkling or peeling.
Finishing and Top Coat
- Apply a thin layer of top coat over the entire nail surface using the same careful technique.
- Cap the free edge thoroughly with top coat to seal all layers and create maximum durability.
- Cure the top coat for the full recommended time, often slightly longer than color layers at 60 seconds.
- Wipe away any sticky residue using a lint-free wipe saturated with alcohol or gel cleanser.
- Apply cuticle oil generously around the nail perimeter and massage gently to hydrate and nourish.
- Inspect each nail under good lighting to ensure flawless application and make any necessary touch-ups.
Pro Nail Technician Tips
- Keep gel polish layers thin and build opacity through multiple coats rather than applying one thick layer that cures improperly.
- Avoid flooding the cuticle area by maintaining a small gap around the perimeter to prevent lifting and premature peeling.
- Cure each layer for the full recommended time even if the polish appears set to ensure complete hardening.
- Clean your lamp regularly and replace bulbs according to schedule since decreased UV output leads to under-curing issues.
- Store gel polishes away from direct sunlight in a cool environment to maintain consistency and prevent premature thickening.
- Prep the nail plate thoroughly by removing all oils and ensuring complete dryness before applying any product layers.
Discover more professional techniques and premium products at Gel Nails by Lina to elevate your manicure skills and achieve salon-quality results at home.
Common Gel Nail Mistakes
| Mistake | Why It Happens | How to Fix |
| Thick gel layers | Attempting to achieve opacity in one coat | Apply multiple thin layers instead |
| Improper curing | Insufficient lamp power or short cure times | Replace lamp bulbs and follow timing guidelines |
| Skipping nail prep | Rushing through the preparation phase | Always cleanse and dehydrate nails properly |
| Flooding the cuticle | Applying polish too close to skin | Leave a tiny gap and use precise brush control |
| Neglecting edge sealing | Forgetting to cap the free edge | Swipe brush along nail tip with each layer |
15 Elegant Old Money Nail Design Variations
| Style | Description | Best Occasion |
| Ballet Pink Perfection | Soft pink hue with glossy finish on short oval nails | Daily wear, business meetings |
| Creamy Nude Elegance | Warm beige tone matching natural skin undertones | Weddings, formal events |
| Classic French Manicure | Sheer pink base with crisp white tips | Professional settings, interviews |
| Ivory Minimalism | Pure ivory shade on short square nails | Everyday sophistication |
| Taupe Sophistication | Greige color with subtle shimmer undertone | Autumn gatherings, dinner parties |
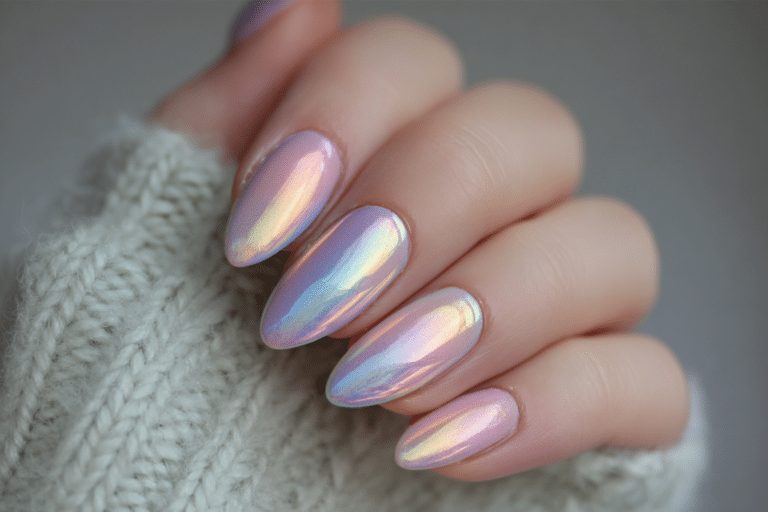
| Champagne Glow | Pale gold with pearl finish on almond nails | Evening events, celebrations |
| Soft Mauve Romance | Dusty rose-mauve on medium length ovals | Romantic dinners, date nights |
| Peach Cream Delight | Warm peachy nude with satin finish | Spring and summer occasions |
| Milky White Chic | Opaque milky white on short nails | Modern minimalist looks |
| Barely There Pink | Sheer pink tint enhancing natural nails | Natural beauty enthusiasts |
| Latte Luxury | Rich latte brown on almond shape | Fall fashion, cozy settings |
| Porcelain Perfection | Cool-toned pale pink with high gloss | Bridal, formal photography |
| Subtle Shimmer Nude | Nude base with fine champagne shimmer | Holiday parties, celebrations |
| Rose Quartz Elegance | Soft pink with slight lavender undertone | Feminine, romantic events |
| Biscuit Beige | Warm tan-beige on short square nails | Year-round classic wear |
Nail Care and Maintenance
Maintaining the elegant appearance of old money nails requires consistent care and attention to both the polish and natural nail health. Apply cuticle oil twice daily, especially before bed, to keep the skin around your nails hydrated and prevent dryness that can lead to hangnails. This simple habit also extends the life of your gel manicure by preventing lifting at the cuticle area.
Wear gloves when performing household chores, washing dishes, or using cleaning products to protect your manicure from harsh chemicals and excessive water exposure. Water causes nail expansion and contraction that can compromise gel adhesion over time. Avoid using your nails as tools to open cans, scratch surfaces, or pick at objects, as these actions create stress points that lead to chipping and breakage.
Keep your hands moisturized throughout the day using a quality hand cream that absorbs quickly without leaving greasy residue. Focus on massaging cream into the nail beds and cuticles to promote healthy nail growth and maintain suppleness. Schedule regular manicure appointments every two to three weeks to maintain the pristine appearance that defines the old money aesthetic.
For additional nail care insights and product recommendations, explore the resources available at Gel Nails by Lina where experts share professional maintenance techniques.
How to Remove Gel Nails Safely
- File the shiny top coat layer gently using a coarse nail file to break the seal and allow acetone penetration.
- Soak cotton pads or balls in pure acetone and place them directly on each nail surface.
- Wrap each finger tightly with aluminum foil to hold the cotton in place and prevent acetone evaporation.
- Wait patiently for 10 to 15 minutes to allow the acetone to dissolve the gel polish layers completely.
- Remove the foil wraps one finger at a time and gently push off softened gel using an orange wood stick.
- Avoid forcefully scraping or peeling gel polish as this damages the natural nail plate underneath.
- Buff nails lightly to smooth any remaining residue and restore the natural nail surface texture.
- Wash hands thoroughly and apply cuticle oil generously to rehydrate nails after acetone exposure.
- Allow nails to rest for at least 24 hours before applying a new gel manicure to prevent damage.
Nail Health and Safety
Protecting your natural nails while enjoying gel manicures requires balancing aesthetic desires with health considerations. Avoid over-filing the nail surface during preparation, as excessive buffing thins the nail plate and increases vulnerability to damage and infection. The natural nail only needs light buffing to remove shine, not aggressive filing that creates heat or discomfort.
Monitor your nails for signs of fungal infection including discoloration, thickening, or separation from the nail bed. These issues require prompt attention and may necessitate a break from gel manicures while treating the condition. Ensure that all tools used during manicures are properly sanitized to prevent bacterial or fungal contamination.
Give your nails periodic breaks between gel applications to allow them to breathe and recover. During these rest periods, apply strengthening treatments and maintain hydration with cuticle oil. If you experience persistent pain, sensitivity, or nail changes, consult a dermatologist for professional evaluation and treatment recommendations.
Frequently Asked Questions
How long do gel nails last?
Gel nails typically last between two to three weeks with proper application and care. The longevity depends on factors including nail preparation quality, lifestyle activities, and growth rate. Regular cuticle oil application and avoiding harsh chemicals help extend wear time significantly. Most people schedule touch-ups or removal around the two-week mark when natural growth becomes visible.
How to remove gel nails safely at home?
Remove gel nails safely by filing the top coat, soaking nails in acetone-soaked cotton wrapped with foil for 10 to 15 minutes, then gently pushing off softened gel. Never peel or force gel polish off as this strips layers of your natural nail plate. Always rehydrate nails with cuticle oil immediately after removal. Consider professional removal if you experience difficulty or resistance during the process.
What makes gel nails better than acrylic nails for old money aesthetics?
Gel nails offer a more natural, glossy finish that aligns perfectly with the understated elegance of old money style. They appear thinner and more refined on the nail compared to acrylic extensions which can look artificial. Gel polish provides flexibility that feels more like natural nails while maintaining the sophisticated appearance required for quiet luxury aesthetics. The application process also typically involves less odor and fewer harsh chemicals.
Why do gel nails peel or lift prematurely?
Gel nails peel primarily due to inadequate nail preparation, oil contamination, or moisture trapped under the polish layers. Applying gel too close to the cuticle causes lifting as natural oils seep underneath the product. Thick polish layers that cure improperly also contribute to premature peeling and chipping. Ensuring thorough nail cleansing, proper curing times, and thin application layers prevents most lifting issues.
How to make gel nails last longer than two weeks?
Extend gel nail longevity by applying cuticle oil twice daily, wearing gloves during wet work, and avoiding nail abuse. Cap the free edge with each product layer during application to seal the nail tip. Use quality gel products and ensure complete curing under a properly functioning lamp. Maintain proper hydration of both nails and surrounding skin to prevent dryness that contributes to lifting and breakage.
Conclusion
The timeless appeal of old money nails lies in their ability to project sophisticated confidence through understated elegance rather than flashy trends. By mastering neutral tones, perfecting application techniques, and maintaining meticulous nail care, you create a signature look that transcends seasonal fashion changes. These 15 elegant old money nail designs offer versatile options for every occasion while embodying the quiet luxury aesthetic that defines true refinement. Embrace this classic approach and discover how simplicity becomes the ultimate sophistication in nail artistry.