Summer Nails Must-Haves for Perfect Gel Manicures

Summer nails must-haves include essential gel polish products, proper tools, and specialized techniques that keep your manicure vibrant and chip-free throughout the hottest season.
The combination of increased sun exposure, swimming, and outdoor activities demands a more durable nail care approach. Understanding which products and methods work best ensures your summer manicure stays flawless for weeks.
| Topic | Details |
|---|---|
| Category | Gel Nails / Nail Art |
| Skill Level | Beginner to Intermediate |
| Time Needed | 60-90 minutes for complete manicure |
| Tools Needed | UV/LED lamp, gel polish, nail file, buffer, cuticle oil |
| Best For | Anyone wanting long-lasting summer manicures |
Table of Contents
Why Summer Nails Require Special Care
Summer conditions create unique challenges for nail health and manicure longevity. Higher temperatures cause natural oils to increase, which can lead to gel polish lifting at the edges. Chlorine from pools and salt water from ocean swimming strips moisture from nails and surrounding skin, making proper hydration critical. UV exposure can also cause certain gel polish colors to fade or yellow if they lack proper protection formulas.
Gel polish technology provides the perfect solution for summer nail challenges because it creates a protective seal over the natural nail plate. This barrier prevents water absorption that causes traditional polish to chip and peel. The cured gel formula remains flexible enough to move with natural nail expansion in heat while maintaining its glossy finish. Professional-grade gel systems include UV filters that protect color integrity even during extended sun exposure.
The bonding agents in quality gel base coats create molecular adhesion to the nail plate that withstands moisture exposure better than any other nail product. When applied correctly with proper nail preparation, gel manicures last two to three weeks without chipping. This durability makes gel polish the superior choice for summer when you want worry-free nails during beach vacations, pool parties, and outdoor adventures.
Essential Tools and Products for Summer Nails
Investing in quality tools and products makes the difference between a professional-looking manicure and disappointing results. The following items represent the core essentials every gel nail enthusiast needs for perfect summer manicures.
| Product | Purpose | Alternatives |
|---|---|---|
| UV/LED Lamp | Cures gel polish to hard finish | LED lamp only (faster curing) |
| Gel Base Coat | Provides adhesion foundation | Builder base for weak nails |
| Summer Gel Polish Colors | Vibrant pigmented color layer | Sheer jelly polishes for lighter look |
| No-Wipe Top Coat | Seals design with glossy finish | Matte top coat for trendy finish |
| 100/180 Grit Nail File | Shapes and shortens nails | Glass file for gentle filing |
| Nail Buffer Block | Smooths nail surface for adhesion | Fine grit file for gentle buffing |
| Cuticle Oil | Hydrates nails and skin | Vitamin E oil or jojoba oil |
| Gel Cleanser | Removes tacky layer after curing | 99% Isopropyl alcohol |
| Nail Dehydrator | Removes oils before application | Rubbing alcohol prep |
For more detailed product recommendations and professional-grade supplies, visit Gel Nails by Lina for curated collections specifically designed for summer nail care.
Step-by-Step Summer Gel Nail Application Guide
Following the correct application sequence ensures maximum durability and prevents common problems like peeling and chipping. Each phase builds upon the previous step to create a complete gel nail system.
Nail Preparation Phase
- Remove any existing polish completely using acetone-soaked cotton pads and gentle rubbing motions.
- Wash hands thoroughly with soap and warm water to remove all traces of lotions or oils.
- Push back cuticles gently using a wooden or rubber cuticle pusher at a 45-degree angle.
- Trim any excess cuticle carefully with professional cuticle nippers, removing only dead skin.
- File nails to your desired shape using smooth, one-direction strokes with a 180-grit file.
- Buff the nail surface lightly with a buffer block to remove shine and create adhesion texture.
- Dust off nail filings using a clean, dry brush or lint-free wipe.
- Apply nail dehydrator to each nail and allow to air dry for 30 seconds.
Base Coat Application
- Apply a thin layer of gel base coat starting from the cuticle area and sweeping toward the free edge.
- Cap the free edge by running the brush along the nail tip to seal the edge.
- Avoid touching the skin or cuticle area, leaving a tiny gap around the edges.
- Cure under UV lamp for 60 seconds or LED lamp for 30 seconds according to product instructions.
Gel Polish Color Layers
- Apply the first thin coat of summer gel polish color using the same technique as base coat.
- Start with a small bead of polish at the cuticle area and push slightly back before sweeping forward.
- Cover the entire nail surface with smooth, even strokes without going over the same area repeatedly.
- Cap the free edge with color to prevent premature chipping at the tips.
- Cure the first color layer under the lamp for the recommended time on your polish bottle.
- Apply a second thin coat of color using the same careful technique for full opacity.
- Cure the second color layer completely before proceeding to the top coat.
Finishing and Top Coat Application
- Apply a thin layer of gel top coat over the cured color, ensuring complete coverage.
- Cap the free edge generously with top coat for maximum chip resistance.
- Cure the top coat layer for the full recommended time, typically 60 seconds under LED.
- If using a tacky-finish top coat, cleanse nails with gel cleanser on a lint-free wipe.
- Apply cuticle oil generously around each nail and massage into the skin.
- Finish by applying hand cream, avoiding the nail surface to maintain shine.
Pro Nail Technician Tips for Summer Nails
- Always cure gel polish in thin layers rather than applying thick coats that remain soft underneath. Thin applications cure completely through to the nail plate, preventing peeling and ensuring maximum durability during summer activities.
- Avoid applying gel polish too close to the cuticle area, leaving a microscopic gap that prevents lifting. This spacing accounts for natural nail growth and skin oils that can break down the gel bond at the edges.
- Increase curing time by 10-15 seconds during humid summer months to ensure complete polymerization. Higher humidity can slightly slow the curing process, and extra time guarantees a rock-hard finish.
- Prep nails immediately before application rather than hours in advance to prevent natural oils from returning. Your nail plate begins producing oils within minutes of cleansing, so timing matters for optimal adhesion.
- Apply cuticle oil daily to prevent dryness from sun and water exposure, but avoid getting oil on the gel surface. Focus the oil around the cuticle and under the free edge where natural nails need the most hydration.
- Choose gel polish formulas with UV protection for bright colors that might fade in intense summer sunlight. Quality gel brands include filters that maintain color vibrancy throughout the entire wear time.
Common Summer Gel Nail Mistakes
Understanding frequent errors helps you avoid frustrating manicure failures. These mistakes account for most gel nail problems during summer months.
| Mistake | Why it Happens | How to Fix |
|---|---|---|
| Applying thick gel layers | Attempting to achieve full color in one coat | Use two to three thin coats instead, curing between each layer |
| Improper nail surface preparation | Skipping buffing step or not removing oils | Always buff lightly and use nail dehydrator before base coat |
| Flooding the cuticle area | Applying too much product too close to skin | Leave tiny gap at cuticle and wipe excess before curing |
| Insufficient curing time | Removing hand from lamp too quickly | Follow manufacturer timing exactly and add extra seconds in humidity |
| Not capping the free edge | Forgetting to seal the nail tip with each layer | Run brush along tip edge with every coat including base and top |
| Using old or thick gel polish | Product has thickened from heat exposure or age | Store polish in cool place and replace every 12-18 months |
Trending Summer Nail Design Variations
Summer provides the perfect opportunity to experiment with vibrant colors and creative nail art designs. These popular styles complement the season while maintaining the durability gel polish provides.
| Style | Description | Best Occasion |
|---|---|---|
| Bright Neon Gel Nails | Electric pinks, oranges, yellows, and greens in glossy finish | Beach parties and summer festivals |
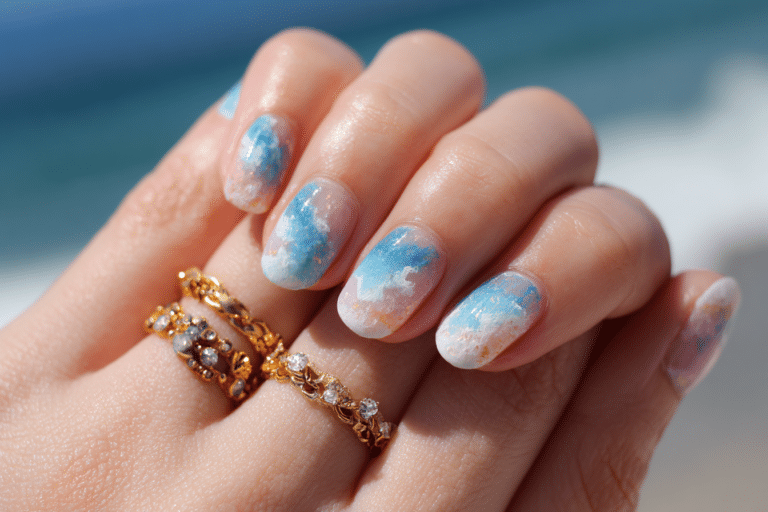
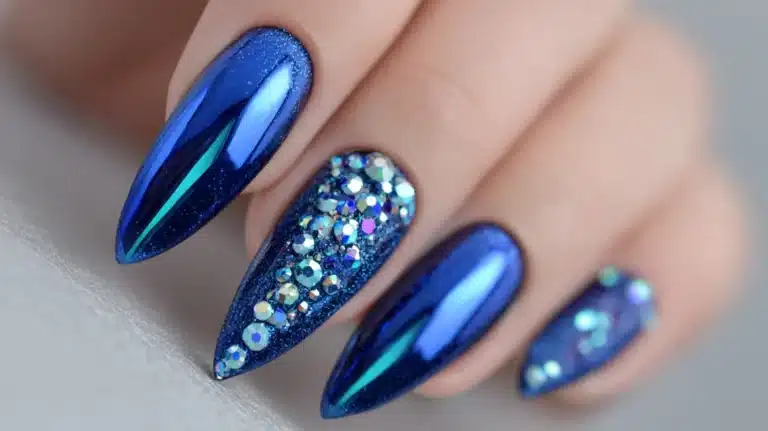
| Ocean-Inspired Chrome Nails | Aqua and teal chrome powders over gel for mermaid effect | Vacation and resort wear |
| Sunset Ombre Nails | Gradient blending from coral to purple mimicking sunset skies | Evening events and date nights |
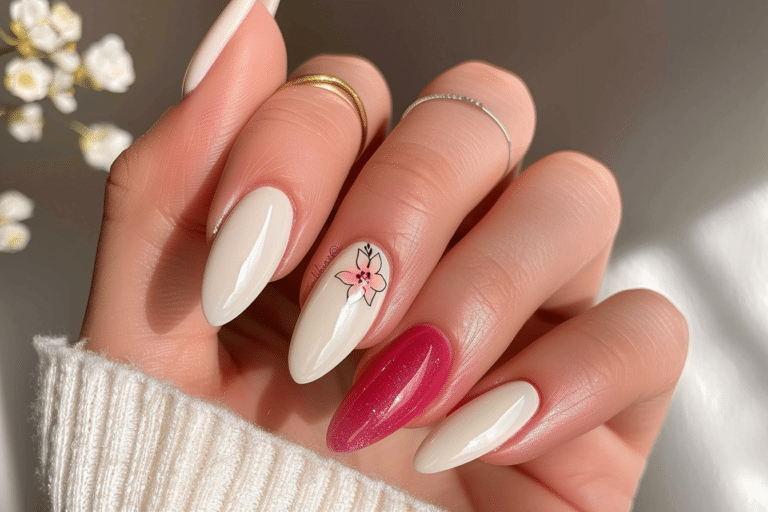
| Minimalist White Tips | Clean French manicure with crisp white tips on nude base | Professional settings and weddings |
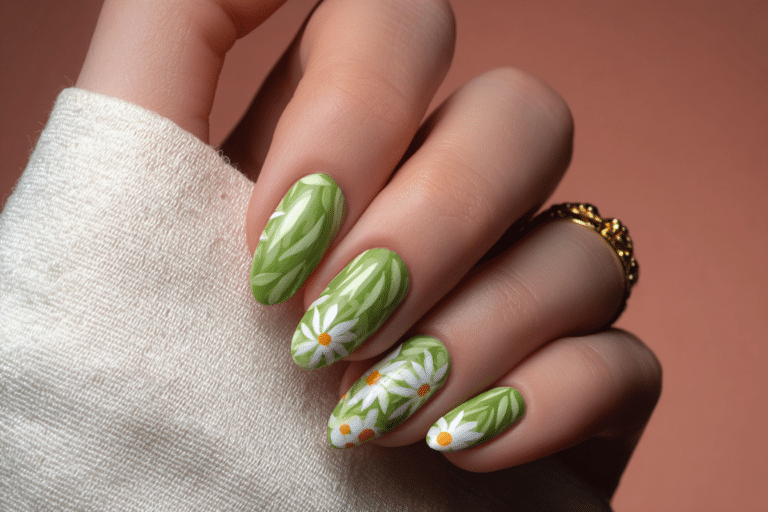
| Tropical Fruit Nail Art | Hand-painted watermelon, pineapple, or citrus slice designs | Casual summer gatherings |
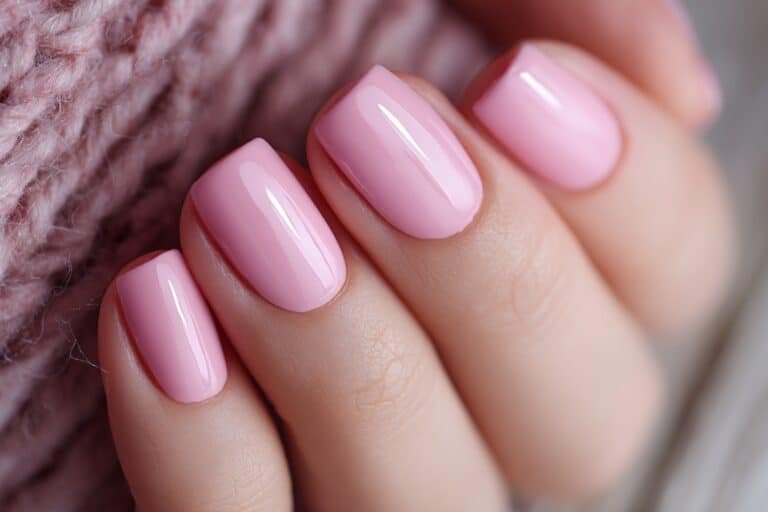
| Pastel Jelly Nails | Sheer translucent colors in soft summer shades | Everyday wear and brunch outings |
Explore more seasonal nail design inspiration and tutorials at Gel Nails by Lina for step-by-step guidance on creating these trending summer looks.
Nail Care and Maintenance During Summer
Proper maintenance between gel manicures keeps your natural nails healthy and extends the life of your gel polish. Summer conditions require extra attention to hydration and protection to prevent damage from environmental exposure.
Apply cuticle oil at least twice daily, focusing on the cuticle area and underneath the free edge where nails are most vulnerable. Quality cuticle oils containing vitamin E, jojoba, or almond oil penetrate the nail plate to maintain flexibility and prevent brittleness. Carry a small roller bottle in your beach bag or purse for convenient application throughout the day.
Wear protective gloves when cleaning with harsh chemicals or doing yard work to prevent gel lifting and natural nail damage. Prolonged water exposure softens the nail plate, making it more susceptible to bending and breaking. After swimming, rinse hands with fresh water and reapply cuticle oil to restore moisture balance.
Avoid using your nails as tools to open cans, scrape labels, or pry objects apart. This pressure can cause the gel to separate from the nail plate, creating pockets where moisture and bacteria can accumulate. Keep nails at a practical length during summer to reduce the risk of accidental breaks during active outdoor activities.
Schedule gel manicure appointments every two to three weeks to maintain optimal nail health. Allowing gel polish to grow out excessively can lead to snagging and uneven pressure on the nail plate. Regular professional maintenance from services like those at Gel Nails by Lina ensures your nails stay healthy and beautiful all season long.
How to Remove Summer Gel Nails Safely
Safe removal prevents damage to the natural nail plate and maintains nail health for future gel applications. Never peel or pick at gel polish, as this removes layers of your natural nail and causes significant damage.
- File the shiny top coat layer with a coarse nail file to break the seal and allow acetone penetration.
- Soak cotton pads or balls in pure acetone until saturated but not dripping excessively.
- Place the acetone-soaked cotton directly on each nail, covering the entire gel polish area.
- Wrap each fingertip tightly with aluminum foil to hold cotton in place and trap heat.
- Wait 10 to 15 minutes, allowing the acetone to dissolve the gel polish bonds completely.
- Remove foil and cotton from one nail, then gently push softened gel off with a wooden cuticle stick.
- If gel remains adhered, rewrap and soak for an additional five minutes rather than forcing removal.
- Buff away any remaining gel residue gently using a fine-grit buffer or nail file.
- Wash hands thoroughly with soap and warm water to remove all acetone traces.
- Apply cuticle oil generously and massage into nails and surrounding skin for several minutes.
- Allow nails to rest for at least 24 hours before applying a new gel manicure.
Nail Health and Safety Considerations
Maintaining nail health requires balancing beautiful gel manicures with proper nail care practices. Understanding potential risks and prevention strategies keeps your nails strong and infection-free during the summer season.
Avoid over-filing the natural nail surface, as excessive buffing thins the nail plate and increases sensitivity. Only remove the shine from the nail surface using light pressure with a fine buffer. The nail plate should never feel hot during filing, which indicates too much friction and potential damage. Healthy nails need their protective layers intact to resist moisture absorption and bacterial growth.
Monitor your nails and cuticles for signs of infection, including redness, swelling, pain, or discharge around the nail area. Fungal infections can develop under gel polish if moisture becomes trapped between the gel and nail plate. Any lifting gel should be removed promptly and the area cleaned thoroughly. If you notice persistent problems or discoloration, consult a dermatologist before applying additional gel manicures.
Take occasional breaks between gel manicures to allow nails to breathe and recover from the application process. While gel polish itself does not damage nails, the preparation and removal process can stress the nail plate over time. Consider alternating between gel manicures and regular polish, or go polish-free for a week between applications while maintaining a strong nail care routine.
Frequently Asked Questions About Summer Nails
How long do gel nails last during summer months?
Gel nails typically last two to three weeks during summer with proper application and care. Increased water exposure from swimming and higher temperatures can slightly reduce wear time compared to other seasons. Using quality products, applying thin layers, and following proper curing techniques maximizes durability. Daily cuticle oil application and avoiding harsh chemicals help extend the life of your summer gel manicure significantly.
How can I remove gel nails safely at home?
Safe gel nail removal requires soaking nails in pure acetone for 10 to 15 minutes wrapped in foil. File the top coat first to break the seal, then apply acetone-soaked cotton pads wrapped tightly with aluminum foil. Gently push softened gel off with a wooden stick, never peeling or forcing removal. Apply cuticle oil immediately after removal and wait 24 hours before applying new gel polish to allow nails to recover.
What makes gel nails better than acrylic nails for summer?
Gel nails offer a more flexible, natural feel compared to rigid acrylic nails, making them ideal for summer activities. Gel polish cures under UV or LED light without the strong chemical odors associated with acrylic application. The thinner gel layers allow nails to breathe better and cause less damage during removal. Gel manicures also provide better resistance to yellowing from sun exposure and chlorine, maintaining their glossy appearance throughout summer wear.
Why do my gel nails peel after a few days?
Gel nails peel primarily due to inadequate nail preparation, particularly when natural oils remain on the nail surface. Skipping the nail dehydrator step, applying gel too close to the cuticle, or using thick polish layers also causes premature peeling. Ensure you buff the nail surface lightly, remove all oils with dehydrator, and cure each thin layer completely. Summer humidity and increased oil production require extra attention to proper preparation for lasting adhesion.
How can I make my gel nails last longer during summer vacation?
Extend gel nail wear time by applying cuticle oil twice daily, especially after water exposure, to maintain flexibility and prevent lifting. Wear protective gloves when using cleaning products or engaging in activities that stress your nails. Apply your gel manicure one to two days before vacation rather than the day of travel to ensure complete curing. Bring a mini LED lamp for emergency repairs, and avoid extremely hot water that can soften the gel bond temporarily.
Conclusion
Achieving perfect summer nails requires the right combination of quality products, proper application techniques, and consistent maintenance throughout the season. Understanding summer nails must-haves empowers you to create salon-quality gel manicures that withstand swimming, sun exposure, and active outdoor lifestyles. By investing in essential tools and following professional techniques, you ensure your nails remain beautiful and healthy all summer long. Explore the complete range of gel nail products and services at Gel Nails by Lina to elevate your summer nail game and enjoy flawless, long-lasting manicures that complement every warm-weather adventure.