50+ Short Summer Nails To Elevate Your Look This Vacation

I’ll never forget the moment I realized that long, complicated nail designs weren’t my answer to feeling vacation-ready. It was three summers ago, sitting at my kitchen table at 11 PM the night before my family beach trip, staring at a set of acrylics I’d paid $65 for just two weeks prior. They were already lifting, chipping, and honestly? They made me feel stressed instead of glamorous.
I remember thinking, “There has to be a better way.” That’s when I discovered the magic of short summer nails elegant, practical, and absolutely stunning when done right. That night, I stayed up researching, learning, and ultimately teaching myself how to create gel nails at home that looked salon-quality.
Now, three summers later, I’m here to share that transformation with you. Whether you’re heading to the beach, a mountain cabin, or just want to refresh your vacation look, short summer nails are the answer you’ve been searching for.
Table of Contents
Why Short Summer Nails Are the Ultimate Vacation Choice
Short summer nails aren’t just a trend they’re a lifestyle upgrade. Here’s why they’ve become my go-to for every warm-weather getaway:
- Durability: Short nails with quality gel polish last longer without lifting or breaking
- Practicality: Perfect for swimming, hiking, and all your vacation activities
- Low Maintenance: Easier to maintain while traveling and enjoying your time away
- Trendy: Short nails are having a major moment in the fashion and beauty world
- Cost-Effective: DIY gel nails at home save you hundreds compared to salon visits
- Versatile: Works with any vacation aesthetic, from casual to elegant
Understanding Short Summer Nails: Length, Shape, and Style
Before we dive into the 50+ designs, let’s establish what we mean by “short” summer nails. Short nails typically extend about 2-4mm past your fingertip, making them practical yet still feminine and polished.
Nail Shapes Perfect for Summer
The shape of your nail dramatically impacts the overall look. Here are the most flattering options for short summer nails:
- Square: Modern, edgy, and super trendy. Great for bold colors and negative space designs
- Rounded: Soft, feminine, and timeless. Works beautifully with pastels and florals
- Oval: Universally flattering and elegant. Perfect for all design styles
- Almond: Sleek and sophisticated. Ideal for minimalist and geometric designs
- Coffin: Bold and statement-making. Excellent for ombre and gradient effects
The Essential Tools and Products You’ll Need
To create professional-quality short summer nails at home, you’ll need the right tools and products. I’ve invested in quality items over the years, and they’ve paid for themselves many times over.
Must-Have Gel Nail Supplies
- UV or LED lamp (LED is faster and more efficient)
- Gel base coat and top coat
- Gel polish in various summer colors
- Nail file (glass files are gentlest)
- Cuticle pusher
- Nail buffer
- Gel remover or acetone
- Nail brush for cleaning
- Dotting tools for nail art
- Thin nail art brushes
- Top coat (glossy or matte)
Pro tip: Invest in a quality LED lamp first. It’s the single most important tool and will last you for years.
Step-by-Step Guide: Creating Your Own Short Summer Nails
Step 1: Prepare Your Natural Nails
Start with clean nails. Remove any existing polish and wash your hands thoroughly with soap and water. This ensures the gel polish adheres properly and lasts longer.
Step 2: Shape and File
Use a glass nail file to shape your nails to your desired length. File in one direction only to prevent splitting. I always file from the outer edge toward the center for a smoother finish.
Step 3: Push Back Cuticles
Gently push back your cuticles with a cuticle pusher. Don’t cut them—they protect your nail bed. Apply a light coating of cuticle oil for hydration.
Step 4: Buff the Nail Surface
Lightly buff the surface of your nail to create a slightly rough texture. This helps the gel base coat adhere better and increases wear time. Remove any dust with a nail brush.
Step 5: Apply Base Coat
Apply a thin, even layer of gel base coat. Make sure you seal the free edge (the tip of your nail) by swiping the brush along the edge. Cure under your LED lamp for 30-60 seconds according to the product instructions.
Step 6: Apply Gel Color
Apply your first layer of gel polish in thin, even strokes. Two thinner layers work better than one thick layer. Cure between coats. Don’t forget to seal the free edge each time.
Step 7: Add Design (Optional)
Now comes the fun part! Add your nail art using dotting tools, brushes, or stamping plates. Start with a clean design in mind and take your time. Remember, imperfection often looks intentional and beautiful.
Step 8: Apply Top Coat
Finish with a glossy or matte top coat depending on your design. Seal the free edge again. Cure for the final time. Wipe away any sticky residue with a lint-free wipe and rubbing alcohol.
Congratulations! You’ve just created salon-quality nails at home.
50+ Short Summer Nail Design Ideas
Now for the inspiration you’ve been waiting for! Here are 50+ stunning short summer nail designs organized by style:
Minimalist & Clean
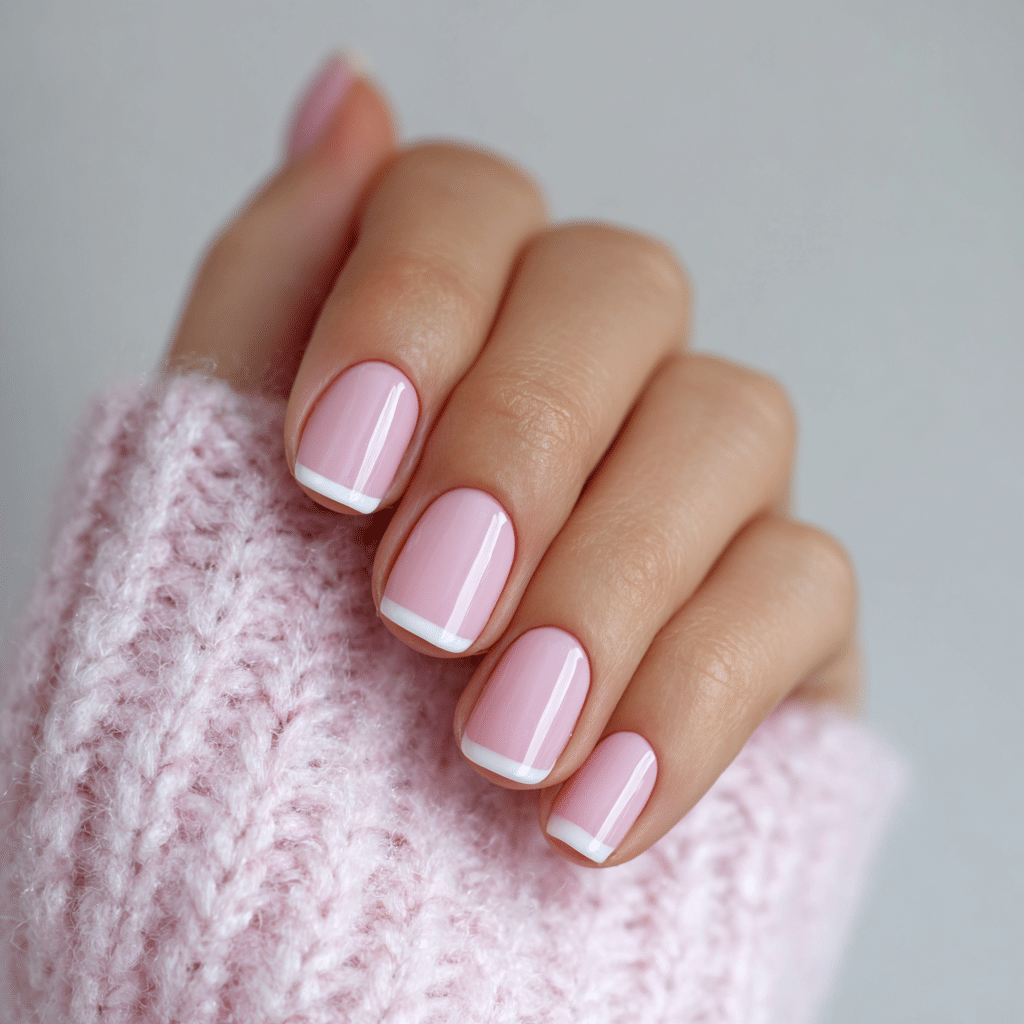
- Solid pastel pink with white free edge
- Nude base with thin gold line accent
- Classic white with one accent nail in navy
- Soft peach with micro dots
- Cream with minimalist green leaf on one nail
- Light blue with single stripe
- Champagne with negative space geometric
- French manicure with colored tips
Tropical & Floral
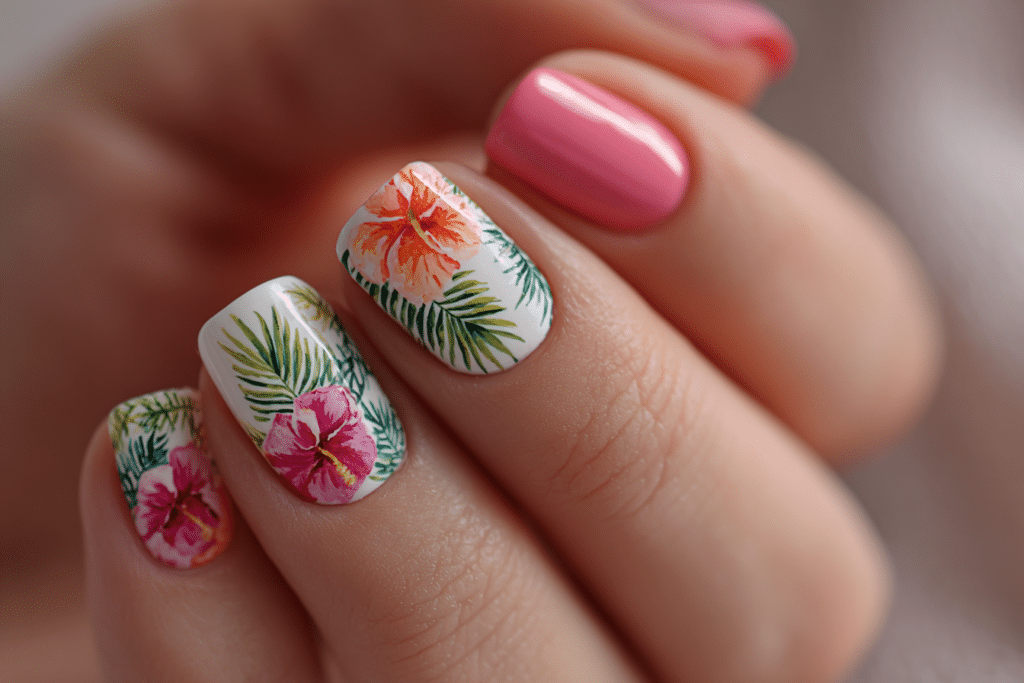
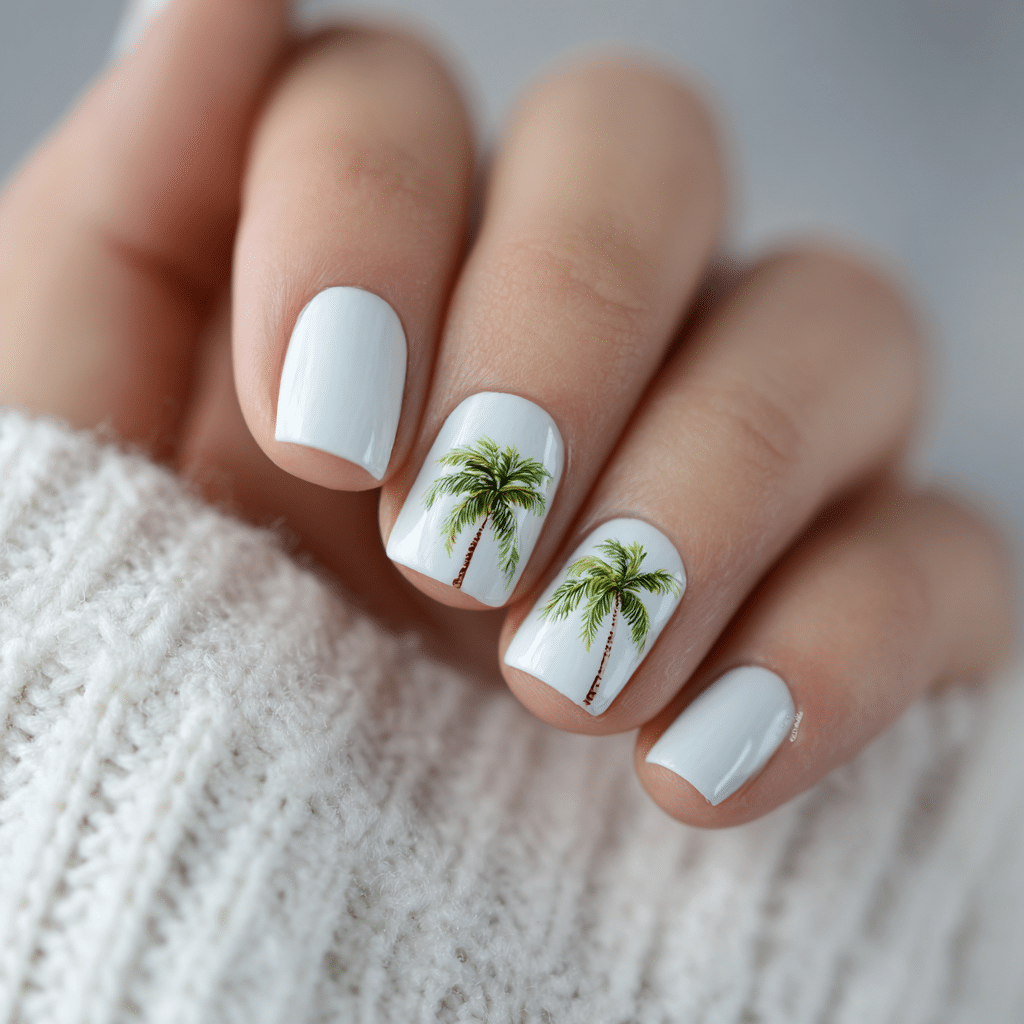
- White base with tiny painted palm trees
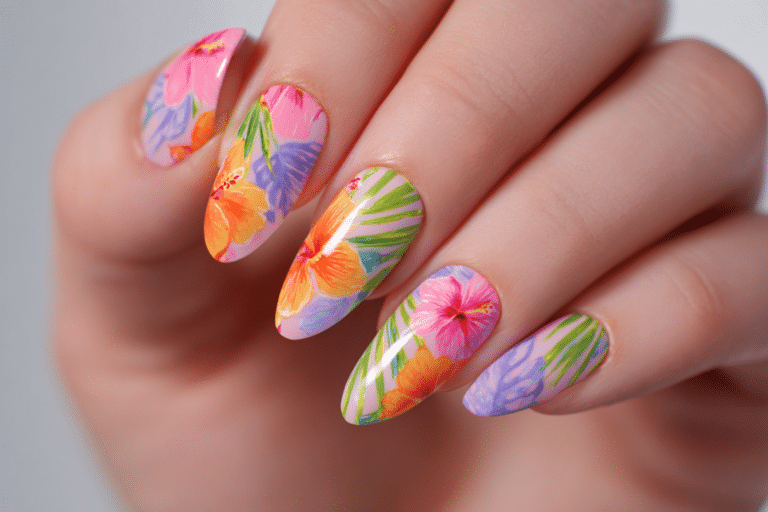
- Turquoise with hand-painted hibiscus flowers
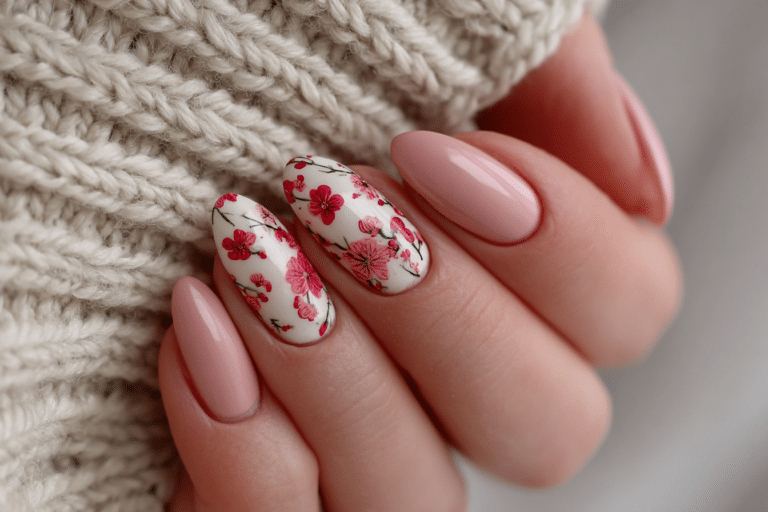
- Coral with small white flower patterns
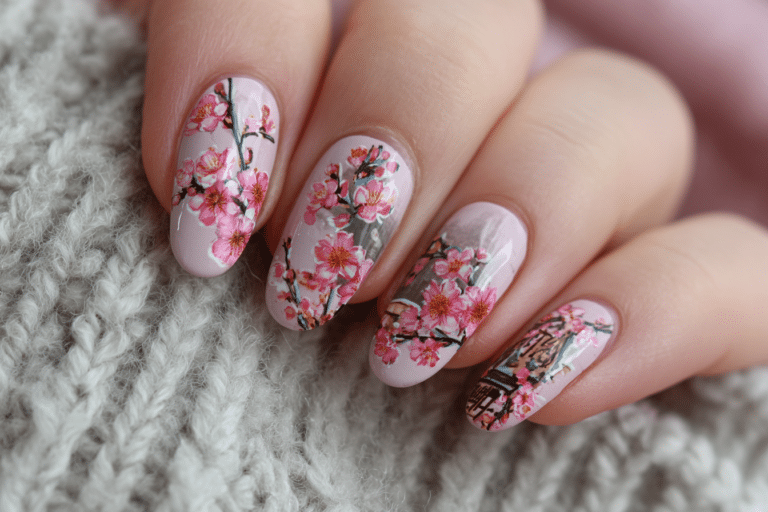
- Cream base with watercolor florals
- Sky blue with delicate daisy designs
- Pink with tropical leaf silhouettes
- Seafoam with hand-painted monstera leaves
- Lavender with tiny sunflower accents
Ombre & Gradient
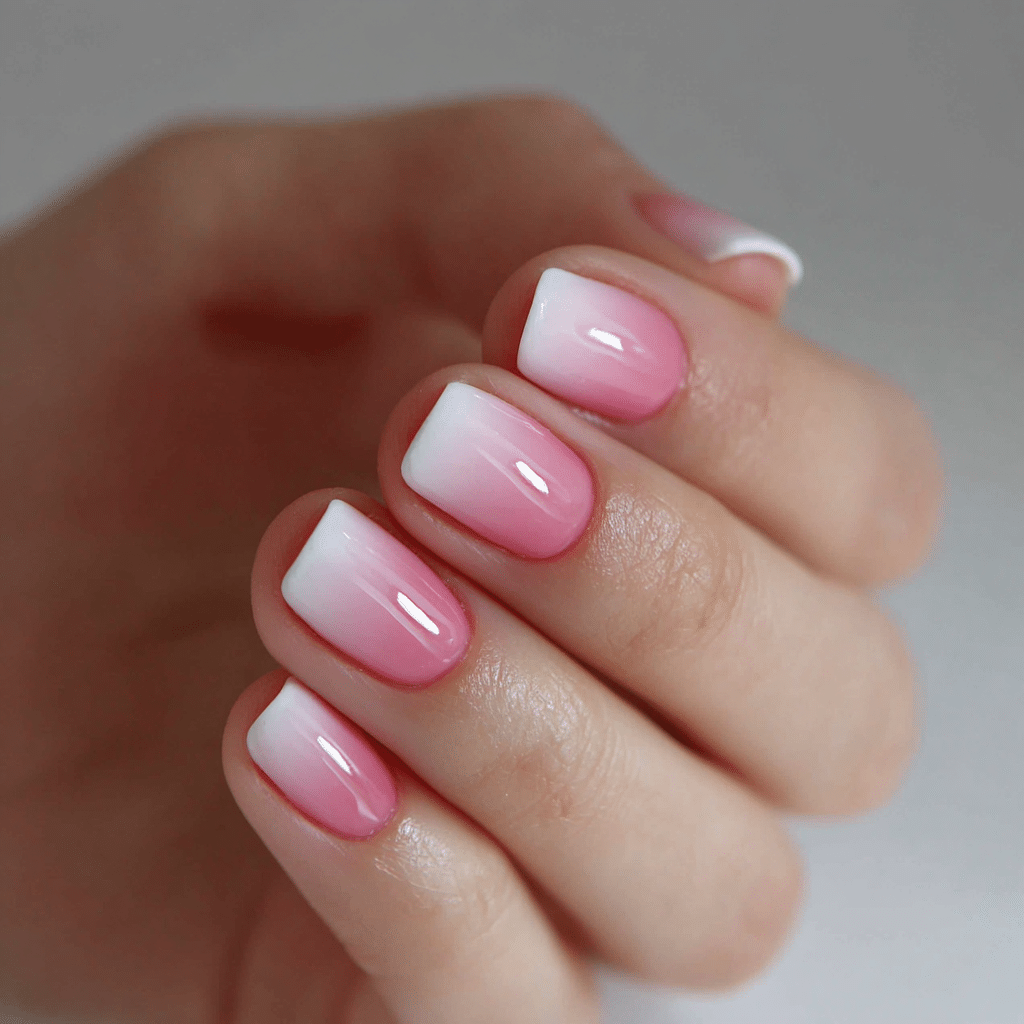
- Pink to white gradient
- Coral to yellow sunset ombre
- Blue to purple gradient
- Peach to nude transition
- Mint to white ombre effect
- Yellow to orange gradient
- Teal to turquoise blend
- Rose to blush ombre
Geometric & Bold
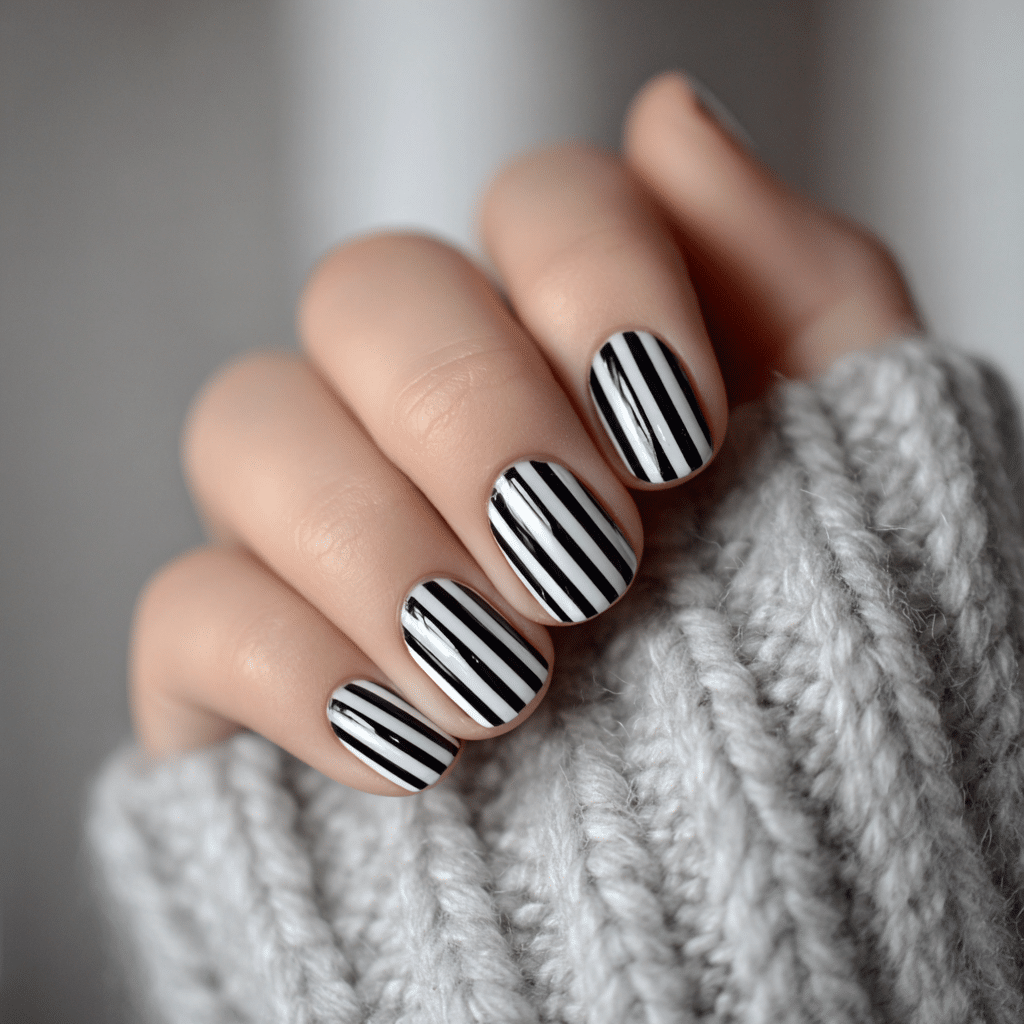
- Black and white stripes
- Colorful geometric triangle pattern
- Checkerboard design in pastels
- Abstract color blocking
- White base with thick black lines
- Neon geometric shapes
- Negative space triangles
- Grid pattern in metallic
Sparkle & Glitter
- Nude with glitter ombre tips
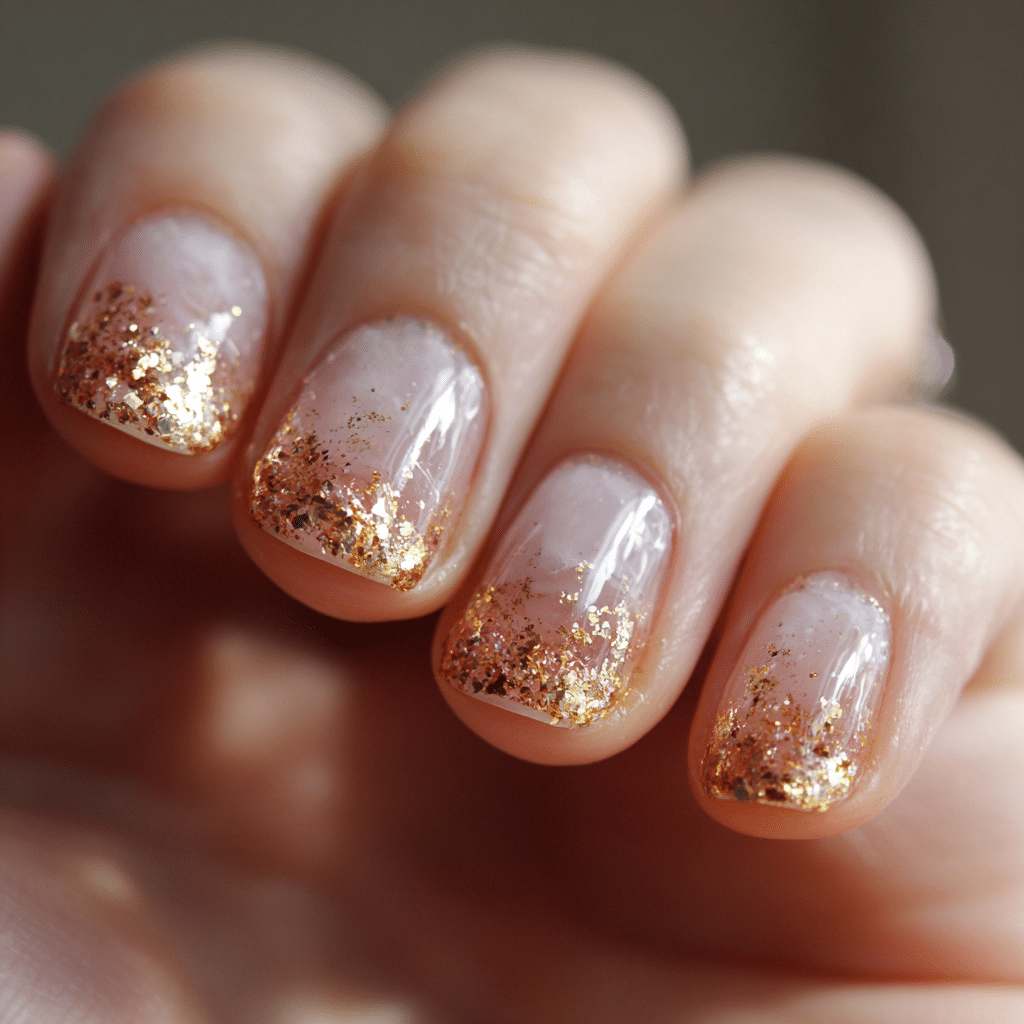
- Clear base with fine gold glitter
- White with scattered holographic glitter
- Pastel pink with glitter gradient
- Sea-inspired with iridescent glitter
- Matte nude with glitter accent nail
- Chrome effect with subtle sparkle
- Rainbow glitter on neutral base
Nature & Earth Tones
- Terracotta with white geometric accents
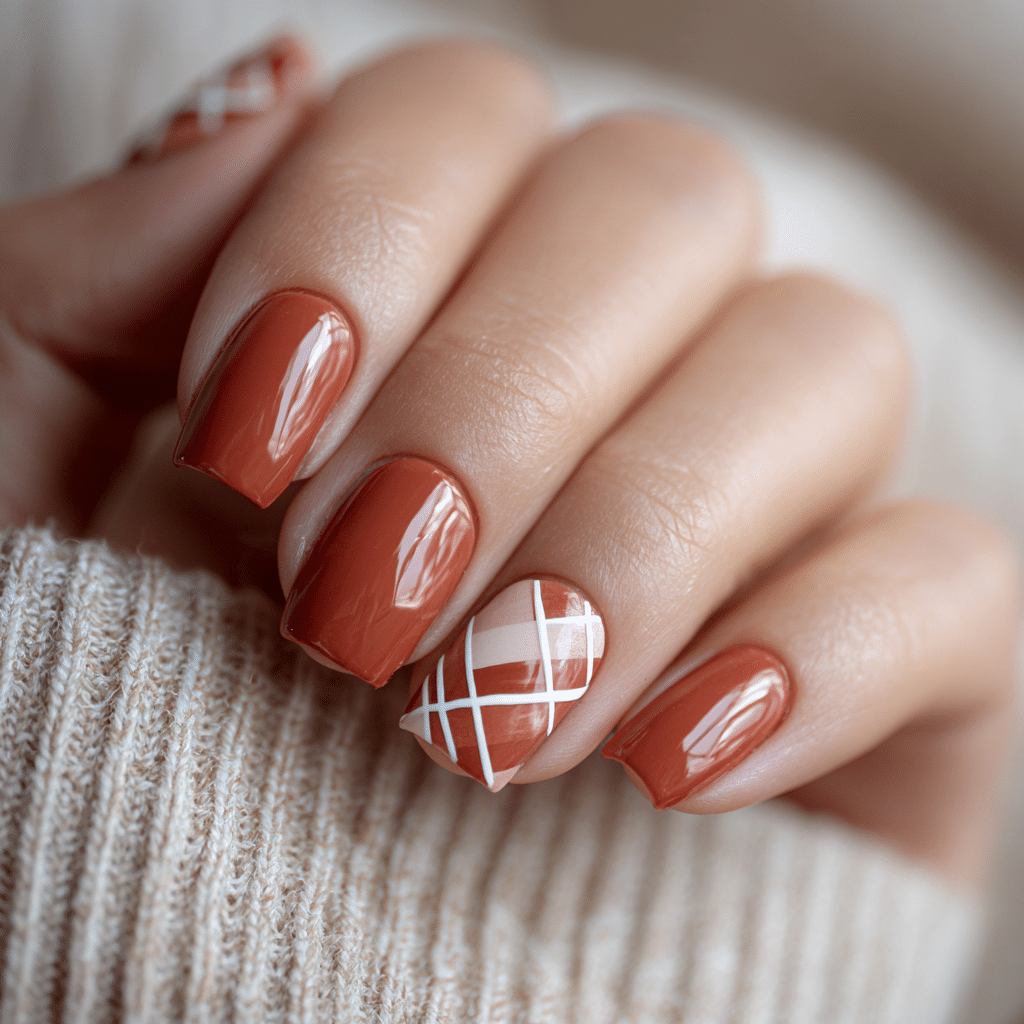
- Sage green with natural wood texture
- Sandy beige with shell design
- Olive green with copper accents
- Clay pink with organic swirls
- Warm brown with gold leaf details
- Moss green with marble effect
- Dusty rose with geometric pattern
Ocean & Beach Inspired
- Ocean blue with white wave design
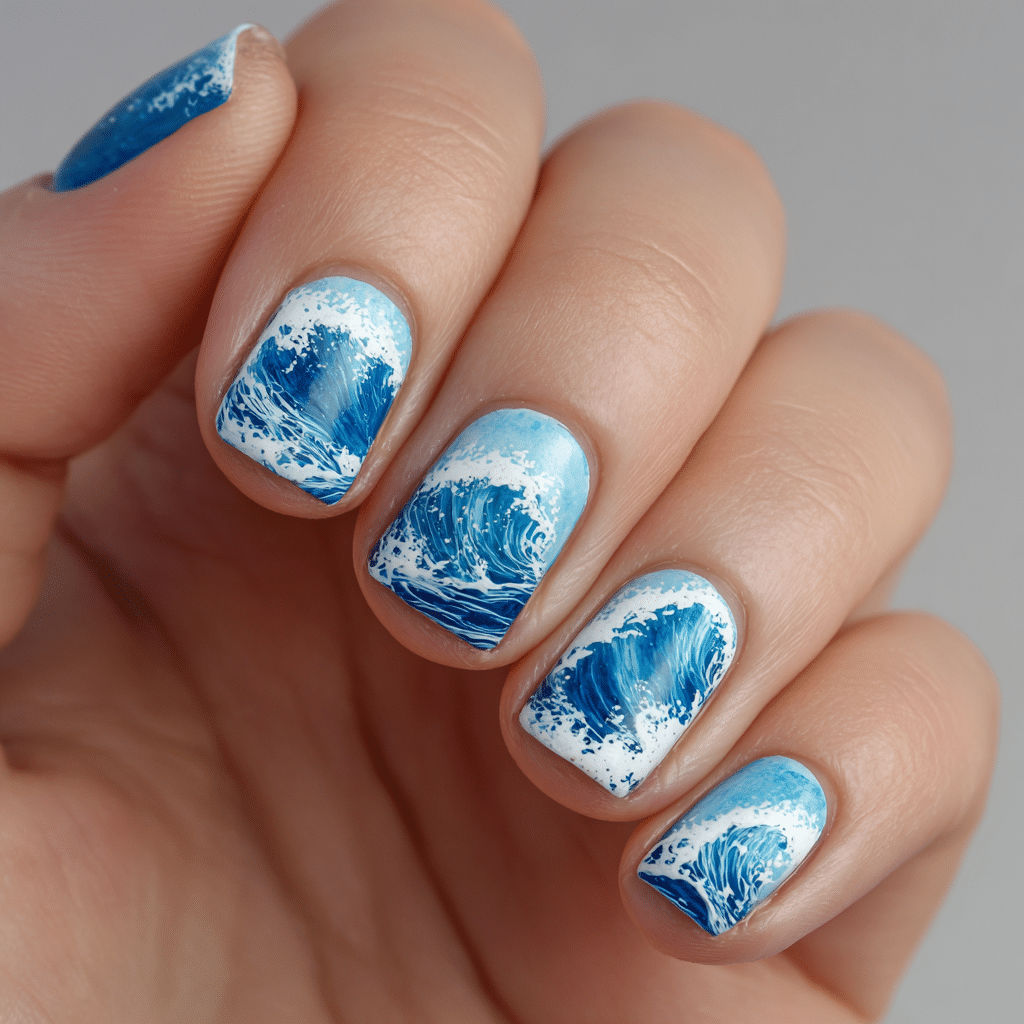
- Clear with tiny starfish details
- Turquoise with beach sand texture
- Seafoam with shell accents
- Navy with white sailboat silhouette
- Light blue with coral reef pattern
- White with ocean wave ombre
- Translucent with embedded shells
Playful & Fun
- Yellow with hand-drawn lemon designs
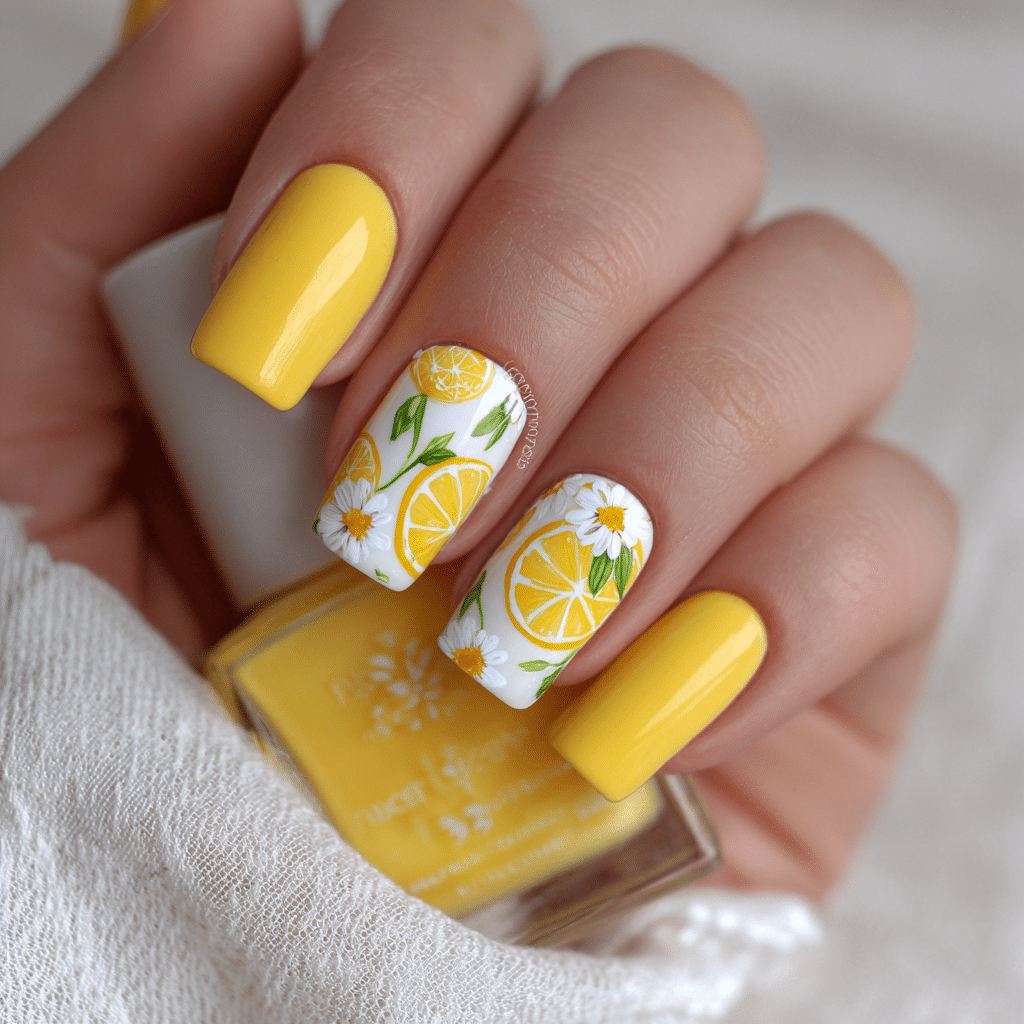
- Red with watermelon slice pattern
- Pink with tiny ice cream cone details
- Mint with popsicle stick design
- Purple with star stickers
- Orange with smiley face accents
- Rainbow tie-dye effect
- Pastel with tiny fruit paintings
Common Mistakes to Avoid
I’ve made every mistake in the book so you don’t have to. Here are the most common pitfalls when creating short summer nails:
Mistake #1: Not Preparing Your Nails Properly
Skipping the filing, buffing, and cuticle work leads to poor adhesion and early chipping. This step takes just 5 minutes but adds weeks to your gel polish wear time.
Mistake #2: Applying Thick Layers
Thick gel layers take longer to cure and are more likely to peel or crack. Two thin layers always beat one thick layer. Trust the process.
Mistake #3: Not Sealing the Free Edge
This is where your nails fail first. Always brush the gel along the edge of your nail to seal it completely. This single step can double your polish wear time.
Mistake #4: Skipping the Top Coat
The top coat protects your design and adds shine. Don’t skip it, even if you’re adding a matte finish.
Mistake #5: Using Expired Products
Gel polish expires. Old products won’t cure properly and will cause lifting. Replace your polishes every 1-2 years.
Mistake #6: Not Cleaning Your Tools
Dirty brushes and tools lead to streaks and uneven application. Clean your brushes immediately after use with gel cleaner or rubbing alcohol.
Pro Tips for Long-Lasting Short Summer Nails
Hydration is Key
Keep your cuticles and hands moisturized throughout the vacation. Dehydrated skin shows under gel polish and can lead to peeling. Apply cuticle oil daily.
Wear Gloves When Necessary
Washing dishes, cleaning, or exposure to harsh chemicals can break down gel polish. Wear gloves when doing household tasks.
Protect From Sun Exposure
While on vacation, UV rays can fade gel polish. Apply sunscreen to your hands and wear UV-blocking gloves if you’ll be in the sun for extended periods.
Avoid Acetone-Based Products
Acetone removes gel polish. Be careful with nail polish removers, some sunscreens, and sanitizers that contain acetone.
Take Regular Breaks
Every 2-3 weeks, give your natural nails a break from gel polish. This keeps them healthy and strong. A 5-7 day break is ideal.
Invest in Proper Removal
Never peel or pick at gel polish. This damages your nail bed. Always soak and gently remove using proper gel remover.
Short Summer Nails vs. Long Nails: Comparison
| Factor | Short Summer Nails | Long Nails |
|---|---|---|
| Durability | Excellent – Less breakage | Good – More prone to breaking |
| Practicality | Perfect for activities | Can interfere with tasks |
| Maintenance | Low maintenance | High maintenance |
| Cost | Budget-friendly | More expensive upkeep |
| Comfort | Very comfortable | Takes adjustment time |
| Design Options | All designs work beautifully | More dramatic designs |
| Vacation Ready | Absolutely perfect | May chip during activities |
Frequently Asked Questions About Short Summer Nails
How long do gel short nails last?
With proper application and care, gel short nails can last 2-3 weeks before needing a fill or complete refresh. Some people stretch them to 4 weeks, though chipping may occur. Short nails tend to last longer than long nails because there’s less leverage for breaking.
Can I create short summer nails without an LED lamp?
Technically yes, if you use UV lamps, but LED lamps are superior because they cure faster (30-60 seconds vs. 2-3 minutes) and are more durable. LED lamps also emit less UV radiation. I highly recommend investing in a good LED lamp it’s worth every penny.
Will gel polish damage my natural nails?
Gel polish itself doesn’t damage nails when applied and removed correctly. The danger comes from improper removal (picking, peeling) or leaving it on too long. Always remove gel properly and take breaks between applications. Your nails will remain healthy and strong.
What’s the best gel polish color for summer vacation?
This depends on your personal style! Popular summer vacation colors include pastels (soft pink, sky blue, mint), bright corals, ocean blues, and peachy tones. Choose colors that make you feel confident and complement your vacation wardrobe.
How do I fix chipped gel nails while on vacation?
Pack a small gel nail repair kit with your travel essentials: gel polish in your base color, a small UV/LED lamp (battery-operated portable versions exist), and gel top coat. You can touch up chips at your hotel. Alternatively, a quick manicure at a local salon can refresh your look.
The Vacation Nail Checklist
Before you head out on vacation, use this checklist to ensure your short summer nails are vacation-ready:
- ☐ Get nails done or create them 2-3 days before travel
- ☐ Pack moisturizing hand cream
- ☐ Pack cuticle oil for daily maintenance
- ☐ Bring sunscreen for hands
- ☐ Pack hand sanitizer (acetone-free)
- ☐ Bring gloves for any cleaning activities
- ☐ Pack a portable gel repair kit (optional)
- ☐ Bring a file for any emergency touch-ups
- ☐ Choose a nail design that matches your vacation vibe
- ☐ Schedule removal/refresh when you return home
Conclusion: Elevate Your Vacation Look with Short Summer Nails
Short summer nails have completely transformed how I approach vacation beauty. They’re practical without sacrificing style, durable enough to handle any adventure, and give me the confidence to fully enjoy my time away without worrying about broken or chipped nails.
The 50+ designs I’ve shared show that short nails are incredibly versatile. Whether you love minimalist elegance, tropical vibes, sparkly glamour, or playful patterns, there’s a design that’s perfect for you.
More importantly, learning to create gel nails at home has saved me thousands of dollars while giving me salon-quality results. You don’t need to spend a fortune at a nail salon when you can create stunning nails yourself with the right knowledge and tools.
This summer, I challenge you to try short summer nails. Prepare your nails properly, invest in quality products, and follow the step-by-step guide I’ve outlined. I’m confident you’ll be amazed at what you can create.
Your vacation deserves nails that are as fabulous as your adventure. Short summer nails deliver exactly that beauty, practicality, and confidence all in one perfectly polished package.