30 Bright Neon Nails To Try This Summer

I still remember the day I walked into that upscale salon in Manhattan, ready to get the perfect neon pink nails for my friend’s beach wedding. I had saved for weeks, spent $65 on the manicure, and left feeling utterly disappointed. The nails looked dull, the color wasn’t vibrant enough, and worst of all, they started chipping after just three days.
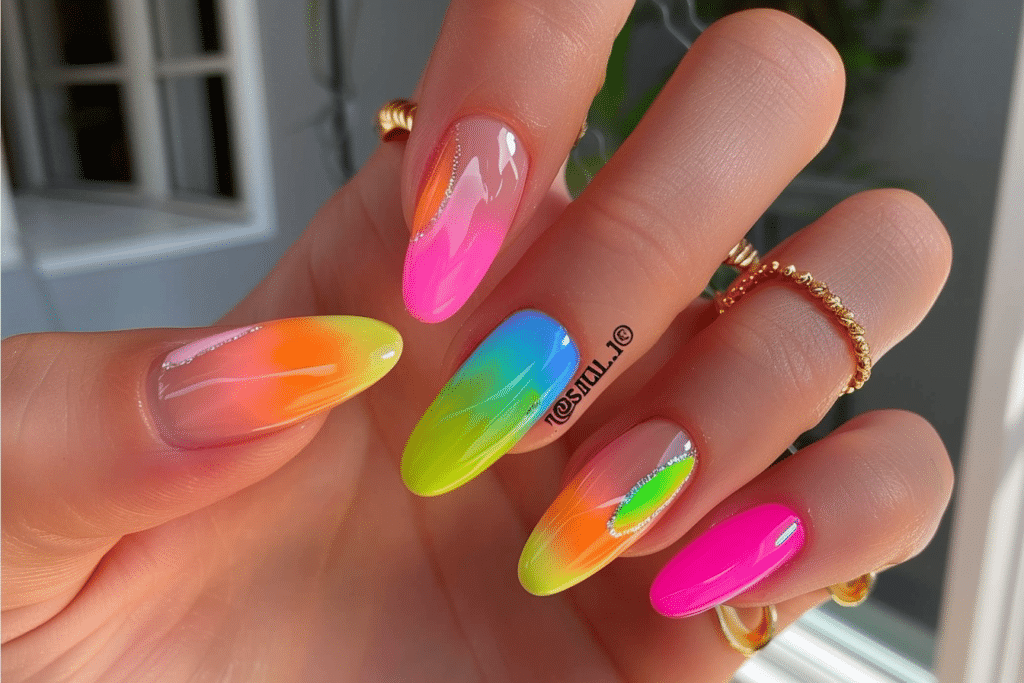
That’s when I decided to take matters into my own hands. I invested in quality gel products, watched countless tutorials, and started experimenting with bright neon shades in my apartment. Now, two years later, I can confidently say that my at-home gel neon nails rival any salon experience and they last longer too.
If you’re looking to master the art of bright neon nails this summer, you’re in the right place. I’m sharing everything I’ve learned, along with 30 stunning design ideas that’ll make your fingers the star of the season.
Table of Contents
Why Bright Neon Nails Are Perfect for Summer
Summer is the season of self-expression, bold fashion choices, and embracing vibrant colors. Bright neon nails are more than just a beauty trend they’re a mood booster and a confidence statement.
- Instant Mood Lift: Neon colors trigger dopamine release, making you feel happier and more energized
- Beach-Ready Appeal: Neon nails complement summer outfits, swimwear, and sun-kissed skin perfectly
- Social Media Gold: Bright neons photograph beautifully and get more engagement on Instagram
- Weather-Appropriate: Gel neon nails withstand chlorine, saltwater, and sunscreen better than regular polish
- Long-Lasting Shine: Unlike traditional polish, gel neons maintain their vibrant color for 3–4 weeks
Understanding Neon Gel Polish: What Makes Them Special
Before we dive into the 30 designs, let’s understand what makes neon gel polish different from regular polish or standard gel colors.
Neon gel polishes contain special fluorescent pigments that create an ultra-bright, high-impact color that seems to glow. These pigments reflect light differently than standard dyes, which is why neon nails look luminous in photos and catch everyone’s eye in person.
The key difference between neon gel and regular neon polish is longevity and vibrancy. Gel neons stay bright and glossy for weeks without fading, while regular neon polish dulls within days.
Tools and Products You’ll Need for DIY Neon Nails
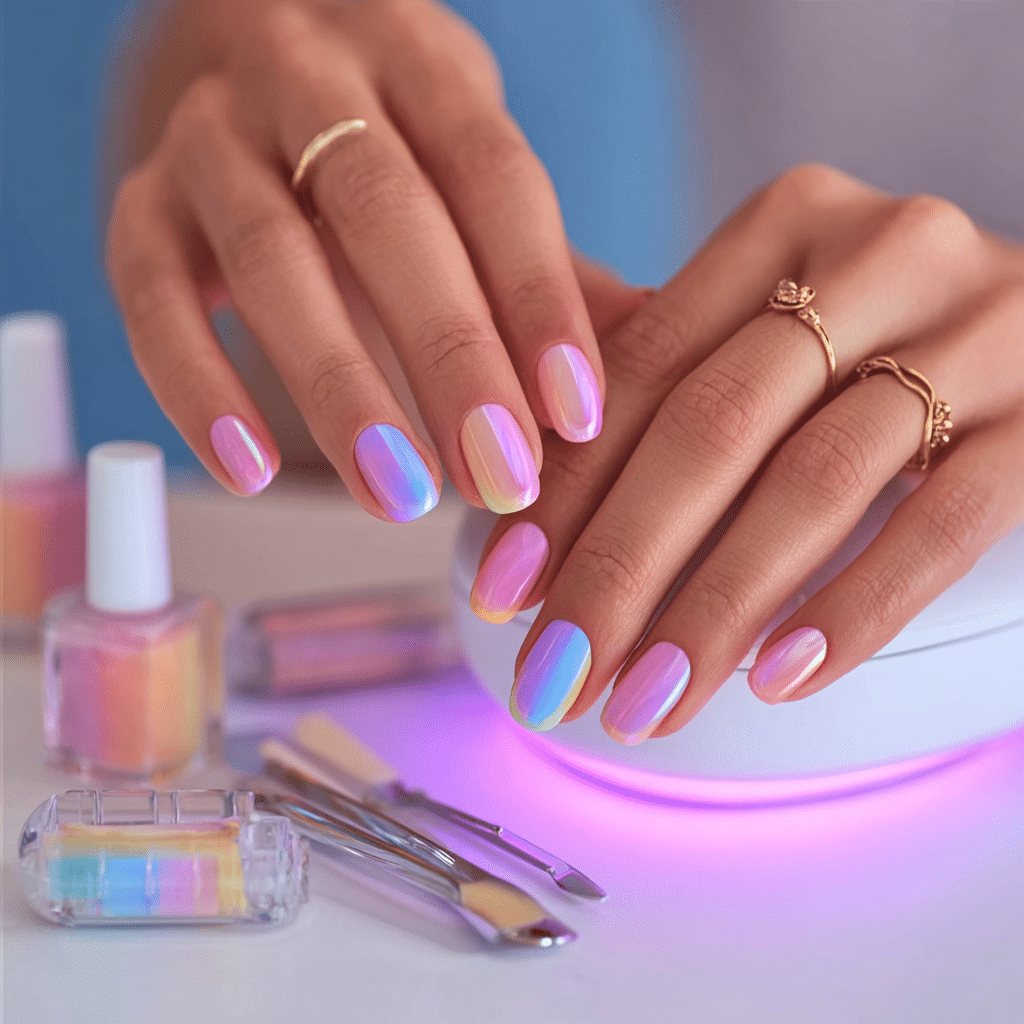
Creating beautiful neon nails at home requires the right supplies. Here’s everything I recommend:
Essential Tools
- UV or LED lamp (LED cures faster 30 seconds vs. 2 minutes)
- Gel nail file and buffer
- Cuticle pusher and nail dehydrator
- Nail primer or base coat
- Gel top coat
- Lint-free wipes
- Acetone or gel cleanser
- Gel nail brush (thin and medium sizes)
Recommended Neon Gel Polish Brands
- Gel Nails By Lina Signature Collection: Ultra-pigmented, long-lasting formulas
- Beetles Gel Polish: Budget-friendly with excellent color payoff
- Modelones: Wide neon shade range, easy to apply
- Madam Glaze: Professional-grade, highly reviewed
- Allure Gel: Trendy colors, quick-curing formula
Step-by-Step Guide: How to Apply Bright Neon Gel Nails at Home
Preparation (10 minutes)
Step 1: Sanitize Your Workspace
Clean your nail station with rubbing alcohol. This prevents bacteria and ensures your nails stay healthy.
Step 2: File and Shape Your Nails
File nails into your desired shape (square, round, or almond work best with neon colors). File in one direction to prevent splitting.
Step 3: Push Back Cuticles
Gently push cuticles back with a wooden pusher. Don’t cut them they protect your nail beds.
Step 4: Buff the Nail Surface
Lightly buff the top of each nail to create a slightly roughed surface. This helps gel adhere better.
Step 5: Remove Dust and Apply Primer
Wipe nails with a lint-free wipe to remove all dust. Apply a thin layer of nail dehydrator or primer.
Application (15–20 minutes)
Step 6: Apply Base Coat
Apply a thin, even layer of gel base coat. Cure under your UV or LED lamp according to product instructions (usually 30 seconds to 2 minutes).
Step 7: Apply Your First Neon Color Coat
Using a thin brush, apply your chosen neon gel polish in one smooth stroke from the base to the tip. Apply thin layers rather than one thick layer this prevents bubbles and ensures smooth coverage. Cure for the recommended time.
Step 8: Apply Second Color Coat
Apply another thin layer of neon gel polish. This builds color depth and ensures vibrant coverage. Cure again.
Step 9: Add Details or Designs (Optional)
If you’re creating a design, now is the time to add nail art using a thin brush, dotting tool, or striping tape.
Step 10: Apply Top Coat
Seal your design with a glossy gel top coat. This protects your neon nails and adds extra shine. Cure for the final time.
Step 11: Remove Sticky Residue
Wipe your nails with a lint-free wipe dipped in gel cleanser or rubbing alcohol to remove the sticky residue left by UV curing.
Step 12: Moisturize
Apply cuticle oil or hand cream to keep your skin hydrated and healthy-looking.
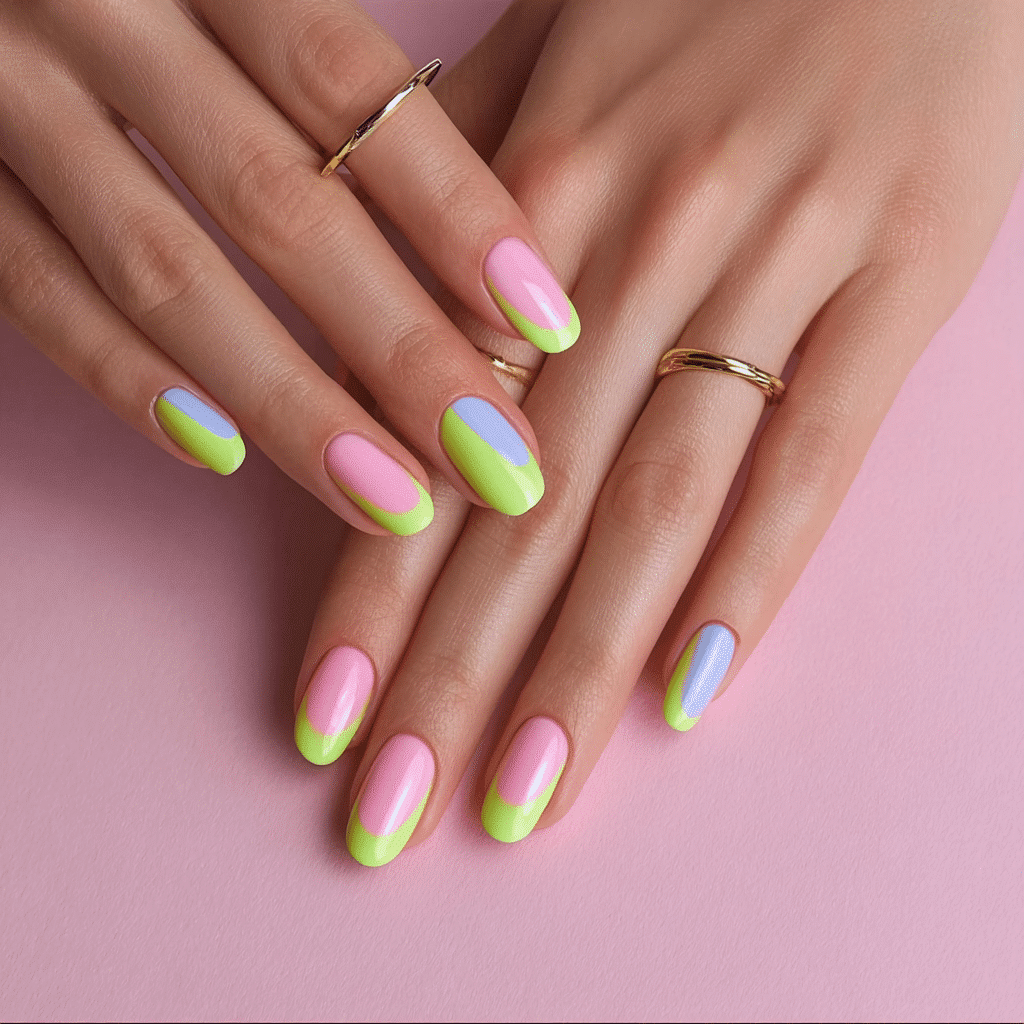
30 Bright Neon Nail Designs to Try This Summer
Solid Neon Colors (The Classics)
- Neon Hot Pink
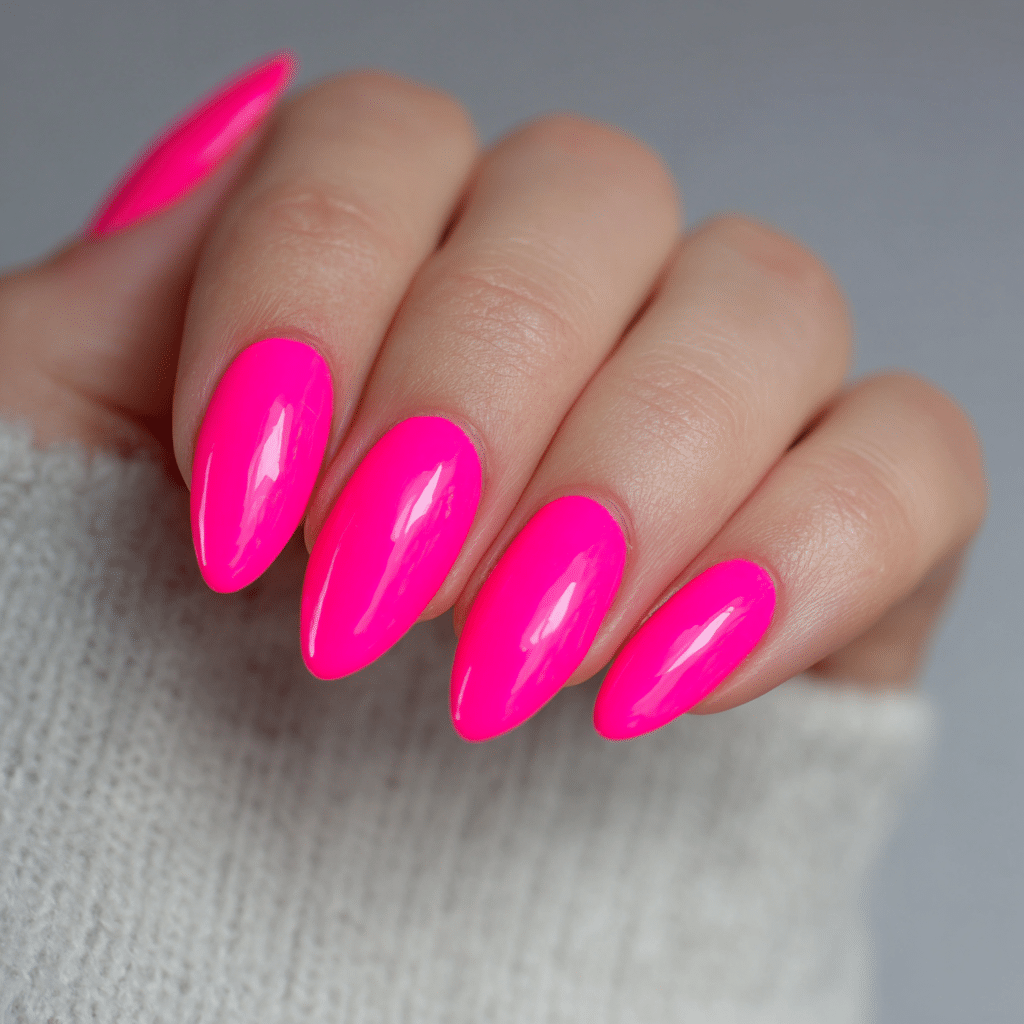
- Neon Lime Green
- Neon Coral Orange
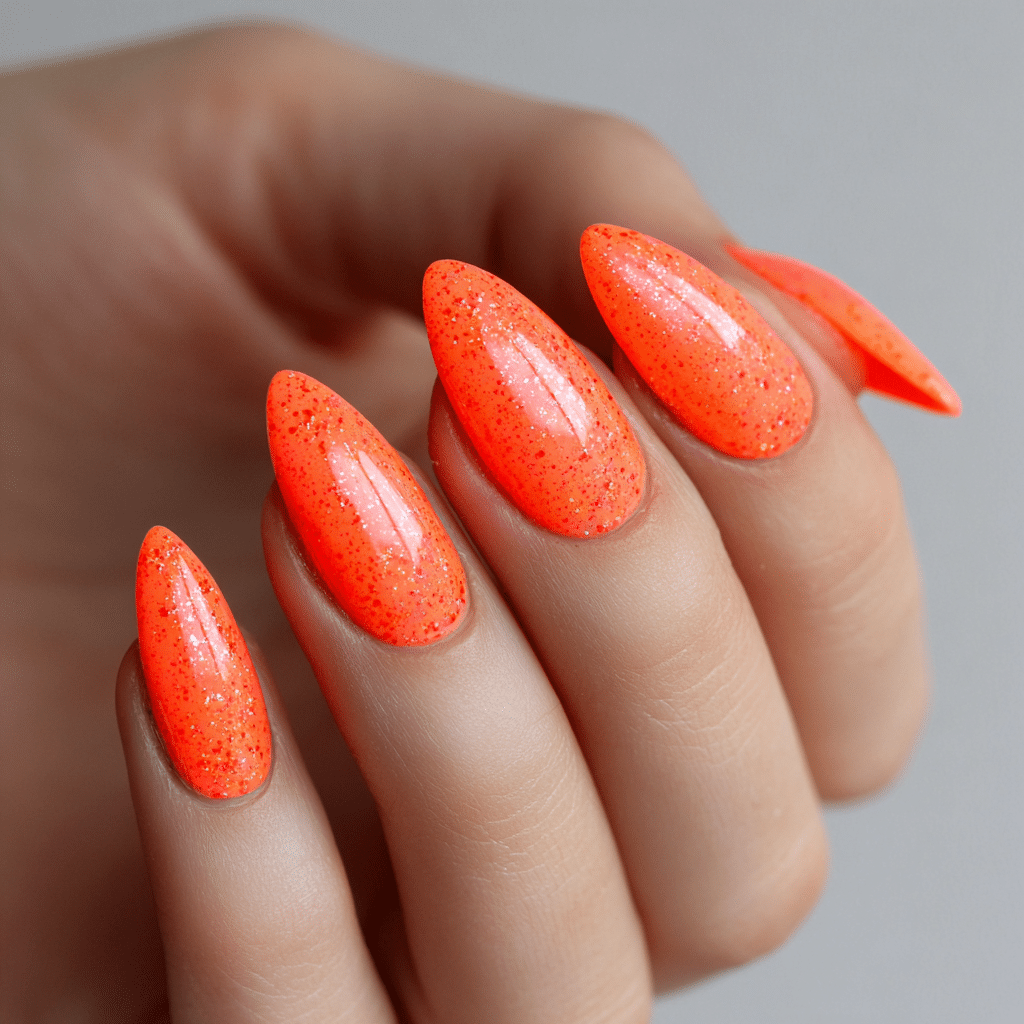
- Neon Electric Blue
- Neon Sunny Yellow
- Neon Purple
Gradient and Ombré Designs
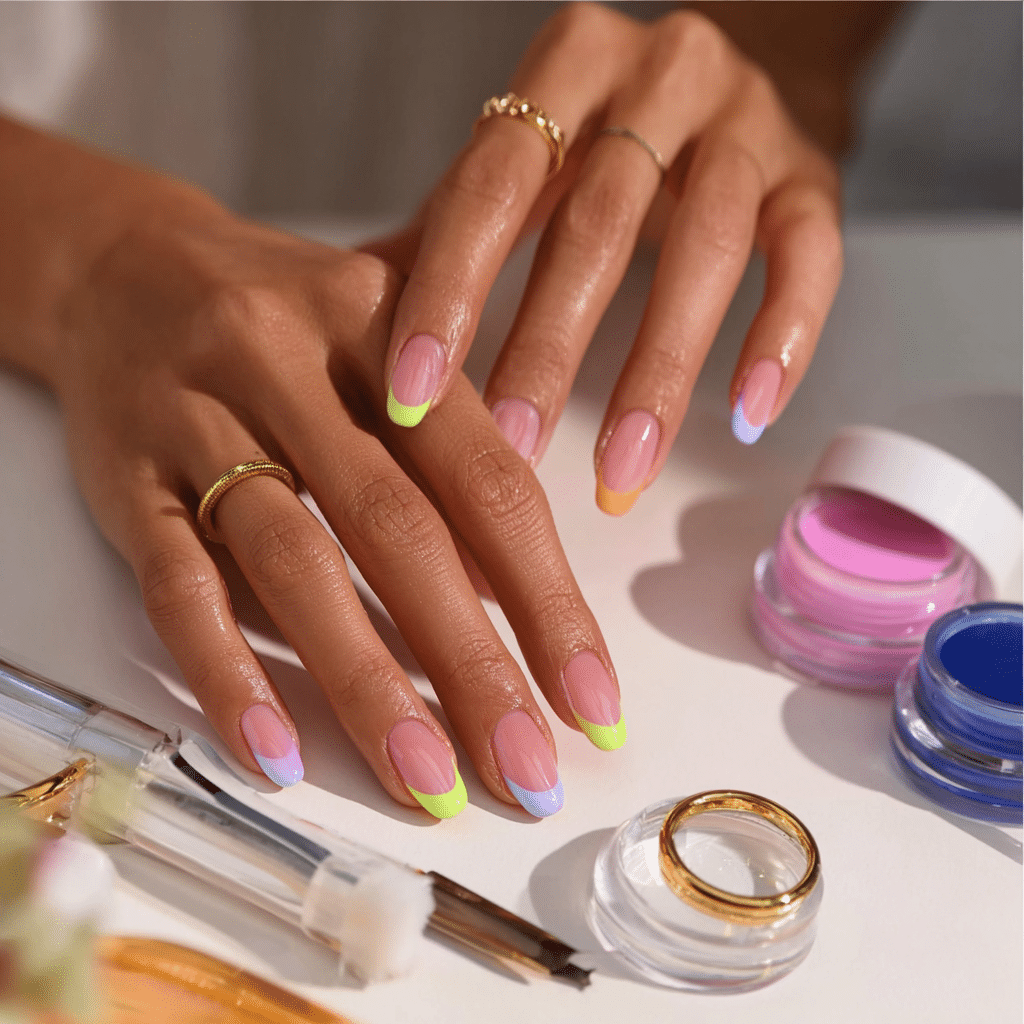
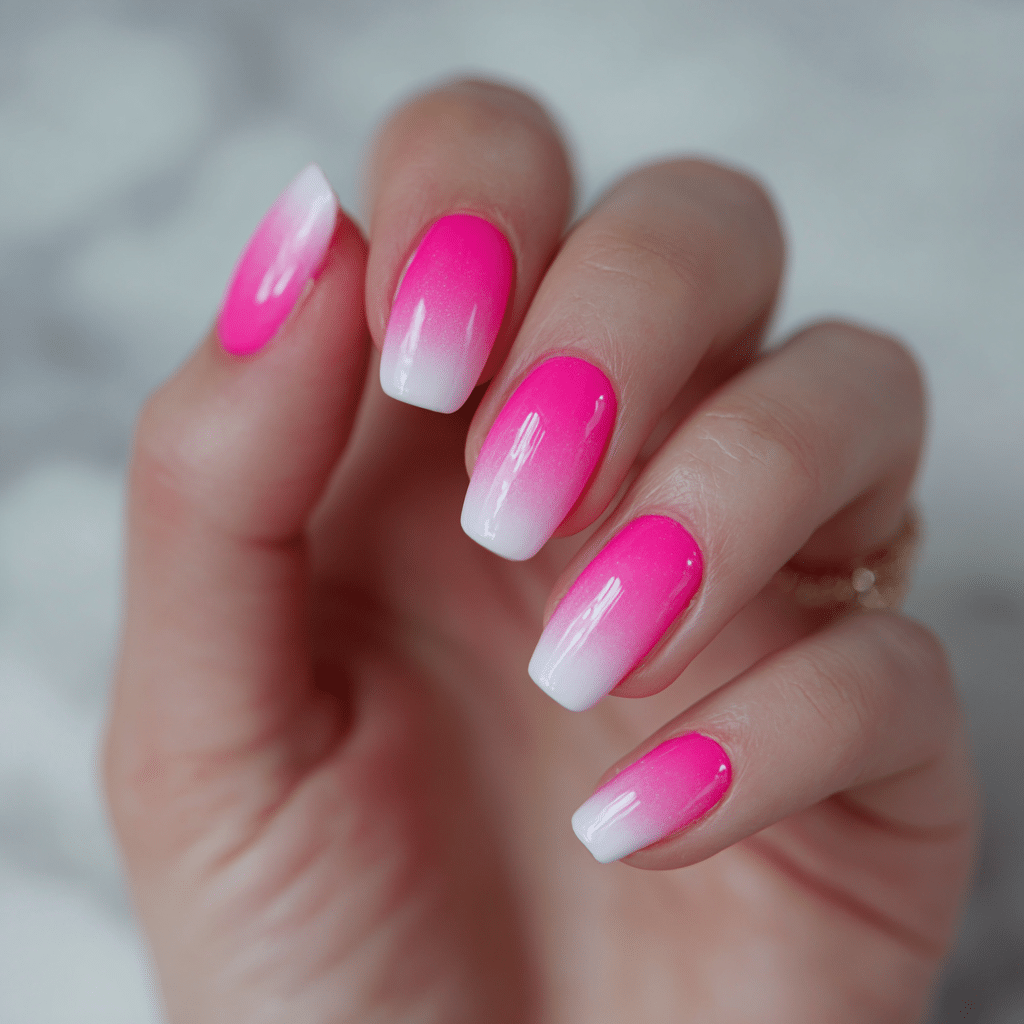
- Neon Pink to White Ombré
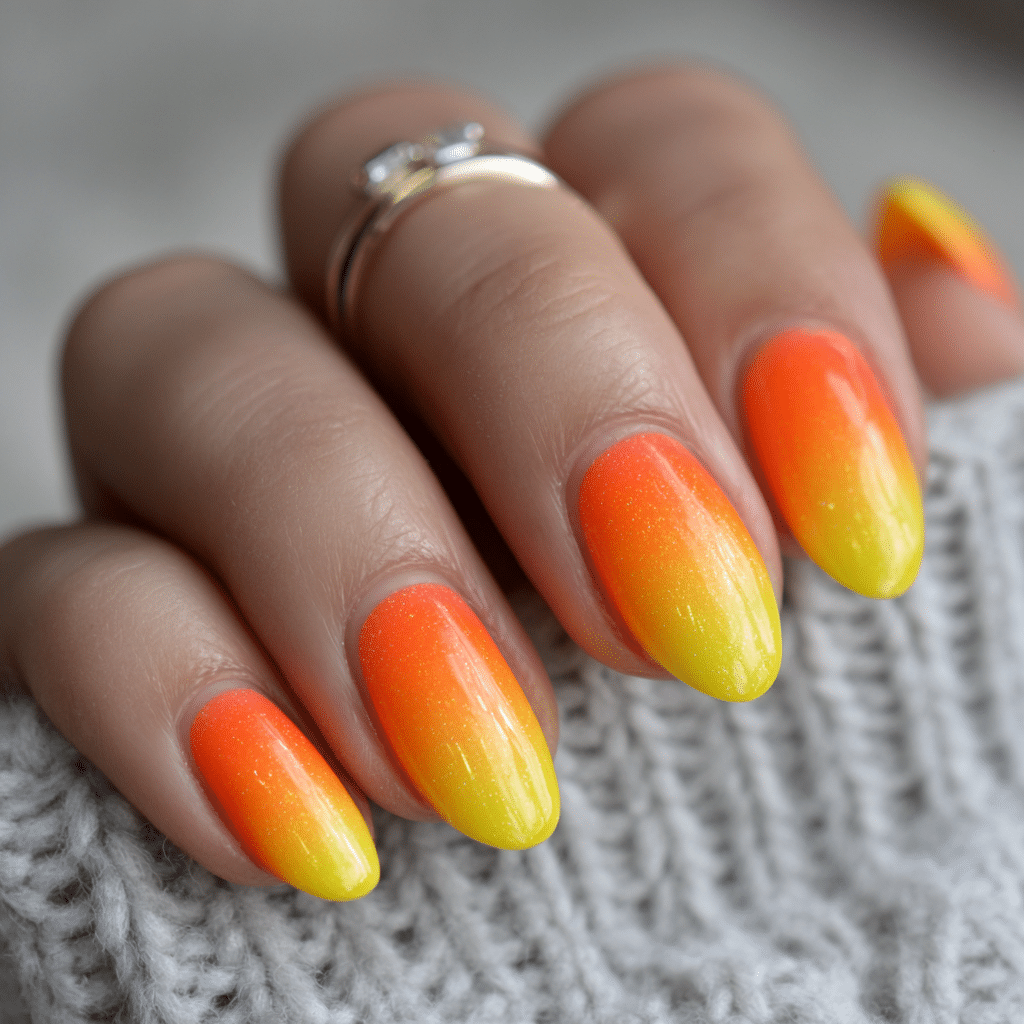
- Neon Orange to Yellow Gradient
- Neon Blue to Purple Ombré
- Neon Green to Lime Gradient
- Rainbow Neon Ombré (all colors blended)
- Neon Pink to Nude Gradient
Geometric and Abstract Designs
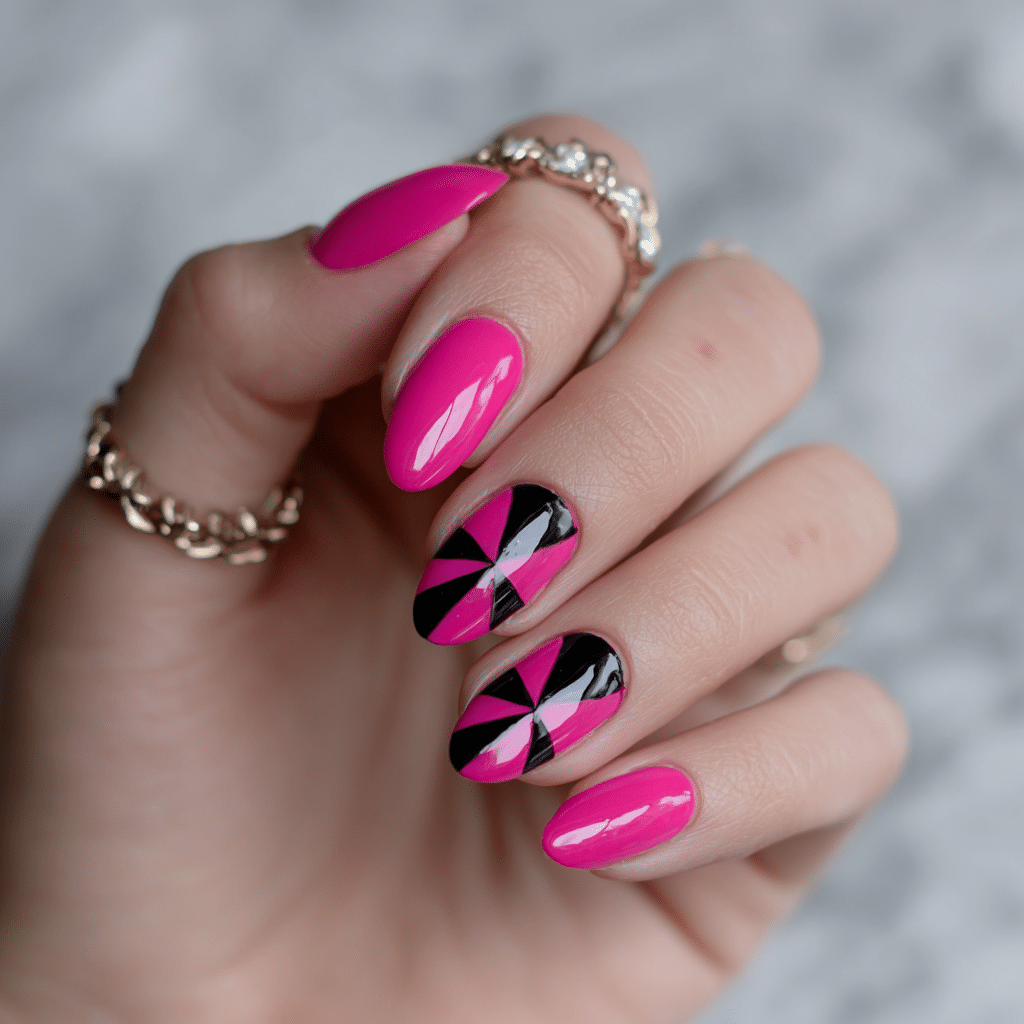
- Neon Pink with Black Geometric Triangles
- Neon Blue with White Stripe Pattern
- Neon Yellow with Polka Dots
- Neon Coral Chevron Pattern
- Neon Purple Marble with Gold Accents
- Neon Green with Black Negative Space
Fun and Playful Designs
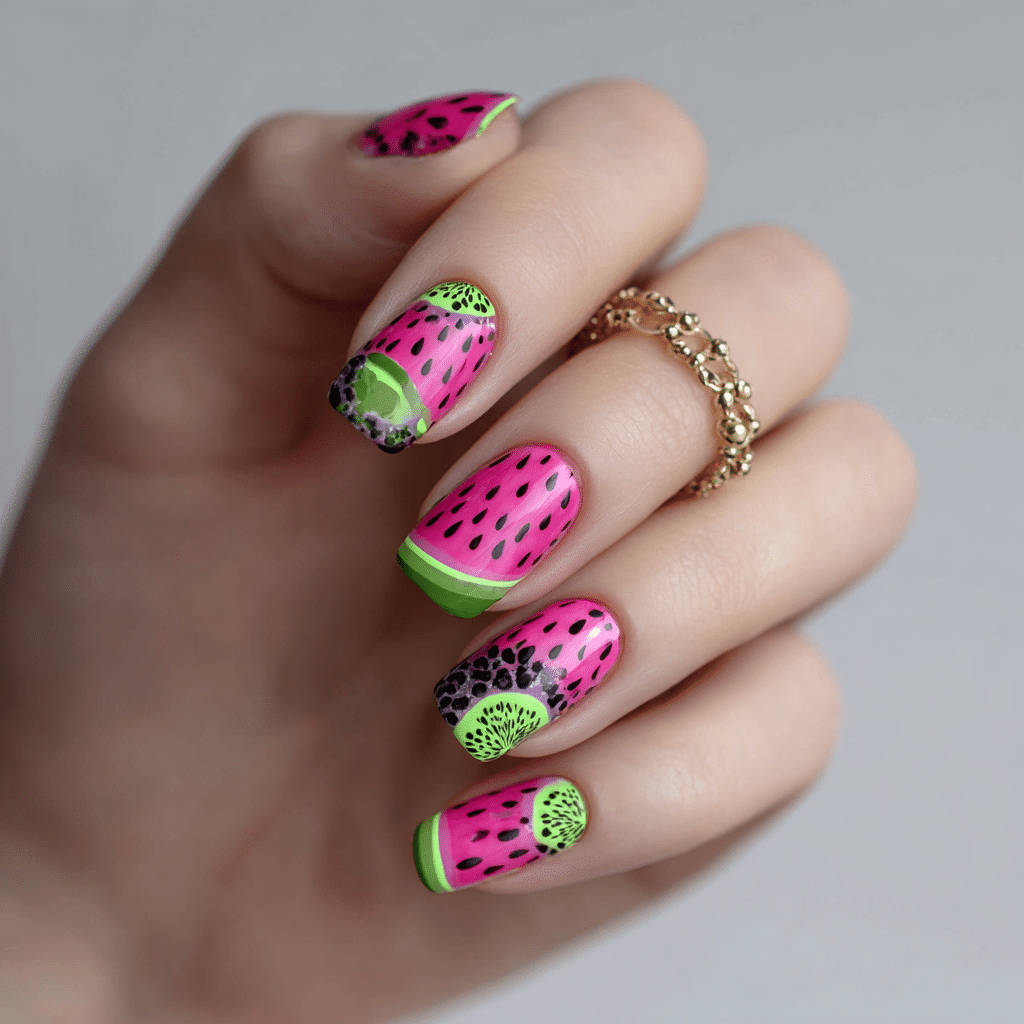
- Neon Watermelon (pink, green, and black)
- Neon Pineapple (yellow with black details)
- Neon Palm Trees on White Base
- Neon Rainbow Hearts
- Neon Lightning Bolts on Black
- Neon Flamingo Design
Sophisticated Neon Designs
- Matte Neon Pink with Chrome Accents
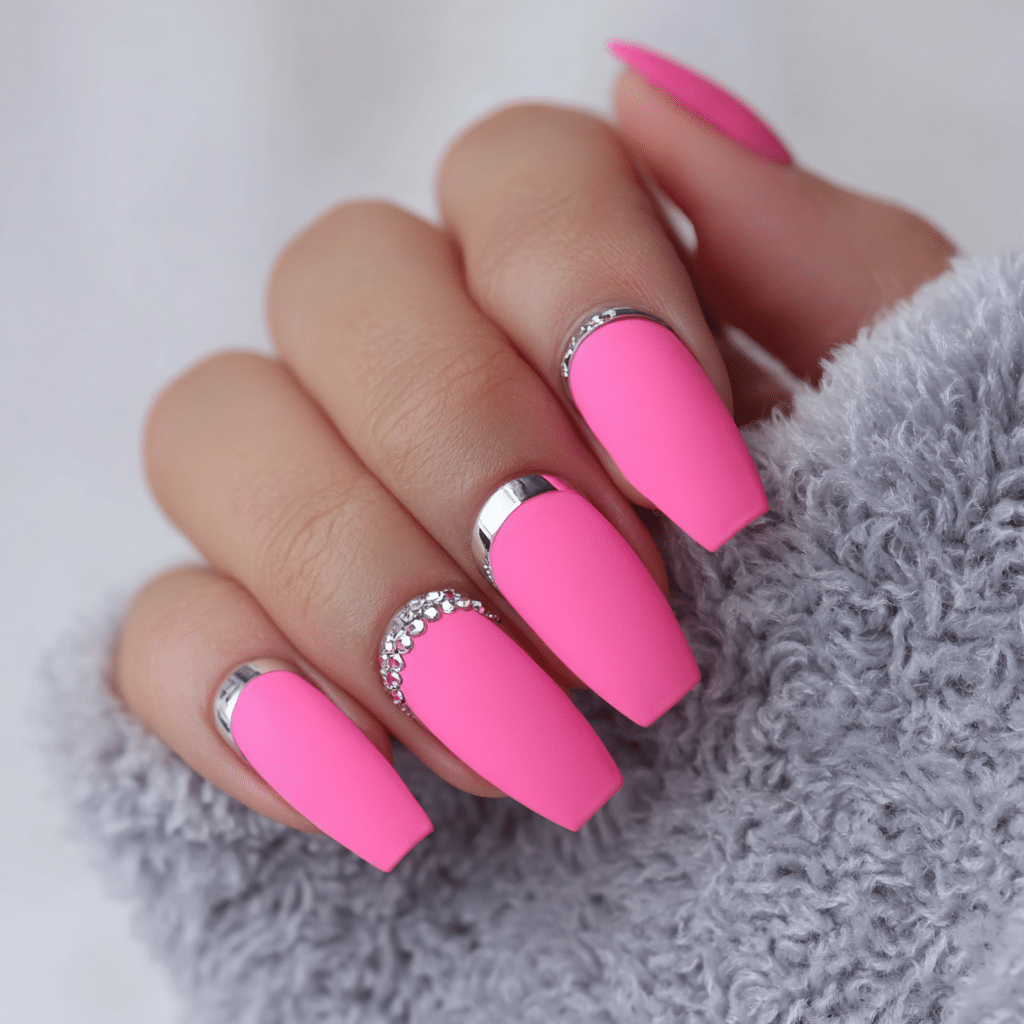
- Neon Glitter Mix (neon base with holographic glitter)
- Neon with Metallic Gold Foil Details
- Neon French Tips (neon tips on nude base)
- Neon Half-Moon Design
- Neon Abstract Art (free-form painted design)
Common Mistakes to Avoid When Creating Neon Nails
Mistake 1: Using Thick Application Layers
Applying gel polish too thickly causes uneven curing, bubbles, and a plastic-like appearance. Solution: Apply 2–3 thin layers instead of one thick layer.
Mistake 2: Not Curing Long Enough
Undercured gel polish feels sticky and peels easily. Always follow your lamp’s instructions and don’t rush the curing process.
Mistake 3: Skipping the Base Coat
Neon pigments can stain your natural nails if applied directly. Always use a protective base coat—it also improves adhesion and longevity.
Mistake 4: Poor Nail Preparation
Skipping the buffer and nail dehydrator step means your gel polish won’t last as long. Proper prep is 50% of the battle.
Mistake 5: Using Expired Products
Gel polish has a shelf life. Old neon polish may not cure properly or maintain its vibrant color. Check expiration dates before purchasing.
Mistake 6: Applying Gel on Damaged Nails
Gel polish requires healthy nail beds to adhere properly. If your nails are brittle or damaged, give them a break and use a strengthening treatment first.
Pro Tips for Stunning Neon Nails
Tip 1: Invest in a Quality LED Lamp
A good LED lamp ($30–50) cures gel faster and more evenly than cheaper alternatives. It pays for itself in time saved.
Tip 2: Use a Nail Dehydrator
This removes moisture and oils from your nails, ensuring flawless adhesion. It’s especially important for neon colors, which show every imperfection.
Tip 3: Apply Thin, Even Coats
The key to professional-looking nails is multiple thin coats rather than fewer thick ones. Each coat should be semi-translucent before curing.
Tip 4: Clean Your Brushes Immediately
Keep a cup of gel cleanser nearby to clean your brush between coats. Dried gel on your brush causes streaks and uneven application.
Tip 5: Use a Top Coat with UV Filter
This protects your neon nails from sun damage and fading, keeping them vibrant all summer long.
Tip 6: Moisturize Your Cuticles Daily
Neon nails look best when surrounded by healthy skin. Use cuticle oil twice daily to keep skin soft and prevent hangnails.
Tip 7: Don’t Rush the Design Phase
If you’re creating nail art, take your time. Working slowly and steadily produces better results than rushing.
Neon Nails vs. Other Summer Nail Trends: A Comparison
| Nail Style | Durability | Vibrancy | DIY Difficulty | Cost |
|---|---|---|---|---|
| Neon Gel Nails | 3–4 weeks | ★★★★★ | Moderate | $30–50 per set |
| Neon Regular Polish | 5–7 days | ★★★☆☆ | Easy | $5–10 per bottle |
| Salon Acrylic Neons | 2–3 weeks | ★★★★☆ | N/A (professional only) | $50–100 per set |
| Dip Powder Neons | 2–3 weeks | ★★★★☆ | Moderate–Difficult | $20–40 per set |
As you can see, neon gel nails offer the perfect balance of durability, vibrancy, and affordability for DIY nail enthusiasts.
Frequently Asked Questions About Bright Neon Nails
Will Neon Gel Polish Stain My Natural Nails?
No, as long as you use a protective base coat. The base coat creates a barrier between the neon pigment and your natural nail. If you skip this step, intense neon colors can cause temporary discoloration, but it fades within a few days after removal.
How Long Do Neon Gel Nails Last?
Properly applied neon gel nails last 3–4 weeks. Some people experience slight color fading after week 3, but the gel remains intact. Factors affecting longevity include nail growth, daily activities, and how well you care for your cuticles.
Can I Create Neon Nail Designs if I’m a Complete Beginner?
Absolutely! Start with solid neon colors to master the basics. Once you’re comfortable with application, try simple designs like stripes or dots using a toothpick or dotting tool. Complex designs like nail art can come later as you gain confidence.
What’s the Best Way to Remove Neon Gel Nails?
Soak cotton pads in acetone, place them on your nails, and wrap each finger in foil for 10–15 minutes. The gel should slide off easily. Never pick or peel gel polish—this damages your natural nails.
Are Neon Gel Nails Safe for Daily Wear?
Yes, gel nails are safe when applied and removed properly. Avoid excessive water exposure immediately after application, don’t use your nails as tools, and give your nails a 1–2 week break every 8–12 weeks to let them breathe and recover.
Maintaining Your Neon Nails: A Summer Care Guide
Your bright neon nails are an investment in your appearance treat them well to maximize their lifespan and keep them looking salon-perfect.
Daily Care Tips
- Wear gloves when washing dishes or cleaning to protect your nails from harsh chemicals
- Apply sunscreen to your hands daily to prevent UV damage (even gel has some color-fading risk)
- Use cuticle oil morning and evening to keep skin hydrated and nails flexible
- Avoid using your nails as tools use your fingertips or grab a proper tool instead
- Limit exposure to chlorine and saltwater immediately after application (wait 24 hours if possible)
Weekly Maintenance
- Check for any lifting or separation and address it immediately to prevent full peeling
- Gently file any rough edges that develop from daily wear
- Reapply top coat if you notice any dulling (optional but extends shine)
Conclusion: Embrace Your Brightest Self This Summer
Creating stunning bright neon nails at home is easier than you think. With the right tools, quality products, and a little practice, you’ll achieve salon-quality results that turn heads all summer long.
The 30 designs I’ve shared range from simple solid colors to intricate nail art—there’s something for everyone, whether you’re a beginner or an experienced nail enthusiast. Start with what feels comfortable, and don’t be afraid to experiment.
Remember, your nails are a form of self-expression. Bright neon colors aren’t just a trend—they’re a celebration of confidence, creativity, and summer joy. Embrace the vibrancy, perfect your technique, and let your nails do the talking.
Ready to start your neon nail journey? Join our email list below for exclusive gel nail tips, new design ideas, and special discounts on premium gel products. You’ll be the first to know about our latest neon collections and limited-edition shades.
Don’t forget to join our Pinterest for more inspiring nail art tips