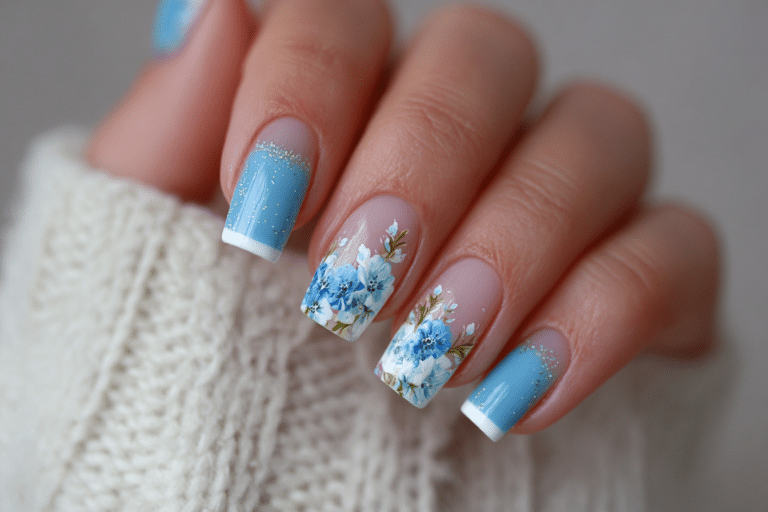
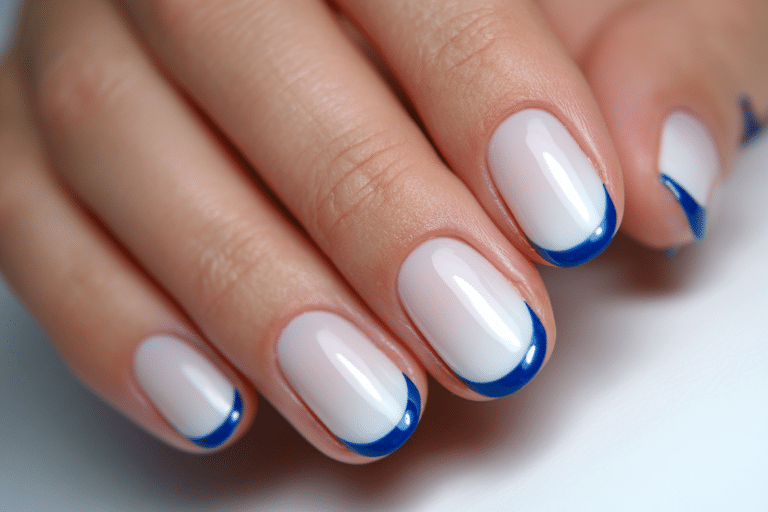
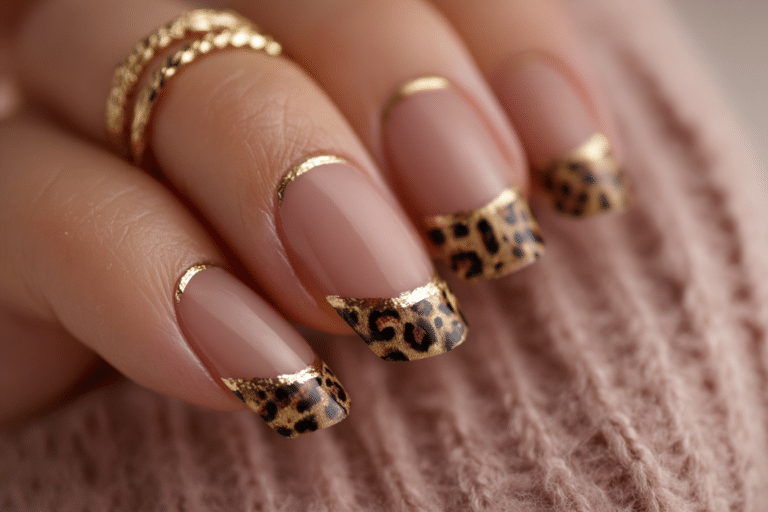
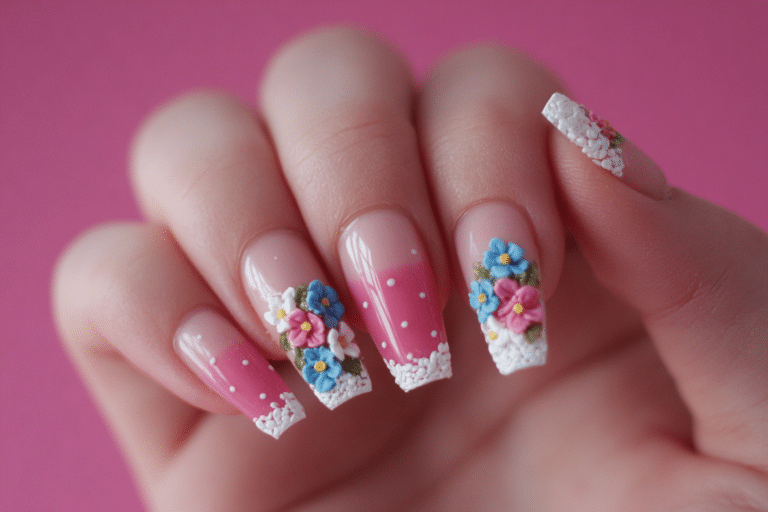
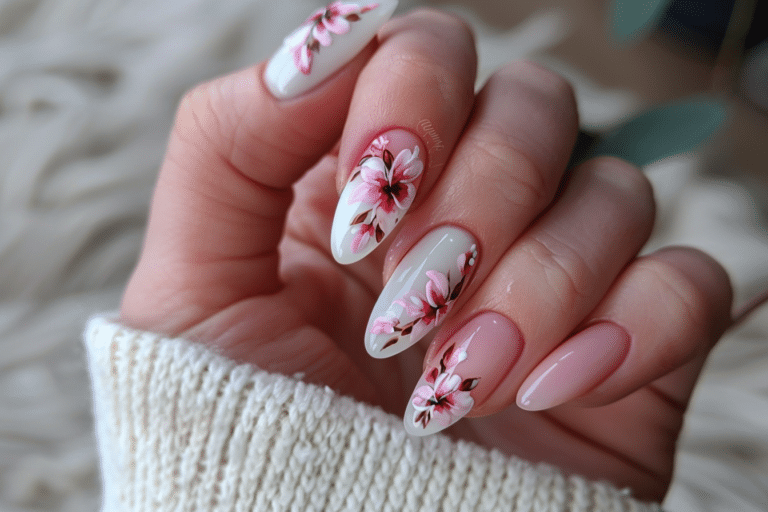
French Almond with Black Tips and Floral Details

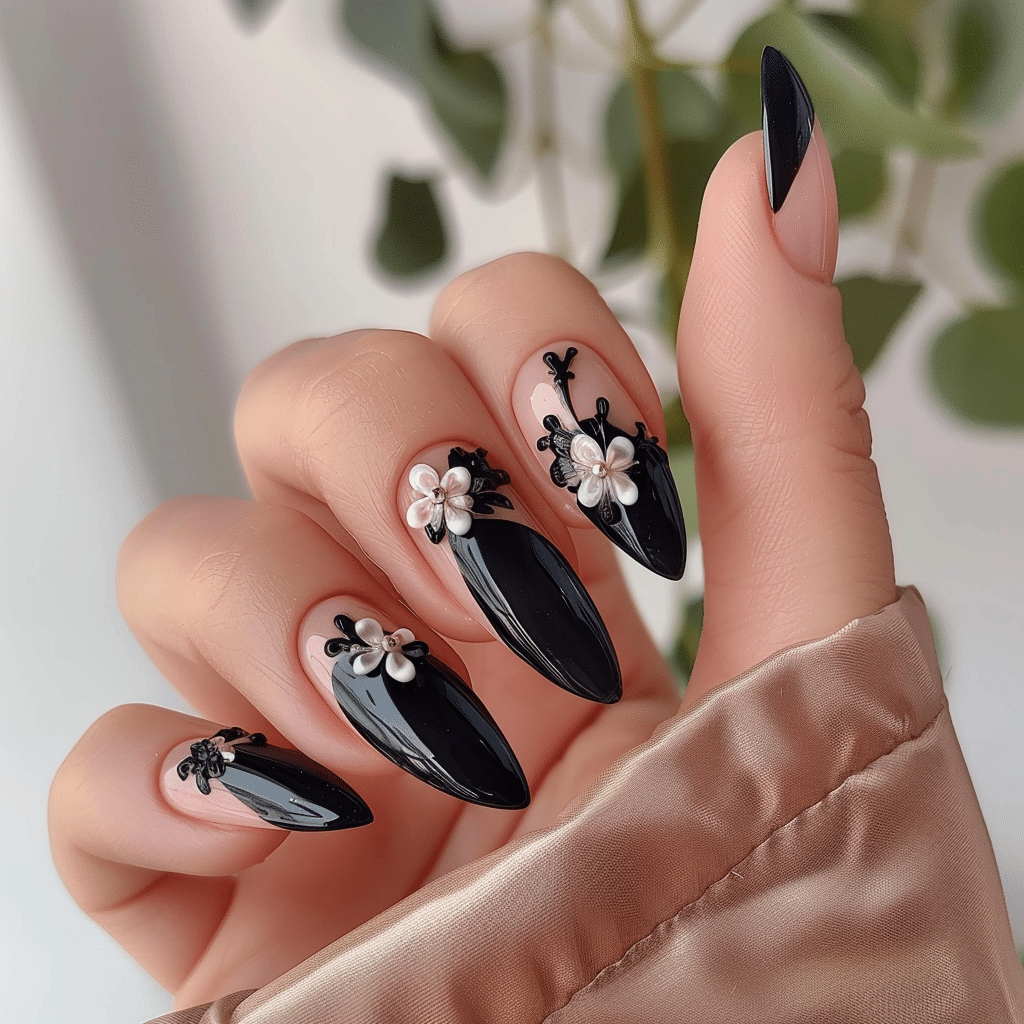
French almond with black tips and floral details is a sophisticated nail art technique that combines the classic French manicure with modern edge and delicate artistry.
This stunning design features almond-shaped nails with dramatic black tips instead of traditional white, adorned with hand-painted floral accents that add feminine elegance. The style has become increasingly popular among nail enthusiasts who want to make a bold statement while maintaining refinement.
| Topic | Details |
|---|---|
| Category | Nail Art |
| Skill Level | Intermediate to Advanced |
| Time Needed | 90-120 minutes |
| Tools Needed | UV/LED lamp, gel polish, nail art brushes, dotting tools |
| Best For | Special occasions, fashion-forward individuals, nail art enthusiasts |
Table of Contents
Why This Nail Technique Works
The French almond with black tips and floral details nail design works because it perfectly balances contrast and delicacy in a single composition. The almond shape naturally elongates the fingers and provides an elegant canvas that flatters most hand shapes. Black tips create a dramatic edge that differs from traditional French manicures, offering a modern twist that appeals to contemporary beauty standards. The stark contrast between the nude base and black tips makes the design visually striking without overwhelming the overall aesthetic.
Floral details add a softening element that counterbalances the boldness of black tips, creating visual harmony that appeals to diverse style preferences. This technique works because it allows for personalization through different floral patterns, colors, and placement options. The gel polish formula ensures durability and high-shine finish that lasts significantly longer than traditional nail polish. The combination of these elements creates a versatile design suitable for both everyday wear and special occasions.
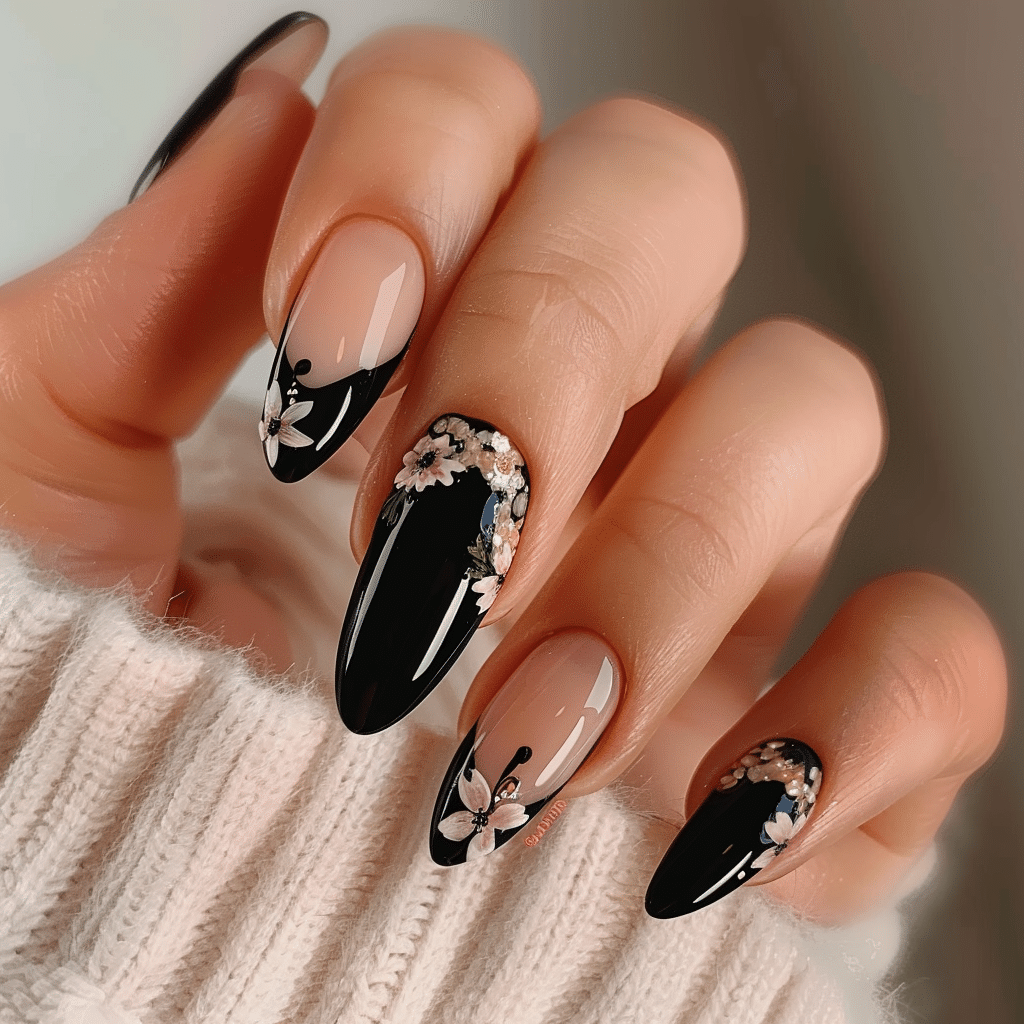
From a technical perspective, this design works well because the almond shape provides structural strength while maintaining elegance. The tapered point distributes stress evenly across the nail, reducing the likelihood of breakage compared to extreme shapes. The layering technique used for this style allows for dimension and depth, making the floral details appear three-dimensional and lifelike.
Tools and Products Needed
| Product | Purpose | Alternatives |
|---|---|---|
| UV/LED Lamp | Cures gel polish layers | 48W or higher lamp |
| Gel Base Coat | Protects natural nail and ensures adhesion | Rubber base coat for added strength |
| Nude Gel Polish | Creates natural base color | Sheer pink or peach tones |
| Black Gel Polish | Forms the French tip line | Dark navy or charcoal grey |
| White Gel Paint | Creates floral details | Acrylic paint for nail art |
| Colored Gel Paints | Adds floral accents and details | Regular gel polish in small bottles |
| Gel Top Coat | Seals design and adds shine | No-wipe top coat for easy finish |
| Nail File (180 grit) | Shapes nails into almond form | Glass nail file |
| Nail Buffer | Smooths nail surface | 240 grit buffer block |
| Detail Nail Art Brush | Paints fine floral details | Striping brush or liner brush |
| Dotting Tool | Creates flower centers and dots | Bobby pin or toothpick |
| Cuticle Oil | Hydrates cuticles after application | Vitamin E oil or jojoba oil |
| Nail Dehydrator | Removes oils for better adhesion | Alcohol wipes |
| Gel Cleanser | Removes sticky layer between coats | Isopropyl alcohol 91% |
For the best results with this French almond with black tips and floral details design, visit Gel Nails by Lina for professional application and high-quality gel products specifically chosen for intricate nail art.
Step-by-Step Application Guide for French Almond with Black Tips and Floral Details
Nail Preparation
- Remove any existing nail polish completely using acetone or gel remover, ensuring the nail surface is clean and product-free.
- Shape your nails into an almond form by filing from the sides toward the center, creating a tapered oval point.
- Push back cuticles gently using a cuticle pusher, then trim any excess dead skin with cuticle nippers.
- Buff the nail surface lightly with a 240-grit buffer to remove shine and create texture for better gel adhesion.
- Cleanse nails thoroughly with nail dehydrator or alcohol wipes to remove all oils, dust, and debris from the surface.
- Apply nail dehydrator and let it air dry completely for 30 seconds before proceeding to the base coat.
Base Coat Application
- Apply a thin layer of gel base coat, ensuring you cap the free edge by running the brush along the nail tip.
- Avoid flooding the cuticle area by leaving a small margin around the edges for expansion during curing.
- Cure the base coat under UV/LED lamp according to manufacturer instructions, typically 30-60 seconds depending on lamp wattage.
- Check that the base coat is completely cured by touching the surface gently to ensure it feels firm and dry.