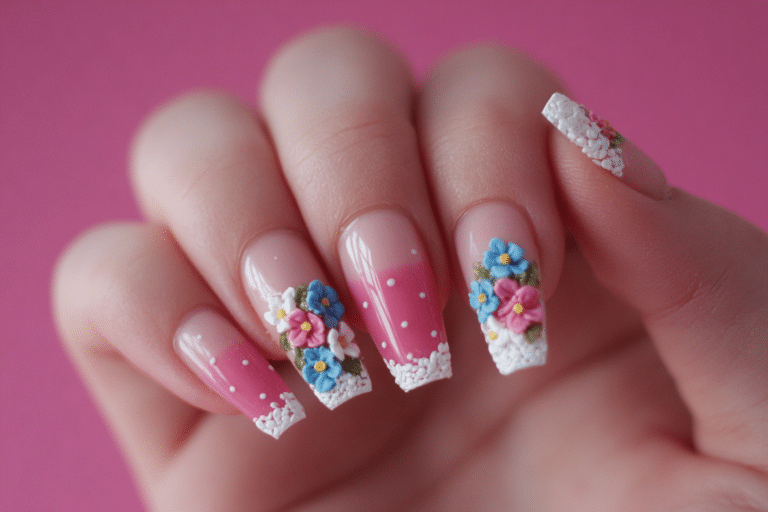
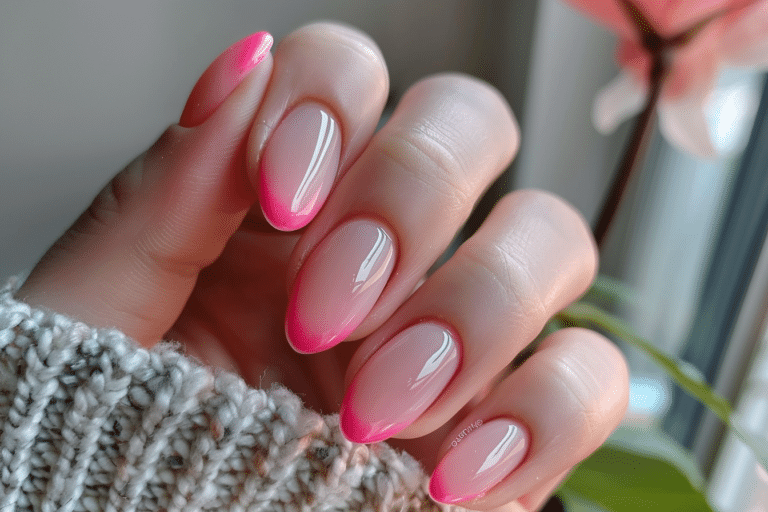
Blue Summer Beach Nails 💙 Square French Tip & Floral Nail Inspo

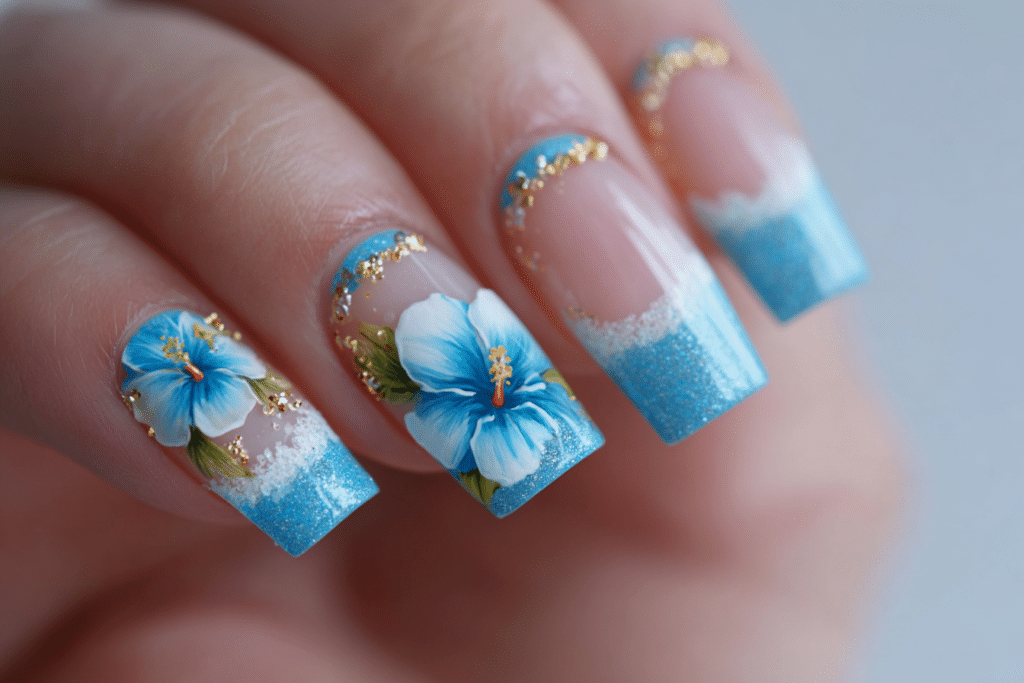
Blue summer beach nails with square French tips and floral designs represent the perfect fusion of classic elegance and coastal beauty.
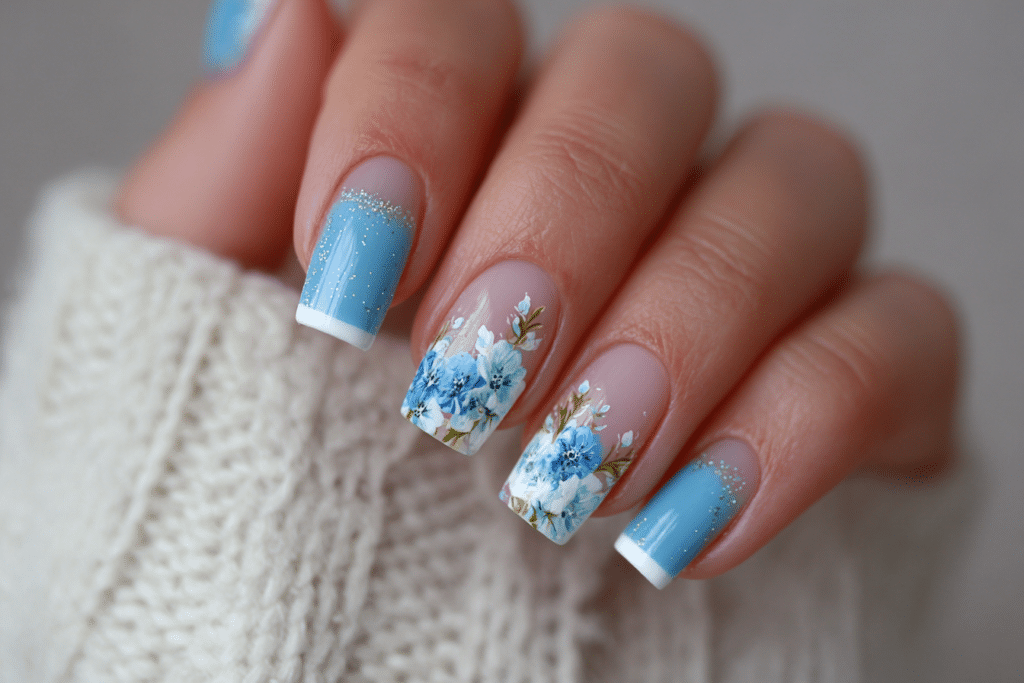
This stunning nail art style combines the timeless sophistication of French manicures with vibrant blue shades and delicate floral accents that capture the essence of ocean waves and seaside gardens. The square nail shape provides a modern canvas for intricate designs while maintaining durability for summer activities.
| Topic | Details |
|---|---|
| Category | Nail Art / Gel Nails |
| Skill Level | Intermediate |
| Time Needed | 90-120 minutes |
| Tools Needed | UV/LED lamp, gel polish, nail files, brushes, dotting tools |
| Best For | Summer events, beach vacations, proms, special occasions |
Table of Contents
Why This Nail Technique Works
The combination of square French tips with blue tones and floral accents creates a versatile design that suits various summer occasions. Square nails provide structural integrity that prevents breakage during beach activities and water exposure. The defined edges of square nails create clean lines that enhance the precision of French tips and make floral details appear more refined and intentional.
Blue shades ranging from navy to turquoise complement all skin tones while evoking feelings of tranquility and freshness associated with ocean waters. The French tip design elongates the appearance of fingers while maintaining a polished look that transitions seamlessly from casual beach days to formal evening events. Floral elements add feminine charm without overwhelming the overall design, allowing for customization based on personal style preferences.
Gel polish technology ensures these intricate designs remain chip-free for up to three weeks, making them ideal for extended vacations or special events like proms and weddings. The high-gloss finish of gel polish enhances blue pigments and makes white French tips appear brilliantly crisp. This durability factor combined with aesthetic appeal makes blue summer beach nails a practical yet beautiful choice for nail enthusiasts.
Tools and Products Needed
| Product | Purpose | Alternatives |
|---|---|---|
| UV/LED Lamp | Cures gel polish layers | 48W or higher recommended |
| Gel Base Coat | Protects natural nails and ensures adhesion | Rubber base for flexibility |
| Blue Gel Polish | Main color for designs | Navy, sky blue, turquoise, or ocean blue |
| White Gel Polish | French tip application | Opaque formula for coverage |
| Gel Top Coat | Seals design and adds shine | No-wipe formula preferred |
| Nail File (180 grit) | Shapes nails into square form | Glass file for precision |
| Nail Buffer | Smooths nail surface | 240 grit buffer block |
| Cuticle Pusher | Prepares nail bed | Metal or wooden options |
| Cuticle Oil | Hydrates surrounding skin | Jojoba or vitamin E oil |
| Nail Brush (thin) | Creates floral details | Striping brush or liner brush |
| Dotting Tool | Makes flower centers and dots | Bobby pin alternative |
| Nail Cleanser | Removes oils before application | Isopropyl alcohol 70% |
For professional results and additional nail care products, visit Gel Nails by Lina for expert recommendations and tutorials.
Step-by-Step Application Guide
Nail Preparation
- Remove any existing nail polish using acetone and lint-free wipes.
- Wash hands thoroughly with soap and warm water to eliminate oils and debris.
- Push back cuticles gently using a cuticle pusher at a 45-degree angle.
- File nails into a square shape by creating straight edges perpendicular to the finger.
- Round the corners slightly to prevent snagging while maintaining the square silhouette.
- Buff the nail surface lightly to remove shine and create texture for adhesion.
- Clean nails with nail cleanser or isopropyl alcohol to remove dust particles.
- Allow nails to dry completely before applying any gel products.
Base Coat Application
- Apply a thin layer of gel base coat starting from the cuticle area.
- Leave a small gap between the cuticle and polish to prevent lifting.
- Cap the free edge by running the brush along the nail tip.
- Cure under UV/LED lamp according to manufacturer instructions, typically 30-60 seconds.
- Check for any missed spots and apply a second thin layer if needed.
Creating the Square French Tip Design
- Decide on French tip thickness, typically one-third of the nail length works best.
- Apply white gel polish to the free edge using a thin brush for precision.
- Create a straight horizontal line across the nail to define the French tip boundary.
- Fill in the tip area completely with white polish in thin layers.
- Cure the white polish layer for 60 seconds under the lamp.
- Apply a second coat of white polish for opacity and cure again.
- Clean any mistakes with a small brush dipped in nail cleanser before curing.
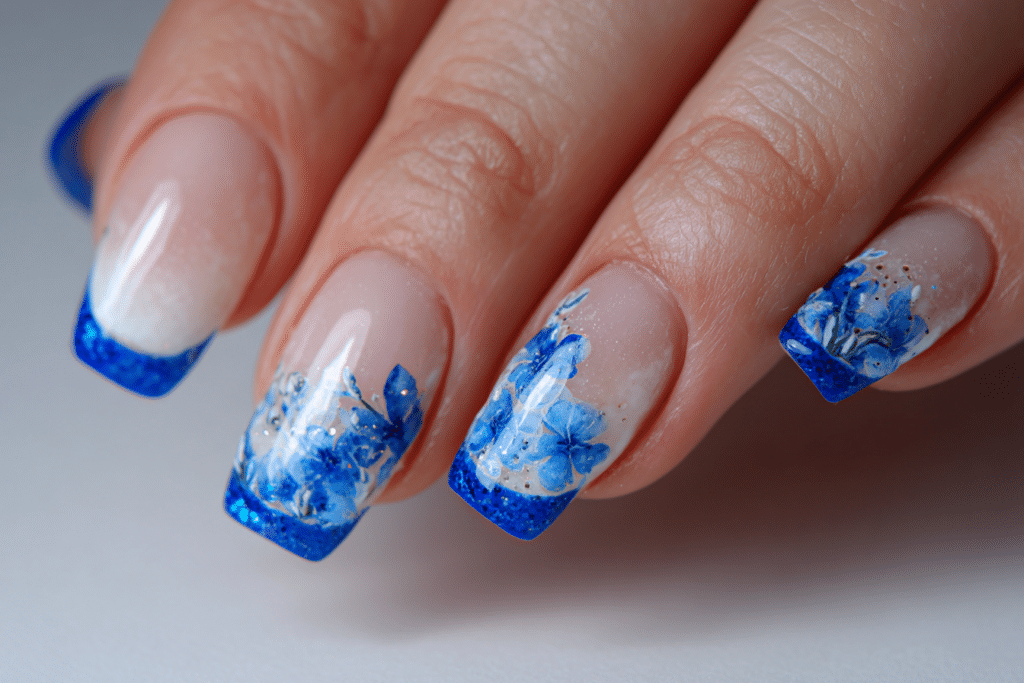
Adding Blue Accents and Floral Designs
- Select which nails will feature blue backgrounds versus floral accents.
- Apply blue gel polish to chosen nails in thin, even coats.
- Cure each layer completely before adding additional color.
- Use a thin nail art brush to create small flower petals with white or contrasting blue.
- Create five-petal flowers by painting small teardrop shapes in a circular pattern.
- Add flower centers using a dotting tool with contrasting gel polish colors.
- Paint delicate leaves using green gel polish and a striping brush.
- Cure all decorative elements thoroughly before proceeding.
Curing Process
- Ensure each layer is cured for the full recommended time to prevent peeling.
- Position hands flat in the lamp with all nails exposed to light evenly.
- Cure base coats for 30-60 seconds depending on lamp wattage.
- Cure color layers for 60 seconds to ensure complete polymerization.
- Cure the final top coat for 60-90 seconds for maximum durability.
- Allow nails to cool for 30 seconds after curing before touching anything.
Finishing and Top Coat
- Apply a thin layer of gel top coat over the entire nail design.
- Cap the free edge generously to seal the French tip and prevent chipping.
- Cure the top coat for the full recommended time, usually 60-90 seconds.
- If using a sticky-layer top coat, wipe with alcohol to remove the tacky residue.
- Apply cuticle oil around the nail bed and massage gently into the skin.
- Moisturize hands with a nourishing hand cream to complete the service.
For more detailed techniques and video tutorials, explore the resources at Gel Nails by Lina.
Pro Nail Technician Tips
- Apply gel polish in thin layers rather than thick coats to prevent bubbling, wrinkling, and incomplete curing that leads to premature peeling.
- Dehydrate the nail plate thoroughly before base coat application by using a nail prep solution or primer to remove all moisture and oils.
- Avoid flooding the cuticle area by leaving a hairline gap between polish and skin to prevent lifting at the base within days of application.
- Use a quality UV/LED lamp with sufficient wattage to ensure complete curing, as under-cured gel remains soft and peels easily.
- Create cleaner French tip lines by using striping tape as a guide, removing it immediately after application before curing the polish layer.
- Practice floral designs on a practice wheel or paper before applying to actual nails to build confidence and refine technique for consistent results.
- Store gel polishes away from direct sunlight and heat to maintain consistency and prevent premature thickening or separation of pigments.
- Maintain square nail shape integrity by filing in one direction rather than using a sawing motion that creates uneven edges and weakens the nail structure.
Common Gel Nail Mistakes
| Mistake | Why it Happens | How to Fix |
|---|---|---|
| Thick gel layers | Applying too much product at once to save time | Use thin coats and build opacity gradually with multiple layers |
| Improper curing | Using low-wattage lamps or insufficient curing time | Invest in 48W or higher lamp and cure for full recommended duration |
| Skipping nail prep | Rushing through preparation steps to speed up process | Always cleanse, buff, and dehydrate nails before base coat application |
| Flooding the cuticle | Applying polish too close to cuticle line | Leave small gap and use cleanup brush before curing each layer |
| Not capping the free edge | Forgetting to seal nail tips with polish and top coat | Run brush along free edge with each layer to prevent chipping |
| Uneven French tip lines | Lack of steady hand or improper brush technique | Use guides or tape, practice brush control, work on flat surface |
Blue Summer Beach Nail Design Variations
| Style | Description | Best Occasion |
|---|---|---|
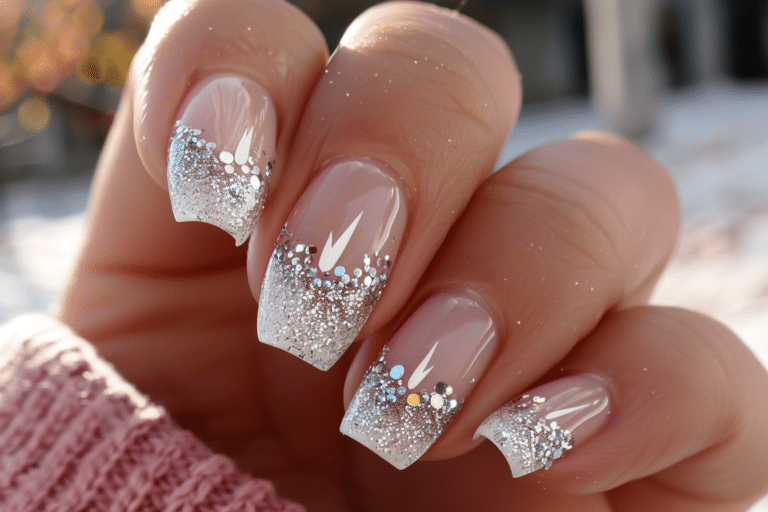
| Navy Blue Prom Nails | Deep navy base with silver glitter French tips and rhinestone accents | Formal events, proms, evening galas |
| Ocean Ombre French | Gradient from white to turquoise on French tips with wave details | Beach weddings, tropical vacations |
| Minimalist Blue Florals | Single delicate flower on accent nail with simple blue tips | Professional settings, everyday wear |
| Bold Tropical Blooms | Large hibiscus or plumeria flowers with vibrant blue backgrounds | Summer parties, festivals, casual events |
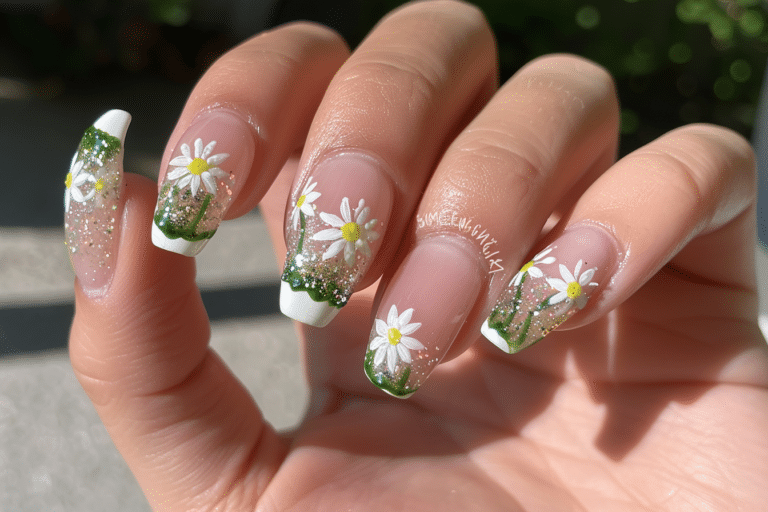
| Sky Blue with Daisies | Soft baby blue base with white daisy designs and yellow centers | Spring events, garden parties, bridal showers |
| Chrome Blue French | Metallic blue chrome powder over white French tips | Modern events, fashion-forward occasions |
| Blue and White Geometric | Alternating blue and white square French tips with linear patterns | Contemporary style enthusiasts, artistic events |
Nail Care and Maintenance
Maintaining blue summer beach nails requires consistent care to preserve their vibrant appearance and ensure nail health. Apply cuticle oil twice daily to keep the skin around nails hydrated and prevent dry, cracked cuticles that detract from the manicure’s polished look. Massage the oil into the nail bed and surrounding skin to promote blood circulation and encourage healthy nail growth during the gel manicure period.
Protect your gel manicure by wearing gloves during household cleaning tasks, as harsh chemicals can dull the shine and weaken the gel bond. Avoid using nails as tools to open packages or scratch surfaces, which can cause chips or lifting at the free edge. When swimming in chlorinated pools or salt water, rinse hands with fresh water afterward to remove chemicals that may compromise the gel polish integrity.
Schedule gel removal and reapplication every two to three weeks to prevent overgrowth that stresses the natural nail. Never peel or pick at lifting gel polish, as this removes layers of the natural nail plate and causes significant damage. Between manicures, give nails a break period of three to seven days to allow natural oils to restore and strengthen the nail structure.
Monitor nail health throughout the gel manicure by checking for signs of infection, discoloration, or unusual texture changes. If you notice green discoloration, pain, or swelling around the nail bed, remove the gel immediately and consult a healthcare professional. Maintain overall nail health by eating a balanced diet rich in biotin, protein, and omega-3 fatty acids that support strong nail growth.
How to Remove Gel Nails Safely
- File the shiny top coat layer using a coarse nail file to break the seal and allow acetone penetration.
- Soak cotton balls or pads in pure acetone nail polish remover until fully saturated.
- Place the acetone-soaked cotton directly onto each nail, ensuring complete coverage of the gel surface.
- Wrap each fingertip tightly with aluminum foil to hold cotton in place and trap heat for better dissolution.
- Wait 10 to 15 minutes for the acetone to dissolve the gel polish layers completely.
- Remove foil wraps and gently push softened gel off the nail using an orangewood stick or cuticle pusher.
- Avoid scraping or forcing gel that has not fully dissolved, as this damages the natural nail plate.
- Re-soak any remaining gel for an additional five minutes rather than picking it off forcefully.
- Wash hands thoroughly with soap and warm water to remove all acetone residue from skin.
- Apply cuticle oil and hand cream generously to rehydrate nails and skin after the drying effects of acetone.
- Buff nails gently with a fine-grit buffer to smooth any roughness left from gel removal.
- Allow nails to rest for several days before applying another gel manicure if possible.
Nail Health and Safety
Maintaining nail health while wearing gel manicures requires awareness of potential risks and commitment to safe practices. Over-filing the nail surface to improve gel adhesion removes protective layers and creates thin, weak nails prone to breakage and sensitivity. File only the shine from the nail surface rather than aggressively removing nail plate material, and always use appropriate grit files designed for natural nails.
UV exposure from curing lamps poses minimal risk when used correctly, but applying broad-spectrum sunscreen to hands before gel appointments provides additional protection. Keep gel manicure appointments spaced appropriately to avoid continuous UV exposure and allow nails recovery time. Recognize signs of allergic reactions to gel products, including redness, itching, or swelling around nail beds, and discontinue use immediately if symptoms appear.
Avoid excessive gel manicure wear that prevents nails from breathing and receiving natural moisture. Take breaks between gel applications to allow nails to recover their natural strength and flexibility. Supplement your diet with biotin, keratin, and collagen to support nail health from within and counteract any thinning from repeated gel application and removal cycles.
Frequently Asked Questions
How long do gel nails last?
Gel nails typically last between two to three weeks with proper application and care. The longevity depends on factors including nail growth rate, daily activities, and adherence to proper prep techniques. Most people schedule gel manicure appointments every 14 to 21 days to maintain a polished appearance before significant regrowth becomes visible
How to remove gel nails safely?
Safe gel nail removal requires soaking nails in pure acetone for 10 to 15 minutes after filing off the top coat layer. Wrap acetone-soaked cotton around each nail with aluminum foil to accelerate the dissolving process without damaging the natural nail. Never peel or force gel polish off, as this removes layers of the natural nail plate and causes long-term weakness. Always follow with cuticle oil and moisturizer to rehydrate nails after acetone exposure.
Gel nails vs acrylic nails?
Gel nails offer a more natural appearance with flexible, lightweight feel, while acrylic nails provide harder, more durable extensions ideal for length. Gel polish requires UV or LED light curing and typically causes less nail damage with proper removal compared to acrylic systems. Acrylic nails use liquid monomer and powder polymer that air-dry and create stronger structures for those with very weak natural nails. Both systems require skilled application and safe removal to maintain nail health and prevent damage.
Why gel nails peel?
Gel nails peel primarily due to inadequate nail preparation, moisture on the nail plate, or oil contamination before application. Skipping the buffing step or failing to use nail dehydrator prevents proper gel adhesion to the natural nail surface. Flooding the cuticle area with gel polish or failing to cap the free edge creates weak points where lifting begins. Exposure to excessive moisture, harsh chemicals, or physical trauma also contributes to premature peeling and reduced gel manicure longevity.
How to make gel nails last longer?
Making gel nails last longer requires thorough nail preparation including buffing, dehydrating, and applying thin product layers. Cap the free edge with every layer of polish including base coat, color, and top coat to seal the nail completely. Wear gloves during household tasks, apply cuticle oil daily, and avoid excessive water exposure to maintain the gel bond. Proper curing with an adequate wattage lamp ensures complete polymerization that prevents premature breakdown and extends manicure durability to the full three-week potential.
Conclusion
Blue summer beach nails with square French tips and floral designs offer the perfect combination of elegance and seasonal charm for any summer occasion. This versatile nail art style suits everything from casual beach days to formal prom nights while maintaining durability and visual impact. By following proper application techniques, using quality products, and maintaining consistent nail care, you can achieve salon-quality results that last for weeks. Embrace the beauty of ocean-inspired blue shades and delicate floral accents to create your perfect summer manicure that captures the essence of coastal elegance and feminine style.