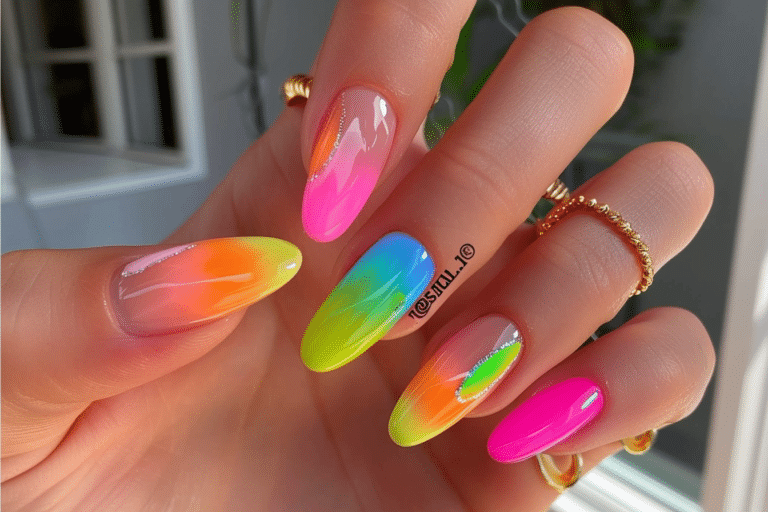
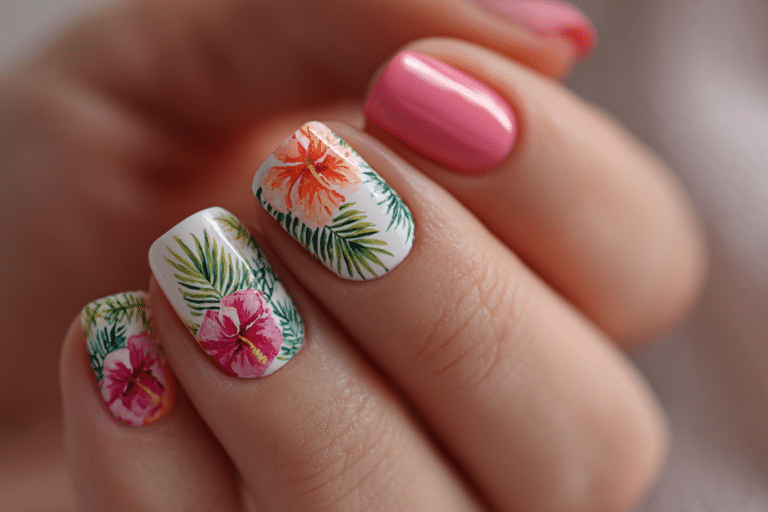
2024’s Top Almond Nail Designs – Trendy, Cute & Bold Aesthetic Styles

Almond nail designs have dominated the beauty industry in 2024 as the most flattering and versatile nail shape for creating stunning manicures.
This elegant tapered shape provides the perfect canvas for trendy, cute, and bold aesthetic styles that complement every hand shape and skin tone. The almond shape combines the practicality of oval nails with the sophistication of stiletto designs, making it ideal for both everyday wear and special occasions.
| Topic | Details |
| Category | Nail Art |
| Skill Level | Intermediate |
| Time Needed | 90-120 minutes for full design application |
| Tools Needed | UV/LED lamp, gel polish, nail file, nail buffer, brushes |
| Best For | Anyone seeking elegant, feminine nail designs with versatility |
Table of Contents
Why This Nail Technique Works
The almond nail shape works exceptionally well because it elongates the fingers while maintaining structural integrity that prevents breakage. This tapered oval design creates a natural extension of the finger, drawing the eye upward and creating the illusion of longer, more slender hands. The shape provides maximum surface area at the center of the nail bed while tapering gently to a rounded point, offering the perfect balance between durability and elegance.
From a technical perspective, almond nails distribute stress evenly across the nail structure, reducing the likelihood of cracking or splitting compared to more extreme shapes like stiletto or square nails. The gentle taper allows gel polish to adhere smoothly without creating weak points or areas prone to lifting. This shape also accommodates intricate nail art designs beautifully, as the wider base provides ample space for detailed work while the tapered tip draws attention to focal points in the design.
Professional nail technicians favor almond shapes because they complement various nail bed widths and finger lengths, making them universally flattering. The shape works equally well with short to medium length nails or dramatic long extensions, providing flexibility in styling options. The sophisticated silhouette enhances both minimalist designs and bold, statement-making nail art, which explains why almond nails have become the go-to choice for fashion-forward clients in 2024.
Tools and Products Needed
| Product | Purpose | Alternatives |
| UV/LED Lamp | Cures gel polish properly for long-lasting results | 48W or 72W lamp options |
| Base Coat | Protects natural nails and ensures adhesion | Rubber base coat for added strength |
| Gel Polish Colors | Provides pigmented color layers | Builder gel in a bottle for extensions |
| Top Coat | Seals design and adds glossy finish | Matte top coat for different texture |
| Nail File (180 grit) | Shapes nails into almond form | Glass file for gentler filing |
| Nail Buffer | Smooths nail surface for even application | 4-way buffer block |
| Cuticle Pusher | Prepares nail bed and removes excess cuticle | Wooden orange stick |
| Nail Brushes | Creates detailed nail art designs | Dotting tools for simpler patterns |
| Cuticle Oil | Maintains nail health and hydration | Vitamin E oil or jojoba oil |
| Nail Dehydrator | Removes oils for better adhesion | Rubbing alcohol as temporary solution |
For professional-quality results and more guidance on gel nail application, visit Gel Nails by Lina for expert tutorials and product recommendations.
Step-by-Step Application Guide for Almond Nail Designs
Nail Preparation
- Remove any existing nail polish using acetone-based remover and ensure nails are completely clean and dry.
- Push back cuticles gently using a cuticle pusher, working in small circular motions to avoid damaging the nail bed.
- File nails into the almond shape by creating soft tapered sides that meet at a rounded point, ensuring both sides are symmetrical.
- Buff the nail surface lightly using a 180-grit buffer to remove shine and create a slightly rough texture for better adhesion.
- Clean nails thoroughly with nail dehydrator or rubbing alcohol to remove all dust, oils, and residue from the nail plate.
Base Coat Application
- Apply a thin layer of base coat gel, starting from the center of the nail and working toward the edges while avoiding the cuticle area.
- Cap the free edge by running the brush along the tip of the nail to seal and prevent lifting or chipping.
- Cure the base coat under a UV/LED lamp for 60 seconds or according to the product manufacturer’s specific instructions.
- Check for any uncured spots or areas that feel tacky beyond the normal residue layer, recuring if necessary.
Gel Polish Layers
- Apply the first thin layer of colored gel polish using smooth, even strokes from cuticle to tip without flooding the sides.
- Cure the first color layer for 60-90 seconds, ensuring complete polymerization before applying additional coats.
- Apply a second thin layer of gel polish for full opacity and even color saturation across the entire nail surface.
- Cure the second layer completely, checking that edges and tips are fully hardened before proceeding to nail art.
Creating Trendy Almond Nail Designs
- Select your design aesthetic from 2024’s top trends including chrome accents, minimalist lines, ombre fades, or bold geometric patterns.
- Apply detail work using thin nail art brushes, dotting tools, or stamping plates depending on your chosen design complexity.
- Work on one nail at a time when creating intricate designs to maintain control and precision throughout the application process.
- Cure each design element separately if working with multiple colors or textures to prevent smudging or blending issues.
- Add dimensional elements like rhinestones, metallic foils, or 3D embellishments using gel adhesive before the final top coat layer.
Finishing and Top Coat
- Apply a thin layer of top coat gel over the entire nail, ensuring complete coverage of all design elements and edges.
- Cap the free edge again with top coat to seal the manicure and maximize longevity of the design.
- Cure the top coat for a full 90-120 seconds to ensure complete hardening and achieve maximum glossiness.
- Wipe away the tacky residue layer using a lint-free wipe dampened with isopropyl alcohol or gel cleanser.
- Apply cuticle oil around the entire nail perimeter and massage gently to hydrate the skin and add shine to the finished manicure.
For more detailed tutorials on gel nail application techniques, explore the comprehensive guides available at Gel Nails by Lina.
Pro Nail Technician Tips for Perfect Almond Nails
- File almond nails in one direction rather than using a sawing motion to prevent splitting and maintain smooth edges that resist snagging.
- Apply gel polish in thin layers rather than thick coats to ensure proper curing, prevent bubbling, and avoid premature lifting or peeling.
- Keep a 1-2mm gap between the gel polish and cuticle area to prevent flooding, which causes lifting and reduces the longevity of your manicure.
- Cure nails with fingers flat and spread apart inside the lamp to ensure even UV/LED light exposure across all nails simultaneously.
- Prep the natural nail thoroughly by removing all oils and moisture, as proper preparation accounts for 80% of gel manicure longevity and performance.
- Store gel polishes away from direct sunlight and extreme temperatures to maintain consistent viscosity and prevent premature curing or separation.
Common Gel Nail Mistakes with Almond Designs
| Mistake | Why It Happens | How to Fix |
| Asymmetrical almond shape | Filing without a guide or rushing the shaping process | File slowly, checking both sides frequently and using the opposite hand as a reference mirror |
| Gel polish pooling at cuticles | Applying too much product or not leaving adequate gap from cuticle line | Use minimal product on brush and wipe excess before application, maintaining 1-2mm gap from skin |
| Premature chipping at tips | Failing to cap the free edge or applying gel too thickly at the tip | Always cap the edge with base coat, color, and top coat in thin, even layers |
| Weak or breaking nail points | Filing the almond shape too thin or pointed, creating structural weakness | Maintain a slightly rounded tip rather than sharp point and use builder gel for reinforcement |
| Design smudging or bleeding | Not curing between layers or using incompatible gel formulas together | Cure each layer completely and test gel compatibility before creating detailed designs |
Trendy Almond Nail Design Variations for 2024
| Style | Description | Best Occasion |
| Chrome Almond Nails | Metallic mirror finish in silver, gold, or iridescent shades with high-shine reflective quality | Evening events, parties, fashion-forward everyday wear |
| Minimalist Line Art | Simple black or white geometric lines, abstract faces, or delicate patterns on neutral bases | Professional settings, understated elegance, daily wear |
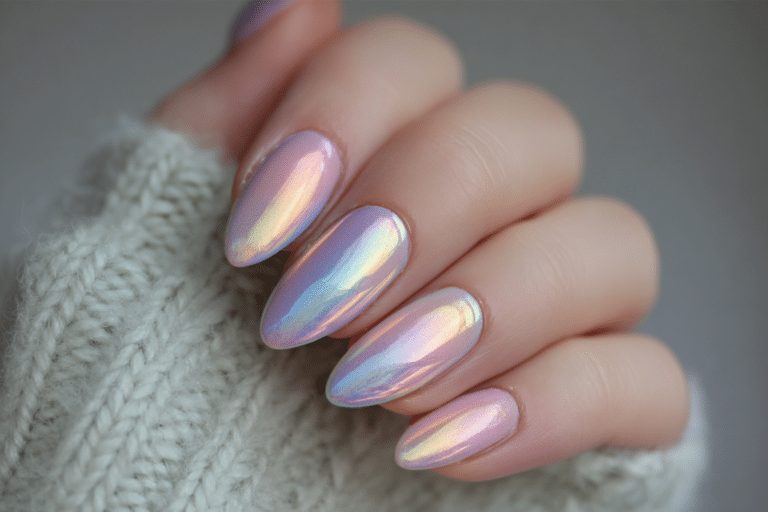
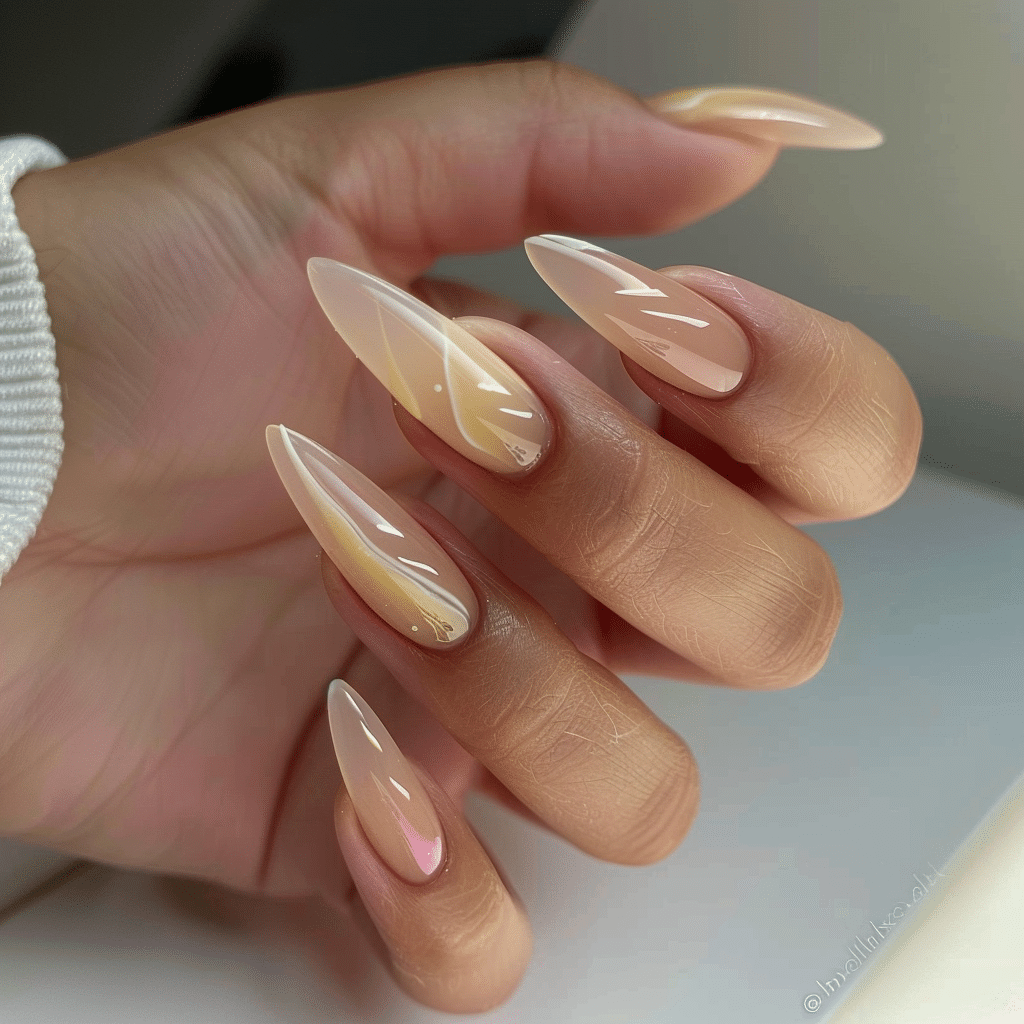
| Glazed Donut Nails | Pearlescent shimmer finish creating an iridescent glow inspired by popular 2024 aesthetic trends | Weddings, romantic dates, spring and summer occasions |
| French Tip Almond | Classic white tips reimagined with colored tips, negative space, or gradient fades | Timeless choice for any occasion from casual to formal |
| Ombre Fade Designs | Gradual color transitions from light to dark or contrasting color blends | Vacation, summer events, creative self-expression |
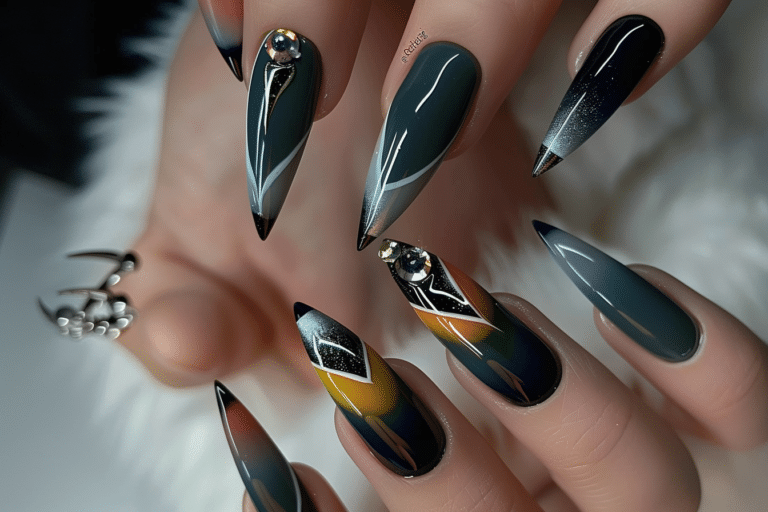
| Bold Abstract Art | Vibrant colors, geometric shapes, and artistic expression with maximum visual impact | Concerts, festivals, artistic showcases, statement-making |
| Micro Glitter Accent | Fine glitter particles concentrated at tips or as accent nails for subtle sparkle | Holiday celebrations, New Year events, special occasions |
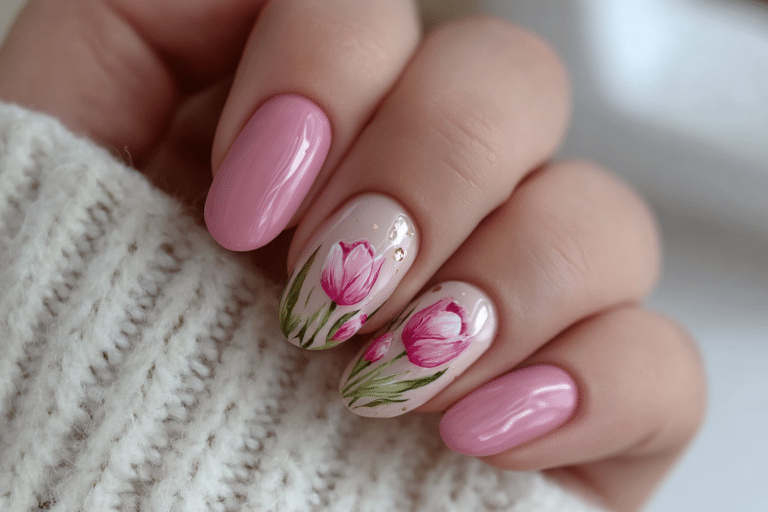
| Nude Elegant Base | Sophisticated neutral tones with minimal embellishments or single accent details | Corporate environments, interviews, refined everyday style |
Nail Care and Maintenance for Long-Lasting Almond Designs
Maintaining beautiful almond nail designs requires consistent care and attention to preserve both the aesthetic appeal and structural integrity of the manicure. Apply cuticle oil at least twice daily, focusing on the nail bed perimeter and underneath the free edge to maintain flexibility and prevent the gel from becoming brittle. Hydrated nails are less prone to lifting, cracking, or breaking, which extends the life of your manicure significantly beyond the typical two to three week period.
Protect your almond nails by wearing gloves during household chores, avoiding prolonged water exposure, and refraining from using your nails as tools to open packages or scratch surfaces. The tapered point of almond nails, while elegant, can be more susceptible to breakage than blunt shapes if subjected to excessive pressure or impact. Be mindful of daily activities and adjust habits to accommodate the nail length and shape you are maintaining.
Schedule regular maintenance appointments every two to three weeks to address regrowth, repair any lifting, and refresh your design before significant wear occurs. During these appointments, your nail technician can assess nail health, address any concerns, and ensure the natural nail underneath remains strong and healthy. Between professional appointments, monitor your nails daily for signs of lifting at the cuticle or free edge, addressing minor issues immediately to prevent moisture and bacteria from compromising the manicure.
Nourish nails from within by maintaining a balanced diet rich in biotin, protein, and omega fatty acids that support nail strength and growth. Staying hydrated by drinking adequate water throughout the day improves overall nail health and prevents dryness that can lead to brittleness. For comprehensive nail care advice and product recommendations, visit Gel Nails by Lina for expert guidance on maintaining healthy nails.
How to Remove Gel Nails Safely
Safe gel nail removal is essential for maintaining the health and integrity of your natural nails underneath the gel enhancement. Begin by gently filing the shiny top coat layer with a medium-grit nail file to break the seal and allow acetone to penetrate the gel layers more effectively. This step significantly reduces the soaking time required and makes the removal process more efficient without causing unnecessary damage to the nail plate.
Soak cotton balls or pads in pure acetone and place them directly on each nail, then wrap each finger tightly with aluminum foil to create a sealed environment that traps heat and accelerates the breakdown of the gel polish. Allow nails to soak for 10-15 minutes, checking periodically to see if the gel has softened and begun to lift from the nail surface. Avoid the temptation to peel or force the gel off, as this removes layers of the natural nail and causes significant damage that takes months to repair.
After soaking, use a wooden cuticle stick or plastic pusher to gently scrape away the softened gel, applying minimal pressure and working in the direction of nail growth. If the gel does not remove easily, rewrap the nails and soak for an additional five minutes rather than forcing the product off. Once all gel is removed, wash hands thoroughly with soap and water, then buff the nail surface lightly to smooth any remaining residue without over-filing the natural nail.
Nail Health and Safety Considerations
Maintaining nail health while enjoying beautiful almond nail designs requires understanding potential risks and implementing preventive measures consistently. Over-filing the natural nail during preparation or removal can thin the nail plate significantly, leading to sensitivity, weakness, and increased susceptibility to infections or damage. Always ensure your nail technician uses proper filing techniques and appropriate grit levels, or if doing your own nails, exercise restraint and file gently with controlled motions.
Ensure proper sanitation of all nail tools between uses by cleaning with soap and water followed by disinfection with isopropyl alcohol or professional-grade sanitizers. When visiting nail salons, observe cleanliness practices and verify that technicians use sterilized implements or disposable tools for each client. Cross-contamination from improperly sanitized tools can lead to serious infections that require medical treatment and may result in permanent nail damage.
Practice moderation with gel manicures by allowing at least one week of rest between applications every few months to assess natural nail condition and provide recovery time. During rest periods, apply strengthening treatments, maintain consistent cuticle oil application, and keep nails trimmed short to minimize stress on potentially weakened nail plates. This balanced approach allows you to enjoy beautiful almond nail designs while prioritizing the long-term health and strength of your natural nails.
Frequently Asked Questions
How long do gel almond nails last?
Gel almond nails typically last between two to three weeks with proper application and maintenance, though some clients experience up to four weeks of wear. The longevity depends on factors including nail preparation quality, gel product brands used, daily activities, and how well you protect your nails from excessive water exposure or harsh chemicals. Regular cuticle oil application and wearing gloves during cleaning tasks significantly extends the life of your gel manicure.
How do I remove gel nails safely at home?
Safe removal involves filing off the top coat shine, soaking nails in pure acetone for 10-15 minutes using the foil wrap method, then gently pushing off softened gel with a wooden stick. Never peel or force gel polish off, as this removes layers of your natural nail and causes severe damage that weakens nails for months. After removal, thoroughly moisturize nails and cuticles with oil and allow nails to rest before applying a new gel manicure.
What is the difference between gel nails and acrylic nails?
Gel nails use a liquid gel formula that cures under UV/LED light and offers a more flexible, natural-looking finish with glossy shine, while acrylic nails use a liquid monomer and powder polymer that air-dries to create a harder, more durable enhancement. Gel tends to be gentler on natural nails, has less odor during application, and provides a lighter feel, whereas acrylic offers superior strength for extreme lengths and is often more affordable. The choice depends on your lifestyle, desired nail length, and personal preferences regarding appearance and maintenance requirements.
Why do my gel almond nails peel or lift?
Gel nails peel or lift primarily due to inadequate nail preparation, including failure to remove all natural oils, moisture, or residue from the nail plate before application. Other common causes include applying gel too close to the cuticle where it contacts skin and oils, using gel layers that are too thick to cure properly, or skipping the crucial step of capping the free edge with each layer. Exposure to excessive moisture, hot water, or harsh chemicals within 24 hours of application also compromises the gel bond and leads to premature lifting.
How can I make my gel almond nails last longer?
Make gel nails last longer by applying cuticle oil twice daily to maintain flexibility and prevent brittleness, wearing gloves during household chores and water exposure, and avoiding using your nails as tools. Ensure thorough nail preparation before application, including proper dehydration and light buffing of the nail surface for optimal adhesion. Keep nails at a moderate length appropriate for your lifestyle, address any minor lifting immediately to prevent moisture intrusion, and maintain regular maintenance appointments every two to three weeks for optimal results.
Conclusion
The almond nail shape continues to dominate 2024 as the most versatile and flattering choice for creating stunning nail art ranging from minimalist elegance to bold statement designs. By following proper application techniques, maintaining consistent nail care routines, and embracing the latest aesthetic trends, you can achieve salon-quality almond nail designs that showcase your personal style while maintaining healthy, strong natural nails. Whether you prefer subtle sophistication or eye-catching creativity, almond nails provide the perfect canvas for expressing your unique beauty vision. Visit Gel Nails by Lina for more inspiration and expert guidance on achieving your dream manicure.