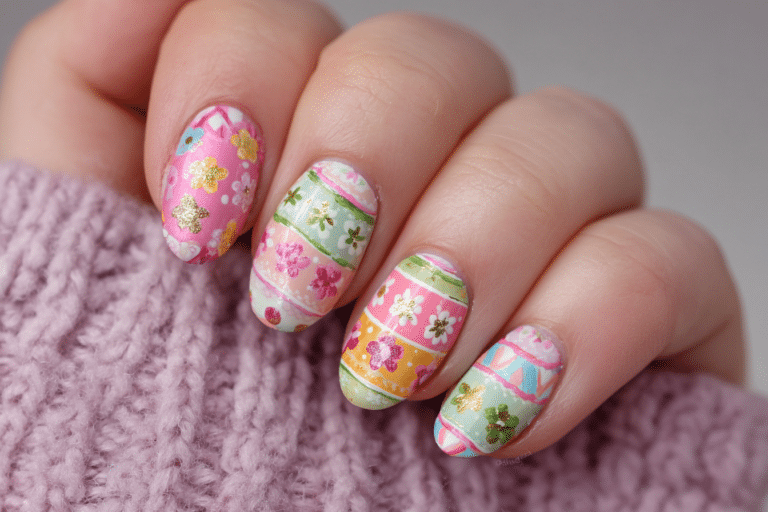
Back to School Nails: Stylish Designs for Students

Back to school nails are a fun way to express personality while maintaining a polished appearance suitable for classroom settings.
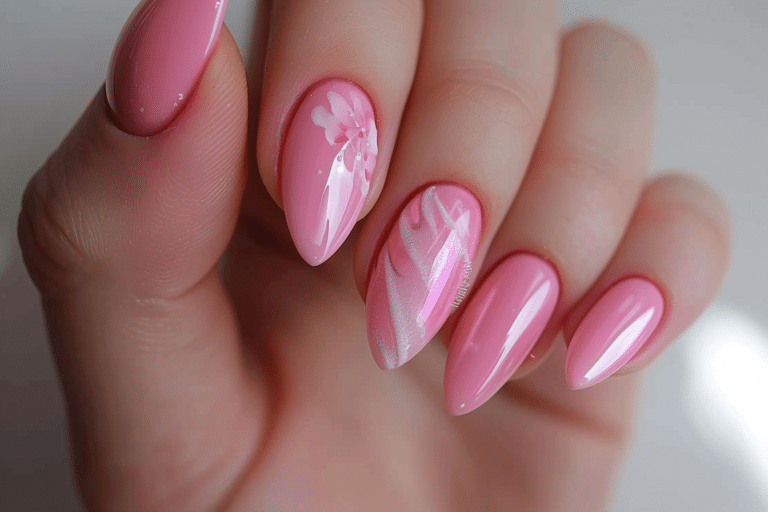
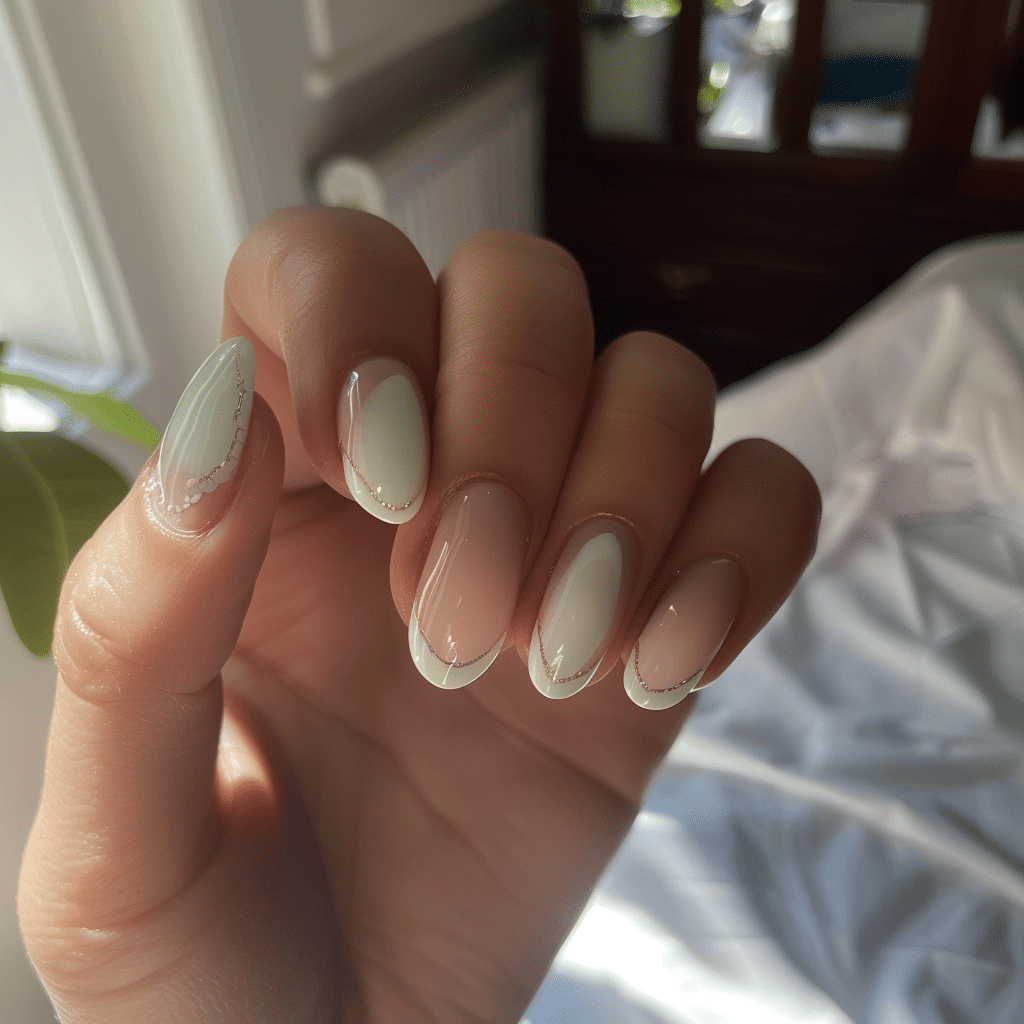
These nail designs combine practicality with style, featuring everything from minimalist looks to creative nail art that withstands daily activities. Whether you prefer almond-shaped tips with French designs or simple gel polish in trendy colors, the right manicure can boost confidence throughout the school year.
| Topic | Details |
|---|---|
| Category | Gel Nails / Nail Art |
| Skill Level | Beginner to Intermediate |
| Time Needed | 45-90 minutes |
| Tools Needed | UV/LED lamp, gel polish, nail file, base and top coat |
| Best For | Students, teens, teachers, anyone returning to school environments |
Table of Contents
Why This Nail Technique Works for School Settings
Back to school nails succeed because they balance aesthetic appeal with durability required for busy student lifestyles. Gel polish formulations cure under UV or LED light to create a hardened surface that resists chipping during typing, writing, and daily activities. This technology allows students to maintain beautiful nails for up to three weeks without constant touch-ups that interfere with studying or class schedules.
The almond nail shape specifically works well for students because it provides an elegant look while remaining practical for everyday tasks. Unlike extremely long or wide shapes, almond nails taper gently toward the tip, reducing breakage risk during sports, lab work, or other hands-on activities. This shape also elongates fingers visually, making hands appear more refined without sacrificing functionality.
Simple designs with French tips, floral accents, or minimal artwork offer versatility that transitions seamlessly from classroom to social settings. These styles comply with most school dress codes while allowing personal expression through color choices and subtle embellishments. The professional appearance of well-maintained gel nails also teaches grooming habits that benefit students in future academic and career environments.
Tools and Products Needed
| Product | Purpose | Alternatives |
|---|---|---|
| UV/LED Lamp | Cures gel polish to harden finish | Separate UV or LED device |
| Gel Base Coat | Protects natural nail and ensures adhesion | Regular base coat (less durable) |
| Gel Polish Colors | Provides color and design options | Traditional nail polish |
| Gel Top Coat | Seals design and adds shine | No-wipe top coat for easier finishing |
| Nail File 180 Grit | Shapes nails and smooths edges | Glass nail file |
| Nail Buffer | Creates smooth surface for polish application | Fine grit file |
| Cuticle Pusher | Prepares nail bed by pushing back cuticles | Wooden orange stick |
| Cuticle Oil | Hydrates cuticles and surrounding skin | Vitamin E oil or jojoba oil |
| Nail Cleanser | Removes oils and residue before application | Rubbing alcohol |
| Lint-Free Wipes | Cleans tacky layer between coats | Cotton pads |
You can find quality gel nail supplies and professional-grade tools at Gel Nails by Lina, which offers curated products perfect for creating durable back to school nail designs.
Step-by-Step Application Guide for Back to School Nails
Nail Preparation
- Remove any existing polish completely using acetone and lint-free wipes.
- File nails into your desired almond shape by creating a gentle taper from the sides toward the center tip.
- Buff the nail surface lightly to remove shine and create texture for better gel adhesion.
- Push back cuticles gently using a cuticle pusher, being careful not to damage the nail bed.
- Wash hands thoroughly with soap and water to remove debris and oils.
- Cleanse each nail with nail cleanser or rubbing alcohol using a lint-free wipe.
Base Coat Application
- Apply a thin layer of gel base coat to each nail, avoiding contact with skin and cuticles.
- Cap the free edge by running the brush along the nail tip to seal the edge.
- Cure nails under UV lamp for 60 seconds or LED lamp for 30 seconds according to product instructions.
- Check that base coat is completely hardened before proceeding to color application.
Gel Polish Layers
- Select your chosen color for the back to school nail design, such as soft pink, white, or classic nude.
- Apply the first thin layer of gel polish in three strokes: center, left side, right side.
- Cure the first color layer under the lamp for the recommended time based on polish brand.
- Apply a second thin layer of gel polish to achieve full opacity and rich color depth.
- Cure the second layer completely before adding any nail art or design elements.
Design Application for School-Appropriate Nail Art
- Create French tips using white gel polish and a thin brush, painting a curved line along the free edge.
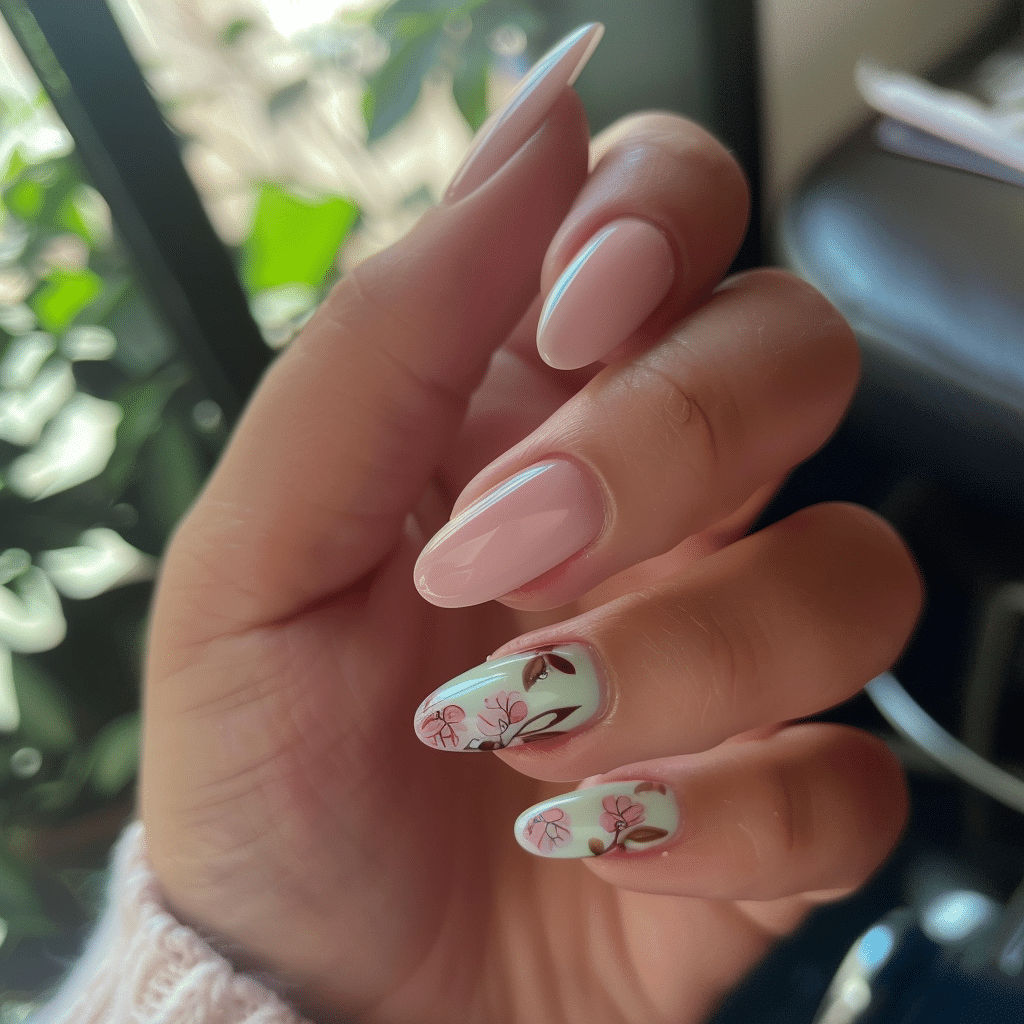
- Add small floral designs using a dotting tool and contrasting gel polish colors for delicate accents.
- Apply minimal decorations like thin lines or small dots that remain appropriate for school environments.
- Cure each design element separately to prevent smudging or mixing of colors.
Finishing and Top Coat
- Apply a thin layer of gel top coat over the entire nail, including any designs.
- Cap the free edge again with top coat to seal everything and prevent chipping.
- Cure the top coat under the lamp for the full recommended time to ensure complete hardening.
- Remove any tacky residue layer using nail cleanser and a lint-free wipe if using a regular gel top coat.
- Apply cuticle oil around each nail and massage gently to hydrate the surrounding skin.
Pro Nail Technician Tips for Long-Lasting Back to School Nails
- Keep gel polish layers thin rather than thick, as multiple thin coats cure more evenly and last longer than one thick application that may peel or lift prematurely.
- Ensure complete nail preparation by removing all oils and moisture before base coat application, as this single step prevents 80 percent of lifting issues that students experience.
- Avoid getting gel polish on cuticles or skin by using a cleanup brush dipped in nail cleanser to remove excess before curing under the lamp.
- Extend curing time by 10-15 seconds beyond manufacturer recommendations if you have thicker nails or darker polish colors that require more UV exposure.
- Choose neutral colors and simple designs that complement multiple outfits and remain appropriate for various school activities and dress code requirements.
- Apply cuticle oil daily to maintain nail flexibility and prevent the gel from becoming brittle, which helps avoid chips during writing and typing activities.
Common Gel Nail Mistakes That Affect School Nails
| Mistake | Why It Happens | How to Fix |
|---|---|---|
| Thick Gel Layers | Applying too much polish in one coat trying to achieve opacity quickly | Use two to three thin layers instead, curing between each application |
| Improper Curing Time | Removing nails from lamp too early or using insufficient wattage | Follow exact timing for your lamp type and ensure bulbs are not expired |
| Skipping Nail Preparation | Rushing through cleaning and buffing steps to save time | Always cleanse nails thoroughly and lightly buff for proper adhesion |
| Flooding the Cuticle | Applying polish too close to the cuticle area causing lifting | Leave a small gap near cuticles and use cleanup brush for precision |
| Not Capping Free Edge | Forgetting to seal the nail tip with base coat and top coat | Run brush along tip edge with each layer to prevent water penetration |
Back to School Nail Design Variations
| Style | Description | Best Occasion |
|---|---|---|
| Classic White French Tips | Almond nails with clean white tips on nude or pink base | Daily classes, presentations, formal school events |
| Minimalist Line Art | Single thin lines or geometric shapes in black or metallic on neutral base | Creative classes, casual school days, study groups |
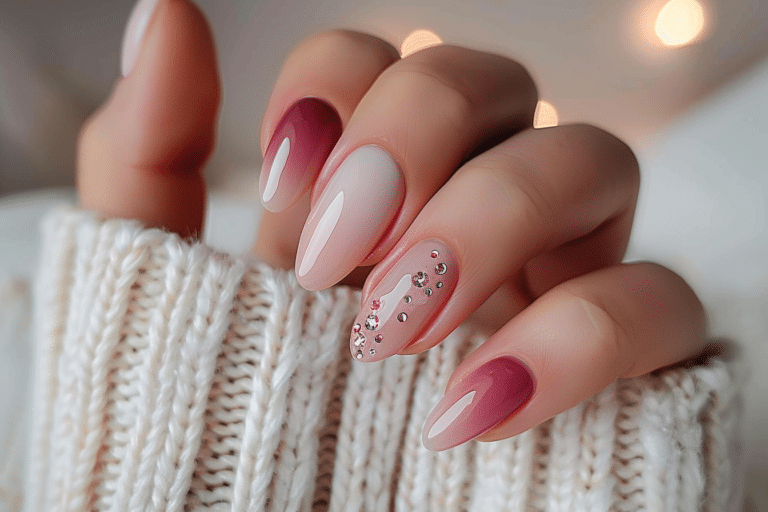
| Soft Ombre Nails | Gentle gradient from light to slightly darker shade in same color family | School dances, photo day, everyday wear |
| Small Floral Accents | Tiny flowers on one or two accent nails with solid color on remaining nails | Spring semester, garden club, art classes |
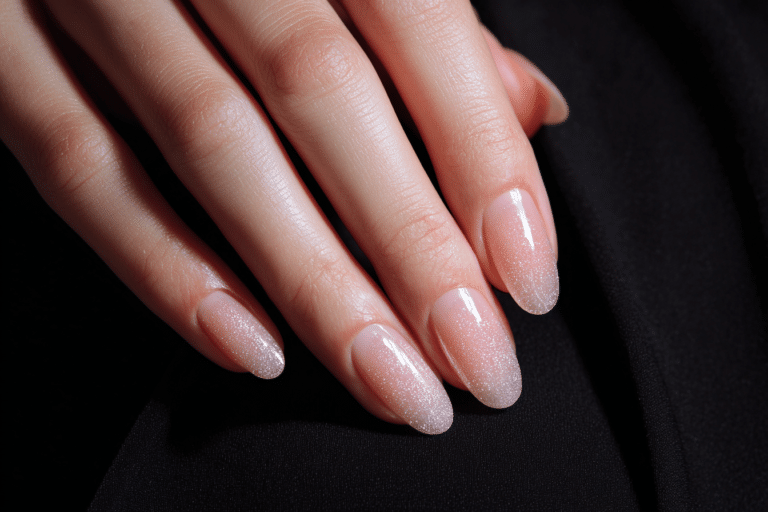
| Classy Nude Almond | Simple nude or beige gel polish in almond shape with glossy finish | Interviews, exams, professional school settings |
| Pastel Color Blocking | Different pastel shades on each nail or alternating pattern | Spirit week, casual Fridays, after-school activities |
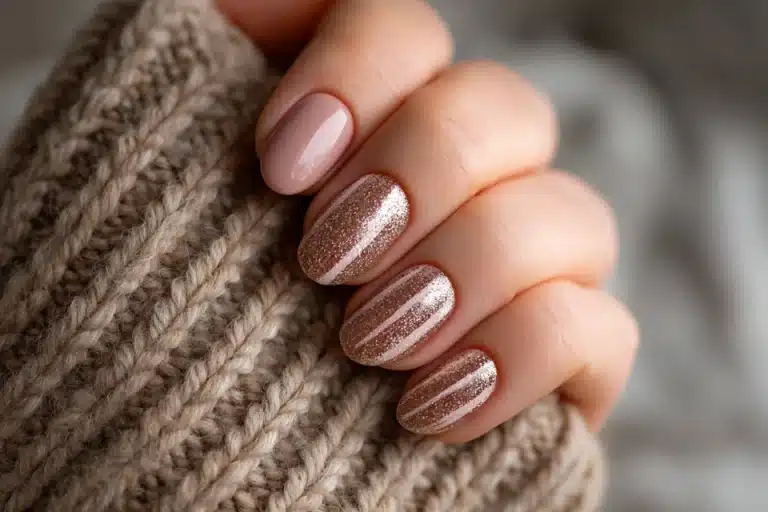
| Subtle Glitter Accent | Single glitter nail or glitter tips on otherwise simple manicure | School celebrations, club meetings, weekend events |
For more inspiration on creating beautiful gel nail designs suitable for school, visit Gel Nails by Lina for tutorials and product recommendations.
Nail Care and Maintenance During School Year
Maintaining healthy nails throughout the school year requires consistent care routines that protect both the natural nail and gel application. Apply cuticle oil at least once daily, preferably before bed, to keep the nail bed hydrated and flexible. This prevents the gel from cracking or peeling when nails experience temperature changes between outdoor and indoor classroom environments. Carry a small bottle of cuticle oil in your backpack for quick applications between classes.
Protect your back to school nails during physical activities by wearing gloves when appropriate and being mindful of nail exposure during sports or lab work. Avoid using nails as tools to open cans, peel stickers, or scratch surfaces, as these actions create stress points that lead to chips and breaks. When washing hands frequently throughout the school day, pat nails dry gently rather than rubbing vigorously, which can weaken the gel bond over time.
Schedule gel nail maintenance every two to three weeks to address growth and prevent lifting near the cuticle area. Between professional appointments or home applications, monitor nails for any signs of lifting or damage that could allow moisture underneath the gel. Address small chips immediately by applying a thin layer of top coat over the affected area to prevent further peeling. Keep nails at a practical length that allows comfortable typing and writing without catching on papers or keyboards.
How to Remove Gel Nails Safely Between School Terms
- File the shiny top coat layer gently using a 180-grit nail file to break the seal and allow acetone penetration.
- Soak cotton balls or pads in pure acetone and place one on each nail bed.
- Wrap each finger in aluminum foil to hold cotton in place and prevent acetone evaporation.
- Wait 10 to 15 minutes to allow acetone to dissolve the gel polish layers completely.
- Remove foil wraps and gently push softened gel off the nail using a cuticle pusher or orange stick.
- Avoid forcing or scraping gel that has not fully dissolved, as this damages the natural nail underneath.
- Buff nails lightly to remove any remaining gel residue after the acetone soak.
- Wash hands thoroughly with soap and water to remove all acetone from skin and nails.
- Apply cuticle oil and hand cream generously to rehydrate nails after the drying effects of acetone.
- Wait at least 24 hours before applying new gel polish to allow nails to recover from removal process.
Nail Health and Safety Considerations for Students
Student nail health requires special attention because young nails may be thinner and more susceptible to damage from improper gel application or removal. Always ensure nails are completely dry before applying gel products, as moisture trapped under gel polish creates an environment for fungal infections. If you notice any discoloration, pain, or unusual changes in nail appearance, remove gel polish immediately and consult a healthcare provider before continuing with manicures.
Avoid over-filing the natural nail surface, which weakens the nail plate and causes thinning that makes nails prone to breaking and peeling. Light buffing to remove shine is sufficient for gel adhesion. Never use a drill or electric file on natural nails without professional training. Give nails periodic breaks between gel applications, allowing at least one week every two to three months for nails to breathe and recover their natural strength.
Students with a habit of nail biting should address this behavior before applying gel nails, as biting can damage both the gel application and natural nail underneath. Consider gel manicures as motivation to break nail-biting habits, since the hardened surface and attractive designs discourage biting. For additional support, explore resources at Gel Nails by Lina that discuss nail health and breaking damaging nail habits.
Frequently Asked Questions About Back to School Nails
How long do gel nails last for students with active lifestyles
Gel nails typically last two to three weeks with proper application and care, even with active student schedules. The durability depends on nail preparation quality, gel polish brand, and daily activities that expose nails to water and impact. Students involved in sports or frequent handwashing may experience slightly shorter wear time, averaging 10 to 14 days before needing touch-ups. Applying cuticle oil daily and avoiding using nails as tools significantly extends gel manicure longevity throughout the school term.
How do I remove gel nails safely without damaging natural nails
Safe gel nail removal requires soaking nails in pure acetone for 10 to 15 minutes after filing the top coat layer. Wrap acetone-soaked cotton around each nail and cover with aluminum foil to prevent evaporation and speed the dissolving process. Never peel or force gel polish off, as this removes layers of natural nail and causes lasting damage. After removal, apply cuticle oil and moisturizer to counteract acetone’s drying effects and restore nail hydration before applying new polish.
What is the difference between gel nails and acrylic nails for school
Gel nails cure under UV or LED light and provide a more natural, flexible finish that works better for school environments. Acrylic nails use a liquid and powder mixture that hardens through air exposure, creating thicker, more rigid extensions that may interfere with typing and writing. Gel polish is easier to remove safely at home and causes less damage to natural nails with proper application. For students, gel nails offer a more practical option that looks professional while accommodating daily classroom activities and school dress codes.
Why do my gel nails peel after only a few days
Gel nails peel prematurely due to improper nail preparation, particularly when natural oils remain on the nail surface before application. Other common causes include applying gel polish too close to cuticles, using thick layers that do not cure completely, or failing to cap the free edge with each coat. Ensure you cleanse nails thoroughly with alcohol or nail cleanser, avoid flooding cuticles, apply thin layers, and cure for the full recommended time. Daily cuticle oil application and avoiding excessive water exposure also prevent early peeling and lifting.
How can I make my back to school nails last longer
Making gel nails last longer requires meticulous preparation, proper application technique, and consistent daily care throughout wear time. Always buff nails lightly and cleanse with alcohol before applying base coat to ensure optimal adhesion. Use thin layers of gel polish, cure each layer completely, and cap free edges with base coat and top coat to seal everything. Apply cuticle oil daily, wear gloves for cleaning tasks, avoid using nails as tools, and keep them at a practical length that reduces breakage risk during school activities.
Conclusion
Back to school nails offer students an excellent way to express personal style while maintaining an appropriate appearance for educational settings. By following proper application techniques, choosing practical designs like French tips or minimal floral accents, and maintaining consistent nail care routines, students can enjoy beautiful gel manicures that last throughout busy school weeks. Whether you prefer classic almond-shaped nails with white tips or creative designs with subtle embellishments, the right back to school nail look enhances confidence and teaches valuable grooming skills. Try these techniques and designs to start the school year with polished, professional nails that withstand all your academic activities.