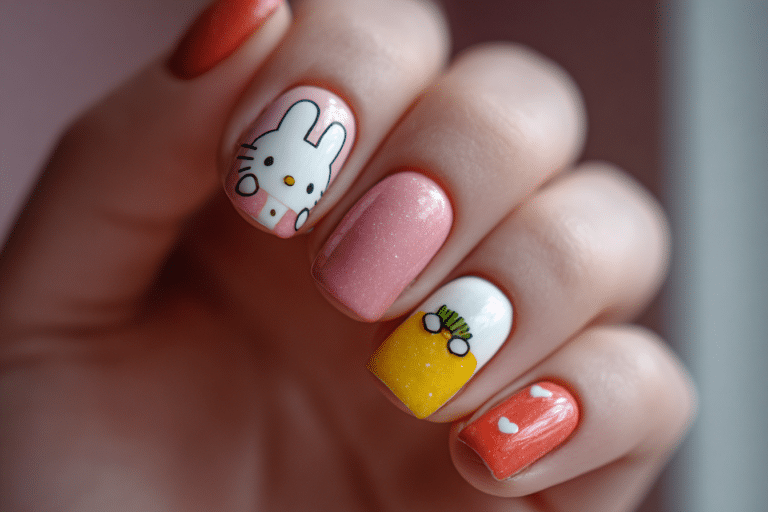
Cute Simple Summer Nail Designs – Easy DIY Pink Almond Nails

I still remember the summer of 2019 when I walked into my favorite salon and asked for the “Instagram-worthy” nails I’d been pinning all week. The nail technician spent three hours creating intricate designs with tiny palm trees, glitter gradients, and hand-painted details. I felt like a queen until day three when my nails started chipping, and I was left with a patchy mess and a $75 bill that stung worse than the broken nails.
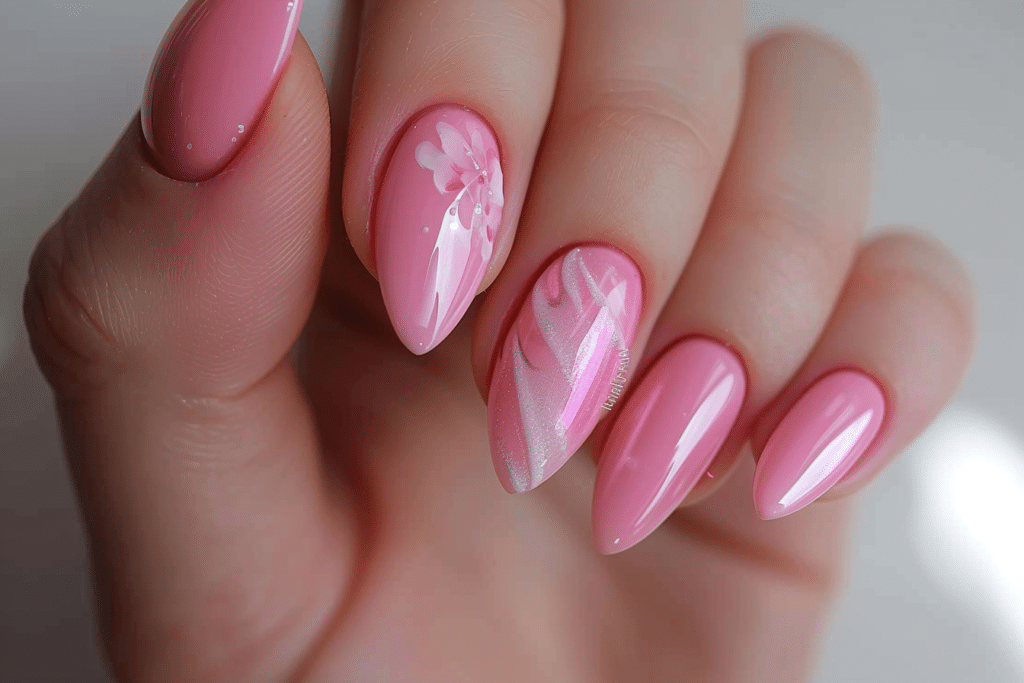
That’s when I realized something: I didn’t need complicated designs or expensive salon visits. What I really wanted was something cute simple, and actually doable at home. That’s when I discovered the magic of pink almond nails.
After years of experimenting with gel polishes, shapes, and designs, I’ve learned that the simplest styles are often the most elegant and the most long-lasting. Today, I’m sharing everything I’ve learned about creating adorable summer nail designs that you can do yourself, right in your own home.
Table of Contents
Why Pink Almond Nails Are Perfect for Summer
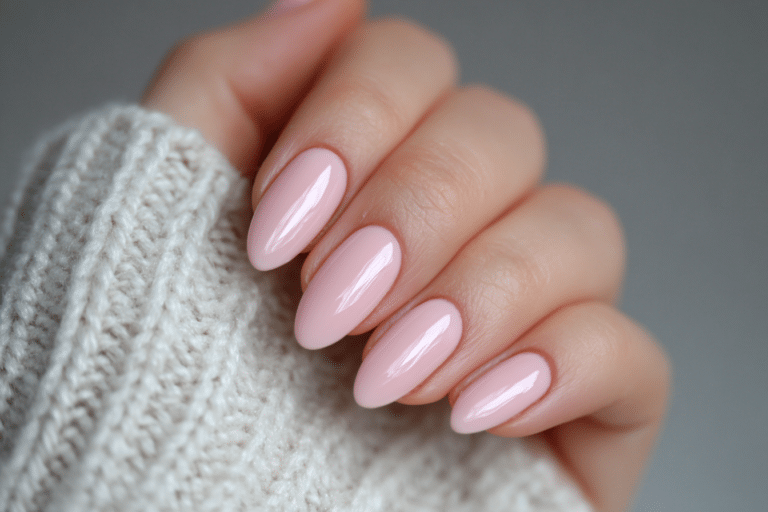
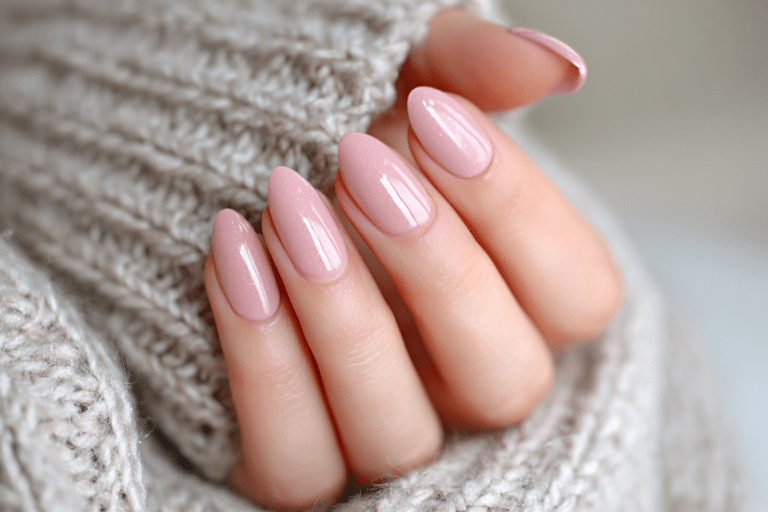
Pink almond nails have become my go-to choice, and here’s why: they’re versatile, flattering on every skin tone, and surprisingly forgiving for beginners.
The almond shape elongates your fingers beautifully without being as difficult to maintain as stiletto or coffin shapes. Pink tones range from soft blush to peachy coral, giving you endless options to match your summer wardrobe.
Plus, pink is the neutral of nail colors it works for casual beach days, professional meetings, romantic dinners, and everything in between.
Cute Simple Summer Nail Designs You Can Create Today
Design 1: Classic Solid Pink with Accent Nail
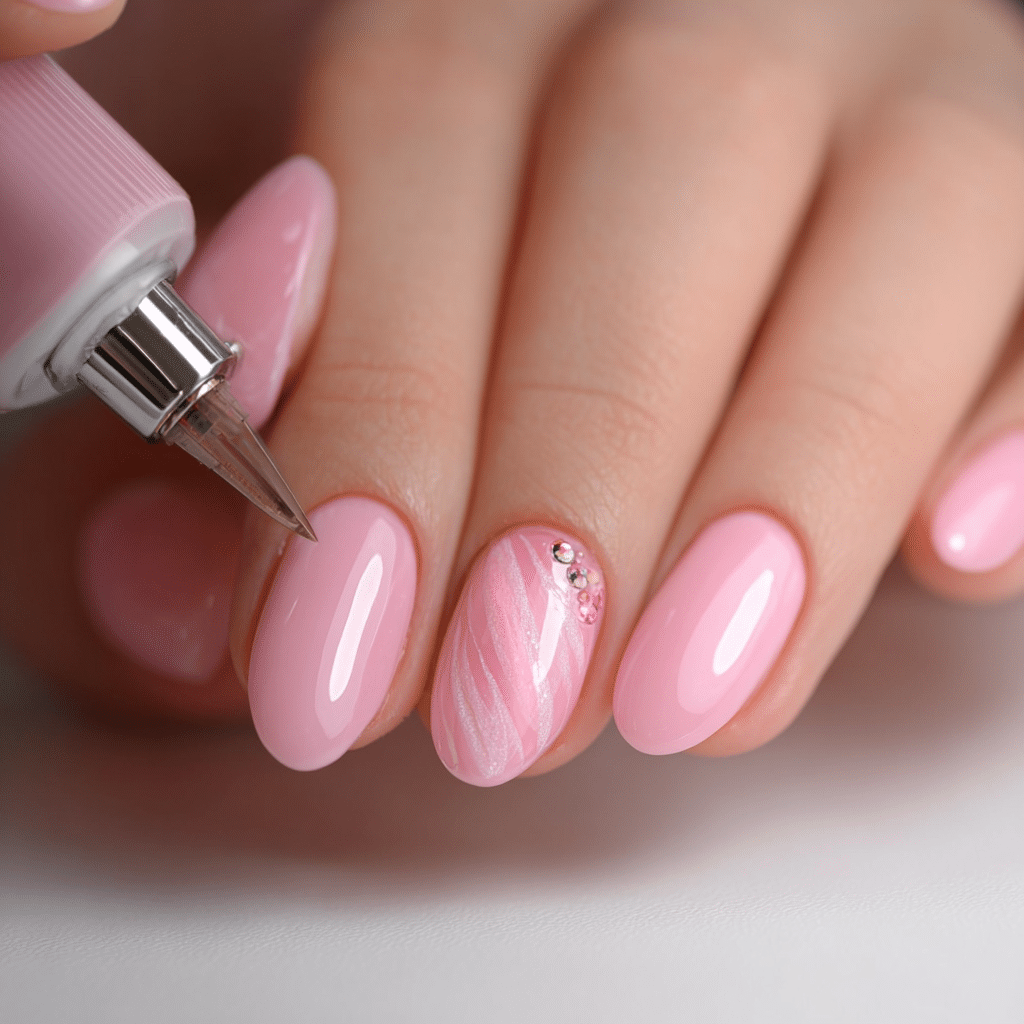
This is the foundation of elegant nail design. Apply your pink gel polish to all nails, then choose one accent nail (usually on your ring finger) to add a simple line, dot, or small pattern.
Try a thin white stripe down the middle of one nail, or add a delicate gold line near the edge. This takes less than five minutes but looks incredibly polished.
Design 2: Ombré Pink to White Gradient
An ombré effect creates visual interest without requiring artistic skills. Simply blend your pink gel from dark to light using a soft sponge, finishing with white tips.
This design is perfect for summer because it mimics the look of a natural tan fading into lighter skin—very beach-ready.
Design 3: Minimalist Negative Space
Negative space designs involve leaving portions of your nail bare (usually with a clear base) while adding color to specific areas. This modern, clean aesthetic is huge this season.
Try painting just the tips white or nude, leaving a curved section bare on the nail bed. It’s architectural, chic, and surprisingly easy to execute.
Design 4: Tiny Dot Patterns
Using a dotting tool (or even the end of a bobby pin), create simple patterns like small flowers, scattered dots, or geometric shapes. Polka dots are especially cute for summer.
Stick to 2-3 colors maximum pink base with white and maybe one accent color like sage green or soft blue.
Design 5: Marble Effect
The marble look sounds complicated but is genuinely simple. Mix white and pink gel lightly with a thin brush, creating veined patterns across your pink base.
This design looks expensive but takes just slightly longer than a solid manicure.
Complete Step-by-Step Guide to DIY Pink Almond Nails
Step 1: Prep Your Natural Nails
Start with clean, dry hands. Wash thoroughly and let them air dry completely moisture is the enemy of gel adhesion.
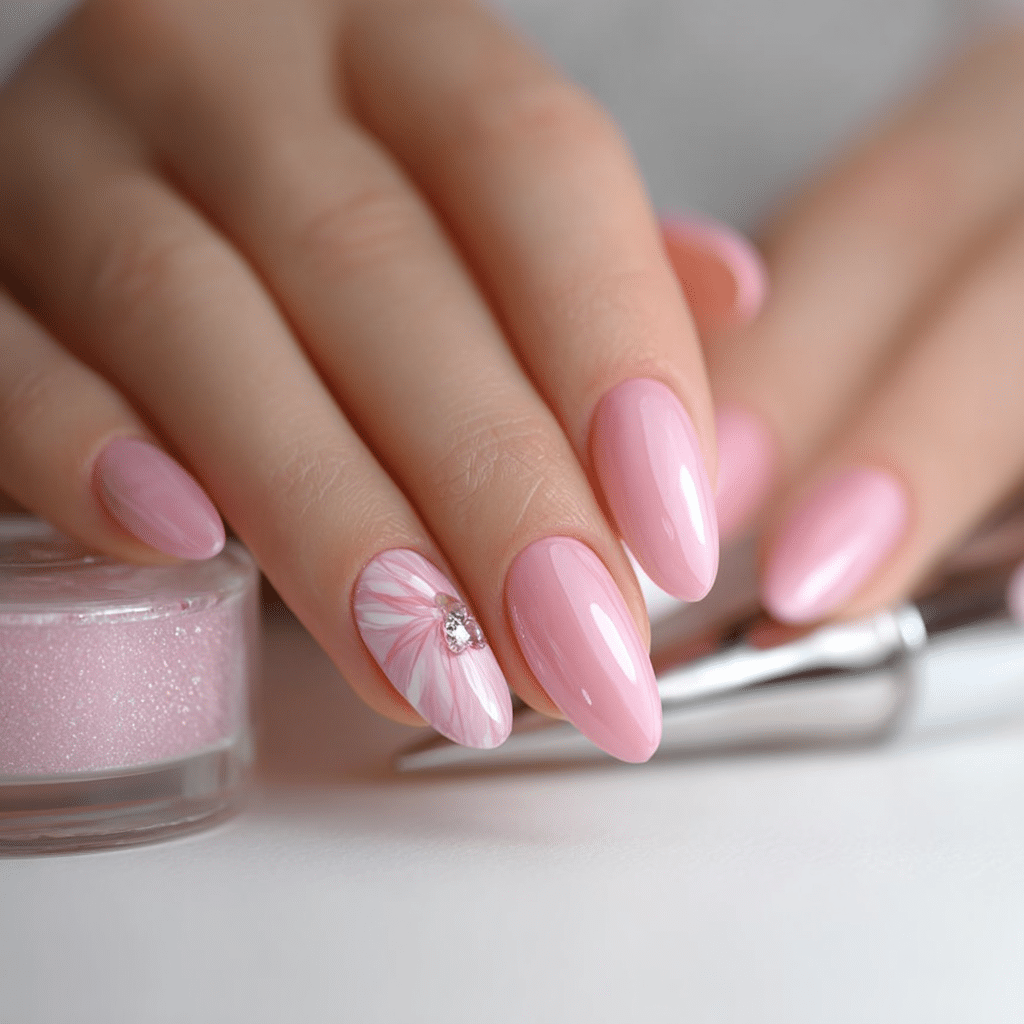
File your nails into an almond shape using a gentle nail file, filing from the outer edge toward the center in one direction. Avoid sawing back and forth, which causes splitting.
Use a nail buffer to slightly roughen the surface of your nail beds. This helps gel polish adhere properly and last longer.
Step 2: Push Back and Sanitize Cuticles
Gently push back your cuticles using a cuticle pusher. Don’t cut them they protect your nail bed. If you have callused cuticles, apply cuticle oil and let it soften for a minute first.
Wipe each nail with a lint-free wipe and 70% isopropyl alcohol to remove dust, oils, and bacteria. This step is crucial for preventing lifting.
Step 3: Apply Base Coat
Apply a thin layer of gel base coat to each nail, starting at the cuticle and stroking toward the tip. Don’t flood the base coat a thin, even layer is best.
Cure in your UV or LED lamp according to the manufacturer’s instructions (typically 30-60 seconds).
Step 4: Apply Your Pink Gel Polish
This is where your cute simple summer nail design begins. Apply your chosen pink gel polish in thin, even coats.
Most gel polishes require two coats for full opacity. Apply the first coat, cure, then apply your second coat, and cure again.
Pro tip: Apply color in three strokes one down the center, then one on each side for smooth, even coverage.
Step 5: Create Your Design (if applicable)
Now is the time to add your chosen design element. Whether you’re doing an accent nail, dots, or negative space, work carefully with a steady hand.
If adding designs with contrasting colors, apply thin layers and cure between each color to prevent smudging.
Step 6: Apply Top Coat and Final Cure
Apply a glossy gel top coat to seal and protect your design. Cure one final time.
Wipe away the sticky residue with rubbing alcohol and a lint-free wipe. Your gorgeous pink almond nails are ready to show off!
Essential Tools and Products You’ll Need
Basic Kit for DIY Pink Almond Nails
- UV or LED Lamp: A 36-watt LED lamp is perfect for home use and cures faster than UV
- Gel Polishes: Invest in quality gel polish in your chosen pink shades
- Base and Top Coats: These aren’t optional they’re essential for durability and shine
- Nail Files: Use glass files (gentler than metal) in 240-400 grit range
- Buffer: A nail buffer smooths and prepares the nail surface
- Cuticle Pusher: A plastic or metal cuticle pusher is safer than metal nail files
- Dotting Tools: Metal or plastic dotting tools come in various sizes for detailed work
- Lint-Free Wipes: Essential for removing dust and sticky residue
- Isopropyl Alcohol (70%): Sanitizes and preps nails for polish adhesion
- Cuticle Oil: Keeps your nail beds and cuticles healthy between manicures
Common Mistakes to Avoid Cute Simple Summer Nail Designs
Mistake 1: Skipping the Prep Work
Many beginners rush through nail preparation and wonder why their polish lifts after two days. Proper prep buffering, cuticle care, and sanitizing is non-negotiable.
Mistake 2: Applying Thick Coats
Thicker isn’t better with gel polish. Heavy coats take longer to cure, don’t adhere as well, and are more prone to bubbling and cracking.
Use thin, even layers instead. It might require an extra coat, but the results will be worth it.
Mistake 3: Inadequate Curing Time
Undercured gel polish will chip and peel quickly. Always follow your lamp and polish manufacturer’s recommendations. When in doubt, add 10 extra seconds.
Mistake 4: Ignoring the Edges
Your nails will last longer if you cap the free edge (the very tip) with polish. This seals the nail and prevents chipping at the most vulnerable spot.
Mistake 5: Using Wrong Tools
Metal tools are harsh on nails. Use glass files and plastic cuticle pushers for gentler care that prevents damage and splitting.
Pro Tips for Long-Lasting Cute Simple Summer Nail Designs
- Hydrate consistently: Moisturize your hands and nails daily. A lightweight hand cream or cuticle oil keeps nails flexible and prevents breakage
- Wear gloves for chores: Protect your manicure (and your nails) by wearing gloves when cleaning, washing dishes, or gardening
- Avoid acetone removal: Remove gel polish with 70% isopropyl alcohol or a professional-grade gel remover, never acetone, which damages the nail plate
- Give nails breaks: Between manicures, let your nails breathe for 3-7 days to prevent brittleness
- Keep tools sanitized: Wipe down files, buffers, and tools with rubbing alcohol between uses to prevent bacterial growth
- Store polish properly: Keep gel polish in a cool, dark place away from direct sunlight to maintain color and consistency
Pink Almond Nails vs. Other Summer Nail Styles
| Style | Ease Level | Longevity | Summer Appeal | Best For |
|---|---|---|---|---|
| Pink Almond | Easy | 3-4 weeks | Very High | Everyday wear, professionals |
| Stiletto | Moderate | 2-3 weeks | High | Dramatic looks, special events |
| Coffin Shape | Moderate | 2-3 weeks | Very High | Fashion-forward styles |
| Square | Easy | 4 weeks | Medium | Active lifestyles, practicality |
| Round | Very Easy | 4+ weeks | Low | Natural look, nail health |
Pink almond nails strike the perfect balance between elegance and practicality, making them our top choice for cute simple summer nail designs.
Frequently Asked Questions about Cute Simple Summer Nail Designs
How Long Do DIY Pink Almond Gel Nails Last?
With proper application and care, gel nails typically last 3-4 weeks. Some people get 5 weeks if they’re careful. The almond shape is particularly durable because the rounded tip distributes stress more evenly than pointed shapes.
Can I Create These Designs Without an LED Lamp?
Technically, you could use a UV lamp, but LED is faster and more convenient for home use. UV lamps take 2-3 minutes per cure cycle compared to LED’s 30-60 seconds. If you don’t have a lamp, consider this your sign to invest in one it’s worth it for regular DIY manicures.
What If My Nails Are Too Short for the Almond Shape?
Start with a more rounded almond shape and gradually file toward a more pronounced almond as your nails grow. Alternatively, try gel extensions, which give you a longer nail bed to work with from day one.
How Do I Fix Chipped Pink Almond Nails at Home?
For small chips, lightly buff the damaged area, reapply gel polish to that section, and cure. For larger damage, remove the entire manicure and start fresh. Quick fixes rarely last as long as a complete reapplication.
Are These Summer Nail Designs Suitable for Work?
Absolutely! Pink almond nails are professional, elegant, and office-appropriate. The designs I’ve shared especially the solid pink, ombré, and marble options—are perfect for workplace settings where elaborate nail art might not be welcome.
Your Summer Nails Await
Creating cute simple summer nail designs at home isn’t just possible it’s easier than you might think. Those pink almond nails you’ve been admiring on Instagram? You can absolutely create them yourself.
The key is starting with proper preparation, investing in quality tools, and practicing patience. Your first attempt might not be salon-perfect, but it will be genuinely beautiful. And here’s the best part: every manicure you do at home gets better than the last.
This summer, skip the salon regrets and the expensive bills. Grab your gel polishes, set up your LED lamp, and create nails that make you feel confident, beautiful, and proud.
Your gorgeous pink almond nails are waiting. Let’s make them happen together.
Don’t forget to join our Pinterest for more inspiring nail art tips