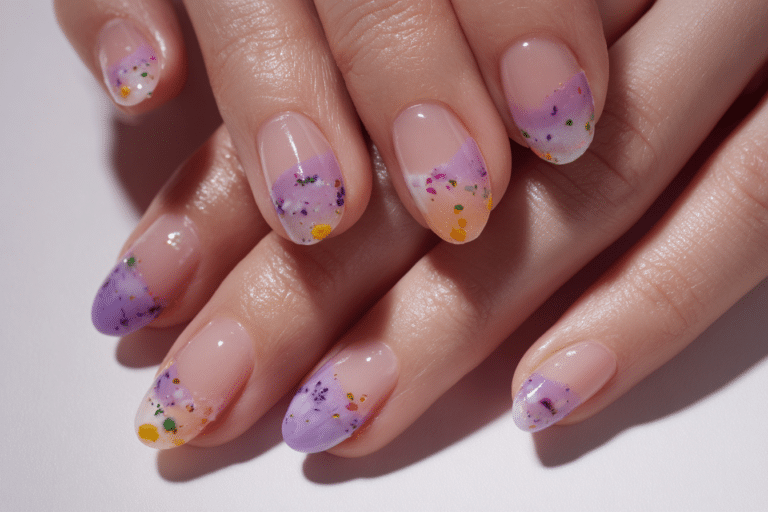
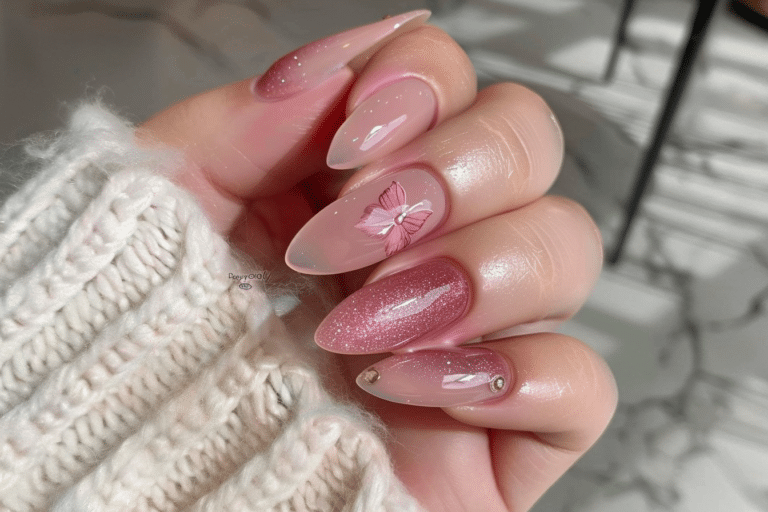
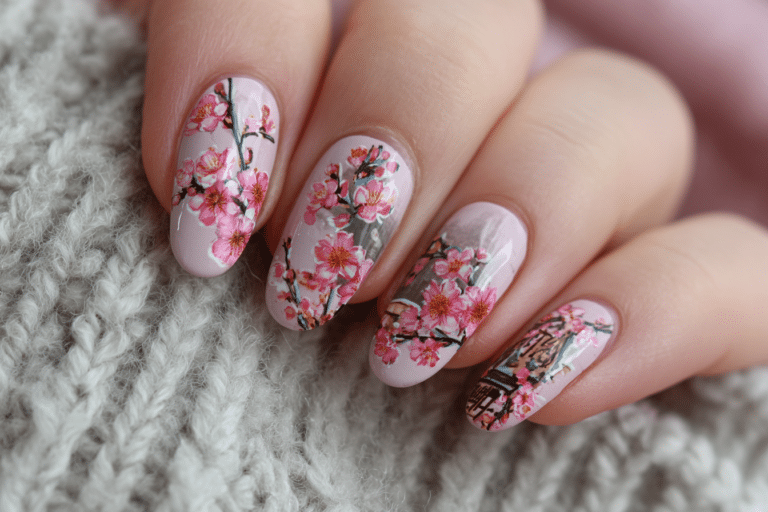
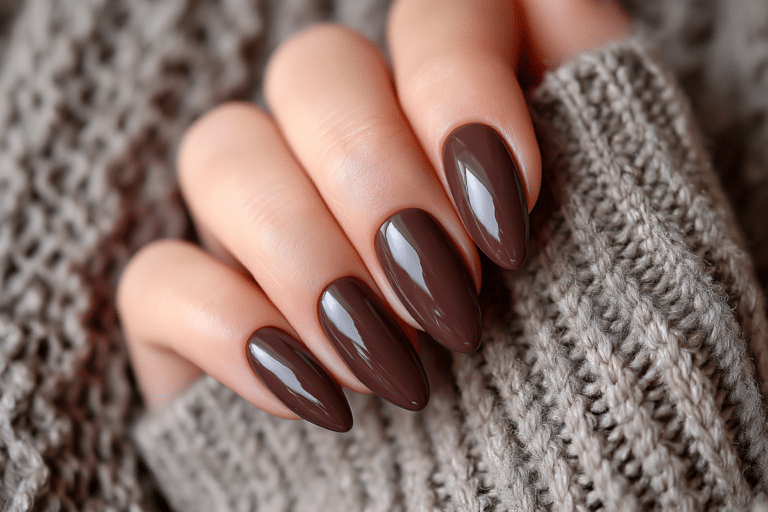
Unique Nail Art Designs Creative Ideas for 2024

Unique nail art designs creative techniques allow you to express your personality through stunning manicures that stand out.
These innovative approaches combine professional gel polish application with artistic elements like geometric patterns, negative space, hand-painted details, and textured finishes. Whether you prefer minimalist elegance or bold statement nails, creative nail art transforms your fingertips into wearable masterpieces.
| Topic | Details |
|---|---|
| Category | Nail Art |
| Skill Level | Intermediate to Advanced |
| Time Needed | 45-90 minutes |
| Tools Needed | UV/LED lamp, gel polish, nail art brushes, dotting tools |
| Best For | Creative individuals seeking personalized nail designs |
Table of Contents
Why This Nail Technique Works
Creative nail art techniques work exceptionally well because they utilize gel polish formulations that provide extended wear while maintaining design integrity. The gel formula creates a flexible yet durable layer that bonds to the natural nail plate without chipping or fading. This chemical composition allows artists to layer colors, add details, and incorporate various textures without compromising the manicure’s longevity.
The curing process under UV or LED light transforms liquid gel into a hardened polymer through photoinitiation reactions. This instant drying eliminates smudging risks that traditional nail polish presents, making complex designs achievable for artists at various skill levels. The self-leveling properties of quality gel polish create smooth, professional finishes even when incorporating intricate patterns or three-dimensional embellishments.
Professional nail technicians favor gel-based creative designs because the medium offers superior color saturation and glossy finishes that enhance artistic details. The controlled application and extended working time before curing allow precise placement of design elements. This flexibility makes unique nail art designs creative processes more forgiving for both beginners learning techniques and experienced artists pushing creative boundaries.
Tools and Products Needed
| Product | Purpose | Alternatives |
|---|---|---|
| UV/LED Lamp | Cures gel polish layers | Dual-purpose UV/LED combo units |
| Base Coat Gel | Protects natural nails and ensures adhesion | Peel-off base for temporary wear |
| Colored Gel Polish | Creates design foundation and details | Regular gel polish or gel paint |
| Nail Art Brushes | Applies fine lines and intricate patterns | Striping brushes or detail brushes |
| Dotting Tools | Creates dots, flowers, and mandala patterns | Bobby pins or toothpicks |
| Nail File 180 Grit | Shapes nails and smooths edges | Glass file for gentle shaping |
| Nail Buffer | Removes shine for better adhesion | 180/240 grit buffer block |
| Cuticle Oil | Hydrates cuticles and surrounding skin | Vitamin E oil or jojoba oil |
| Top Coat Gel | Seals design and adds shine | Matte top coat for different finishes |
| Nail Cleanser | Removes tacky layer and prepares surface | Isopropyl alcohol 70% or higher |
For premium gel polish products and professional nail art supplies, visit Gel Nails by Lina for curated collections that deliver salon-quality results at home.
Step-by-Step Application Guide
Nail Preparation
- Wash hands thoroughly with soap and dry completely to remove oils and debris.
- Push back cuticles gently using a wooden or rubber cuticle pusher at a 45-degree angle.
- File nails to your desired shape using smooth, one-directional strokes from corner to center.
- Buff the nail surface lightly with a 180-grit buffer to create texture for adhesion.
- Wipe each nail with alcohol-based nail cleanser using a lint-free wipe to remove dust particles.
Base Coat Application
- Apply a thin layer of gel base coat starting from the center and pushing toward the cuticle.
- Cap the free edge by swiping the brush along the nail tip to seal edges.
- Cure under UV lamp for 60 seconds or LED lamp for 30 seconds according to product specifications.
- Check that base coat is completely hardened before proceeding to color application.
Gel Polish Layers
- Apply your chosen background color in a thin, even layer avoiding cuticles and sidewalls.
- Cure the first color layer for the time specified by your gel polish brand.
- Apply a second thin coat to achieve full opacity and deeper color saturation.
- Cure the second layer completely before beginning your creative nail art design.
- Use detail brushes to paint patterns, lines, or shapes using contrasting gel colors.
- Add dots, swirls, or geometric elements using dotting tools or striping brushes as desired.
- Cure each artistic layer individually to prevent smudging or color bleeding between elements.
Curing Process
- Place your hand fully inside the lamp ensuring all nails receive even light exposure.
- Cure decorative elements for the full recommended time to ensure complete polymerization.
- Avoid moving your hand during curing as this can cause incomplete hardening or warping.
- Check that all design elements are fully set by gently touching with a clean finger.
Finishing and Top Coat
- Apply a thin layer of gel top coat over the entire nail design including edges.
- Cap the free edge again to seal the design and prevent chipping or peeling.
- Cure the top coat for 60 seconds under UV or 30 seconds under LED light.
- Wipe away the tacky residue using nail cleanser on a lint-free pad for glossy shine.
- Apply cuticle oil around each nail and massage gently into skin and cuticles.
For more detailed tutorials and design inspiration, explore the comprehensive guides at Gel Nails by Lina featuring professional techniques and creative ideas.
Pro Nail Technician Tips
- Apply gel polish in thin layers rather than thick coats to prevent wrinkling, peeling, and improper curing that leads to premature lifting.
- Clean your brushes immediately after each use with gel cleanser to maintain bristle integrity and ensure precise application for detailed artwork.
- Avoid getting gel polish on skin or cuticles as this creates lifting points where moisture can penetrate and compromise adhesion.
- Test your design on practice nail tips before applying to natural nails to perfect techniques and color combinations without time pressure.
- Use white or nude gel polish as a base for negative space designs to create depth and make transparent areas appear more intentional.
- Extend curing time by 10-15 seconds when layering multiple colors to ensure complete polymerization through all gel layers for maximum durability.
Common Gel Nail Mistakes
| Mistake | Why it Happens | How to Fix |
|---|---|---|
| Thick Gel Layers | Applying too much product at once creates uneven curing | Use thin coats and build coverage gradually with multiple layers |
| Improper Curing | Insufficient lamp wattage or outdated bulbs reduce effectiveness | Replace bulbs every 6 months and verify lamp meets product requirements |
| Skipping Nail Prep | Rushing through cleaning and buffing steps compromises adhesion | Always cleanse nails thoroughly and buff lightly before base coat |
| Flooding the Cuticle | Overloading brush or placing polish too close to skin | Wipe excess product from brush and leave small gap from cuticle |
| Not Capping Edges | Forgetting to seal free edge allows water penetration | Swipe brush along tip edge with each coat including top coat |
Nail Design Variations for Unique Nail Art Designs Creative Styles
| Style | Description | Best Occasion |
|---|---|---|
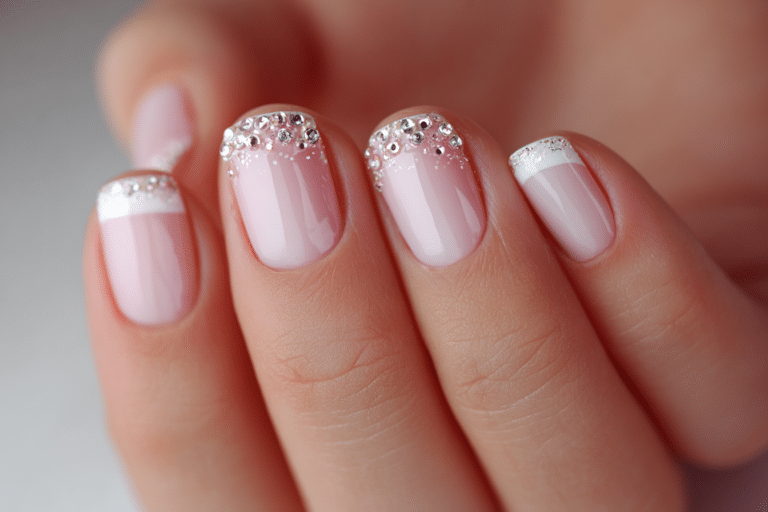
| French Gel Nails | Classic white tips with nude or pink base in modern variations | Professional settings, weddings, everyday elegance |
| Chrome Nails | Mirror-like metallic finish using special powder over gel base | Evening events, parties, fashion-forward occasions |
| Ombre Nails | Gradual color transition from light to dark or between complementary shades | Casual outings, seasonal transitions, creative expression |
| Minimalist Nail Art | Simple lines, dots, or geometric shapes on neutral backgrounds | Office environments, understated elegance, modern aesthetics |
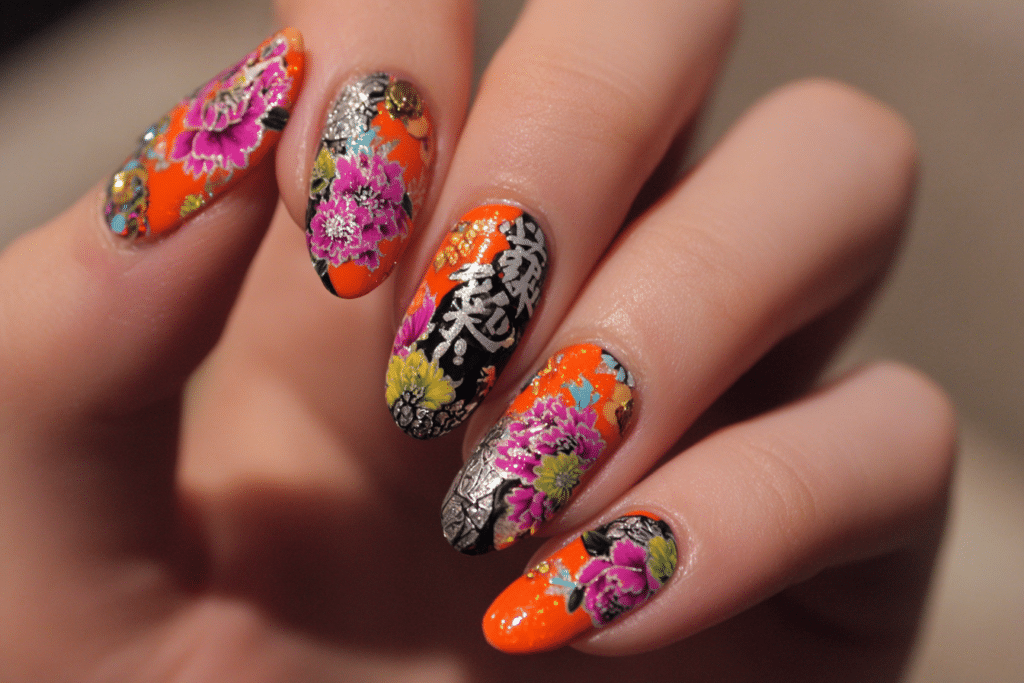
| Seasonal Nail Designs | Theme-based artwork reflecting holidays, seasons, or current trends | Celebrations, festive gatherings, themed events |
| Negative Space Nails | Strategic areas of bare nail incorporated into overall design | Contemporary looks, artistic expression, editorial styling |
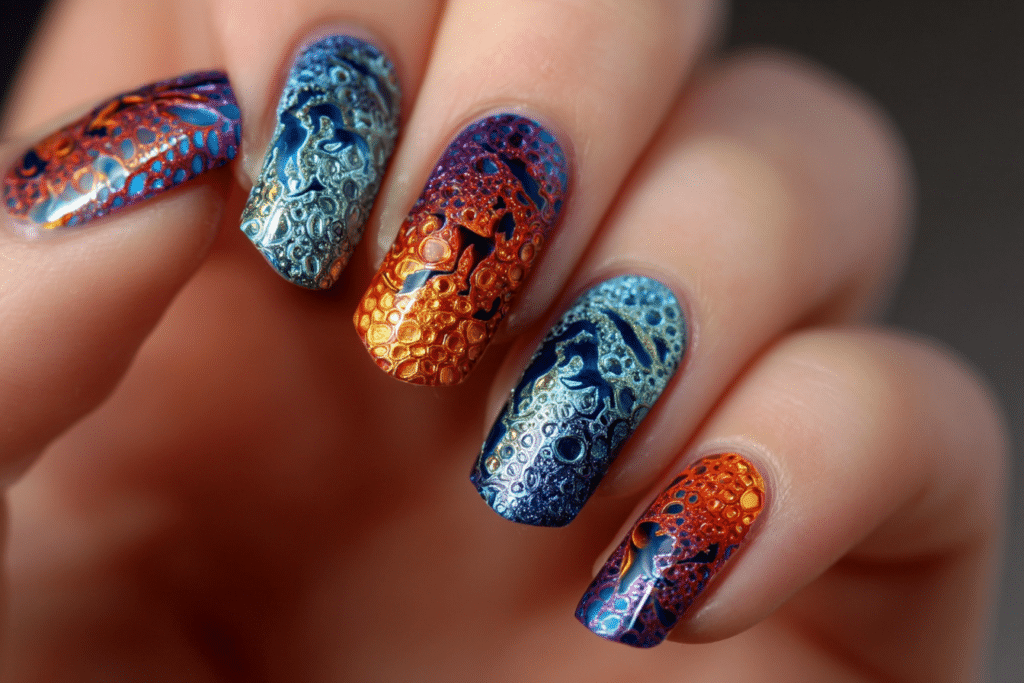
| Textured Gel Art | Three-dimensional elements using thick gel or embellishments | Special occasions, creative projects, statement manicures |
Nail Care and Maintenance
Maintaining unique nail art designs creative manicures requires consistent care to preserve both the artistic elements and underlying nail health. Apply cuticle oil twice daily around each nail and massage gently into the cuticle area and sidewalls. This hydration prevents dryness that can lead to lifting and keeps the skin supple, reducing the risk of hangnails or irritation around your decorated nails.
Wear protective gloves when performing household chores involving water, cleaning products, or harsh chemicals that can weaken gel bonds. Extended water exposure causes the natural nail to expand and contract, creating stress on the gel overlay. Avoid using your nails as tools to open cans, scrape labels, or pick at objects as this applies excessive pressure that can crack gel layers or break natural nails beneath creative designs.
Schedule fill appointments or complete removal every 2-3 weeks to prevent excessive growth gaps that compromise structural integrity. As natural nails grow, the stress point where gel meets new growth becomes vulnerable to breakage. For comprehensive nail care guidance and maintenance products, visit Gel Nails by Lina for professional recommendations tailored to gel manicure longevity.
How to Remove Gel Nails Safely
Proper removal of unique nail art designs creative manicures protects your natural nails from damage and maintains their strength. Begin by gently filing the shiny top coat layer with a 180-grit file to break the seal, which allows acetone to penetrate more effectively. Avoid aggressive filing that reaches the natural nail plate as this thins and weakens the nail structure.
Soak cotton balls or pads in pure acetone and place one on each nail, ensuring complete coverage of the gel surface. Wrap each fingertip securely with aluminum foil or use gel removal clips to hold cotton in place. Allow nails to soak for 10-15 minutes, checking progress by gently pressing on the gel to see if it has softened.
Use a wooden cuticle stick or metal pusher to gently scrape away softened gel, working from cuticle to free edge with minimal pressure. Never force gel off if it resists removal, as this tears the top layers of your natural nail. Re-soak stubborn areas for an additional 5 minutes rather than prying aggressively. After complete removal, wash hands thoroughly, buff nails lightly to smooth any residue, and apply cuticle oil generously.
Nail Health and Safety
Maintaining nail health while enjoying unique nail art designs creative styles requires balancing aesthetic goals with protective practices. Over-filing the natural nail surface removes essential keratin layers that provide strength and moisture retention. Limit buffing to light surface smoothing only during preparation, and avoid filing the same area repeatedly within short timeframes.
Recognize signs of nail damage including persistent tenderness, discoloration beyond the gel layer, unusual texture changes, or separation of the nail from the nail bed. These symptoms may indicate infection, allergic reaction, or excessive trauma requiring professional evaluation. Allow nails to rest between gel applications every 8-12 weeks by going polish-free for one week while applying strengthening treatments and intensive cuticle oil therapy.
Choose high-quality gel products from reputable manufacturers that disclose ingredient lists and avoid formulations containing harmful chemicals like formaldehyde, toluene, or dibutyl phthalate. Professional-grade products prioritize both performance and safety, reducing the risk of adverse reactions while delivering superior results for creative nail art applications.
Frequently Asked Questions
How long do gel nails last?
Gel nails typically last 2-3 weeks with proper application and care before requiring fills or removal. The longevity depends on factors including natural nail growth rate, daily activities, and proper preparation techniques. Gel manicures maintain their glossy appearance and structural integrity longer than traditional polish because the cured gel forms a durable protective layer. To maximize wear time, apply cuticle oil daily and avoid prolonged water exposure or harsh chemicals that compromise gel adhesion.
How to remove gel nails safely at home?
Remove gel nails safely by filing the top coat, soaking nails in pure acetone for 10-15 minutes using cotton wraps, and gently scraping softened gel with a wooden tool. Never peel or force gel off as this removes layers of your natural nail and causes significant damage. After removal, hydrate nails with cuticle oil and allow them to rest before applying new gel. If gel resists removal after soaking, repeat the acetone application rather than applying excessive pressure that can tear the nail surface.
Gel nails vs acrylic nails: which is better for nail art?
Gel nails offer more flexibility and a natural appearance making them ideal for detailed nail art, while acrylic nails provide greater strength for extreme lengths and three-dimensional designs. Gel polish allows for easier layering and blending of colors because of its self-leveling properties and transparent finish options. Acrylics cure through chemical reactions in open air, while gels require UV or LED light, giving gel applications more working time for intricate designs. Choose gel for natural-looking creative art and acrylic for dramatic structural enhancements or very long nail extensions.
Why do my gel nails peel after a few days?
Gel nails peel prematurely due to improper preparation, particularly inadequate nail surface buffing or failure to remove natural oils before application. Applying gel too close to cuticles or skin creates lifting points where moisture penetrates underneath the gel layer. Thick gel application prevents proper curing throughout all layers, causing weak bonds that separate from the nail. Ensure thorough nail cleansing with alcohol-based prep solution, apply thin gel coats, cure for complete recommended times, and maintain a small gap between gel and cuticle area.
How can I make my gel nails last longer?
Make gel nails last longer by applying thin, even coats with proper curing times, capping the free edge with each layer, and maintaining daily cuticle oil application. Avoid exposing nails to excessive heat or prolonged water immersion during the first 24 hours after application when gel bonds fully cure. Wear protective gloves during cleaning or dish washing to shield nails from harsh chemicals and extended moisture exposure. Proper preparation including thorough cleansing, light buffing, and using quality base coat creates the foundation for extended gel manicure wear that maintains its appearance for three weeks or longer.
Conclusion
Unique nail art designs creative techniques empower you to transform ordinary manicures into personalized artistic statements that reflect your individual style. By mastering proper gel application methods, utilizing quality tools and products, and following professional maintenance practices, you can achieve salon-quality results at home. These creative approaches offer endless possibilities for self-expression while maintaining the durability and glossy finish that gel manicures provide. Experiment with different design variations, practice new techniques regularly, and explore the comprehensive resources available at Gel Nails by Lina to expand your nail art skills. Start creating stunning unique nail art designs today and discover the satisfaction of wearing truly one-of-a-kind manicures that showcase your creativity.