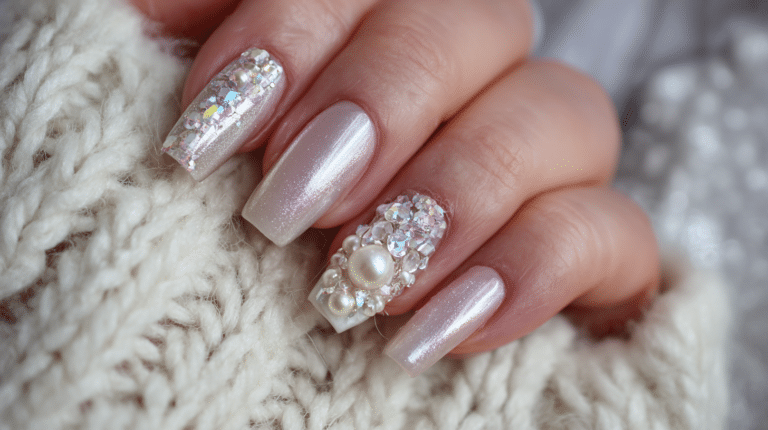
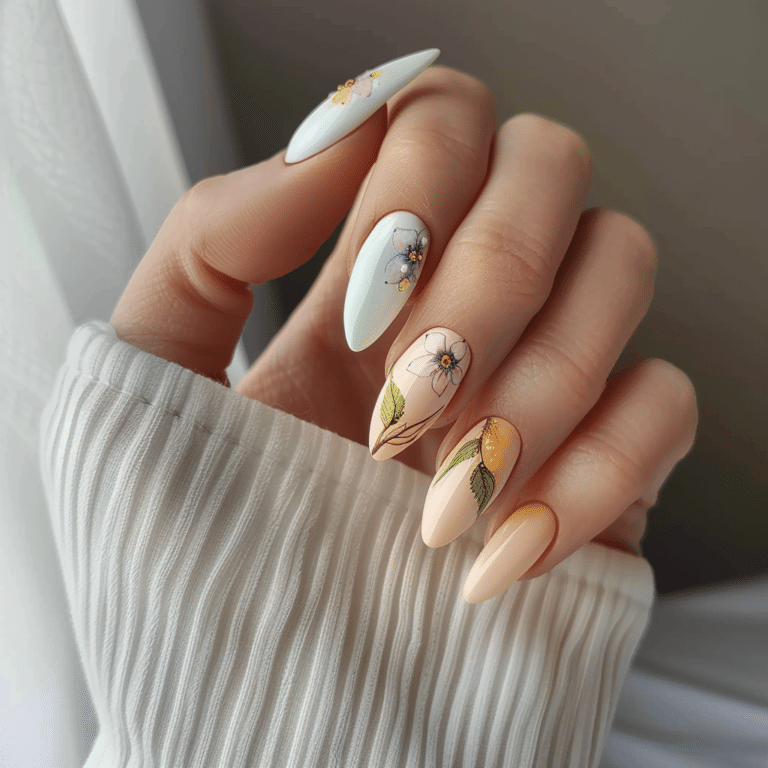
Soft Feminine Spring Nails 🌼 Pastel Yellow French Tip

Soft feminine spring nails with pastel yellow French tips combine delicate floral aesthetics with modern nail art techniques. This trending style embraces the soft girl aesthetic through gentle pastel shades and elegant French tip designs.
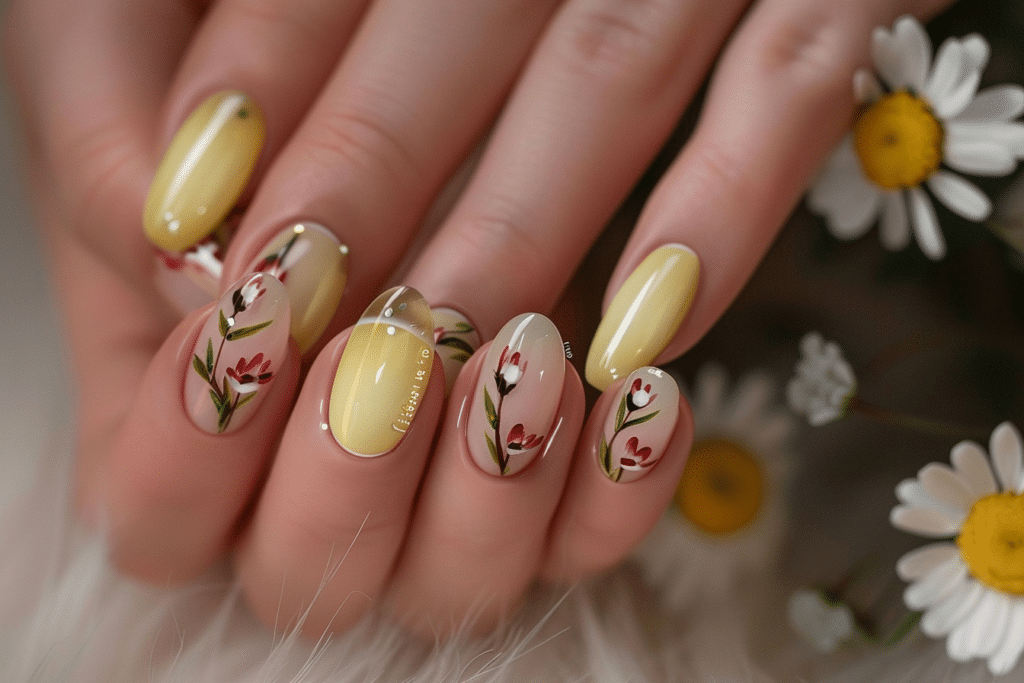
The buttery yellow hue creates a fresh, season-appropriate look perfect for celebrating warmer weather and blooming gardens.
| Topic | Details |
|---|---|
| Category | Gel Nails / Nail Art |
| Skill Level | Intermediate |
| Time Needed | 90-120 minutes |
| Tools Needed | UV/LED lamp, gel polish, nail file, detail brush, dotting tools |
| Best For | Spring events, soft aesthetic lovers, feminine style enthusiasts |
Table of Contents
Why This Nail Technique Works
The pastel yellow French tip technique works exceptionally well because it combines classic elegance with contemporary color theory. Yellow represents optimism and renewal, making it psychologically perfect for spring transitions. The soft, muted pastel version prevents the color from appearing too bold while maintaining visual interest and sophistication.
This design achieves perfect balance through strategic color placement at the nail tips. French tips naturally elongate fingers and create a polished appearance suitable for both casual and formal occasions. The pastel yellow shade complements various skin tones without overwhelming natural beauty, making it universally flattering across diverse complexions.
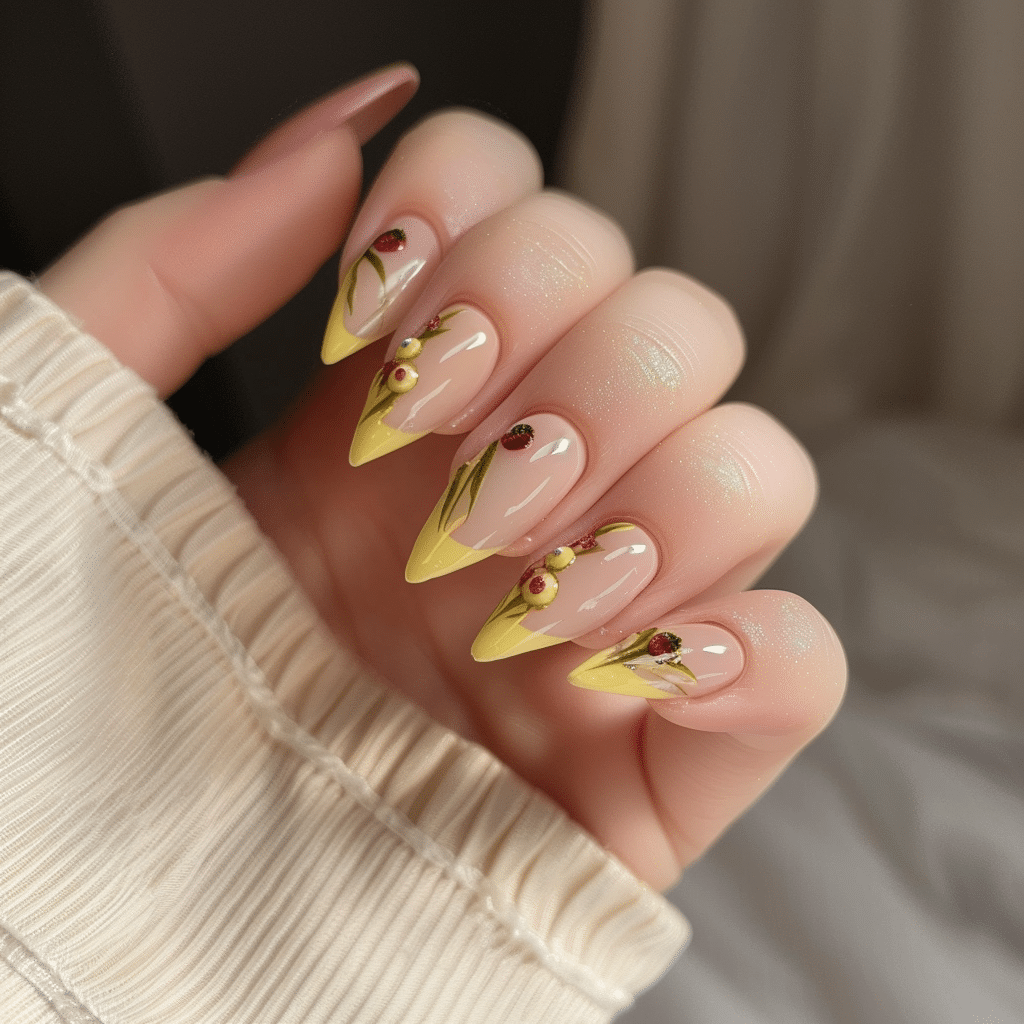
The gel formula ensures longevity and maintains the delicate color integrity throughout wear time. Unlike traditional polish, gel creates a protective barrier that preserves the soft aesthetic without chipping or fading. This technique particularly suits spring because the translucent quality of pastels mimics flower petals and morning light filtering through tulip gardens.
Tools and Products Needed
| Product | Purpose | Alternatives |
|---|---|---|
| UV/LED Lamp | Cures gel polish layers | 48W or 72W lamp models |
| Base Coat | Protects natural nails and ensures adhesion | Ridge-filling base coat |
| Pastel Yellow Gel Polish | Creates French tip color | Butter yellow or lemon cream shades |
| Sheer Pink or Nude Gel | Nail bed base color | Clear gel with pink undertones |
| Detail Brush | Creates precise French tip lines | Striping brush or thin art brush |
| Nail File 180 Grit | Shapes nail edges | Glass nail file |
| Nail Buffer | Smooths nail surface | 240 grit buffer block |
| Cuticle Oil | Hydrates surrounding skin | Jojoba or vitamin E oil |
| Gel Top Coat | Seals design and adds shine | No-wipe glossy top coat |
| Lint-Free Wipes | Cleanses nails between steps | Cotton pads with minimal fibers |
| Isopropyl Alcohol 70% | Dehydrates nail surface | Nail prep solution |
For premium gel products and professional nail tools, visit Gel Nails by Lina for curated recommendations tailored to creating perfect spring nail designs.
Step-by-Step Application Guide
Nail Preparation
- Remove any existing polish using acetone and lint-free wipes to ensure clean nail surfaces.
- Push back cuticles gently using a wooden or metal cuticle pusher to expose the entire nail plate.
- File nails into your desired shape using smooth, directional strokes from corner to center.
- Buff the nail surface lightly to remove shine and create texture for better gel adhesion.
- Wash hands thoroughly with soap and dry completely before proceeding with application.
- Wipe each nail with isopropyl alcohol using lint-free wipes to dehydrate the nail plate completely.
Base Coat Application
- Apply a thin layer of base coat starting from the cuticle and extending to the free edge.
- Cap the free edge by running the brush along the nail tip to seal edges.
- Cure under UV/LED lamp for 30-60 seconds depending on manufacturer instructions and lamp wattage.
- Check for any missed areas or uneven application before moving to color layers.
Gel Polish Layers
- Apply sheer pink or nude gel polish to the entire nail in a thin, even layer.
- Cure this base color layer under the lamp for 60 seconds to set properly.
- Apply a second coat of the nude base if needed for opacity and cure again.
- Use a detail brush to carefully apply pastel yellow gel to create the French tip smile line.
- Start the smile line approximately two to three millimeters from the free edge for balanced proportions.
- Fill in the tip area completely with pastel yellow, ensuring even coverage without streaks.
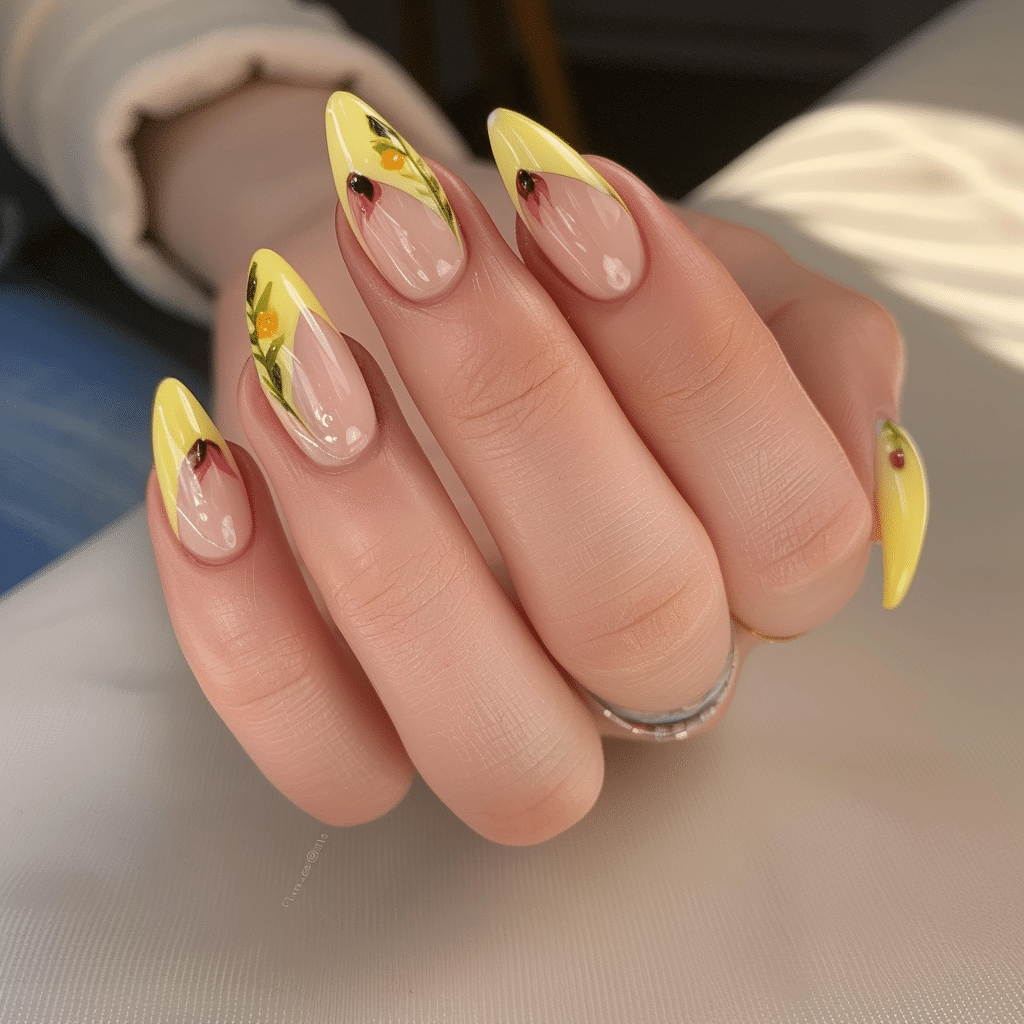
- Cure the yellow French tip layer for 60-90 seconds to fully harden the color.
- Apply a second coat of pastel yellow to the tips for richer color saturation if desired.
Curing Process
- Position your hand correctly in the lamp to ensure all nails receive equal UV/LED exposure.
- Cure each layer according to the specific gel polish brand recommendations provided.
- Avoid moving fingers during curing to prevent smudging or uneven polymerization of gel.
- Check that gel feels completely hard after curing before applying additional layers.
Finishing and Top Coat
- Apply gel top coat in a thin, smooth layer covering the entire nail surface.
- Cap the free edge again with top coat to seal the color and prevent chipping.
- Cure the top coat layer for the full recommended time, typically 60-90 seconds.
- If using a no-wipe top coat, the finish is complete after curing without residue removal.
- For top coats with a tacky layer, cleanse nails with alcohol to remove the sticky residue.
- Apply cuticle oil around each nail and massage gently to hydrate the surrounding skin.
Pro Nail Technician Tips
-
- Work in thin layers to prevent bubbling and ensure proper curing throughout each gel application.
- Keep gel polish away from the cuticle by leaving a tiny gap to prevent lifting and allow natural nail growth.
- Clean your detail brush between applications using gel cleanser to maintain precise lines throughout the manicure.
- Extend curing time by 15-30 seconds in colder environments where gel polymerization may occur more slowly.
- Create smoother French tip lines by turning the finger upside down after application to allow gravity to level the gel.
- Store pastel gel polishes away from direct sunlight to prevent color shifting and maintain true shade integrity.
Nail Design Variations for Soft Spring Nails
| Style | Description | Best Occasion |
|---|---|---|
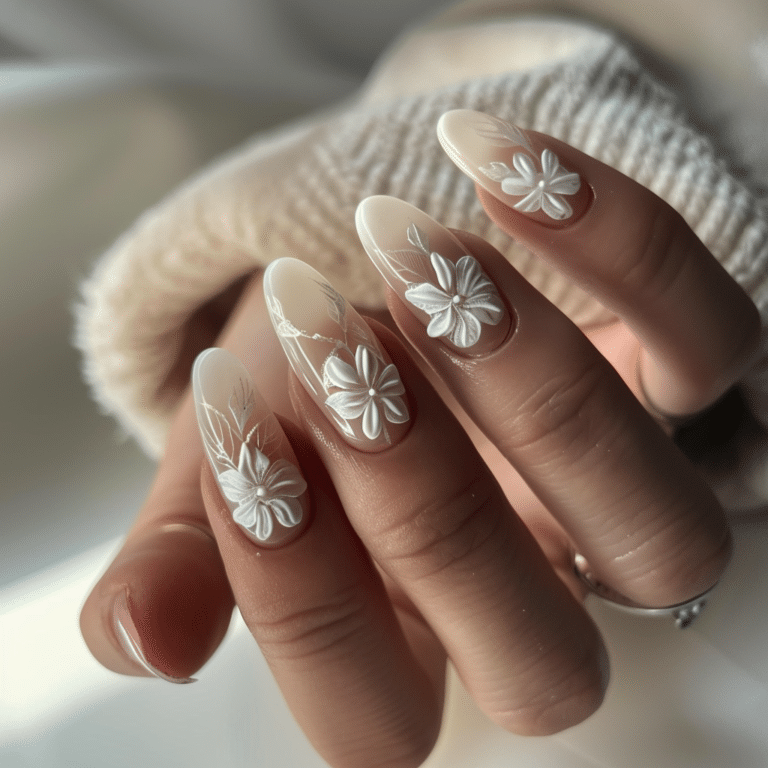
| Floral Vine Accent | Delicate white vines with tiny flowers over pastel yellow tips | Garden parties, spring weddings, bridal showers |
| Tulip Nail Art | Hand-painted tulips on one or two accent nails with French tips | Easter celebrations, spring photoshoots, feminine events |
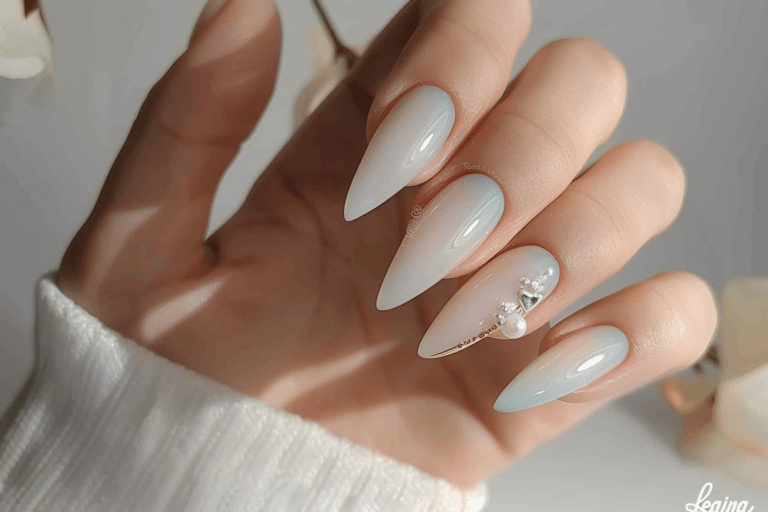
| Sharp Almond French | Pastel yellow tips on sharp almond-shaped nails for edgy elegance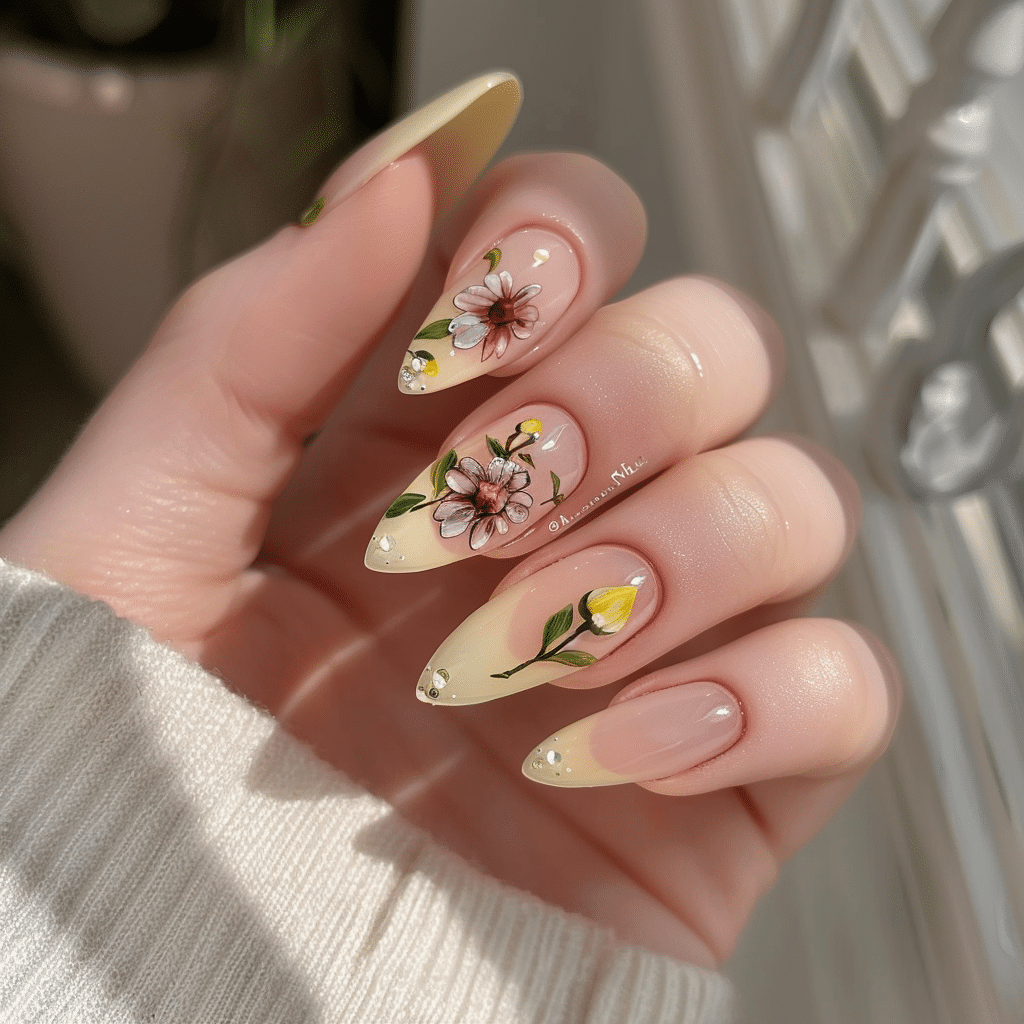 | Fashion events, trendy outings, statement looks |
| Soft Ombre Tips | Gradient transition from nude base to pastel yellow at tips | Daily wear, professional settings, versatile occasions |
| Minimalist Line Art | Single gold or white lines accenting the French tip border | Modern aesthetics, clean beauty looks, artistic expressions |
| Daisy Accent Nails | Small white daisies with yellow centers on neutral base | Casual spring outings, festival wear, bohemian styles |
Explore more seasonal nail design inspiration at Gel Nails by Lina where you will find curated galleries featuring the latest spring nail art trends.
Nail Care and Maintenance
Maintaining soft feminine spring nails requires consistent hydration and protective practices. Apply cuticle oil twice daily to keep the surrounding skin supple and prevent dryness that can lead to lifting. Wear gloves during cleaning activities or when exposing hands to harsh chemicals that may compromise gel integrity and cause premature wear.
Avoid using nails as tools to prevent stress on the gel application and natural nail underneath. This practice prevents chipping at the free edge and maintains the pristine appearance of your pastel yellow French tips. Regular cuticle oil application also extends gel manicure longevity by maintaining flexibility and preventing brittleness that leads to cracking.
Schedule professional fills or complete replacements every two to three weeks to maintain optimal nail health. This timing prevents excessive growth that creates lifting points where moisture and bacteria can enter. Between appointments, monitor for any signs of lifting and address them promptly to protect natural nail health underneath the gel layers.
How to Remove Gel Nails Safely
-
-
- File the shiny top coat layer gently to break the seal and allow acetone penetration.
- Soak cotton pads in pure acetone and place them directly on each nail surface.
- Wrap each finger in aluminum foil to create heat that accelerates the breakdown process.
- Wait 10-15 minutes to allow acetone to dissolve the gel polish layers completely.
- Remove foil wraps and gently push softened gel off using a wooden cuticle stick.
- Avoid forcing or scraping gel that has not fully dissolved to prevent nail damage.
- Buff nails lightly after removal to smooth any remaining residue or rough texture.
- Apply nourishing cuticle oil and hand cream immediately after removal to restore moisture.
-
Nail Health and Safety
Protecting natural nail health while enjoying gel manicures requires awareness of proper application and removal techniques. Never pick or peel gel polish, as this behavior removes layers of the natural nail plate and causes thinning over time. The mechanical damage from peeling creates weak points susceptible to breakage and infection entry.
Limit continuous gel wear to three months maximum before taking a break to allow natural nails to breathe. During break periods, apply strengthening treatments containing biotin and keratin to rebuild nail structure. Monitor for signs of nail damage including persistent discoloration, unusual texture changes, or pain around the nail bed that may indicate underlying issues.
Maintain strict sanitation standards when performing at-home manicures or visiting nail salons. Ensure all tools are properly disinfected between uses to prevent fungal or bacterial infections.
Watch for allergic reactions to gel products including redness, swelling, or itching around application areas. Some individuals develop sensitivity to gel ingredients over time, requiring alternative nail enhancement methods. Consult a dermatologist if persistent symptoms occur after gel applications to determine appropriate treatment approaches.
Frequently Asked Questions
How long do gel nails last with pastel yellow French tips
Properly applied pastel yellow French tip gel nails typically last two to three weeks without chipping. The longevity depends on nail preparation quality, daily hand activities, and proper maintenance practices. Using cuticle oil daily and wearing protective gloves during household tasks significantly extends wear time and maintains the pristine appearance of spring nail designs.
How to remove gel nails safely without damaging natural nails
Safe gel nail removal requires acetone soaking for 10-15 minutes with foil wraps to soften the product. Never forcefully peel or pick gel polish, as this removes natural nail layers and causes significant damage. Gentle pushing with a wooden stick after proper soaking ensures complete removal without compromising nail plate integrity or thickness.
Gel nails vs acrylic nails for spring designs
Gel nails offer superior color clarity and glossy finish ideal for showcasing pastel spring shades like soft yellow. They appear more natural and flexible compared to acrylic applications, making them better suited for delicate feminine aesthetics. Gels also cure quickly under UV/LED lamps while acrylics require air drying, making the application process faster and more predictable for intricate designs.
Why gel nails peel or lift prematurely
Gel nails peel primarily due to inadequate nail preparation, including insufficient dehydration or incomplete cuticle removal. Oil, moisture, or product residue on the nail plate prevents proper adhesion and creates lifting points. Applying gel too close to cuticles or using thick layers also contributes to premature lifting and reduces overall manicure longevity significantly.
How to make gel nails last longer during spring
Extend gel nail longevity by applying cuticle oil twice daily and avoiding excessive water exposure during the first 24 hours. Wear gloves during gardening, cleaning, or other activities that stress nail edges and compromise gel integrity. Maintain proper nail length to reduce leverage points that cause lifting, and address any small chips immediately with clear top coat to prevent further damage.
Conclusion
Soft feminine spring nails featuring pastel yellow French tips create the perfect balance between classic elegance and seasonal charm. This versatile design complements the soft girl aesthetic while remaining sophisticated enough for various occasions throughout spring and beyond. By following proper application techniques and maintenance practices, you can achieve salon-quality results that celebrate the renewal and optimism of the season. Try this delightful nail art style to embrace floral-inspired beauty and express your personal aesthetic with confidence this spring.
Visit Gel Nails by Lina for more professional nail art tutorials and product recommendations to perfect your spring manicure techniques.
Don’t forget to join our Pinterest for more inspiring nail art tips