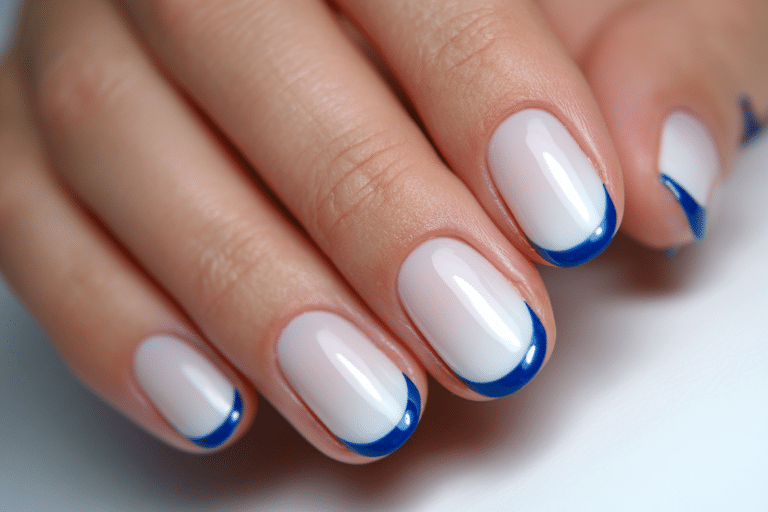
Mastering Gel Nails at Home: Your Ultimate DIY Manicure Guide for Gorgeous Hands

When I first tried to do my own gel nails at home, I was filled with a mix of excitement and anxiety. I vividly remember my first attempt it was a sunny Saturday morning, and I was armed with a kit I purchased online. The glossy finish and chip-free quality of gel nails had always mesmerized me at the salon. I thought to myself, “How hard can it be?” But after a frustrating three hours, I was left with uneven layers, stray polish, and a little bit of despair. I vowed to never go back to the salon after encountering their never-ending price tags and long waits!
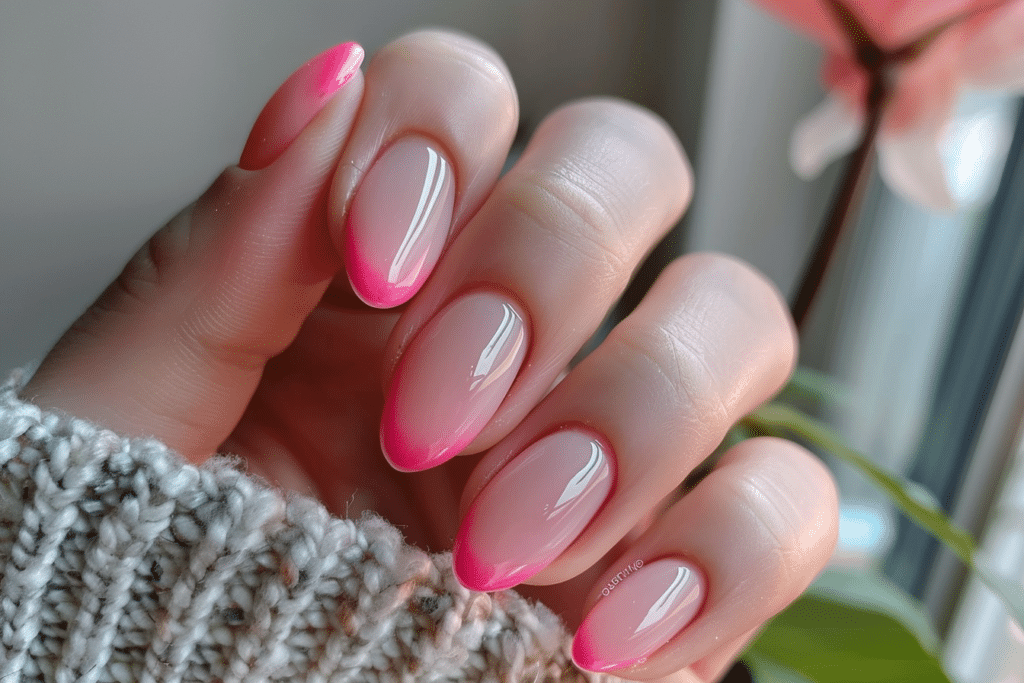
Fast forward to today, I’ve mastered the art of gel nails right at home, and you can too! In this comprehensive guide, I’ll share my journey, straightforward steps, tips, and tricks to ensure that your DIY manicure ends in triumph rather than tears. Let’s dive in and explore how to achieve salon-quality gel nails from the comfort of your own home!
Table of Contents
Why Choose Gel Nails at Home?
Gel nails have become increasingly popular for several reasons:
- Durability: Gel nails can last up to two weeks without chipping, making them a reliable choice for busy lifestyles.
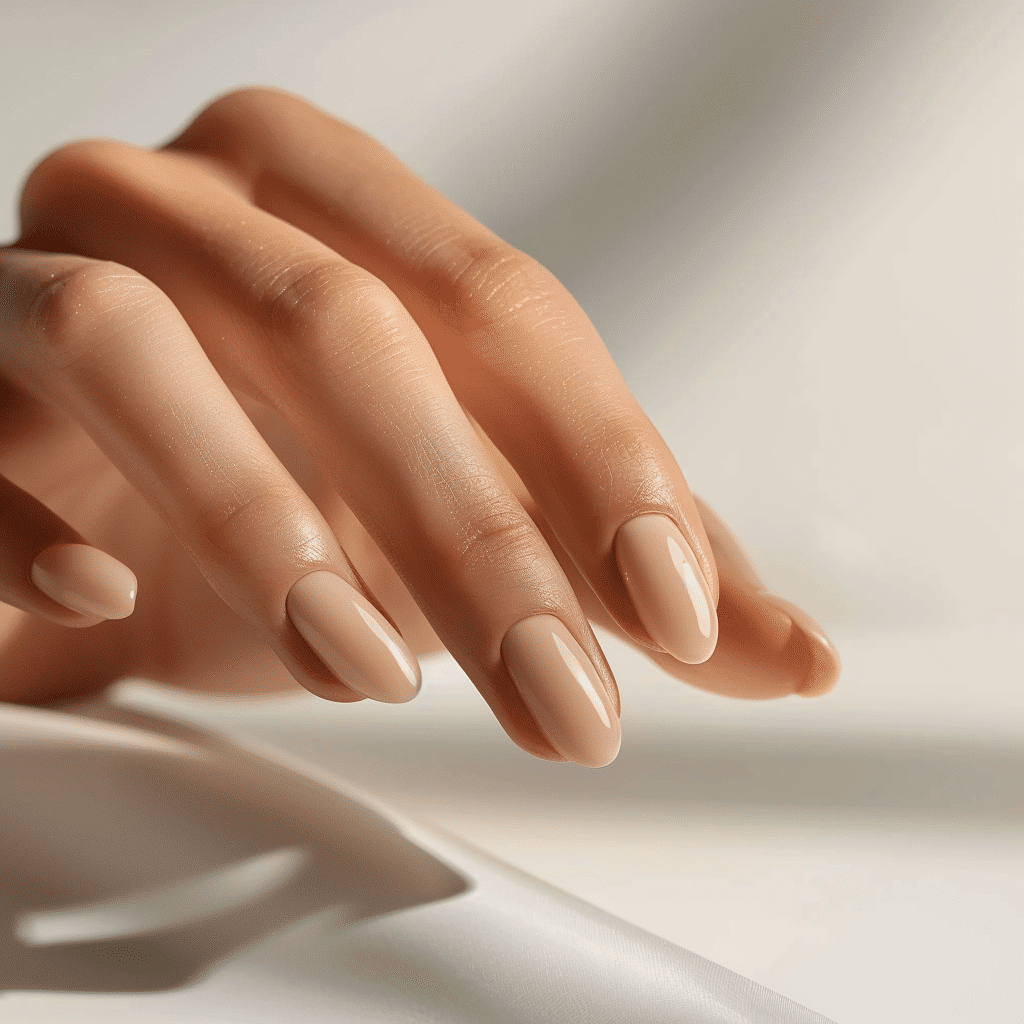
- Shiny Finish: The glossy finish provided by gel nail polish gives a fresh, polished look that lasts.
- Flexibility: With a variety of colors and designs available, you can change your look to match your mood at any given time.
- Cost-Effective: Doing your gel nails at home can save you a significant amount of money compared to regular salon visits.
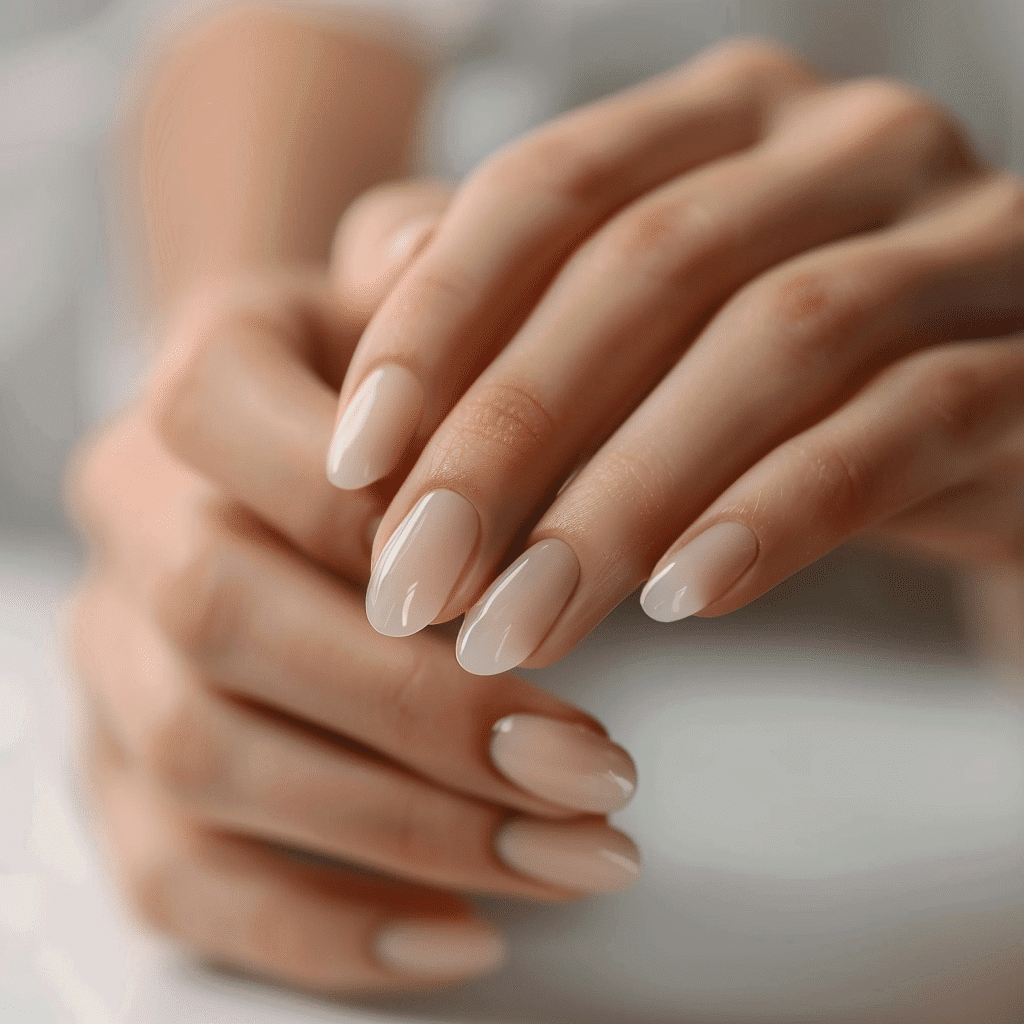
Tools & Products Needed
To successfully create gel nails at home, you’ll need the following tools and products:
- UV/LED Lamp (Curing Light)
- Gel Nail Polish (Base Coat, Color Coat, Top Coat)
- Nail File and Buffer
- Nail Prep Wipe or Rubbing Alcohol
- Cuticle Pushers
- Lint-Free Wipes
- Gel Remover or Acetone
Step-by-Step Guide: Applying Gel Nails at Home
Step 1: Preparation
Start by cleaning your nails. Remove any existing nail polish and gently file your nails to the desired shape. Push back your cuticles and remove any dead skin from your nail beds.
Step 2: Nail Prep
Use a nail prep wipe or rubbing alcohol to cleanse your nails and remove any oils. This will ensure better adhesion of the gel polish.
Step 3: Applying Base Coat
Apply a thin layer of base coat to your nails, making sure not to get any on your cuticles. Cure under the UV/LED lamp as per the product instructions.
Step 4: Color Application
After curing the base coat, apply a thin layer of your chosen gel color. Cure again. You may need two coats for full opacity, so repeat this step.
Step 5: Top Coat
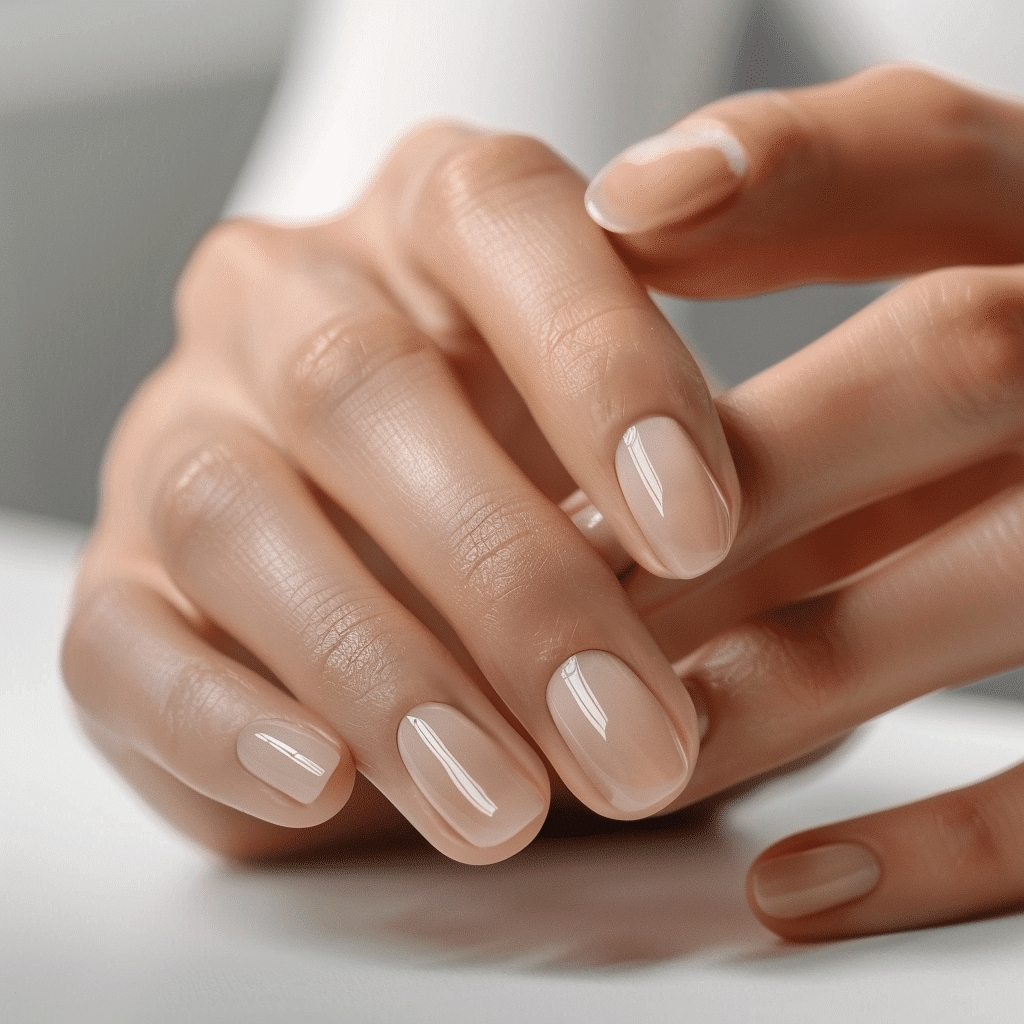
Finish with a topcoat that seals your color and adds shine. Cure once more to complete the application.
Step 6: Finishing Touches
Wipe the nail surface with a lint-free wipe soaked in rubbing alcohol to remove the tacky layer. This will reveal a beautiful, glossy finish!
Common Mistakes to Avoid
Even seasoned DIY enthusiasts can make mistakes. Here are some common pitfalls to steer clear of:
- Applying Thick Layers: Less is more! Thick layers lead to uneven curing and clumping.
- Skipping Base or Top Coat: These are crucial for durability and shine.
- Not Curing Long Enough: Always follow the timing guidelines for your gel system.
Pro Tips for Stunning Gel Nails
Here are some expert tips to help you achieve the best results:
- Experiment with Colors: Don’t be afraid to try trendy colors or designs!
- Maintain Your Nails: Regularly schedule at-home manicures to maintain the health of your nails.
- Stay Clean: Keep your workspace organized and clean to avoid mishaps.
Comparison: Gel vs. Regular Nail Polish
| Feature | Gel Nail Polish | Regular Nail Polish |
|---|---|---|
| Durability | Up to 2 weeks | 1 week or less |
| Drying Time | Cured under UV/LED Lamp | Air dries |
| Finish | Glossy | Varies |
5 Frequently Asked Questions
1. How long do gel nails last at home?
Typically, if applied correctly, gel nails can last anywhere from 1 to 3 weeks.
2. Can I use regular nail polish instead of gel?
While you can, the longevity and finish will not be the same. Gel polish is specifically designed to be cured under UV/LED light.
3. Is it safe to do gel nails at home?
Yes, as long as you use quality products and follow instructions carefully, it’s safe to do gel nails at home.
4. How do I remove gel nails?
You can use a gel remover or acetone, soaking cotton balls and wrapping them around your nails for 10 minutes.
5. What should I do if my gel nails chip?
If you have a chip, use a matching gel polish to touch it up and then apply a clear topcoat to seal it.
Conclusion: Your Path to Gorgeous Gel Nails
Mastering gel nails at home is not just a skill; it’s a transformational journey that saves time and money while providing you with the satisfaction of beautiful, salon-worthy nails. With this DIY guide, you are now equipped with everything you need to create exquisite gel nails!
Ready to start your gel nails journey? Join our email list for more tips and tricks or [Read my full builder gel guide here] for an in-depth look at builder nails!
Browse my curated collection on Pinterest
“`