
I still remember the first time I picked up a crochet hook. I had a ball of yarn in one hand, a video paused on my laptop, and absolutely no idea what “yarn over” meant. Twenty minutes and one very tangled mess later, I almost gave up. Sound familiar?
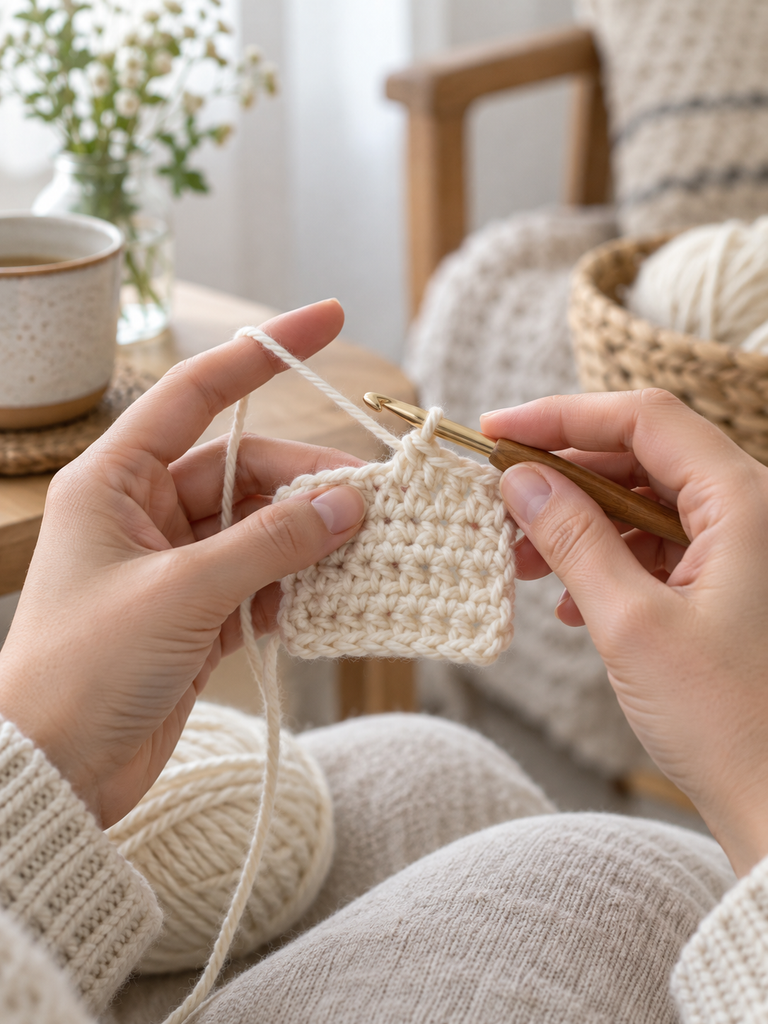
Here’s the good news: crochet is one of the most forgiving crafts out there. There’s no expensive machine, no steep learning curve you can’t climb, and no rule saying your first project has to be perfect (it won’t be — and that’s completely fine). All you really need is a hook, some yarn, and a little patience. By the end of this guide, you’ll know exactly how to hold your tools, make your very first stitches, and build a simple swatch of fabric from nothing but a loop of yarn.
Table of Contents
Key Takeaways
- You only need two things to start crocheting: a hook and yarn no fancy setup required.
- Smooth, light-colored, medium-weight yarn is the easiest to learn on.
- The whole craft builds on one repeated motion called the “yarn over” master that, and everything else follows.
- Your first project doesn’t need to be complicated. A simple rectangle swatch teaches you every foundational skill.
- Confusion in the first few rows is completely normal it gets dramatically easier after that.
What Exactly Is Crochet?
At its core, crochet is the craft of looping yarn together with a single hook to build fabric, one stitch at a time. It’s been around for centuries, and honestly, it’s easy to see why it’s stuck around — there’s something deeply satisfying about watching a pile of loose yarn slowly turn into something you made with your own hands.
Is crochet harder than knitting? Not really it’s just different. Knitting uses two needles and keeps multiple stitches “live” at once, which can feel overwhelming to a beginner. Crochet uses one hook and typically just one active loop, so if you drop your work, you’re not unraveling half your project. That’s part of why so many people find it a gentler entry point into fiber crafts.
What You Actually Need to Get Started
One of the best things about crochet is how little it asks of you upfront. You genuinely need just two items: a crochet hook and a ball of yarn. That’s it. No loom, no sewing machine, no big investment to “try it out.”
That said, choosing beginner-friendly versions of those two things makes a real difference in how smoothly your first attempts go.
Picking Your Yarn
Walk into a craft store and the yarn wall can feel a little intimidating — dozens of textures, weights, and colors all competing for attention. For your first project, keep it simple:
- Medium weight (worsted weight). Not too thin, not too bulky — easy to handle and see clearly.
- Smooth texture. Save the fuzzy, fluffy novelty yarns for later. You need to actually see your stitches while you’re learning where the hook goes.
- Light color. Dark or multicolored yarn hides your stitch definition, which makes it much harder to tell what you’re doing right (or wrong).
Picking Your Hook
Hooks come in a range of sizes and materials, and the general rule is simple: bigger yarn needs a bigger hook. For a medium-weight yarn, a mid-size ergonomic hook something in the 4.25mm to 5mm range is a comfortable place to start. Most yarn labels will actually tell you the recommended hook size right on the wrapper, so when in doubt, check there.
A few optional extras that make life easier: a yarn needle for weaving in loose ends, small sharp scissors, and stitch markers, which help you keep track of your place when things get confusing (and in the beginning, they will that’s normal).
How to Crochet: Step-by-Step
Alright, let’s actually make something. Find a well-lit spot, grab your hook and yarn, and let’s walk through this together. I’d encourage you to read through each step once before trying it with your hands it helps a lot to know where you’re headed.
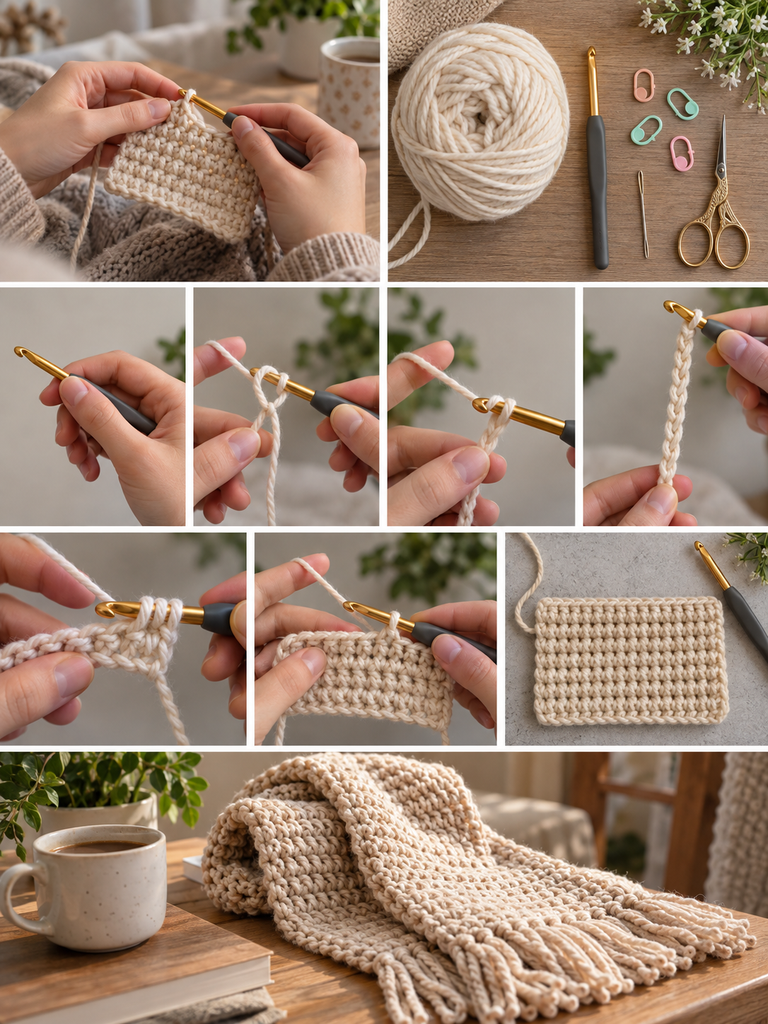
Quick note: these instructions use U.S. terminology and are written for a right-handed grip. If you’re left-handed, you can simply mirror the directions.
Step 1: Get Comfortable Holding Your Tools
There are two common ways to hold a crochet hook the pencil grip, where you hold it like, well, a pencil, and the knife grip, where your palm faces down over the hook like you’re holding a knife. Neither is more “correct” than the other. Try both and see which feels more natural in your hand.
Your yarn hand takes a bit more finesse. Loop the working yarn through your fingers over the pinkie, under the middle fingers, and over the index finger to create gentle tension as you work. It’ll feel clumsy the first few tries. Stick with it; your hands figure out the rhythm faster than you’d expect.
Step 2: Tie a Slip Knot
This is how you attach your yarn to the hook in the first place. Make a loop in your yarn about six inches from the end, insert your hook through the center, catch the yarn, and pull it through. Tighten it gently around the hook not too snug, not too loose and you’re ready to begin.
Step 3: Learn the “Yarn Over”
If crochet has one foundational move, this is it. A yarn over (often abbreviated YO) is simply wrapping the working yarn over your hook from back to front. You’ll use this motion constantly to build your chain, and later, inside nearly every stitch you make. Practice it a few times on its own before moving forward. It’s a small motion, but it’s the building block for everything else.
Step 4: Make Your Starting Chain
Your starting chain is the foundation row that everything else gets built on top of think of it like the first line of a drawing. Yarn over, pull the loop through the stitch already on your hook, and repeat. For practice, try making eleven chain stitches in a row (note: the loop already on your hook and the original slip knot don’t count as stitches).
Keeping even tension across your chain takes practice, and that’s okay. Nobody’s first chain is perfectly even mine certainly wasn’t.
Step 5: Work Into the Chain
Look closely at your chain and you’ll notice each stitch has a little “V” shape on the front. That V is where your hook goes to create your first row of actual stitches. This part trips up almost everyone at first there’s not much fabric yet for your other hand to hold onto, and it can be hard to tell exactly where to insert the hook. Push through it. This is genuinely the hardest part of the whole process, and it gets dramatically easier the moment you finish your first row.
Step 6: Make Your First Row (Single Crochet)
Single crochet is the simplest, most beginner-friendly stitch there is, and it’s the perfect place to start. Here’s the motion:
Insert your hook into the second chain from the hook.
Yarn over, then pull the yarn through the chain (you’ll now have two loops on your hook).
Yarn over again, and pull through both loops. One loop remains your first single crochet stitch is complete.
Repeat this across the rest of your chain. Congratulations that’s your first row done
Step 7: Turn Your Work and Chain Up
At the end of a row, rotate your work and add a “turning chain” before starting the next row. This small chain brings your yarn up to the right height for the next stitch. For single crochet, that’s just one chain stitch. It genuinely doesn’t matter whether you turn first or chain first just stay consistent throughout your project.
Step 8: Work Your Second Row
This is where a lot of beginners get stuck, and it’s one of the most common questions people search for — so let’s slow down here. After your turning chain, insert your hook under the top two loops of the very first stitch (not the turning chain itself that one doesn’t count as a stitch for single crochet). Yarn over, pull through, yarn over again, pull through both loops. Repeat across the row.
Keep repeating rows until your swatch reaches whatever length you like.
Step 9: Fasten Off
When you’re ready to stop, cut your yarn leaving about a six-inch tail, pull that tail through the final loop on your hook, and gently tighten it. Thread the tail onto a yarn needle and weave it back and forth through your fabric to secure it. And that’s it you’ve just completed your first crochet swatch, start to finish.
What’s the Easiest First Project?
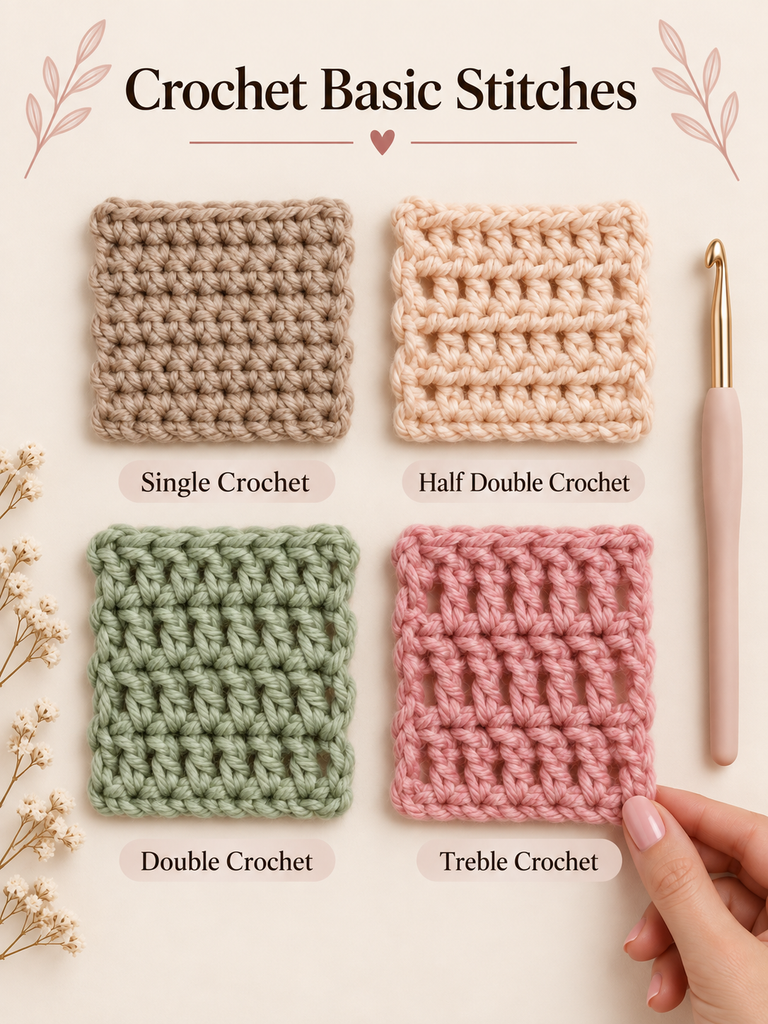
Honestly, the swatch you just made basically is the easiest first project it’s just a flat rectangle of single crochet. And that rectangle is more useful than it looks. Keep going a bit longer and you’ve got a dishcloth. Keep going longer still and you’ve got a scarf. Once you’re comfortable with single crochet, you can branch out into half-double, double, and treble crochet each one just an extra “yarn over” added to the same basic motion you already know.
Can You Really Teach Yourself Crochet?
Absolutely and honestly, most crocheters do. It’s one of those crafts where a hook, some yarn, and a bit of trial and error genuinely get you most of the way there. Written instructions plus a few close-up photos (or short video clips) of hand positioning tend to work better than long videos you have to pause and rewind constantly, since crochet is such a hands-on, tactile skill. If something isn’t clicking, that’s not a sign you’re bad at this it’s a sign you need a different explanation of the same step, not a different hobby.
How Long Does It Take to Learn?
You can learn the basic single crochet stitch in a single sitting maybe 30 to 60 minutes of practice. Feeling genuinely comfortable, where your hands stop thinking so hard about every motion, usually takes a few short practice sessions over a week or two. And truthfully, most crocheters will tell you they’re still learning years in. That’s part of the appeal.
Final Thoughts
Every single person who’s ever made a beautiful crochet blanket, hat, or amigurumi animal started exactly where you are right now holding a hook, feeling a little unsure, wondering if they’re doing it “right.” You are. The tangled first attempt, the confusing second row, the slightly wonky edges that’s not failure, that’s just what learning looks like.
Give yourself permission to make an imperfect first swatch. Then make another one. Somewhere around your third or fourth attempt, something clicks, and suddenly your hands just know what to do.
Grab your hook and yarn and give it a try today even just ten chain stitches and one row of single crochet counts as progress. And when you finish your first swatch, I’d love to hear how it went. What tripped you up? What surprised you? Drop a comment below and let’s talk about it.