Why a hooded scarf is the perfect first project
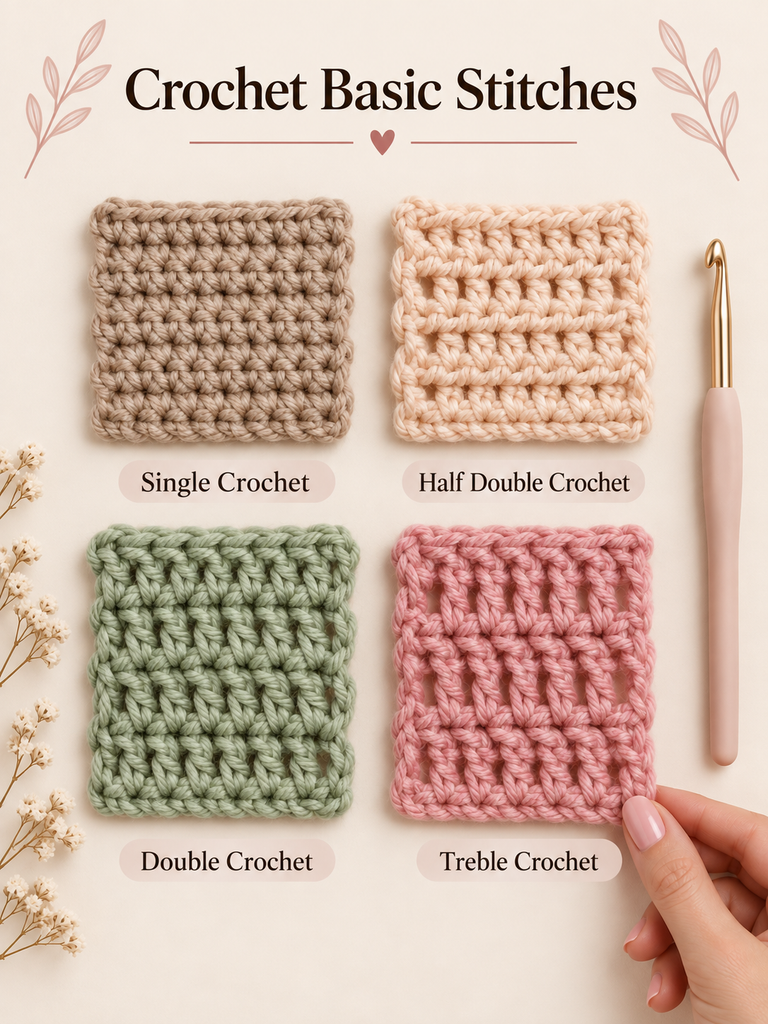
If you can chain and work a half double crochet, you can make this hooded scarf in a weekend. It is one long rectangle, folded in half and seamed along one edge to form the hood. There is no shaping, no counting increases, and no complicated finishing.
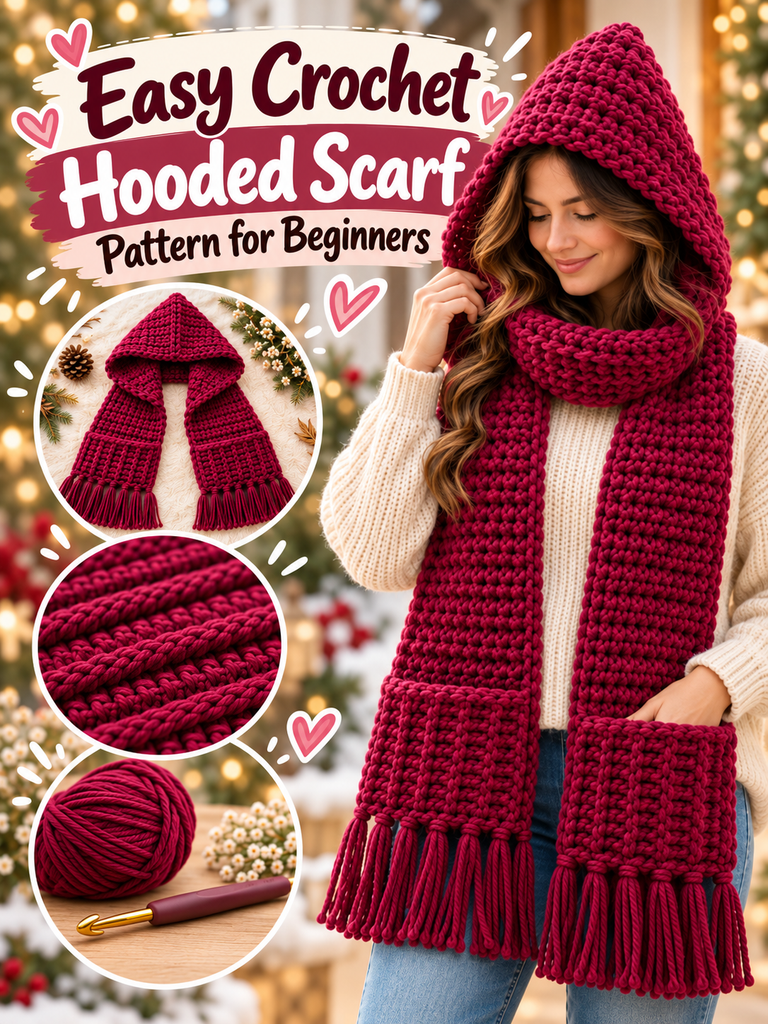
That simplicity is exactly what makes it a great beginner project. You practice one stitch until it feels natural, you learn to keep your edges straight, and you finish with something genuinely useful: a cozy scarf and hood in one piece that keeps your ears and neck warm on cold days.
This guide walks you through everything, from choosing yarn to sewing the final seam. Sizing notes for children and adults are included, along with a few easy ways to make the design your own.
Table of Contents
Materials and tools
You need only a few supplies, most of which a beginner already owns.
| Item | What to use | Notes |
|---|---|---|
| Yarn | Bulky weight (category 5), about 500–600 yd (460–550 m) | A soft acrylic or acrylic-wool blend is affordable, washable and easy to see stitches in |
| Crochet hook | 6.5 mm (US K/10.5) | Go up or down a size if needed to match gauge |
| Yarn needle | Large-eye tapestry needle | For seaming the hood and weaving in ends |
| Scissors | Any sharp pair | — |
| Stitch markers | 2–3 removable markers | Helpful for marking the hood seam |
| Measuring tape | Flexible tape | For checking gauge and length |
Choosing a color: pick a light or medium solid shade for your first project. Dark and heavily variegated yarns make individual stitches harder to see, which makes mistakes harder to spot.
Abbreviations, gauge and finished size
This pattern uses US crochet terms.
| Abbreviation | Meaning | UK term |
|---|---|---|
| ch | chain | chain |
| hdc | half double crochet | half treble (htr) |
| sl st | slip stitch | slip stitch |
| st(s) | stitch(es) | stitch(es) |
| BLO | back loop only (optional) | back loop only |
Gauge: 11 hdc and 9 rows = 4 in (10 cm) in half double crochet. Gauge is not critical for a scarf, but a large difference will change the yarn you need and the size of the hood.
Finished size (adult): about 8 in (20 cm) wide and 70 in (178 cm) long before seaming. The hood is roughly 12 in (30 cm) deep.
| Size | Starting chain | Stitches per row | Length | Hood seam |
|---|---|---|---|---|
| Child (4–10 yrs) | 18 | 16 hdc | 50 in (127 cm) | 9 in (23 cm) |
| Teen / small adult | 22 | 20 hdc | 62 in (157 cm) | 11 in (28 cm) |
| Adult | 24 | 22 hdc | 70 in (178 cm) | 12 in (30 cm) |
Step-by-step pattern
The instructions below are for the adult size. For other sizes, use the starting chain and stitch count from the size table above; every other step stays the same. The turning chain does not count as a stitch.
Part 1: Make the scarf body
- Foundation: ch 24.
- Row 1: hdc in the 3rd ch from the hook and in each ch across. Turn. (22 hdc)
- Row 2: ch 2 (does not count as a stitch), hdc in each st across. Turn. (22 hdc)
- Rows 3 onward: repeat Row 2 until the piece measures 70 in (178 cm), about 158 rows.
- Fasten off, leaving a 6 in (15 cm) tail.

Count every few rows. Check that you still have 22 stitches at least every 10 rows. Most beginner scarves grow or shrink because a stitch is skipped or added at the row ends.
Part 2: Form the hood
- Lay the scarf flat and fold it in half widthwise, so the two short ends meet and the fold is at the top.
- Choose one long edge to be the back of the hood. Starting at the fold, measure 12 in (30 cm) down along that edge and place a stitch marker through both layers.
- The fold becomes the top of the hood; the open long edge on the other side frames your face.
Part 3: Seam the hood
- Cut a strand of yarn about 30 in (76 cm) long and thread it on your yarn needle.
- Starting at the fold, join the two layers along the marked edge with a whipstitch or mattress stitch, working through the edge stitches of both layers.
- Stop at the stitch marker, secure the yarn with a small knot on the inside, and remove the marker.
- Try the hood on. If it is too deep, add a few more seam stitches; if it is too tight, undo a few.
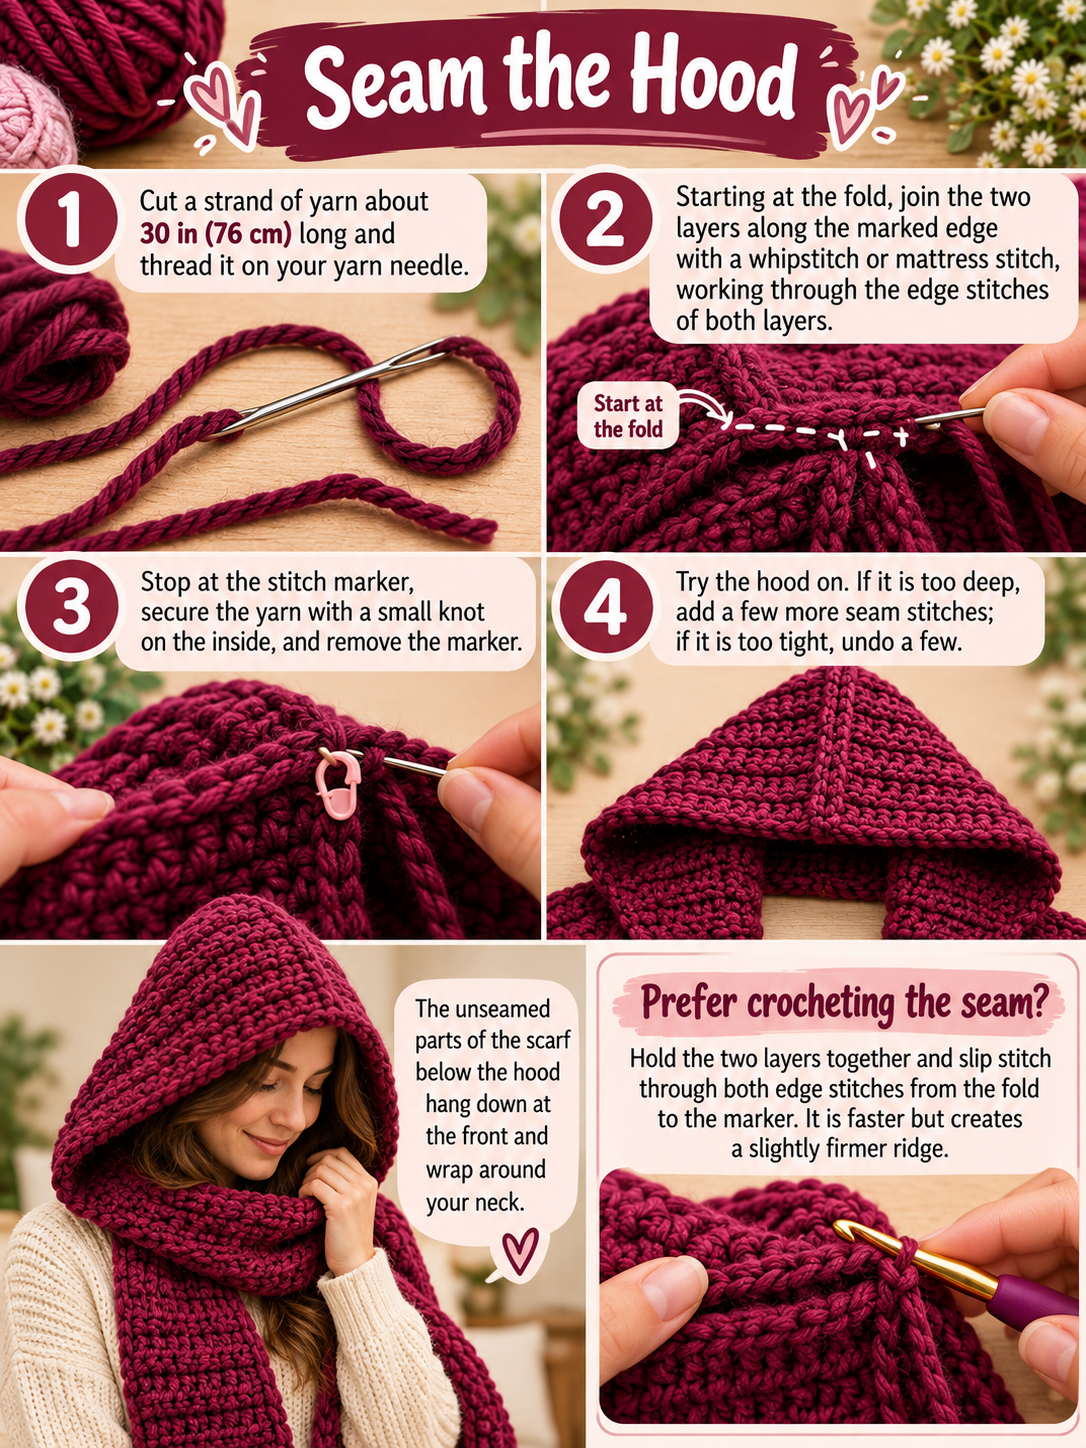
The unseamed parts of the scarf below the hood hang down at the front and wrap around your neck.
Prefer crocheting the seam? Hold the two layers together and slip stitch through both edge stitches from the fold to the marker. It is faster but creates a slightly firmer ridge.
Finishing touches and easy variations
Weave in all yarn tails with your needle, running each one through at least 2 in (5 cm) of stitches in different directions so it cannot work loose. Then try one of these simple upgrades:

- Ribbed texture: work every hdc in the back loop only (BLO) from Row 2 onward. This creates soft horizontal ridges and a stretchier fabric with no extra skill required.
- Fringe: cut 10 in (25 cm) strands and knot groups of 3 into every other stitch along both short ends.
- Pom-pom: attach a 2–3 in (5–8 cm) pom-pom to the point of the hood for a playful look, especially on children’s sizes.
- Pocket ends: fold each short end up by 7 in (18 cm) and seam the sides to create two hand-warming pockets. Add 14 in (36 cm) to the total length to keep the same drape.
- Edging: work one round of single crochet around the face opening for a neater, firmer frame.
- Stripes: change color every 10 or 20 rows. Join the new color on the last pull-through of the final stitch of a row.
Beginner tips, common mistakes and care
Most problems in a first scarf come from the edges and the tension, not the stitch itself.
| Problem | Likely cause | How to fix it |
|---|---|---|
| Scarf gets wider | Extra stitch worked into the turning chain | Skip the turning chain; count stitches every 10 rows |
| Scarf gets narrower | Last stitch of the row missed | Place a marker in the last stitch of each row so you can find it |
| Wavy or curling fabric | Tension changes between rows | Relax your hands; hold the yarn the same way every time |
| Foundation chain too tight | Chain pulled smaller than the stitches | Make the chain with a hook one size larger, then switch back |
| Hood too small or pointy | Seam too long, or gauge too tight | Shorten the seam, or go up a hook size |
Care: follow the instructions on your yarn label. Most acrylic yarns can be machine washed on a gentle cycle in cool water. Lay the scarf flat to dry and reshape it while damp; hanging a wet scarf will stretch it.
Frequently asked questions
How long does it take?
Most beginners finish the adult size in 8–12 hours of crocheting, which is one or two relaxed weekends.
Can I use worsted weight yarn instead?
Yes. Use a 5.5 mm (US I/9) hook and chain about 32 to keep the 8 in (20 cm) width. You will need roughly 700–800 yd (640–730 m), and the fabric will be lighter.
Can I use double crochet to go faster?
Yes, but the fabric will be more open and less windproof. Half double crochet is the best balance of speed and warmth.
Is this pattern suitable for selling finished items?
Simple rectangle-and-seam construction is a common technique, so finished scarves made this way are generally fine to sell.
Conclusion
This easy crochet hooded scarf proves that a first project can be both simple and genuinely useful. With one stitch, one rectangle and one seam, you build real skills in tension, counting and finishing. Once you have made one, try the ribbed or pocket variation, or make a matching child’s size as a gift.