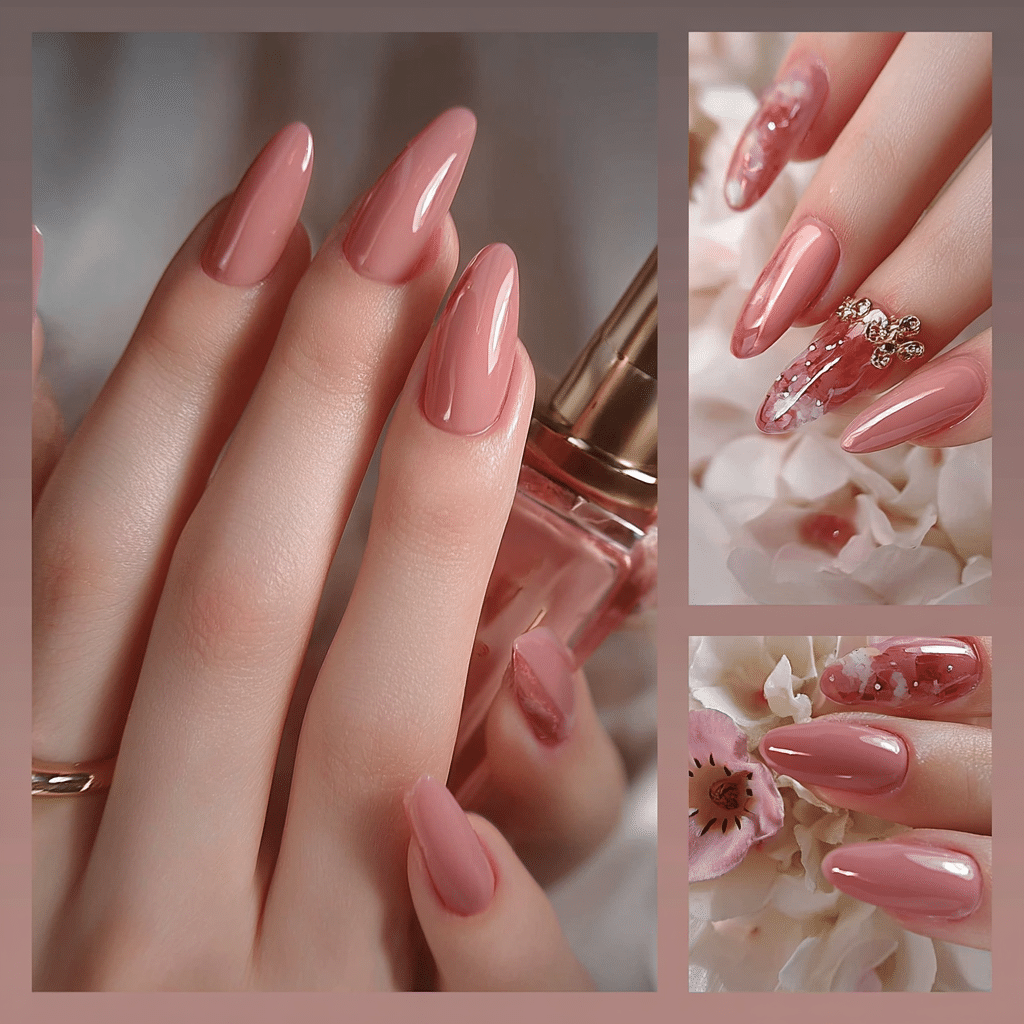
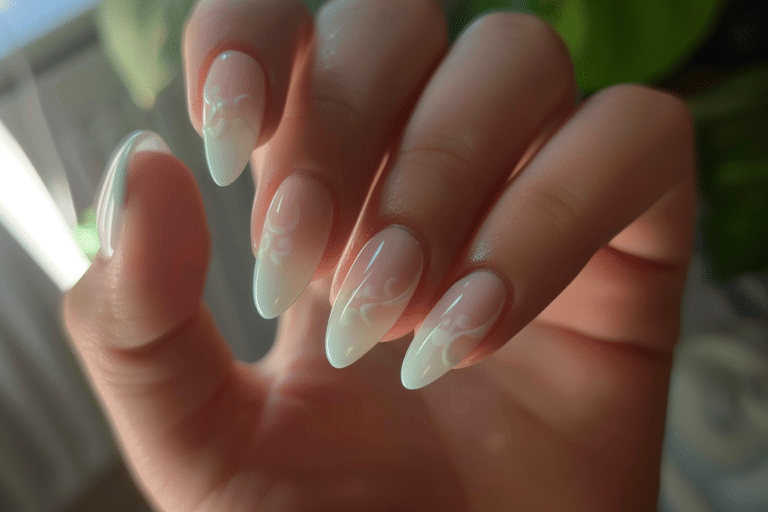
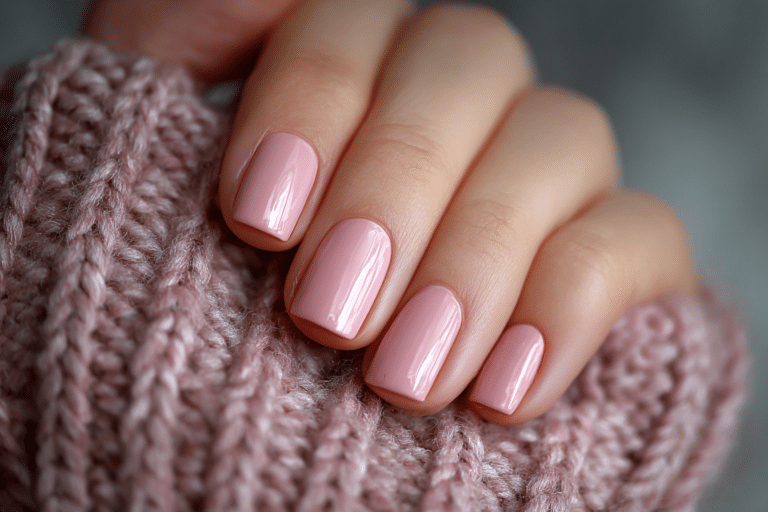
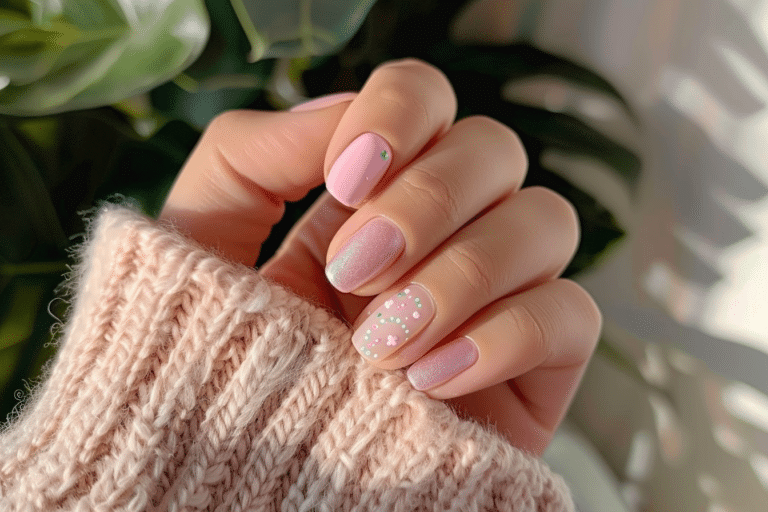
Rowan Nails – Almond Nail Designs & Aesthetic Summer Ideas

My Journey from Salon Regret to DIY Almond Nail Love
Five years ago, I walked out of a salon with nails so thick and boxy, they felt more like construction gear than summer chic. I’d asked for almond nails but got a generic French tip instead. That moment was my wake-up call to stop relying on strangers for my nail goals.
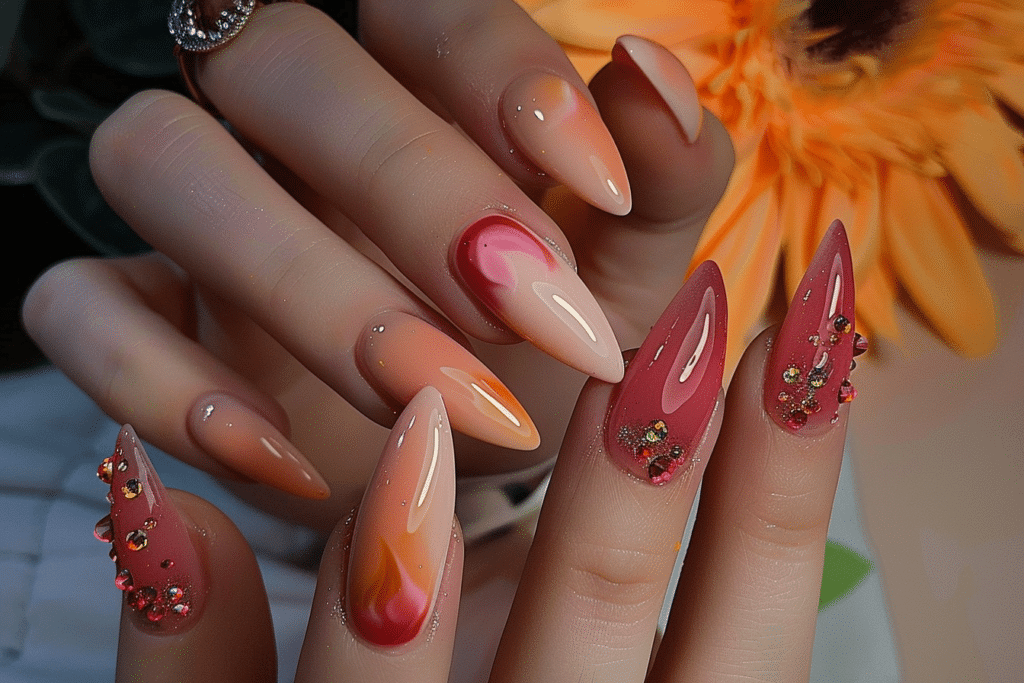
I dove into the world of DIY gel manicures, and let me tell you learning the secrets of Rowan Nails and perfecting almond shapes changed everything. Now, I live for crafting summer nail art at home, experimenting with pastel gradients and floral accents. This article is a love letter to all of us learning as we go and discovering the art of elegant, long-lasting almond-shaped nails that make summer days feel extra special.
Table of Contents
What Are Almond-Shaped Nails and Why They’re Perfect for Summer
Almond-shaped nails have a subtle, tapered edge that mimics the natural curve of fingertips. This shape creates a slimmer, elongated look while offering versatile real estate for intricate nail art. For summer, they’re ideal because:
- They pair effortlessly with floral, wave, or geometric designs
- The shape resists chipping better than short, round tips in hot weather
- They’re flattering for everyday wear and special occasions
Rowan Nails has mastered crafting this form with precision, blending quality gel products and creative templates to make DIY a breeze. Whether you’re into minimalist pastels or bold metallics, almond nails become a blank canvas.
Rowan Nails’ Almond Design Philosophy
Rowan’s kits prioritize:
- Adaptability: Suitable for natural nails or extensions
- Hydration: Cuticle care products included in every kit
- Lightweight Gel: No heavy, rigid formulas
How to Create Professional Almond-Shaped Nails at Home
Tools & Products You’ll Need
- Nail shape files or a diamond buffer block
- Almond-shaped nail forms (Rowan offers biodegradable ones)
- Gel polish base and top coat
- Builder gel for shaping
- UV or LED curing lamp
- Manicure stick and emery board
Step-by-Step Guide to Almond-Shaped Nails
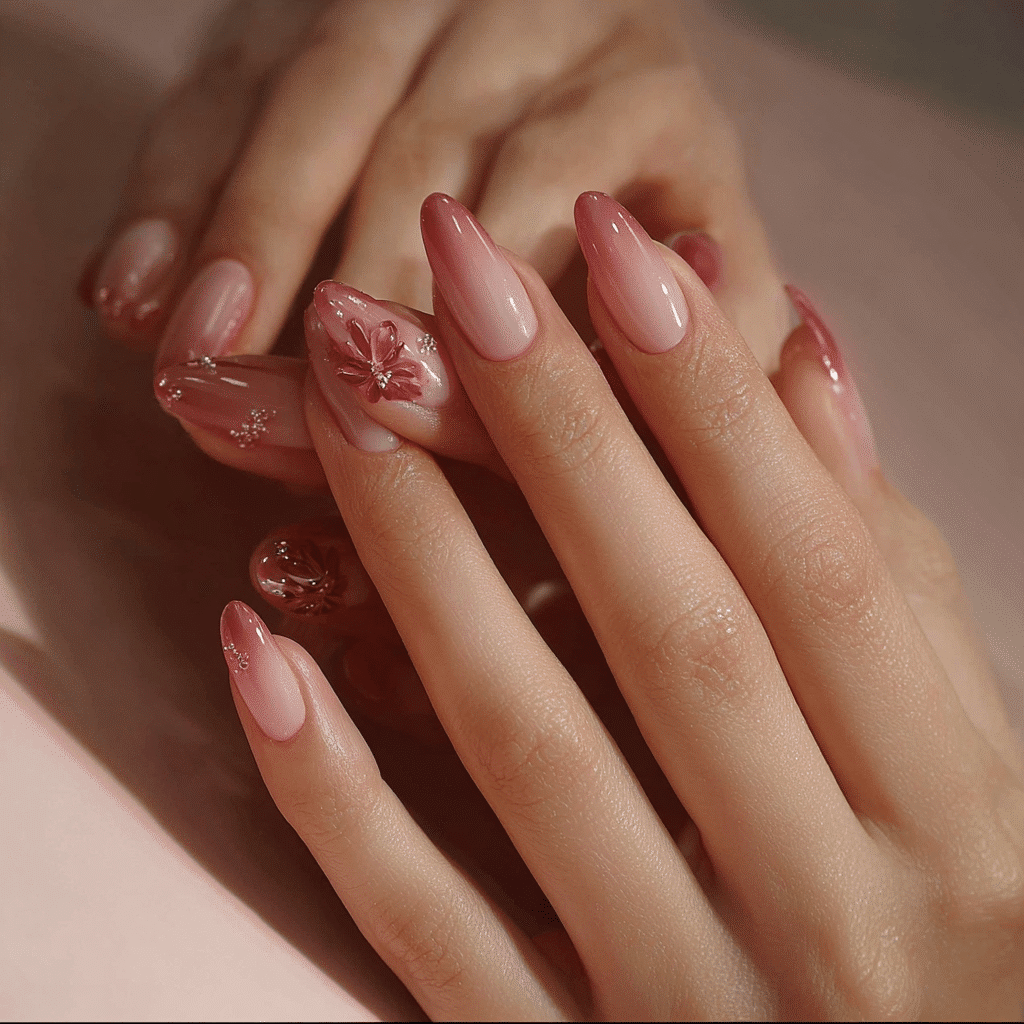
- Prepare your nails: File to a square or oval base, push cuticles with a Rowan cuticle pusher, and clean off oils.
- Apply builder gel: Use an almond form as a template to carve your desired shape. Cure for 1–2 minutes.
- Refine the curve: Sand the edge gently with a 180-grit file, smoothing to a pointed finish.
- Paint your design: Layer 2 coats of gel polish in your summer palette of choice (pale pinks, ocean blues, etc.).
- Seal and shine: Apply a fast-dry top coat to protect against wear and create that salon-level gloss.
- Final buff: Lightly sand the tip to maintain the shape and prevent peeling.
Pro Tip: Use Rowan’s Dual-Use Adhesive to temporarily secure your forms for precise sculpting.
Top 8 Summer Aesthetic Almond Designs
- Pastel Gradient: Blend lavender and mint green for a soft beach vibe
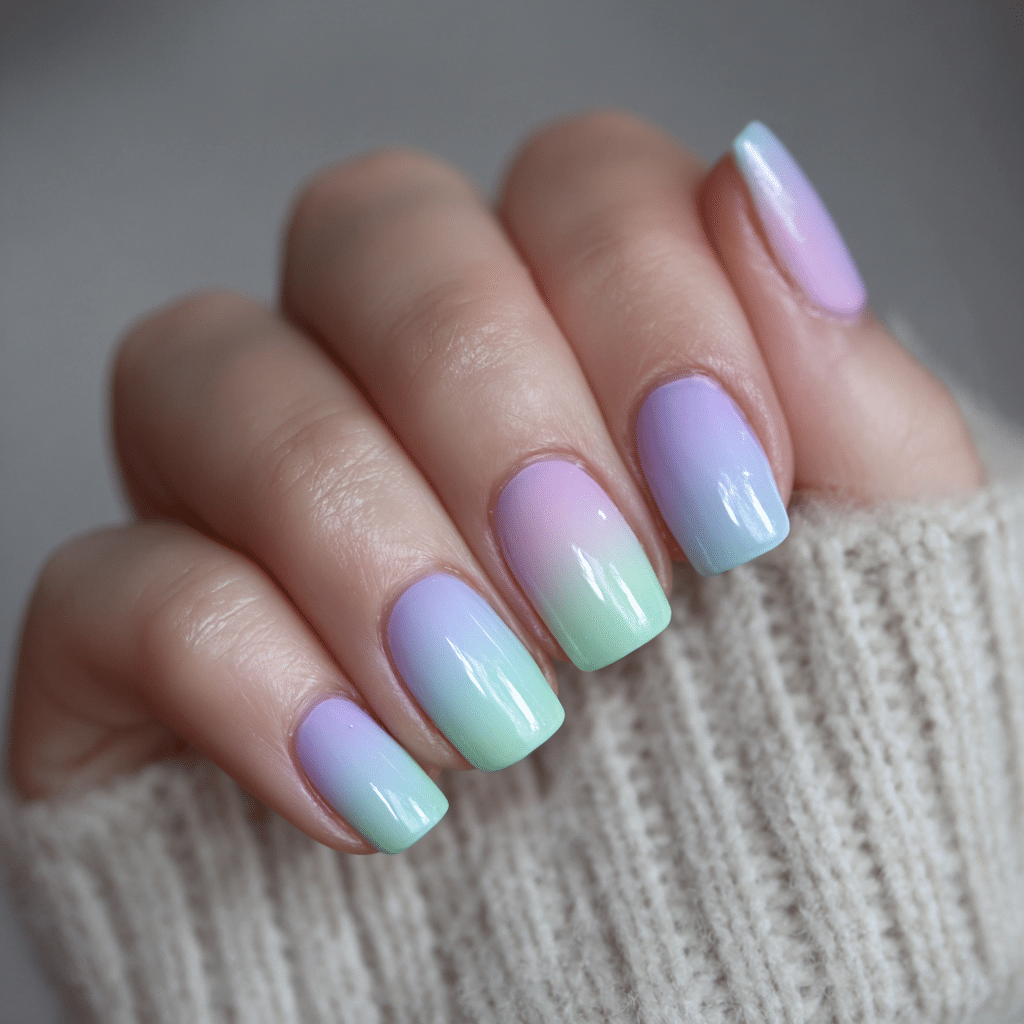
- Mini Bows: 3D resin bows on pink or peach bases
- Solar Flakes: Golden specks scattered on matte cream nails
- Watercolor Blooms: Using Rowan’s water-based paints
- Pink Lemonade Ombre: Shimmery pink to translucent top coats
- Geometric Lines: Bold white or gold stenciling
- Coastal Striped: Two-tone horizontal stripes (teal + seafoam)
- French Tip Revival: Opal-based tips with glitter details
Common Mistakes to Avoid with DIY Almond Nails
I’ve been there over-shaping, uneven curves, and sticky edges. Here’s how to fix them:
1. Forcing Natural Nail Shapes
If you’ve got stumpy or spoon-shaped naturals, start gradual. Sudden tapering causes breakage. Use a Rowan starter kit for soft, step-by-step transitions.
2. Skipping Cuticle Prep
Dry cuticles = chipping nails. Invest in Rowan’s cuticle oil or coconut oil to nourish while sculpting.
| Mistake | Fix |
|---|---|
| Over-using UV exposure | Stick to 30-second extra curing for gel polish adhesion |
| Gel layer too thick | Apply builder gel in 2 thin coats instead of 1 thick one |
| Incorrect form placement | Trace an existing almond nail in your set to maintain symmetry |
3. Using the Wrong Shaping Tool
I love my glass nail file for final detailing, but start with a 180-grit buffer block. It’s gentler and prevents ridges!
10 Expert Tips for Flawless Almond-Shaped Nails This Summer
1. Master the “70-30” Filing Rule
70% of the shape via buffer block, 30% with a fine-grit file. This keeps your shape even and natural-looking.
2. Use a Nail Shape Guide
Print a free template and place it under your form for perfect duplication across all nails.
3. Add a Clear Layer for Durability
After builder gel shaping, cure a clear coat to prevent yellowing and boost resistance to summer heat/sunlight.
4. Opt for Lightweight Gel Formulas
Rowan’s Oxygen-Free System ensures flexibility without rigidity. Your nails flex, they won’t crack like old-school gels!
5. Try “Layering” for 3D Effect
Thin coat of white polish + gold metallic over the taper creates dimension without the mess of resin.
6. Don’t Skip the Backfill
When redoing half-moons, apply base coat only to the old gel area before adding new polish—prevents lifting!
7. Use Temporary Forms for Curves
Nail forms stick to the sides, letting you gently file upward without accidentally tapering the nailbed.
8. Incorporate Summer Transitions
Try a sun-kissed fade: Start with a coral base and end in a pale pink tip to mimic sunlit skin tones.
9. Pair With Cuticle Care
Apply Rowan’s Cuticle Elixir daily for 10 seconds—it softens the skin and ensures your design lasts longer!
10. Practice on a Spare
Use a plastic nail file or old acrylic sheet to test your taper before committing to your natural nails.
Rowan Nails vs. Traditional Salons: A Fair Comparison
I once spent $80 at a salon on algae nails (you know the ones) only to have them chip after ONE wash. Rowan’s DIY approach costs about $15 per session, and you can redo it any time your mood shifts!
| Aspects | Salon Manicure | Rowan DIY Kit |
|---|---|---|
| Cost | $50–$150 | $30–$50 kit |
| Wait Time | 40 minutes+ | 30 minutes from start to finish |
| Design Control | Preliminary sketch approval | Experiment with Rowan’s free templates |
Bonus? With DIY, you avoid those sketchy acetone-soaked towels at salons and keep your cuticles healthy with Rowan’s acetone-free removers, which are essential for safe maintenance.
5 Summer-Inspired Almond-Shaped Nails Art Tutorials
1. Jelly Nails on Almond Shapes
Apply builder gel + 2–3 coats of Rowan’s jelly polish for a see-through, water-like effect. Top with a few blue resin drops for a beachy look.
2. Negative Space Almond Cutouts
Paint the center of your nails in white or mint, then use an almond-shaped mask to leave the taper exposed for a modern geometric flair.
3. Almond-Shaped “Palm Tree” Accent
Paint one thumb with a gradient, then use a fine-tipped brush and Rowan’s brown polish to draw stylized palm fronds on the taper.
4. Summer Stars and Stripes
Paint alternating white and aqua stripes from the base to the taper. Add tiny stars using a dotting tool and gold polish for patriotic flair with a twist.
5. Glitter Dip Almond Nails
Apply gel base, dip in a Rowan glitter powder, and seal with topcoat. The taper holds glitter better than round nails no messy polish!
Why Almond Nails Belong in Your Summer Beauty Routine
Let’s talk practicality. Almond shapes are the most forgiving for DIYers. Their tapers hide minor inconsistencies in filing, and the edge structure means your polish resists peeling when gripping umbrellas or beach buckets. Pair them with these 3 summer hacks:
- Spray Sealers: Rowan’s water-based topcoat gives you spa-fresh nails without the sticky residue
- Heat Resistance: Their light-diffusing polishes stay vivid in direct sunlight
- Moisture Protection: The smooth taper prevents water from pooling under the tip (say goodbye to “pool party peels”)
How to Choose the Right Color for Your Skin Tone in Summer
I used to waste so much time on the wrong colors. Today, I follow this simple rule of thumb:
| Seasonal Skin Tone | Best Almond Nail Colors |
|---|---|
| Pale/Spring | Muted lilac, lavender, pearl white |
| Warm/Summer | Golden peach, bronze, warm rose |
| Neutral/Transition | Subtle coral, pastel sage, soft turquoise |
Frequently Asked Questions About Almond-Shaped Nails and Summer Designs
Can almond nails work with short natural nails?
Absolutely! Use the “mini almond” style. File to a square base, then taper only the top ½ inch.
How long do DIY Rowan almond nails last?
7–14 days with weekly maintenance. Apply a fresh topcoat every 3 days using Rowan’s Eco-Topcoat, and they’ll last through beach days and bonfires alike.
Are Rowan products safe for weekly acrylic nail use?
Yes! Their PureTech Formula avoids harmful chemicals. I’ve used them for 2 years without any nail discoloration or peeling.
Can I combine Rowan gels with stamping?
100%. Try using their Stamp-Friendly Base Gel followed by 3D floral stamping in gold perfect for that “effortless elegant” summer vibe.
How to fix an asymmetrical almond shape?
Use a mirror! Sculpt one nail, then flip your hand and trace the shape with eyes open. Or download Rowan’s free alignment tool that fits into your LED lamp for symmetry.
Final Thoughts: Almond Nails as Your Summer Signature
Remember that cringe-y first salon visit? Me either, because now I trust Rowan Nails to bring my vision to life. From mastering the taper to experimenting with sun-friendly gel polishes, the world of DIY summer nail art is yours to explore. Need more inspiration or gentle reminders when maintenance time hits?Browse my curated collection on Pinterest. Here’s to summer, to self-care, and to nails that make you feel like your most polished, beach-ready self. 💅