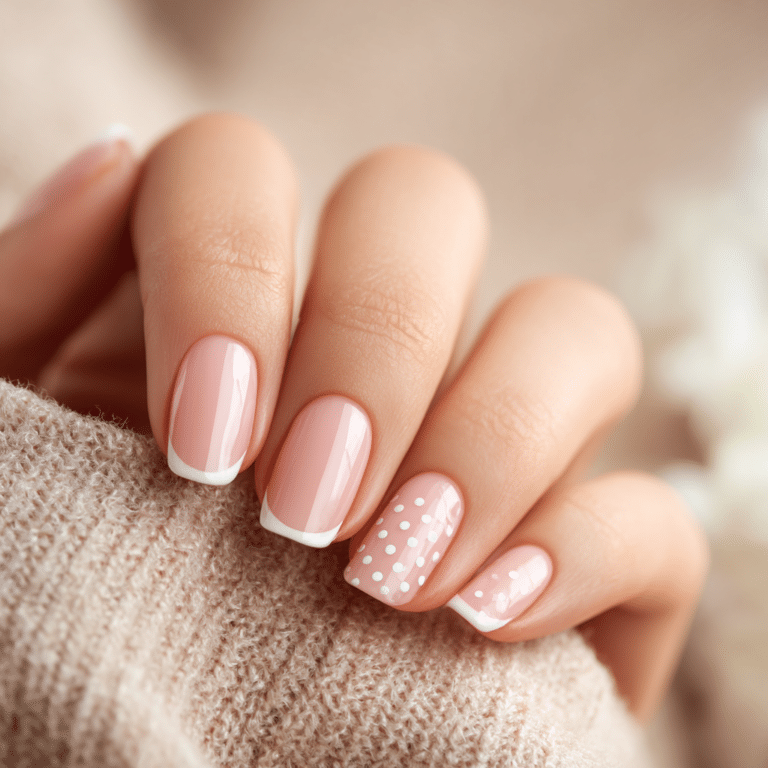
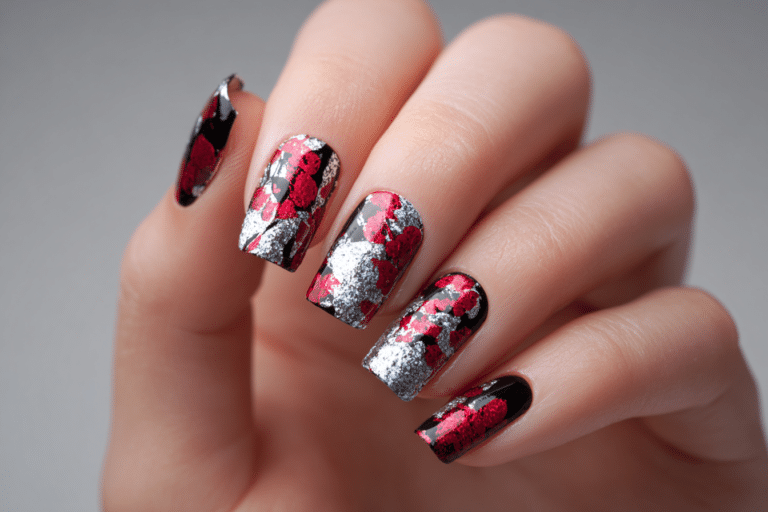
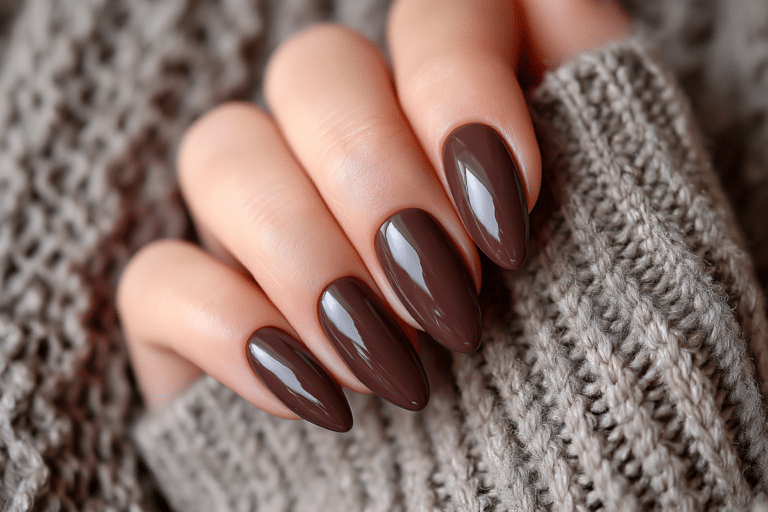
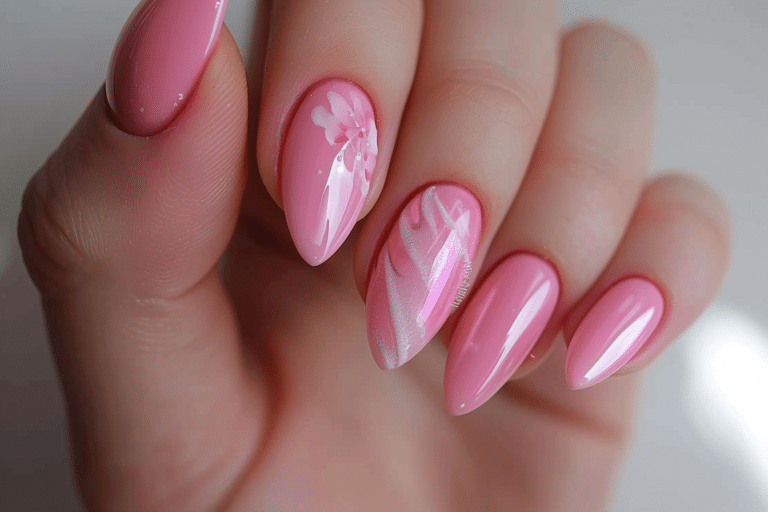
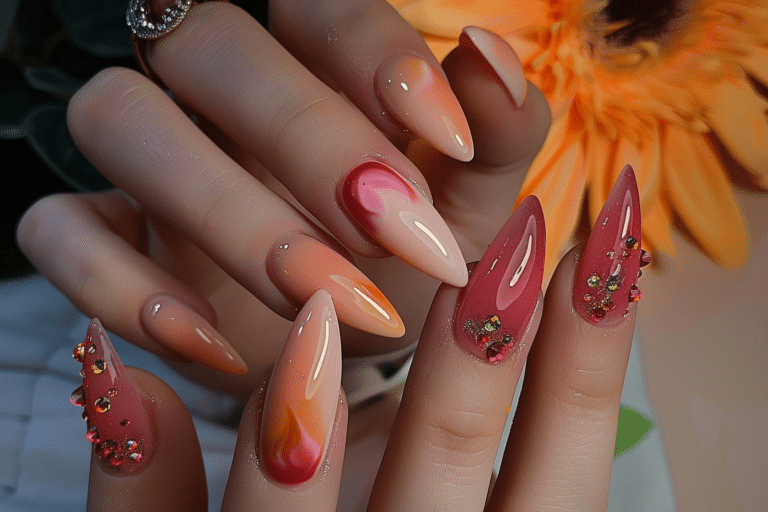
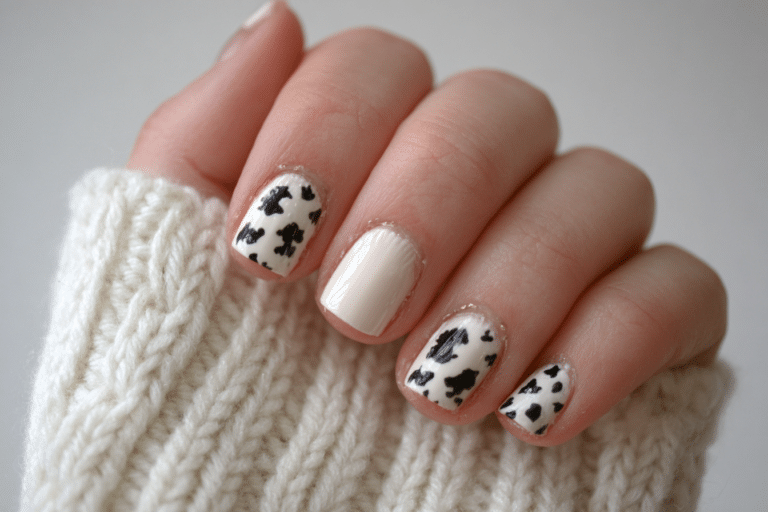
2024’s Top Almond Nail Designs – Trendy, Cute & Bold Aesthetic Styles

Almond nail designs in 2024 showcase elegance with a tapered shape that flatters every hand.
The almond nail shape, characterized by its slender sides and rounded tip, has become the canvas for trendy, cute, and bold aesthetic styles this year. This versatile shape combines the durability of square nails with the sophistication of stiletto nails, making it perfect for both everyday wear and special occasions.
| Topic | Details |
|---|---|
| Category | Nail Art / Gel Nails |
| Skill Level | Beginner to Advanced |
| Time Needed | 60-90 minutes |
| Tools Needed | UV/LED lamp, gel polish, nail file, buffer, base coat, top coat |
| Best For | Anyone wanting elegant, elongating nail designs |
Table of Contents
Why This Nail Technique Works
The almond nail shape works exceptionally well because it creates the illusion of longer, more slender fingers while maintaining structural integrity. The tapered sides distribute stress evenly across the nail, reducing the likelihood of breakage compared to extreme shapes. This shape naturally guides the eye upward, creating an elegant aesthetic that complements both minimalist designs and intricate nail art.
From a technical perspective, almond nails provide an optimal canvas for gel polish application. The curved surface allows for smooth, even coating without product pooling at the edges. The shape also accommodates various design techniques, from simple solid colors to complex gradient effects and detailed artwork. Professional nail technicians prefer almond nails because they suit different nail bed shapes and can be customized in length to match client preferences.
The popularity of almond nail designs in 2024 stems from their versatility across fashion trends. Whether you prefer trendy chrome finishes, cute minimalist patterns, or bold aesthetic statements, the almond shape enhances every style. The gentle curve prevents the harsh appearance of square nails while avoiding the impracticality of extreme stiletto points, making it the perfect balance for modern lifestyles.
Tools and Products Needed
| Product | Purpose | Alternatives |
|---|---|---|
| UV/LED Lamp | Cures gel polish for long-lasting wear | 48W or higher professional lamp |
| Base Coat | Protects natural nails and ensures adhesion | Rubber base for added strength |
| Gel Polish Colors | Creates the desired design and color | Regular polish with quick-dry top coat |
| Top Coat | Seals design and adds shine | No-wipe or traditional gel top coat |
| Nail File (180 grit) | Shapes nails into almond form | Glass file or electric file |
| Nail Buffer | Smooths nail surface for better adhesion | 240 grit buffer block |
| Cuticle Oil | Maintains nail health and flexibility | Vitamin E oil or jojoba oil |
| Nail Dehydrator | Removes oils for better gel adhesion | Rubbing alcohol |
| Lint-Free Wipes | Cleans nails without leaving residue | Cotton pads |
For professional-quality results at home, invest in high-quality gel products. Visit Gel Nails by Lina for curated recommendations on the best gel nail systems and tools for creating stunning almond nail designs.
Step-by-Step Application Guide for Almond Nail Designs
Nail Preparation
- Remove any existing nail polish using acetone-free remover to prevent nail dehydration.
- Wash hands thoroughly with soap and dry completely to eliminate any oils or debris.
- Push back cuticles gently using a cuticle pusher or orangewood stick.
- Trim nails to desired length, leaving enough for shaping the almond form.
- File nails straight across at the tip to create an even starting point.
- Shape the sides at an angle toward the center, creating the characteristic taper.
- Round the tip gently to form the almond point without making it too sharp.
- Buff the nail surface lightly to remove shine and create texture for adhesion.
- Apply nail dehydrator or rubbing alcohol to remove any remaining oils.
Base Coat Application
- Apply a thin layer of base coat starting from the cuticle area.
- Pull the brush toward the free edge in smooth, even strokes.
- Cap the free edge by running the brush along the tip.
- Ensure coverage is thin and even without flooding the cuticles.
- Cure under UV/LED lamp for the recommended time, typically 30-60 seconds.
- Check for any missed spots and apply additional base coat if needed.
Gel Polish Layers
- Select your chosen gel polish color for the almond nail design.
- Apply the first thin layer of color, starting slightly away from the cuticle.
- Use minimal pressure to prevent the polish from spreading into the cuticle area.
- Cap the free edge to prevent premature chipping.
- Cure the first color layer for 30-60 seconds under the lamp.
- Apply a second thin layer for full opacity and even color saturation.
- Add any design elements like stripes, dots, or patterns between layers.
- Cure each design layer separately to maintain crisp lines.
Curing Process
- Place your hand completely inside the UV/LED lamp with nails flat.
- Ensure the lamp wattage is appropriate for your gel polish brand.
- Set the timer according to manufacturer recommendations, usually 30-60 seconds.
- Keep fingers still during curing to prevent smudging or movement.
- Cure each hand separately for optimal results and complete polymerization.
- Check that polish is fully hardened before applying the next layer.
Finishing and Top Coat
- Apply a thin layer of gel top coat over the entire nail surface.
- Cap the free edge thoroughly to seal the design completely.
- Ensure top coat covers all edges to prevent lifting and peeling.
- Cure the top coat for the full recommended time, often 60 seconds.
- Wipe off the sticky residue layer if using a traditional gel top coat.
- Apply cuticle oil around each nail to hydrate and nourish.
- Massage oil into cuticles and surrounding skin for complete nail health.
Pro Nail Technician Tips for Almond Nail Designs
- File almond nails when dry to prevent splitting and achieve the cleanest shape with precise control over the curve.
- Apply gel polish in thin layers rather than thick coats to prevent wrinkling, ensure proper curing, and extend wear time.
- Leave a tiny gap between gel polish and cuticles to accommodate natural nail growth and prevent lifting from skin contact.
- Use a detail brush dipped in alcohol to clean up any polish that touches the skin before curing for crisp edges.
- Cure gel polish for the full recommended time to ensure complete polymerization and prevent premature chipping or peeling.
- Apply cuticle oil daily to maintain flexibility around the nail edges and prevent the gel from becoming brittle at stress points.
For more professional techniques and exclusive nail art tutorials, explore the comprehensive guides available at Gel Nails by Lina where expert nail technicians share advanced tips for perfecting your almond nail designs.
Common Gel Nail Mistakes
| Mistake | Why it Happens | How to Fix |
|---|---|---|
| Thick Gel Layers | Trying to achieve opacity in one coat or rushing the application process | Apply 2-3 thin layers instead, curing between each application |
| Improper Curing | Insufficient lamp wattage, expired bulbs, or removing nails too soon | Invest in a quality 48W lamp and cure for full recommended time |
| Skipping Nail Prep | Rushing the process or underestimating the importance of dehydration | Always buff, dehydrate, and apply base coat for maximum adhesion |
| Flooding the Cuticle | Applying polish too close to the cuticle or using too much product | Leave a small gap and use minimal pressure when applying near cuticles |
| Not Capping the Edge | Forgetting to seal the free edge with each layer of polish | Run the brush along the tip with every application including base and top coat |
Trendy Almond Nail Design Variations for 2024
| Style | Description | Best Occasion |
|---|---|---|
| French Almond Nails | Classic white tips with nude base, modernized with thin or colored lines | Professional settings, weddings, everyday elegance |
| Chrome Almond Nails | Metallic mirror finish in silver, gold, or iridescent shades | Evening events, parties, fashion-forward looks |
| Ombre Almond Nails | Gradient color transition from base to tip in complementary shades | Casual outings, seasonal transitions, versatile styling |
| Minimalist Line Art | Simple geometric lines, dots, or abstract patterns on neutral bases | Office wear, understated elegance, modern aesthetics |
| Bold Abstract Designs | Colorful swirls, artistic patterns, and mixed media techniques | Creative expression, festivals, statement-making events |
| Glitter Accent Nails | Sparkle on one or two nails paired with solid colors | Celebrations, holidays, adding subtle glamour |
| Nude Almond Nails | Natural shades matching skin tone for elongating effect | Professional environments, timeless everyday wear |
| Seasonal Designs | Themed colors and patterns reflecting current season or holidays | Holiday parties, seasonal celebrations, festive occasions |
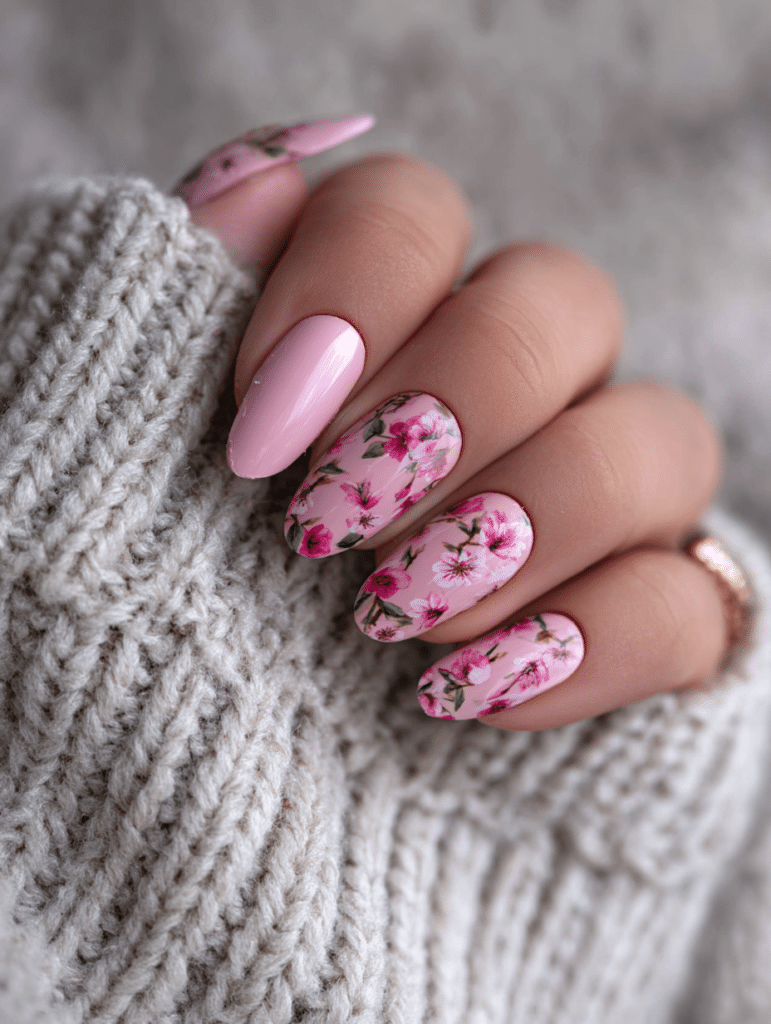
The versatility of almond nails allows endless creativity. Trendy designs in 2024 emphasize personalization, combining cute minimalist elements with bold statement pieces. Mix textures like matte and glossy finishes on different nails to create dimensional looks that capture attention without overwhelming the elegant almond shape.
Nail Care and Maintenance for Long-Lasting Almond Designs
Maintaining beautiful almond nail designs requires consistent care and attention. Apply cuticle oil twice daily to keep the nail bed hydrated and prevent the gel from lifting at the edges. Hydrated cuticles create a seal around the nail that protects against water infiltration and bacterial growth. Choose oils containing vitamin E, jojoba, or sweet almond oil for optimal nourishment and absorption.
Protect your almond nails by wearing gloves during household chores involving water or harsh chemicals. Extended water exposure can cause the natural nail to expand and contract beneath the gel, leading to premature lifting. Avoid using your nails as tools to open cans or scrape surfaces, as the tapered almond shape concentrates stress at the tip and can cause breakage.
Schedule regular maintenance appointments every two to three weeks to address growth and prevent damage. As natural nails grow, the balance of the almond shape shifts, potentially creating weak points. Professional fills or complete gel changes maintain structural integrity and keep designs looking fresh. Between appointments, monitor for any signs of lifting or separation and address them promptly to prevent water or bacteria from entering beneath the gel.
Visit Gel Nails by Lina for detailed maintenance guides and product recommendations specifically formulated for gel nail longevity and nail health preservation.
How to Remove Gel Nails Safely
- Buff the shiny top coat layer gently to break the seal and allow acetone penetration.
- Soak cotton pads in pure acetone until fully saturated but not dripping excessively.
- Place the acetone-soaked pad directly on each nail, covering the entire surface.
- Wrap each finger with aluminum foil to hold the cotton in place and prevent evaporation.
- Wait for 10-15 minutes to allow the acetone to dissolve the gel polish completely.
- Remove the foil and cotton, then gently push off softened gel with an orangewood stick.
- Avoid forcing or scraping gel that has not fully dissolved to prevent nail damage.
- Buff the nail surface lightly to remove any remaining residue or roughness.
- Wash hands thoroughly to remove all acetone traces from skin and nails.
- Apply cuticle oil and hand cream generously to restore moisture lost during removal.
- Allow nails to rest for at least 24 hours before applying new gel polish.
Nail Health and Safety for Almond Nail Designs
Maintaining nail health while wearing almond gel designs requires attention to proper application and removal techniques. Over-filing the natural nail during preparation thins the nail plate, making it vulnerable to damage and sensitivity. File only the surface shine, not the actual nail structure, and avoid aggressive buffing that generates excessive heat or removes too much material.
Watch for signs of nail damage including discoloration, pain, separation of the nail from the bed, or persistent lifting. These symptoms may indicate fungal infection, allergic reaction, or physical damage requiring professional attention. If you notice green or yellow discoloration, remove the gel immediately and consult a dermatologist, as this often indicates bacterial growth beneath the gel.
Prevent infections by ensuring all tools are properly sanitized before use. Nail technicians should use hospital-grade disinfectants on implements and never reuse disposable items. At home, clean your tools with isopropyl alcohol between uses and replace files regularly. Never cut cuticles aggressively, as they provide a protective seal against bacteria and fungi entering the nail matrix.
Frequently Asked Questions
How long do gel nails last on almond-shaped nails?
Gel nails on properly prepared almond-shaped nails typically last two to three weeks without chipping or lifting. The longevity depends on factors including application technique, daily activities, and maintenance practices. Almond nails may last slightly longer than other shapes because the tapered design distributes stress evenly, reducing pressure points that cause cracking. Apply cuticle oil daily and avoid using nails as tools to maximize wear time and maintain the glossy finish throughout the entire period.
How to remove gel nails safely without damaging natural nails?
Safe gel nail removal requires soaking nails in pure acetone for 10-15 minutes after buffing the top coat. Wrap each nail with acetone-soaked cotton and aluminum foil to prevent evaporation and maximize dissolving action. Never peel or force gel off the nail, as this removes layers of the natural nail plate and causes significant damage. After removal, wash hands thoroughly and apply nourishing cuticle oil to restore moisture lost during the acetone soaking process.
What is the difference between gel nails and acrylic nails for almond shapes?
Gel nails cure under UV/LED light and provide a flexible, glossy finish that looks more natural, while acrylic nails harden through a chemical reaction and offer a stronger, more rigid structure. For almond shapes, gel nails work well on natural nails with adequate length, creating an elegant, lightweight feel. Acrylic nails are better for extreme length extensions or when additional strength is needed. Gel nails require less filing during application and removal, making them gentler on natural nails compared to the more intensive acrylic process.
Why do my gel nails peel after a few days?
Gel nails peel prematurely due to inadequate nail preparation, oil or moisture on the nail surface, or improper application technique. The most common cause is skipping the dehydration step or failing to buff the nail surface before application, which prevents proper adhesion. Ensure you remove all oils with a nail dehydrator, apply thin layers of gel, cap the free edge with each coat, and cure for the full recommended time. Flooding the cuticle area or applying polish too close to the skin also causes lifting as natural oils migrate under the gel.
How can I make my gel almond nails last longer?
Make gel almond nails last longer by applying cuticle oil twice daily to maintain flexibility and prevent lifting at the edges. Wear gloves during household chores to protect nails from water and chemicals that weaken the bond between gel and natural nail. Avoid extreme temperature changes and minimize contact with harsh substances like acetone-based cleaners. Proper application technique including thorough nail preparation, thin gel layers, complete curing, and edge capping significantly extends wear time beyond three weeks with proper care and maintenance.
Conclusion
Mastering 2024’s top almond nail designs opens endless possibilities for expressing your personal style through trendy, cute, and bold aesthetic choices. The almond shape provides the perfect canvas for both simple elegance and complex artistry, combining durability with sophistication. By following proper application techniques, maintaining consistent nail care, and exploring creative design variations, you can achieve salon-quality results that last. Start experimenting with these almond nail designs today and discover which styles best complement your unique aesthetic and lifestyle preferences.