Cute And Easy Nail Inspo

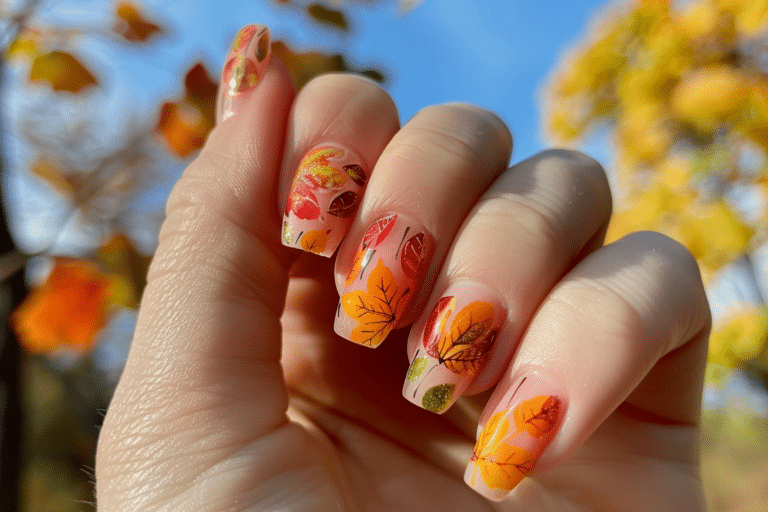
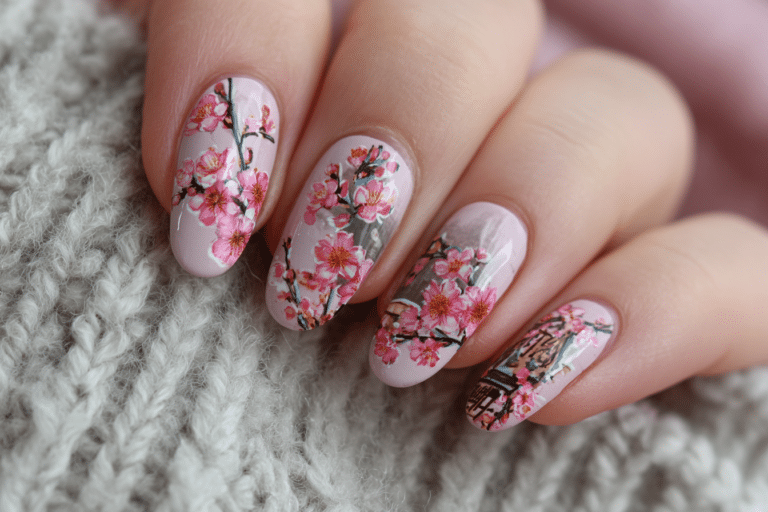
Cute and easy nail inspo transforms ordinary manicures into stunning works of art without requiring professional training or expensive salon visits.
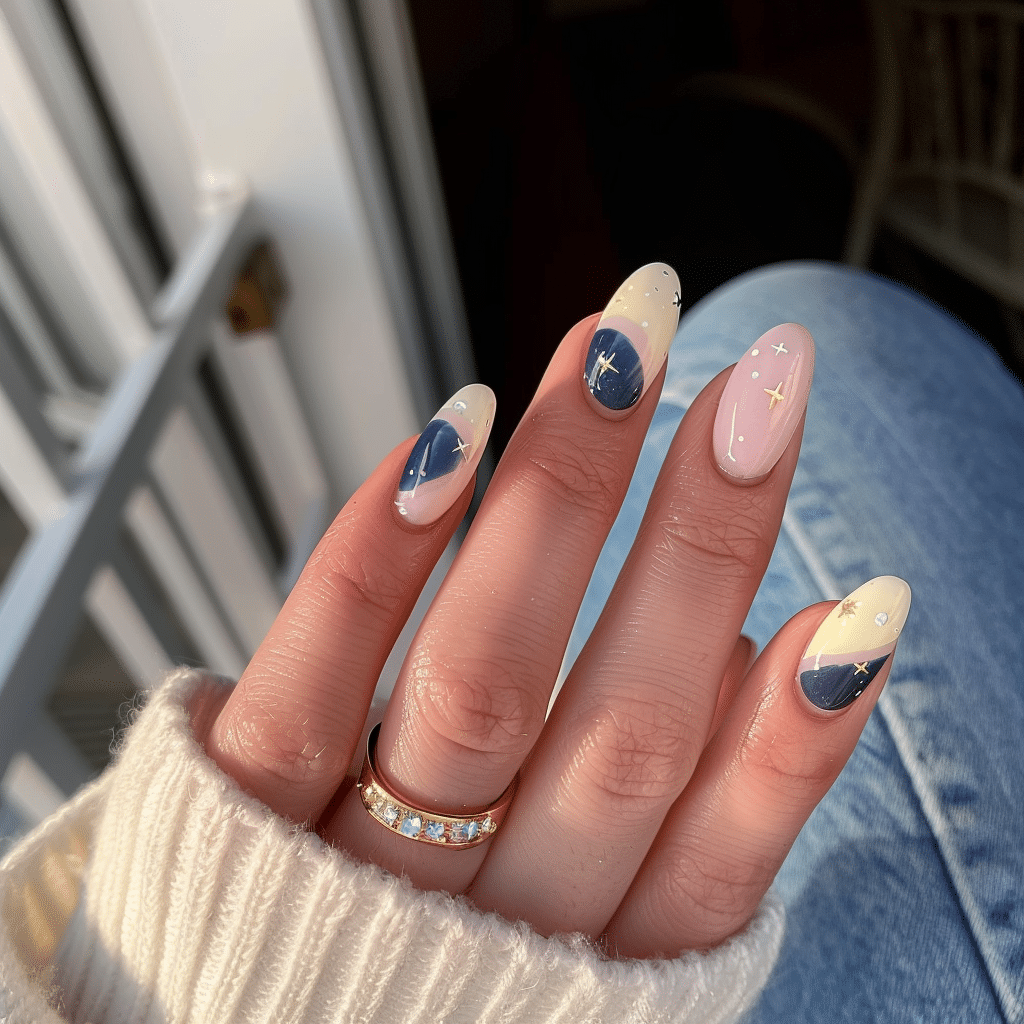
These simple yet charming nail designs offer the perfect solution for anyone wanting beautiful nails that reflect personal style while staying manageable and quick to create. Whether you prefer minimalist elegance or playful patterns, accessible nail inspiration empowers you to achieve salon-quality results from your own home.
| Topic | Details |
|---|---|
| Category | Nail Art |
| Skill Level | Beginner |
| Time Needed | 30-45 minutes |
| Tools Needed | UV/LED lamp, gel polish, base coat, top coat, nail file |
| Best For | Anyone wanting simple, beautiful nail designs at home |
Table of Contents
Why This Nail Technique Works
Simple nail designs succeed because they focus on clean application and strategic color choices rather than complex techniques. The beauty of easy nail inspiration lies in its accessibility, allowing beginners to create impressive results without mastering intricate patterns or detailed artwork. These designs rely on fundamental nail care principles, proper base preparation, and quality gel products that provide durability and shine.
Gel polish technology makes cute nail designs more achievable than ever before. The self-leveling properties of modern gel formulas help smooth out minor application errors, while the extended working time before curing allows for adjustments. This forgiving nature means even first-time nail artists can achieve professional-looking manicures. The curing process locks in color and creates a protective barrier that resists chipping for weeks, making simple designs practical for busy lifestyles.
Psychology plays a significant role in why easy nail inspiration resonates with so many people. Accomplishing a beautiful manicure builds confidence and encourages creative expression without overwhelming anxiety. Starting with manageable designs establishes positive associations with nail art, gradually building skills that can evolve into more complex creations over time.
Tools and Products Needed
| Product | Purpose | Alternatives |
|---|---|---|
| UV/LED Lamp | Cures gel polish to hard finish | LED-only lamp for faster curing |
| Base Coat | Protects natural nail and improves adhesion | Ridge-filling base for uneven nails |
| Gel Polish | Provides color and long-lasting finish | Gel polish pens for detailed work |
| Top Coat | Seals design and adds shine | Matte top coat for different finish |
| Nail File | Shapes nail edges and smooths surface | Glass file for gentler filing |
| Nail Buffer | Creates smooth surface for polish adhesion | Fine-grit buffer block |
| Cuticle Oil | Hydrates cuticles and surrounding skin | Vitamin E oil or jojoba oil |
| Lint-Free Wipes | Removes sticky residue after curing | Cotton pads with minimal fibers |
| Isopropyl Alcohol | Cleanses nail surface before application | Gel cleanser solution |
| Dotting Tools | Creates dots and simple patterns | Bobby pins or toothpicks |
Finding quality products makes a significant difference in your final results. Explore professional-grade supplies at Gel Nails By Lina to ensure your manicures look stunning and last longer. Investing in proper tools from the start prevents frustration and delivers consistently beautiful outcomes.
Step-by-Step Application Guide
Nail Preparation
- Remove any existing nail polish using acetone-based remover and lint-free wipes.
- Wash hands thoroughly with soap and warm water to eliminate oils and debris.
- Push back cuticles gently using a wooden or rubber cuticle pusher.
- File nails to your desired shape using smooth, one-directional strokes.
- Buff the nail surface lightly to remove shine and create texture for better adhesion.
- Wipe nails with isopropyl alcohol to remove dust and natural oils completely.
Base Coat Application
- Apply a thin, even layer of gel base coat to each nail.
- Cap the free edge by running the brush along the nail tip.
- Avoid flooding the cuticle area or touching the skin around nails.
- Cure under UV/LED lamp according to manufacturer instructions, typically 30-60 seconds.
- Check that base coat is completely hardened before proceeding to color.
Gel Polish Layers
- Select your chosen gel polish color and roll the bottle between palms to mix.
- Apply the first thin layer of color using gentle, even strokes from cuticle to tip.
- Cap the free edge with color to prevent premature chipping.
- Cure the first color layer under the lamp for the recommended time.
- Apply a second thin layer of gel polish for full opacity and vibrant color.
- Cure the second layer completely before adding any designs or top coat.
Curing Process
- Position your hand completely inside the lamp with nails flat and exposed to light.
- Set the timer according to your specific gel polish and lamp type.
- Keep your hand still during the entire curing cycle to prevent smudging.
- Wait for the lamp to complete its cycle before removing your hand.
- Test cure by gently touching the nail surface to ensure hardness.
Finishing and Top Coat
- Apply a thin layer of gel top coat over the entire nail surface.
- Cap the free edge thoroughly to seal the manicure and prevent lifting.
- Cure the top coat under the lamp for the full recommended time.
- Wipe away the sticky residue using isopropyl alcohol and a lint-free wipe.
- Apply cuticle oil around each nail to hydrate and nourish the skin.
- Massage the oil into cuticles and surrounding skin for maximum absorption.
For more detailed tutorials and technique videos, visit Gel Nails By Lina where professional nail technicians share insider tips and tricks.
Pro Nail Technician Tips
- Apply gel polish in thin layers rather than one thick coat to prevent wrinkling, bubbling, and improper curing that leads to early lifting.
- Always cure each layer for the full recommended time even if the surface feels hard, as under-cured gel remains soft underneath and chips easily.
- Keep gel polish away from skin and cuticles by leaving a tiny gap around the edges, preventing lifting and allowing natural nail growth.
- Clean your UV/LED lamp bulbs regularly to maintain proper curing power, as dust and residue reduce effectiveness and extend curing times.
- Store gel polish bottles upside down for 24 hours before use to prevent settling and ensure consistent color application throughout the bottle.
- Work in a well-ventilated area to minimize exposure to chemical fumes and maintain a comfortable environment during application.
Common Gel Nail Mistakes
| Mistake | Why It Happens | How To Fix |
|---|---|---|
| Thick gel layers | Attempting to achieve full coverage in one coat or rushing the process | Apply two to three thin coats instead of one thick layer for proper curing |
| Improper curing | Using wrong lamp wattage or removing hand before cycle completes | Invest in compatible lamp and cure for full recommended time every layer |
| Skipping nail prep | Rushing to color application without proper cleaning and buffing | Always cleanse with alcohol and lightly buff to remove natural oils |
| Flooding the cuticle | Applying polish too close to skin or using too much product | Leave small gap around cuticle and wipe brush before each application |
| Not capping free edge | Forgetting to seal the nail tip with each layer of product | Run brush along tip edge with base coat, color, and top coat |
Cute And Easy Nail Inspo Design Variations
| Style | Description | Best Occasion |
|---|---|---|
| French Gel Nails | Classic white tips with natural or pink base for timeless elegance | Professional settings, weddings, everyday wear |
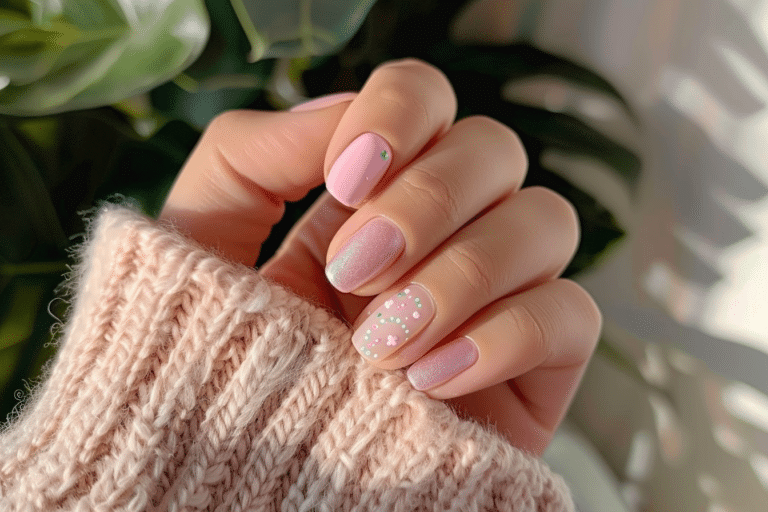
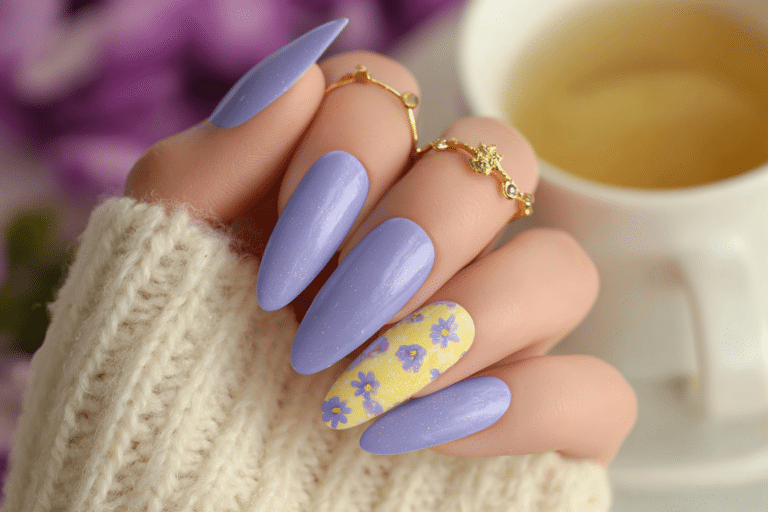
| Single Accent Nail | One decorated nail per hand with glitter, chrome, or simple design | Beginners wanting subtle creativity without overwhelming complexity |
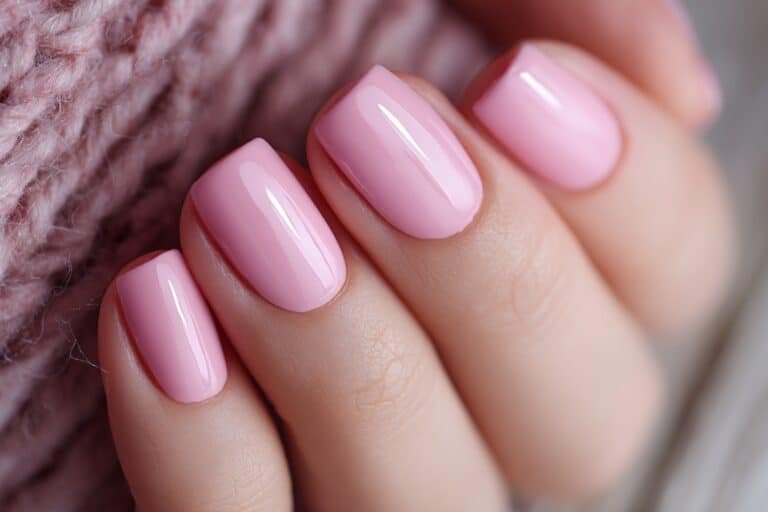
| Solid Pastel Colors | Soft pink, lavender, mint, or peach shades for gentle femininity | Spring events, casual outings, romantic dates |
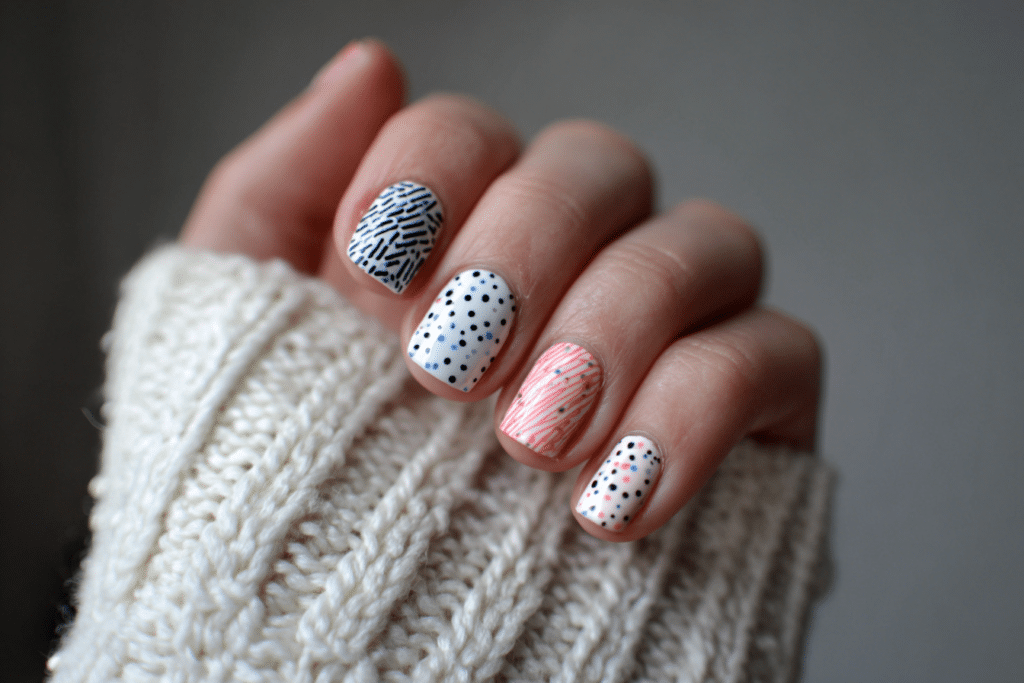
| Simple Dots | Polka dot patterns using contrasting colors and dotting tool | Playful everyday wear, casual parties, summer activities |
| Minimalist Lines | Thin stripes or geometric lines in gold, silver, or contrasting color | Modern professional looks, artistic events, fashion-forward occasions |
| Ombre Nails | Gradual color transition from light to dark using sponge technique | Special events, Instagram photos, creative expression |
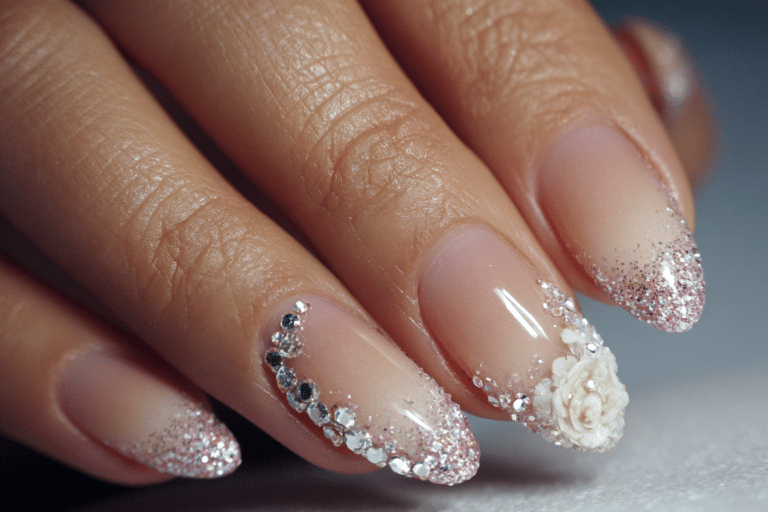
| Glitter Tips | Sparkling glitter concentrated on nail tips for easy glamour | Holiday parties, celebrations, evening events |
| Nude with Details | Neutral base with tiny gold flakes, single rhinestone, or delicate line | Sophisticated professional environments, elegant gatherings |
Discover more design inspiration and step-by-step tutorials at Gel Nails By Lina where creativity meets practical application techniques.
Nail Care and Maintenance
Maintaining healthy nails between gel manicures requires consistent hydration and gentle treatment. Apply cuticle oil at least twice daily, focusing on the cuticle area and surrounding skin to prevent dryness and promote healthy nail growth. Hydrated cuticles create a protective barrier against infection and environmental damage while keeping the nail bed nourished. This simple habit takes only seconds but dramatically improves nail health and the longevity of your gel manicures.
Protect your gel nails by wearing gloves during household chores, especially when using cleaning products or washing dishes. Prolonged water exposure weakens the bond between gel and natural nail, leading to premature lifting and reduced wear time. Harsh chemicals found in cleaners can also dull the shine and degrade the top coat, diminishing the professional appearance of your manicure. Taking these protective measures extends the life of your nail art significantly.
Avoid using your nails as tools to open cans, scrape off stickers, or pry objects apart. This mechanical stress creates microscopic cracks in the gel layers and can cause painful breaks in the natural nail underneath. When you need to pick up small items or perform delicate tasks, use the pads of your fingers rather than nail tips. Respecting your nails as the delicate structures they are prevents damage and maintains the integrity of your manicure for the full two to three week wear period.
How to Remove Gel Nails Safely
- File the shiny top coat layer using a coarse nail file to break the seal and allow acetone penetration.
- Soak cotton balls or pads in pure acetone until thoroughly saturated.
- Place acetone-soaked cotton directly on each nail, covering the entire gel surface.
- Wrap each fingertip in aluminum foil to secure cotton and prevent acetone evaporation.
- Wait 10 to 15 minutes to allow acetone to dissolve the gel polish layers.
- Remove foil wraps and gently push off softened gel using a wooden cuticle stick.
- Avoid forcing gel off if it resists, instead rewrap and soak for additional five minutes.
- Buff away any remaining gel residue using a fine-grit buffer with gentle pressure.
- Wash hands thoroughly with soap and warm water to remove acetone.
- Apply cuticle oil generously and moisturize hands to restore hydration after acetone exposure.
Nail Health and Safety
Protecting nail health starts with recognizing signs of damage or infection early. Watch for discoloration, unusual thickness, separation from the nail bed, or persistent pain around the nail area. These symptoms may indicate fungal infection, allergic reaction to products, or over-filing damage that requires professional medical attention. Never ignore warning signs, as early intervention prevents minor issues from becoming serious problems requiring lengthy treatment.
Over-filing represents one of the most common causes of nail damage among home gel manicure enthusiasts. Excessive buffing removes too much of the natural nail plate, creating thin, weak nails prone to breaking and peeling. The natural nail should never feel hot during filing, as heat indicates friction damage to living tissue. Use light pressure and frequent breaks during filing to preserve nail thickness and strength.
Sanitizing tools between uses prevents bacterial and fungal infections that thrive in moist environments. Clean metal tools with isopropyl alcohol or antibacterial soap after each manicure session. Replace disposable items like nail files and buffers regularly, as they harbor bacteria within their porous surfaces. Professional dermatologists emphasize proper hygiene as the foundation of nail health, especially when sharing tools among family members or friends.
Frequently Asked Questions
How long do gel nails last?
Gel nails typically last two to three weeks when applied correctly with proper preparation and quality products. The longevity depends on factors including your natural nail growth rate, daily activities, and how well you maintain the manicure. Using cuticle oil daily and avoiding harsh chemicals extends wear time significantly. Most people notice lifting or growth at the cuticle line around the two-week mark, indicating it is time f
How to remove gel nails safely at home?
Safe gel nail removal requires soaking nails in pure acetone for 10 to 15 minutes after filing off the shiny top coat. Wrap each nail in acetone-soaked cotton and aluminum foil to maximize penetration and prevent evaporation. Gently push softened gel off with a wooden stick, never forcing or peeling, which damages the natural nail. Always moisturize thoroughly after removal to restore hydration depleted by acetone exposure.
What is the difference between gel nails and acrylic nails?
Gel nails use a polish cured under UV or LED light, creating a flexible, glossy finish that looks more natural than acrylics. Acrylic nails involve mixing liquid monomer with powder polymer to create a hard, durable extension or overlay that air-dries. Gel tends to be gentler on natural nails and easier to remove, while acrylic offers more strength for those needing length or significant repairs. Both require proper application and removal to prevent nail damage.
Why do gel nails peel or lift prematurely?
Gel nails peel when moisture or oils remain on the natural nail during application, preventing proper adhesion of the base coat. Skipping the buffing step or failing to cleanse with alcohol before application also causes lifting. Applying gel too close to the cuticle allows natural oils to seep underneath, breaking the bond. Thick gel layers that cure improperly remain soft underneath and separate from the nail plate, leading to premature failure.
How can I make my gel nails last longer?
Making gel nails last longer starts with thorough preparation including proper buffing, cleansing, and ensuring nails are completely dry before application. Apply thin layers of each product and cure for the full recommended time to create strong bonds. Keep cuticles moisturized but avoid getting oil on the actual nail plate during wear. Wear gloves during water exposure and household chores to protect the manicure from chemicals and prolonged moisture that weaken the gel bond.
Conclusion
Cute and easy nail inspo makes beautiful manicures accessible to everyone regardless of artistic skill or previous experience. By following proper application techniques, using quality products, and maintaining consistent nail care routines, you can achieve salon-worthy results from the comfort of home. Start with simple designs that build your confidence, then gradually explore more creative variations as your skills develop. Your perfect manicure awaits with the right inspiration, tools, and techniques at your fingertips.