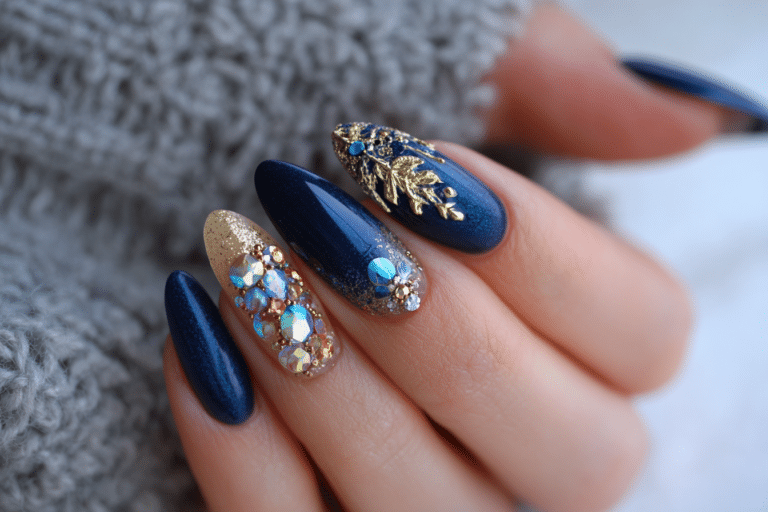
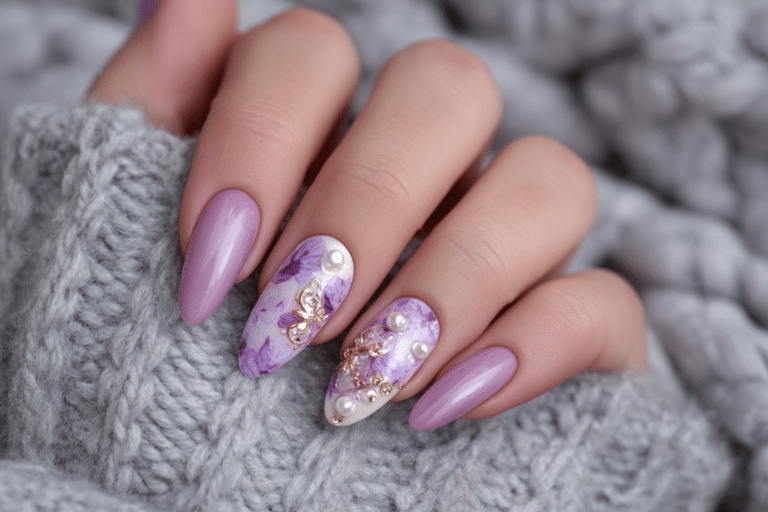
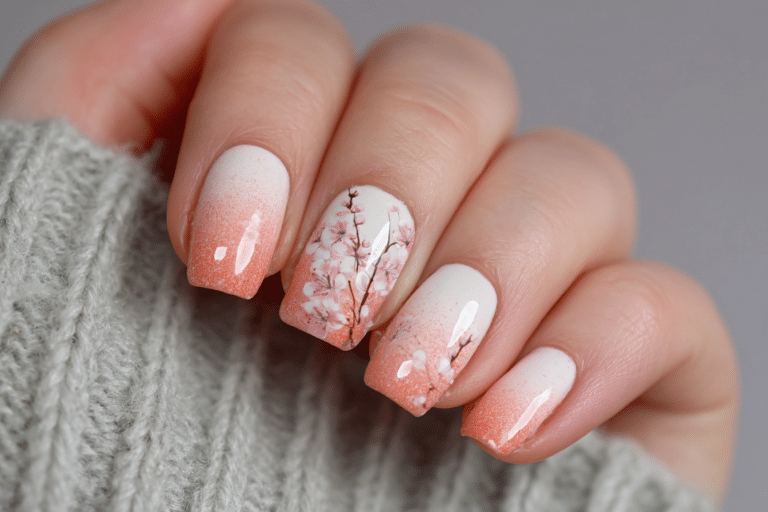
Classy Nail Designs That Elevate Your Style

Classy nail designs combine sophistication with timeless elegance to create manicures that work for any professional setting or special occasion.
These refined nail art styles emphasize understated beauty through neutral tones, precise application techniques, and balanced design elements. Whether you prefer minimalist aesthetics or subtle embellishments, mastering classy nail designs ensures your hands always look polished and refined.
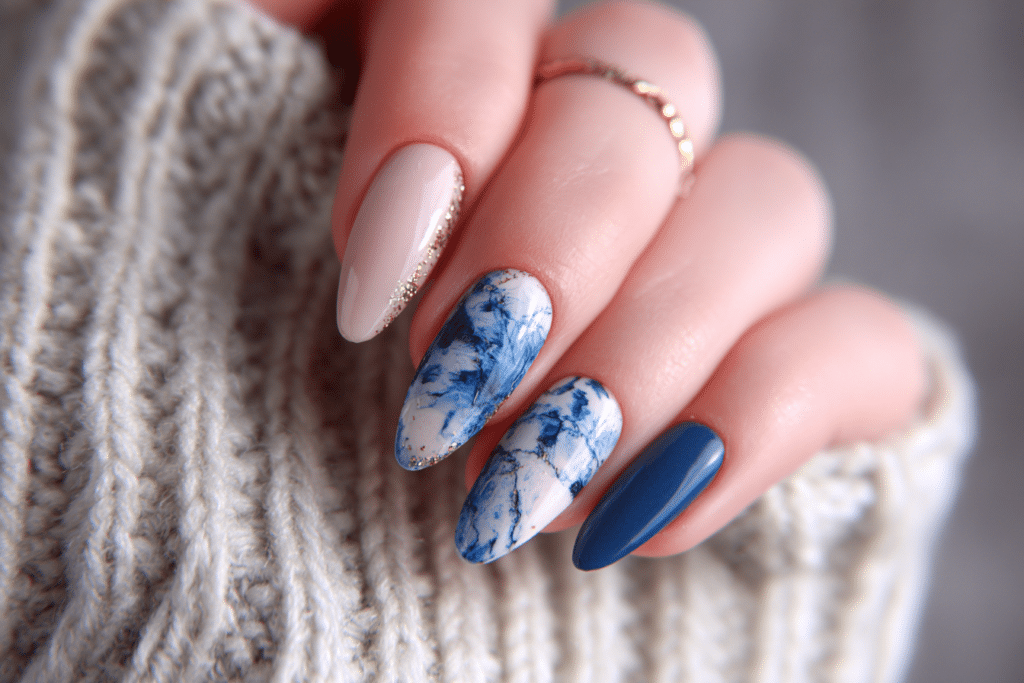
| Topic | Details |
|---|---|
| Category | Nail Art / Gel Nails |
| Skill Level | Beginner to Intermediate |
| Time Needed | 60-90 minutes |
| Tools Needed | UV/LED lamp, gel polish, base coat, top coat, nail file, cuticle pusher |
| Best For | Professionals, formal events, everyday elegance, special occasions |
Table of Contents
Why This Nail Technique Works
Classy nail designs work exceptionally well because they prioritize balance and restraint over excessive decoration. The sophisticated approach focuses on quality application, complementary color choices, and subtle artistic elements that enhance rather than overwhelm. This methodology creates manicures that remain appropriate across professional environments while still expressing personal style.
The effectiveness of elegant nail art lies in its versatility and longevity. Unlike trendy designs that quickly become dated, classic nail aesthetics maintain their appeal across seasons and fashion cycles. The neutral color palettes, clean lines, and precise execution characteristic of these designs create a polished appearance that complements any outfit or setting. Professional nail technicians recognize that sophisticated designs require superior technical skills, making proper gel application and curing essential for achieving salon-quality results.
These refined manicure styles also work well because they suit various nail lengths and shapes. From mid-length square nails to long almond shapes, classy designs adapt beautifully to different preferences. The timeless nature of elegant nail art makes it particularly suitable for important life events, business meetings, formal celebrations, and everyday wear when you want to project confidence and professionalism.
Tools and Products Needed
| Product | Purpose | Alternatives |
|---|---|---|
| UV/LED Lamp | Cures gel polish properly | LED-only lamp for faster curing |
| Base Coat | Protects natural nails and improves adhesion | Ridge-filling base coat |
| Gel Polish (Neutral Shades) | Provides color and elegance | Sheer pink, nude, beige, or soft mauve tones |
| Top Coat | Seals design and adds shine | Matte top coat for sophisticated finish |
| Nail File (180 Grit) | Shapes nails precisely | Glass file for gentler shaping |
| Nail Buffer | Smooths nail surface | Fine-grit buffer block |
| Cuticle Pusher | Prepares nail bed | Wooden orange stick |
| Cuticle Oil | Maintains nail health | Vitamin E oil or jojoba oil |
| Nail Dehydrator | Removes oils for better adhesion | Isopropyl alcohol |
| Thin Detailing Brush | Creates fine lines and elegant accents | Striping brush |
For professional-quality results and additional product recommendations, visit Gel Nails by Lina for expert guidance on selecting the best tools for sophisticated nail designs.
Step-by-Step Application Guide
Nail Preparation
- Remove any existing polish using acetone-soaked cotton pads wrapped around each nail for thorough cleaning.
- Push back cuticles gently using a cuticle pusher to create a clean nail bed foundation.
- File nails into your desired shape, whether square, rounded square, almond, or oval for elegant proportions.
- Buff the nail surface lightly using a fine-grit buffer to remove shine and create texture for better adhesion.
- Wash hands thoroughly with soap and water to remove all dust and debris from filing.
- Apply nail dehydrator or wipe nails with isopropyl alcohol to eliminate any remaining oils or moisture.
Base Coat Application
- Apply a thin layer of base coat starting from the center of the nail and extending to both sides.
- Cap the free edge by running the brush along the nail tip to seal and prevent lifting.
- Cure the base coat under your UV/LED lamp according to manufacturer specifications, typically 30-60 seconds.
- Inspect each nail to ensure complete coverage without any gaps or pooling around cuticles.
Gel Polish Layers
- Select your elegant shade, such as soft nude, blush pink, classic beige, or sophisticated mauve.
- Apply the first thin coat of gel polish using gentle, even strokes from cuticle to tip.
- Cure the first color layer for the recommended time, usually 30-60 seconds depending on your lamp.
- Apply a second thin coat for opacity and depth while maintaining thin layers for proper curing.
- Cure the second color layer completely before adding any artistic elements or moving to top coat.
Adding Elegant Design Elements
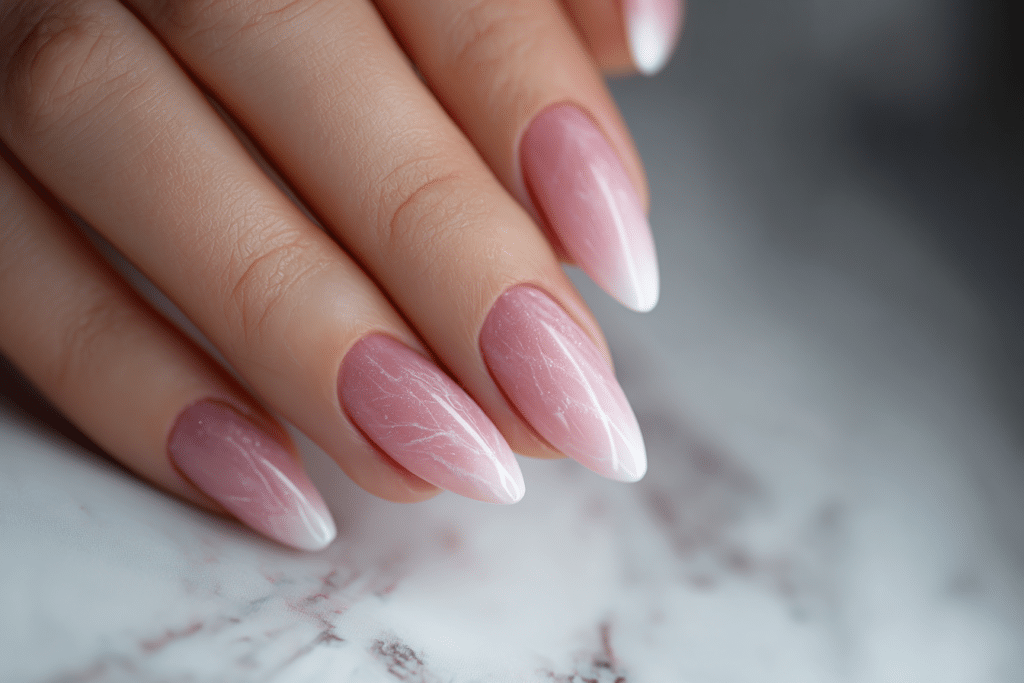
- Create simple accent designs such as delicate lines, subtle ombre effects, or minimalist geometric patterns.
- Use a thin detailing brush with complementary gel polish for precise application of refined accents.
- Consider adding one subtle element per hand, such as a thin gold line on the ring finger for understated elegance.
- Cure any additional design elements before proceeding to ensure all layers are completely hardened.
Finishing and Top Coat
- Apply a generous layer of top coat over the entire nail surface, ensuring complete coverage of all design elements.
- Cap the free edge again with top coat to seal everything and maximize wear time.
- Cure the top coat for the full recommended duration, typically 60 seconds for complete hardening.
- Wipe away any tacky residue using a lint-free wipe and isopropyl alcohol if your top coat requires it.
- Apply cuticle oil generously around each nail and massage into the skin for hydration and shine.
Classy Nail Design Variations
| Style | Description | Best Occasion |
|---|---|---|
| French Gel Nails | Classic white tips with nude or pink base for timeless elegance | Weddings, business meetings, formal events, everyday sophistication |
| Nude Ombre Nails | Soft gradient from natural pink to cream for subtle dimension | Professional settings, job interviews, minimalist fashion enthusiasts |
| Minimalist Line Art | Single delicate gold or black line on one accent nail | Modern events, creative professionals, understated elegance seekers |
| Soft Chrome Accents | Subtle pearl or rose gold chrome on ring finger only | Evening events, celebrations, sophisticated dinner parties |
| Negative Space Designs | Strategic bare nail areas creating geometric elegance | Fashion-forward occasions, art gallery events, trendy gatherings |
| Sheer Pink Overlay | Translucent rosy tones highlighting natural nail beauty | Summer events, beach weddings, casual elegance situations |
| Monochrome Matte Finish | Single sophisticated shade with velvety matte top coat | Fall fashion, editorial looks, contemporary style statements |
Conclusion
Classy nail designs offer timeless elegance that enhances your appearance for any professional setting or special occasion. By mastering proper gel application techniques, selecting sophisticated color palettes, and maintaining diligent nail care routines, you can achieve salon-quality results that project confidence and refinement. Whether you prefer minimalist aesthetics with subtle accents or elegant French manicures, these sophisticated designs ensure your hands always look polished and professional. Start creating your own stunning classy nail designs today using these expert techniques and enjoy beautiful, long-lasting manicures that complement your sophisticated style perfectly.