Spring French and Polka Dot Press-On Nails

Finding My Perfect Spring Nails
When I first decided to try creating my own gel nails at home, things did not go as smoothly as I had hoped. My attempt at a cute, colorful design turned disastrous in the middle of a dinner party. I began to feel embarrassed and frustrated as I watched my friends admire their well-done manicures while my amateur effort chipped away. But with time, practice, and a few lessons learned from my misadventures, I found myself falling in love with DIY nail art.
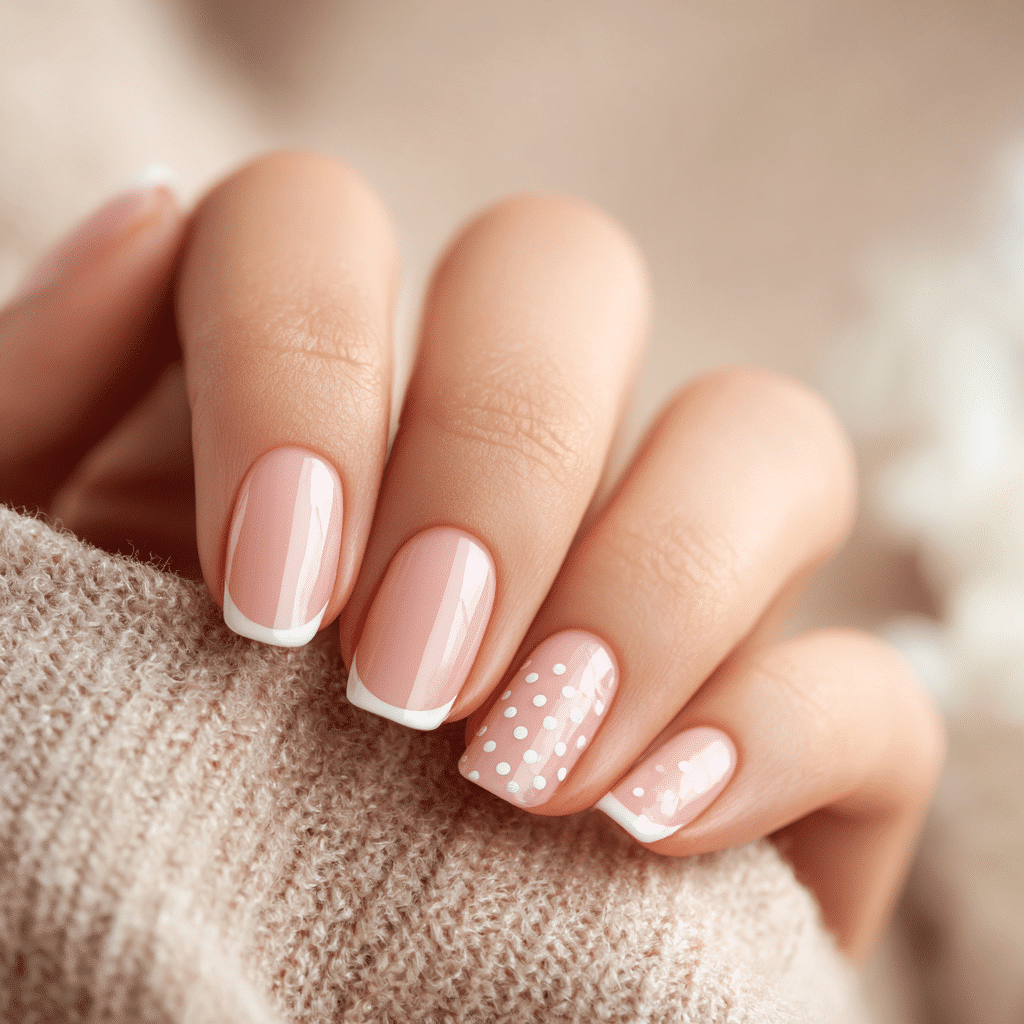
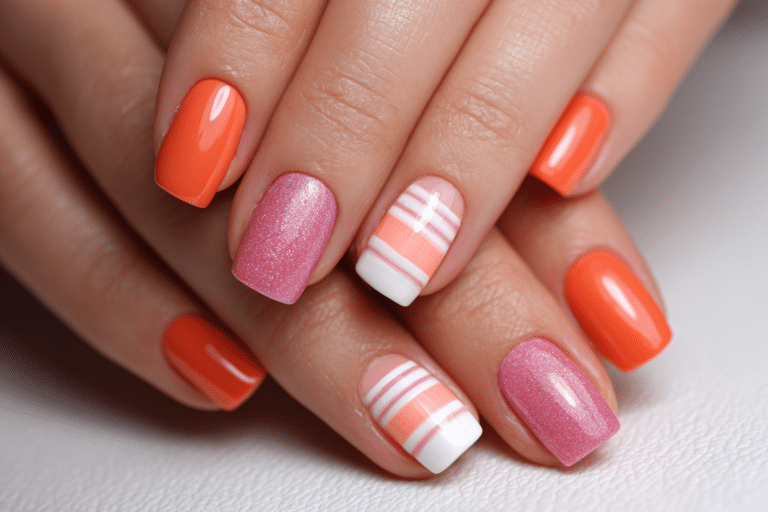
Today, I want to share my latest obsession with you – Spring French and Polka Dot Press-On Nails. Combining the classic elegance of French tips with playful polka dots, this design has transformed my nail game and perfectly captures the joy of spring. Let’s dive into how you can achieve this delightful aesthetic at home.
Table of Contents
Understanding the Spring French and Polka Dot Trend
Spring is a season full of renewal, and what better way to embrace that than with fresh nail designs? The Spring French and Polka Dot nail trend allows for a tasteful yet whimsical expression. Here’s what makes this style so appealing:
- Classic Meets Fun: The timeless French tip gets a modern twist with vibrant polka dots.
- Easy to Customize: You can choose different color combinations to match your outfits.
- Quick Application: Press-on nails mean you can achieve a salon finish in minutes!
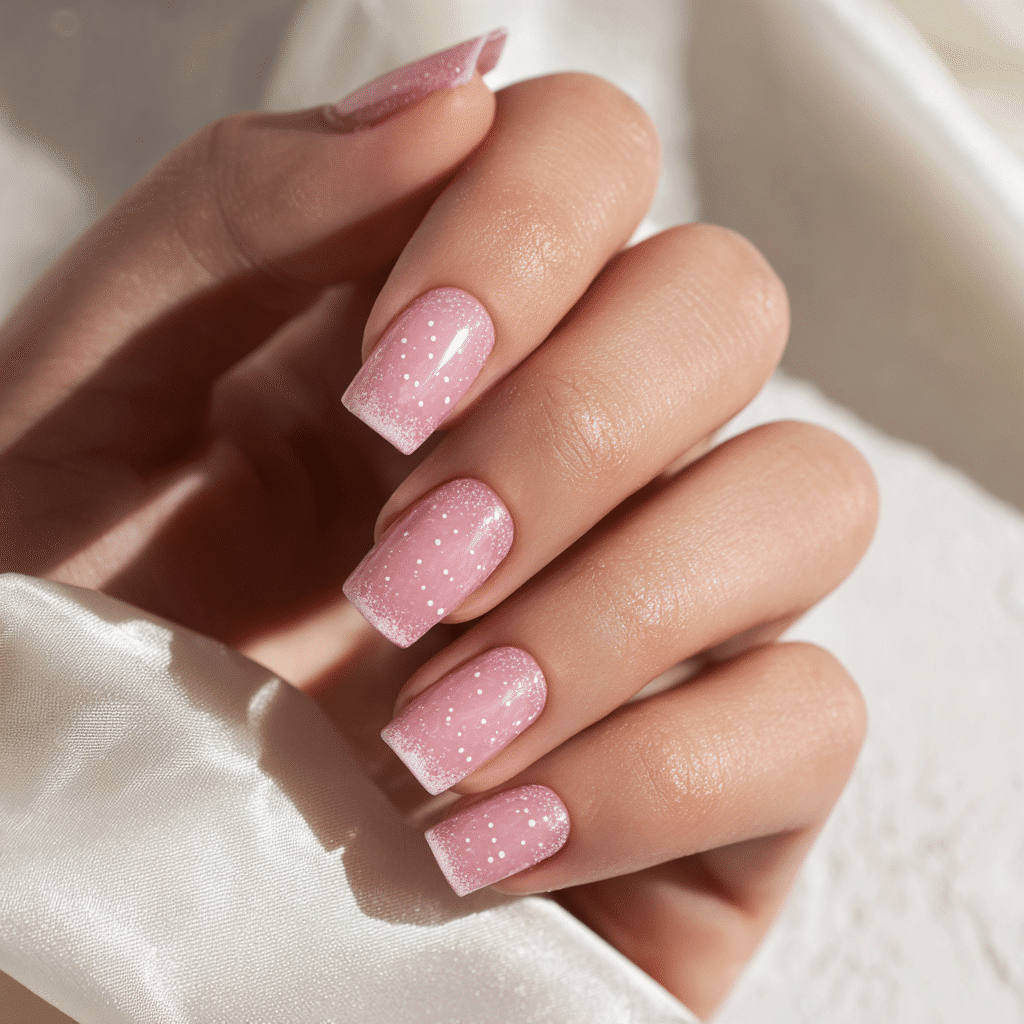
Step-by-Step Guide to Achieving Spring French and Polka Dot Press-On Nails
Let’s break this down into manageable steps so you can recreate this trendy look effortlessly.
Tools and Products Needed
- Press-on Nails (French tip style)
- Nail Glue or adhesive tabs
- Nail File
- Dotting Tool or Toothpick
- Colorful Nail Polish (for polka dots)
- Top Coat (for durability)
Step-by-Step Application
- Prepare Your Nails: Start by washing your hands and gently pushing back your cuticles. Lightly file your natural nails to create a smooth surface.
- Select the Right Size: Choose press-on nails that fit each of your natural nails comfortably.
- Apply the Press-On Nails: Use nail glue or adhesive tabs to secure the press-on nails on your natural nails.
- Create Polka Dots: Using a dotting tool or a toothpick, apply your chosen nail polish color to create playful polka dots on the nails. Get creative with different sizes and placements!
- Seal the Design: Finish with a top coat for a glossy, long-lasting finish.
Common Mistakes to Avoid
- Skipping Nail Prep: Improper nail preparation can lead to uneven application.
- Using Too Much Glue: A small amount of glue goes a long way; too much can lead to messy edges.
- Overloading on Polish: Keep the polka dots light and fun, rather than overwhelming the design.
Pro Tips for Perfect Nails
- Practice Precision: Use a fine-tipped brush for more control when creating dots.
- Mix Colors: Consider using pastel shades or vibrant hues for polka dots to reflect the spring spirit.
- Test Adhesive: Before using press-ons, test how long they last on your nails to find the best adhesive for you.
Comparison: Press-On Nails vs. Traditional Gel Application
| Feature | Press-On Nails | Traditional Gel Application |
|---|---|---|
| Application Time | 15-30 minutes | 1-2 hours |
| Skill Level | Beginner Friendly | Moderate to Advanced |
| Durability | Up to 7 days | 2-3 weeks |
| Customizability | Moderate | High |
Frequently Asked Questions
- How long do press-on nails last? It depends on the brand and how well they are applied, but generally, they can last up to a week.
- Can I reuse press-on nails? Yes! If they are in good condition, you can remove and reapply them.
- Is it safe to use nail glue? Yes, as long as you follow the application guidelines and avoid skin contact.
- Do I need a top coat for press-ons? While it’s not mandatory, applying a top coat can enhance shine and durability.
- Are press-on nails damaging to my natural nails? When applied and removed correctly, they should not damage your nails.
Conclusion: Embracing Your Spring Instincts
Now that you’re equipped with the knowledge of how to create stunning Spring French and Polka Dot Press-On Nails, it’s time to channel your inner artist. Embrace the joy of working with colors that reflect the vibrancy of spring and enjoy the compliments that will surely follow! Remember, practice makes perfect, and every nail art attempt is a step towards mastering your own style.
Don’t forget to join our Pinterest for more inspiring nail art tips