30 Beach Nail Designs to Match Every Summer Vibe

I’ll never forget the summer I decided to book a beachside vacation without considering my nails. Three weeks before my trip to the Outer Banks, I realized I’d been wearing the same nude gel polish for eight months. Panic set in. I rushed to my local salon, hoping for some last-minute inspiration, only to leave with a generic French manicure that felt completely uninspired.
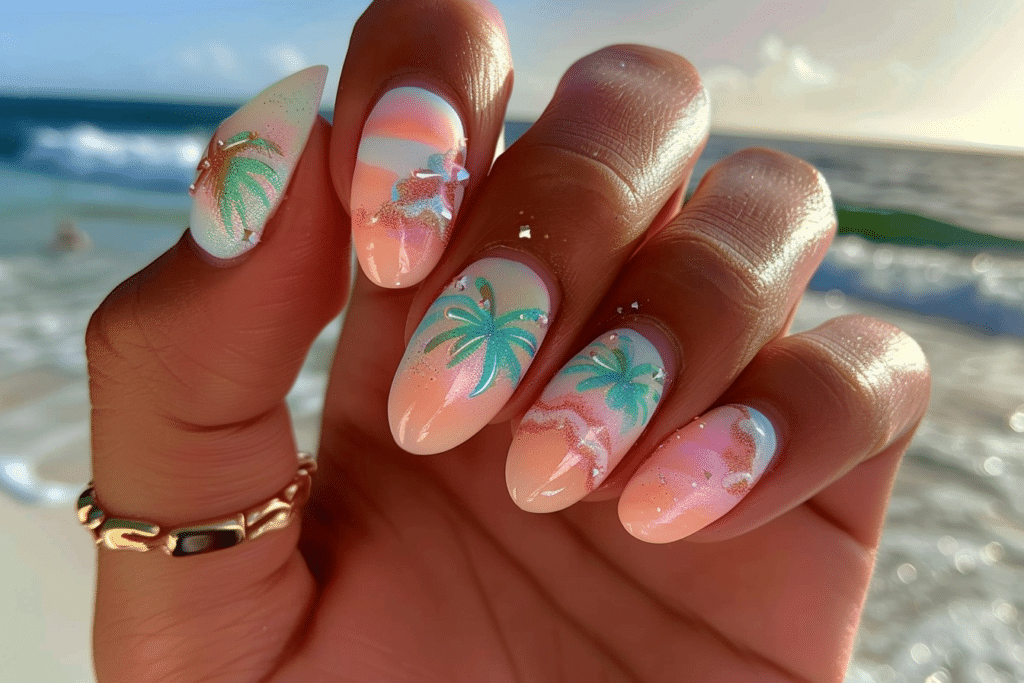
Standing on that pristine beach in North Carolina, watching other women flip their hands to show off ocean-inspired nail art and playful tropical designs, I felt like I’d missed out. That’s when I decided to take matters into my own hands literally. I invested in at-home gel supplies and started experimenting with beach nail designs myself.
Now, three years and countless DIY gel manicures later, I’ve discovered that the right beach nail designs don’t just look amazing; they actually *feel* like summer. They boost your confidence, complement your outfits, and make you feel vacation-ready even on ordinary Tuesday afternoons. Today, I’m sharing my 30 favorite beach nail designs and everything I’ve learned to help you create salon-quality nails at home.
Table of Contents
Why Beach Nail Designs Matter This Summer
Beach nail designs are more than just a beauty trend they’re a form of self-expression. Whether you’re planning a tropical getaway or simply want to bring vacation vibes to your everyday life, the right nail design can transform your entire mood.
Studies show that well-manicured nails boost confidence and self-esteem. When your nails align with your personal style and seasonal vibe, that confidence multiplies. Plus, gel nails provide the durability you need for beach activities swimming, sandy beaches, sunscreen application—without chipping.
Understanding Different Beach Nail Design Vibes
The Tropical Vibe
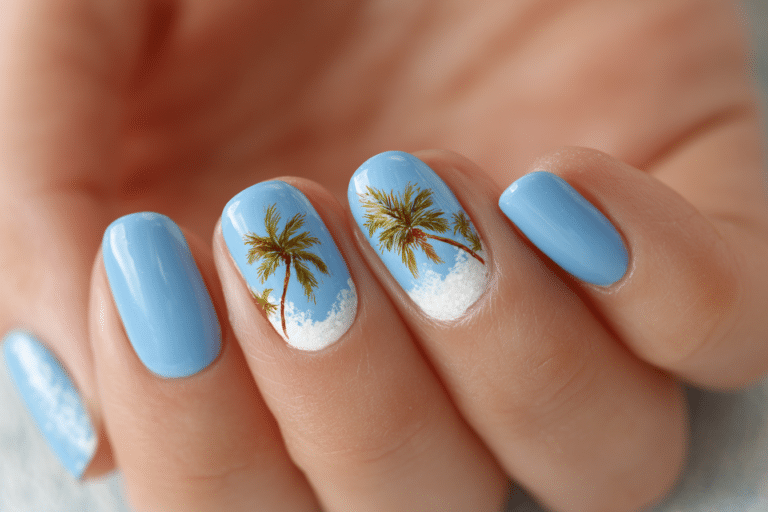
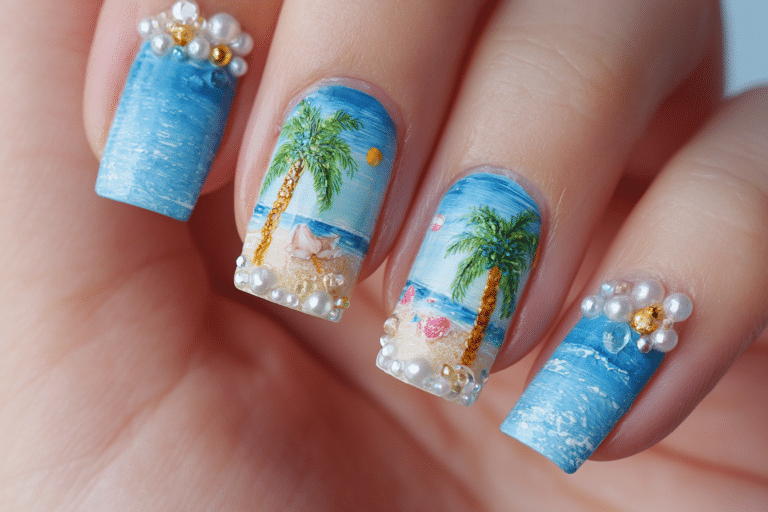
Tropical beach nail designs feature vibrant colors, palm trees, hibiscus flowers, and exotic fruits. These designs work best with bold base colors like coral, turquoise, or sunset orange. Tropical nails make a statement and are perfect for vacation mode.
The Minimalist Vibe
Clean lines, neutral tones, and simple ocean elements define minimalist beach nails. Think sandy beige with a single wave accent or shell-inspired negative space designs. This vibe suits professionals who want subtle summer flair.
The Nautical Vibe
Anchors, stripes, starfish, and navy blues create that classic nautical aesthetic. These designs evoke a vintage seaside charm and work beautifully on shorter or longer nails.
The Sunset Vibe
Gradient designs featuring oranges, pinks, purples, and yellows capture golden-hour magic. Sunset beach nails are dreamy, romantic, and universally flattering on all skin tones.
The Boho Vibe
Bohemian beach nails combine earth tones, intricate patterns, feathers, and macramé-inspired designs. These artistic nails celebrate free-spirited summer energy.
30 Beach Nail Designs for Every Summer Style
Tropical Designs (1-6)
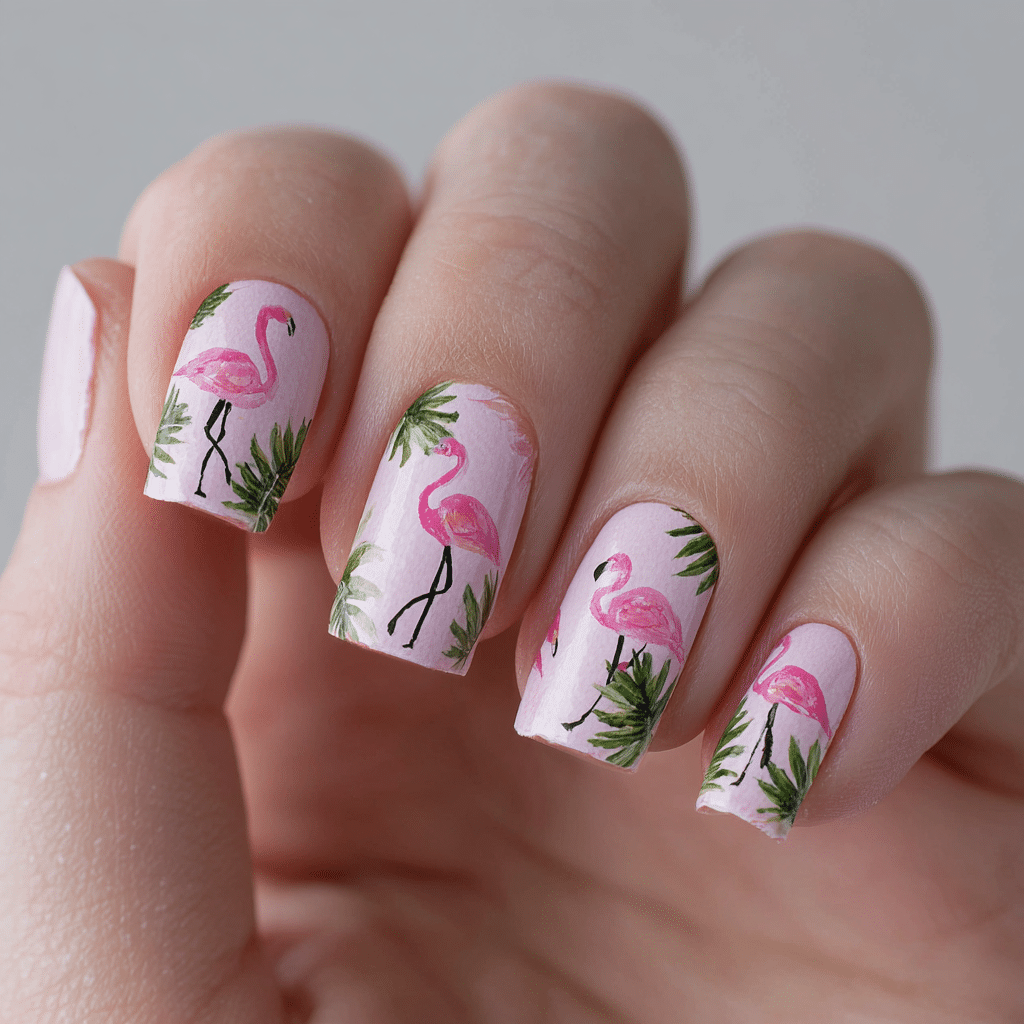
- Flamingo Paradise: Soft pink base with hand-painted flamingos and palm leaves
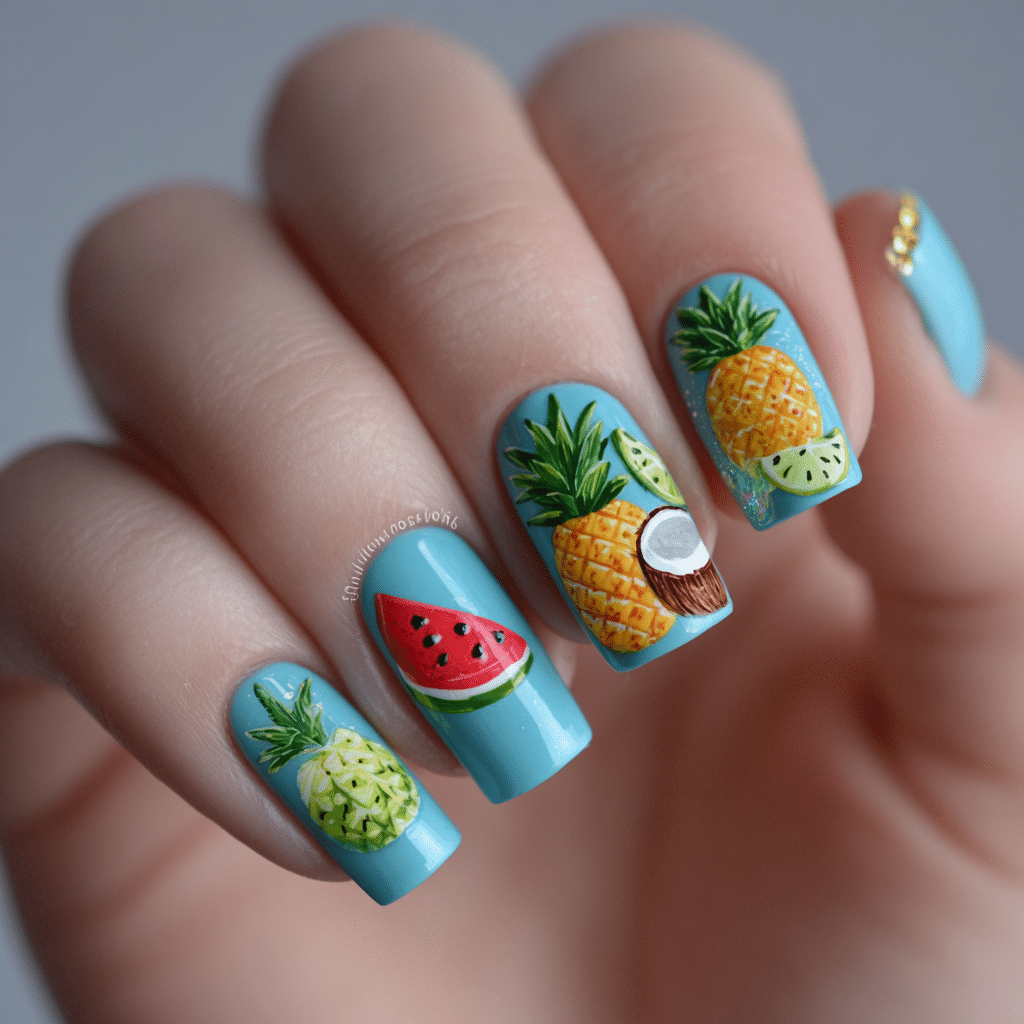
- Tropical Fruit Bowl: Turquoise base featuring pineapples, coconuts, and watermelons
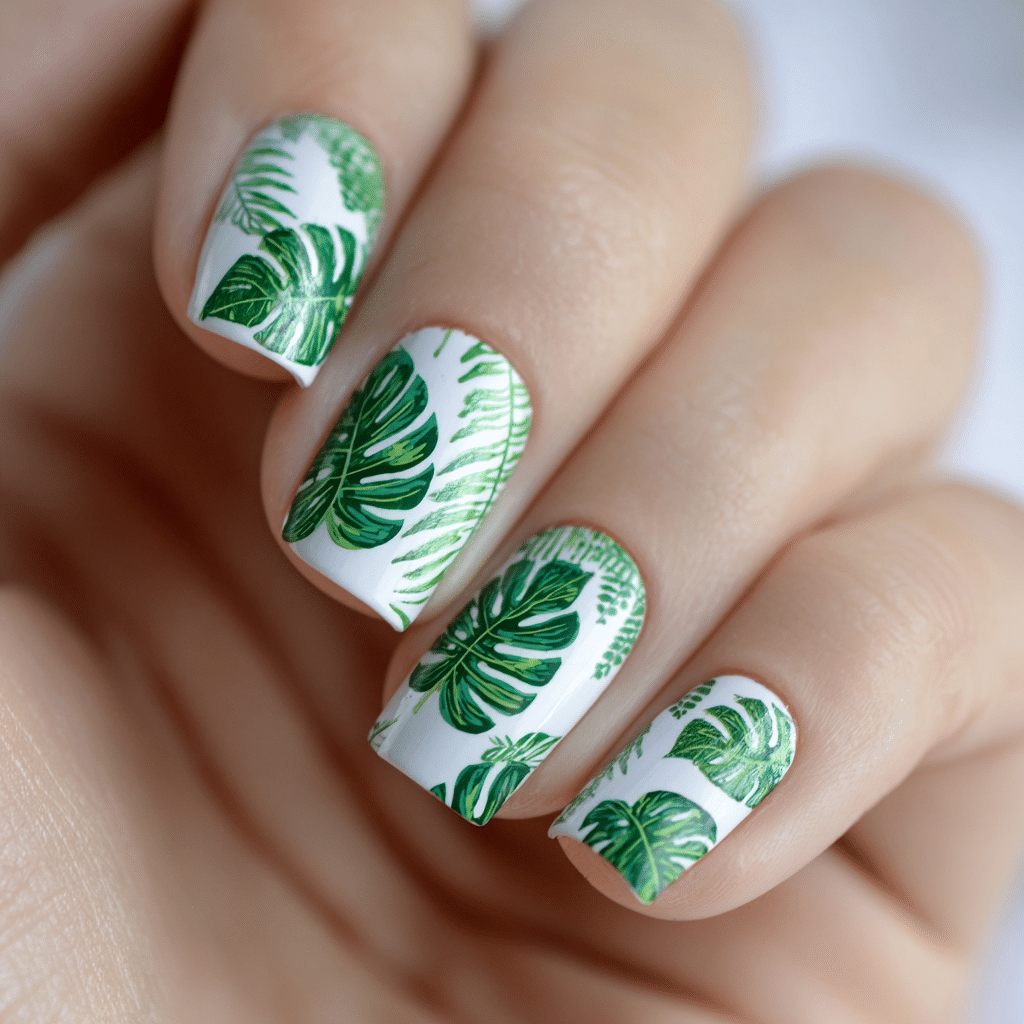
- Monstera Mania: White nails with oversized green monstera leaf designs
- Sunset Hibiscus: Gradient sunset background with bold hibiscus flowers
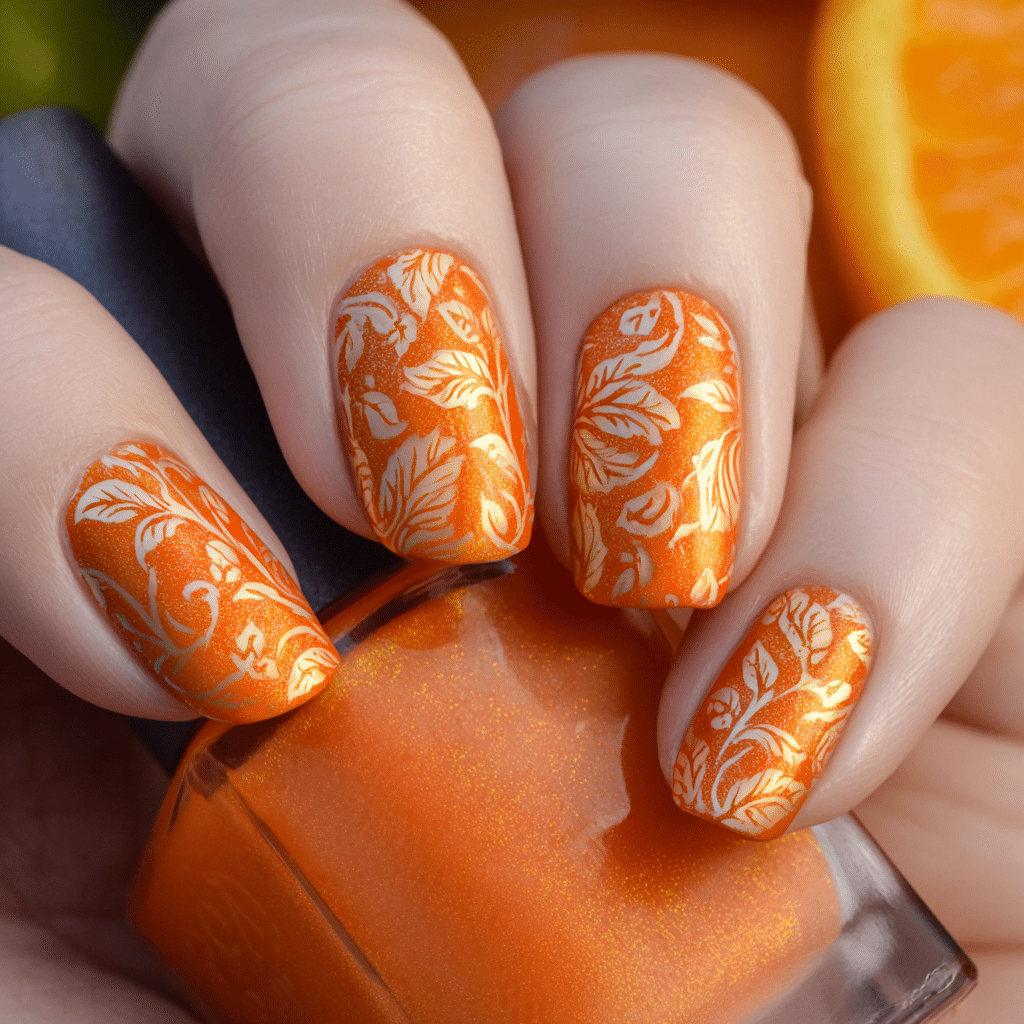
- Mango Tango: Warm orange base with intricate mango and leaf patterns
- Tropical Marble: Swirled blend of teal, coral, and cream with metallic accents
Ocean & Water Designs (7-12)
- Ocean Wave Ombre: Gradient from deep navy to seafoam with white wave details
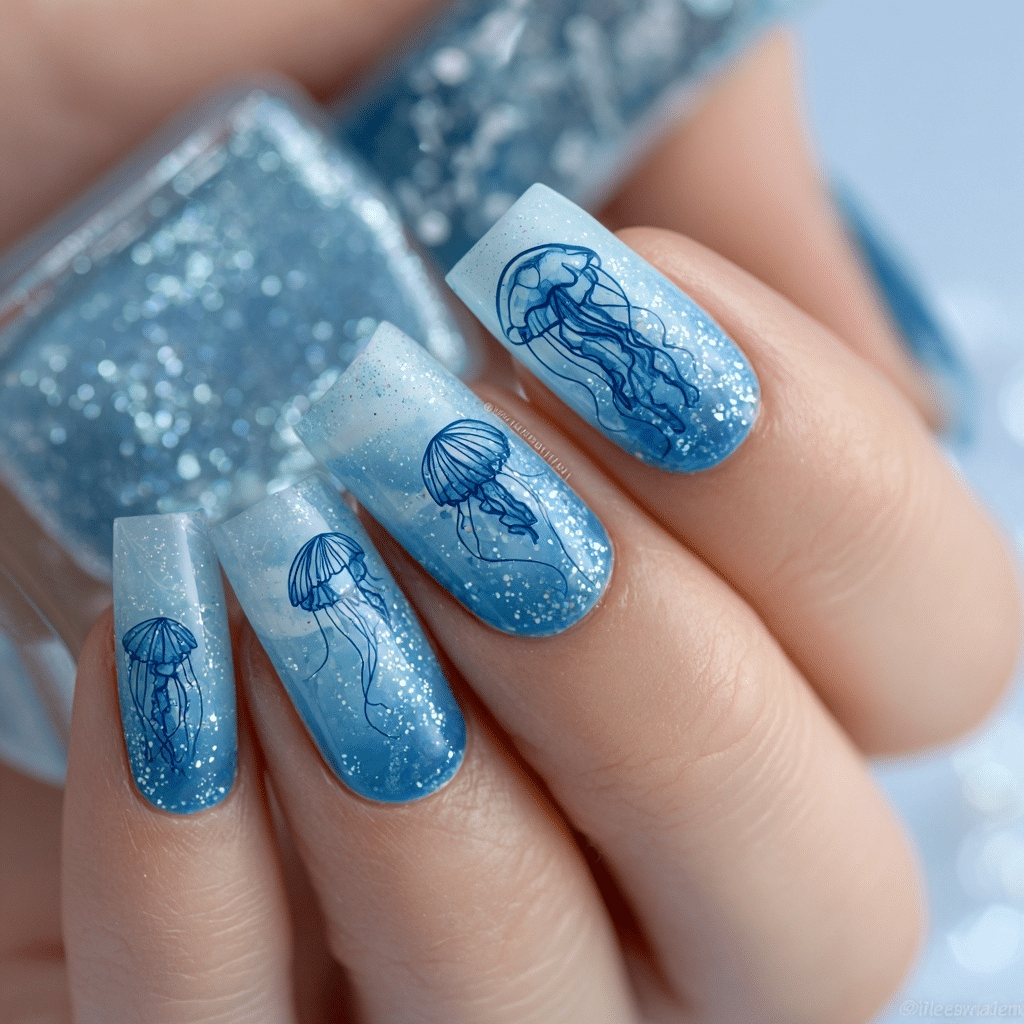
- Jellyfish Dreams: Light blue base with flowing jellyfish silhouettes and glitter trails
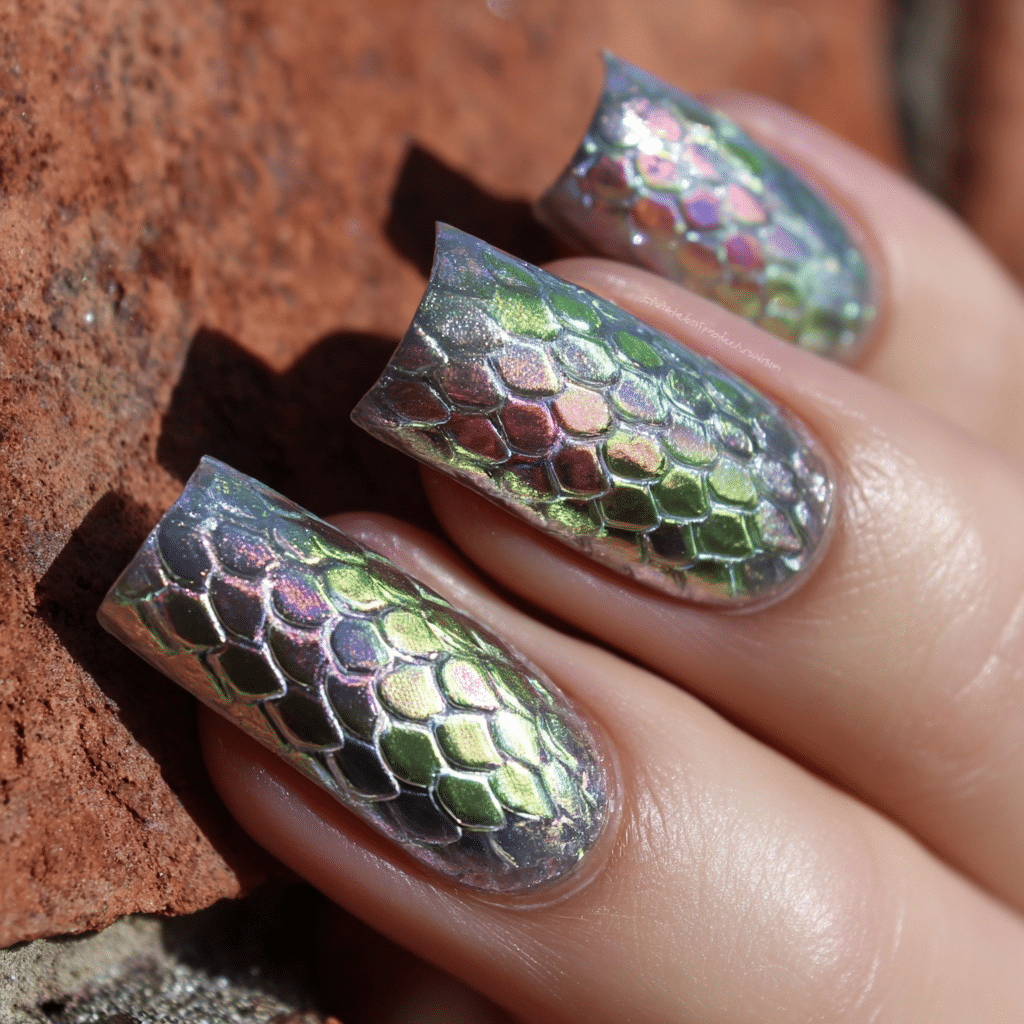
- Mermaid Scales: Holographic chrome finish resembling shimmering mermaid scales
- Underwater Serenity: Layered ocean scene with coral, fish, and sea plants
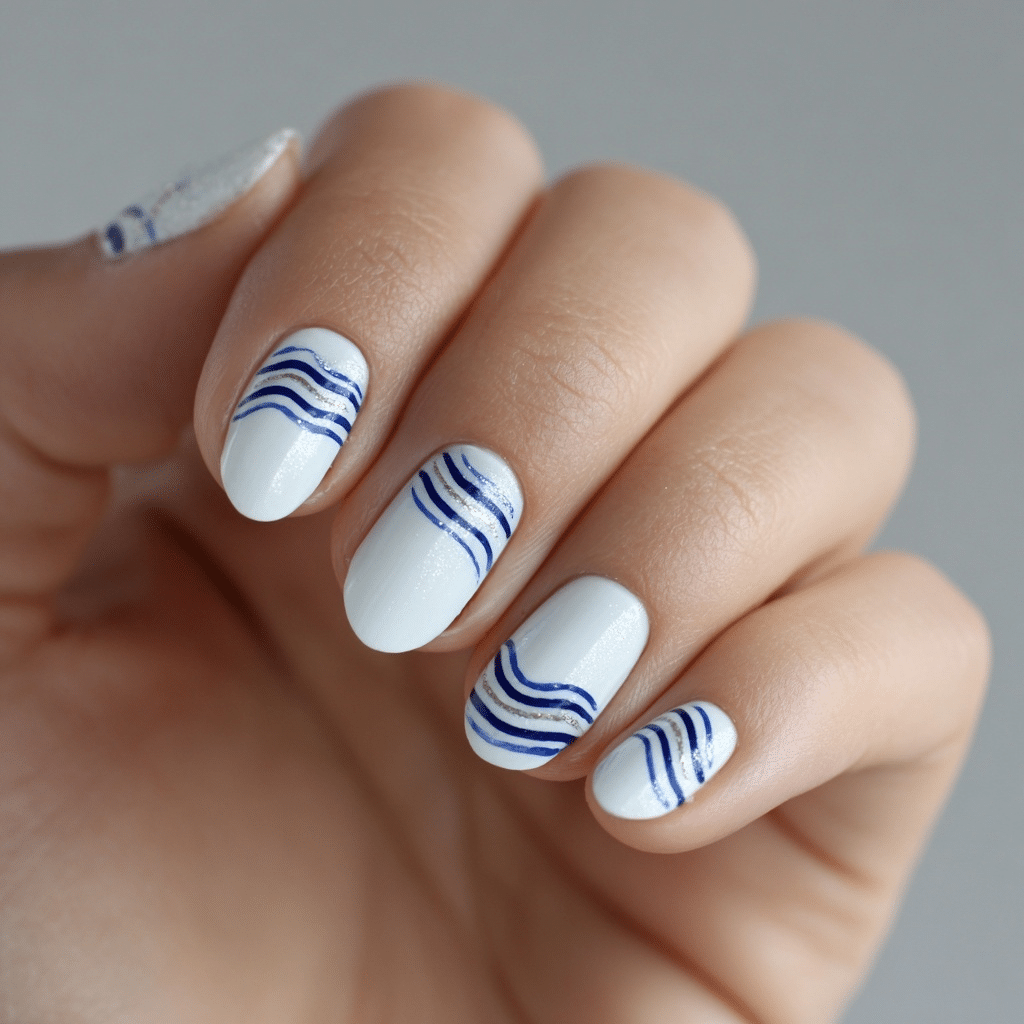
- Wave Rider: White nails with simple navy wave lines and surfboard accents
- Aqua Glitter: Transparent aqua gel filled with blue and turquoise glitter particles
Nautical Classics (13-18)
- Striped Sailor: Navy and white horizontal stripes with tiny anchor accent
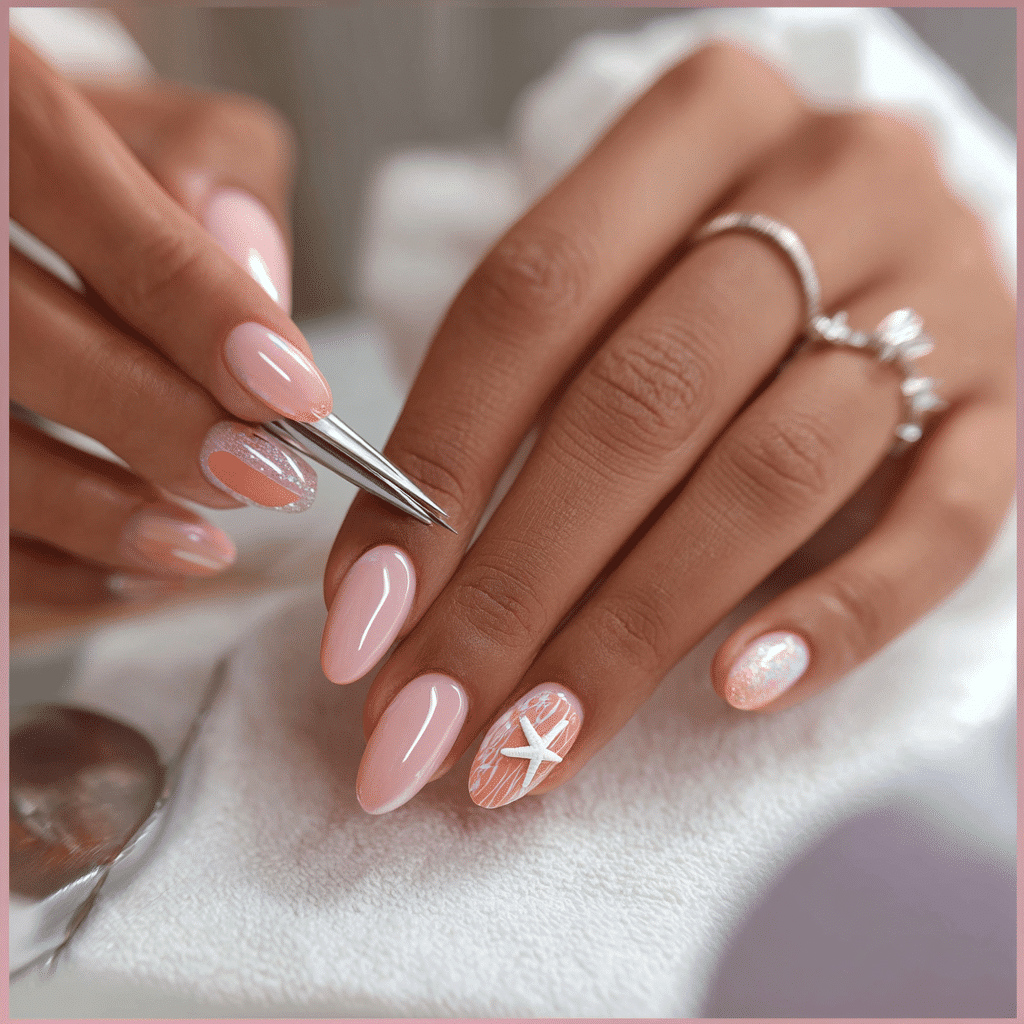
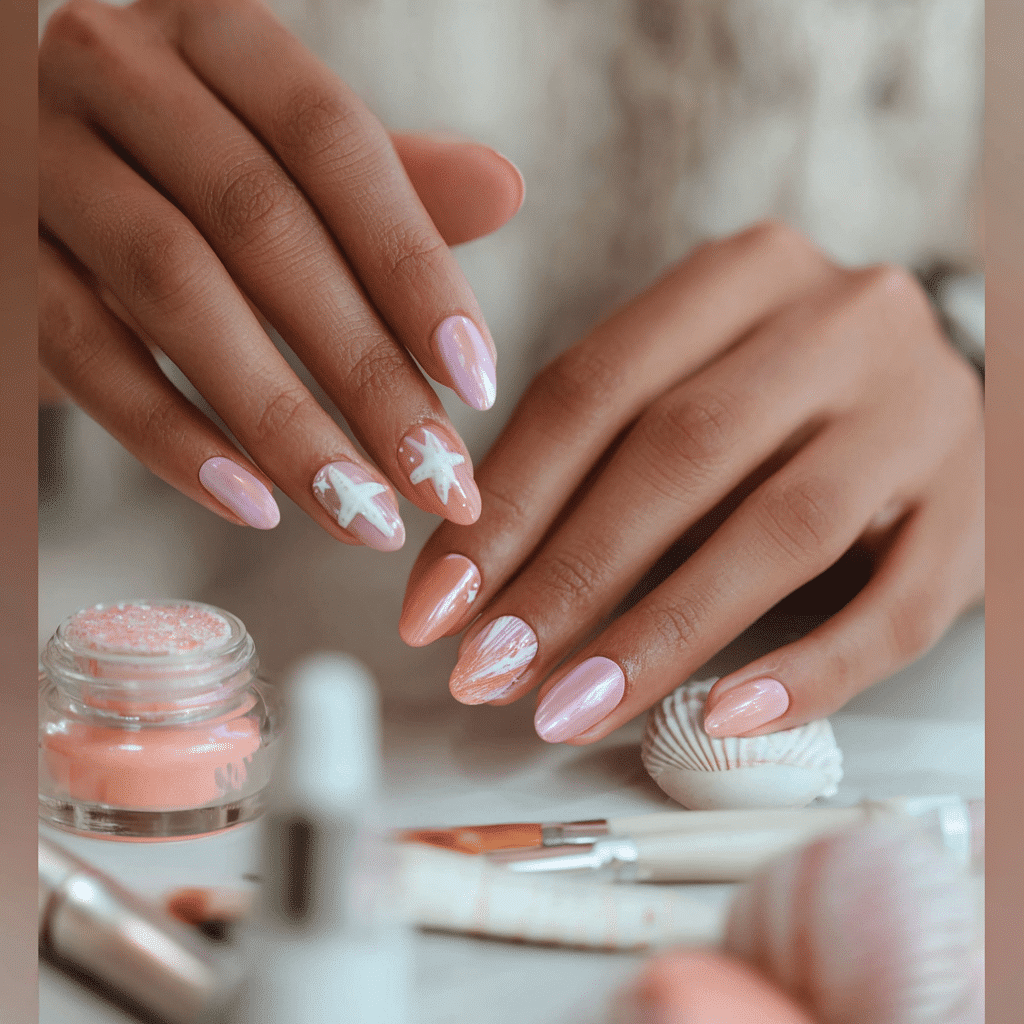
- Starfish Collection: Cream base with scattered starfish in coral and pink
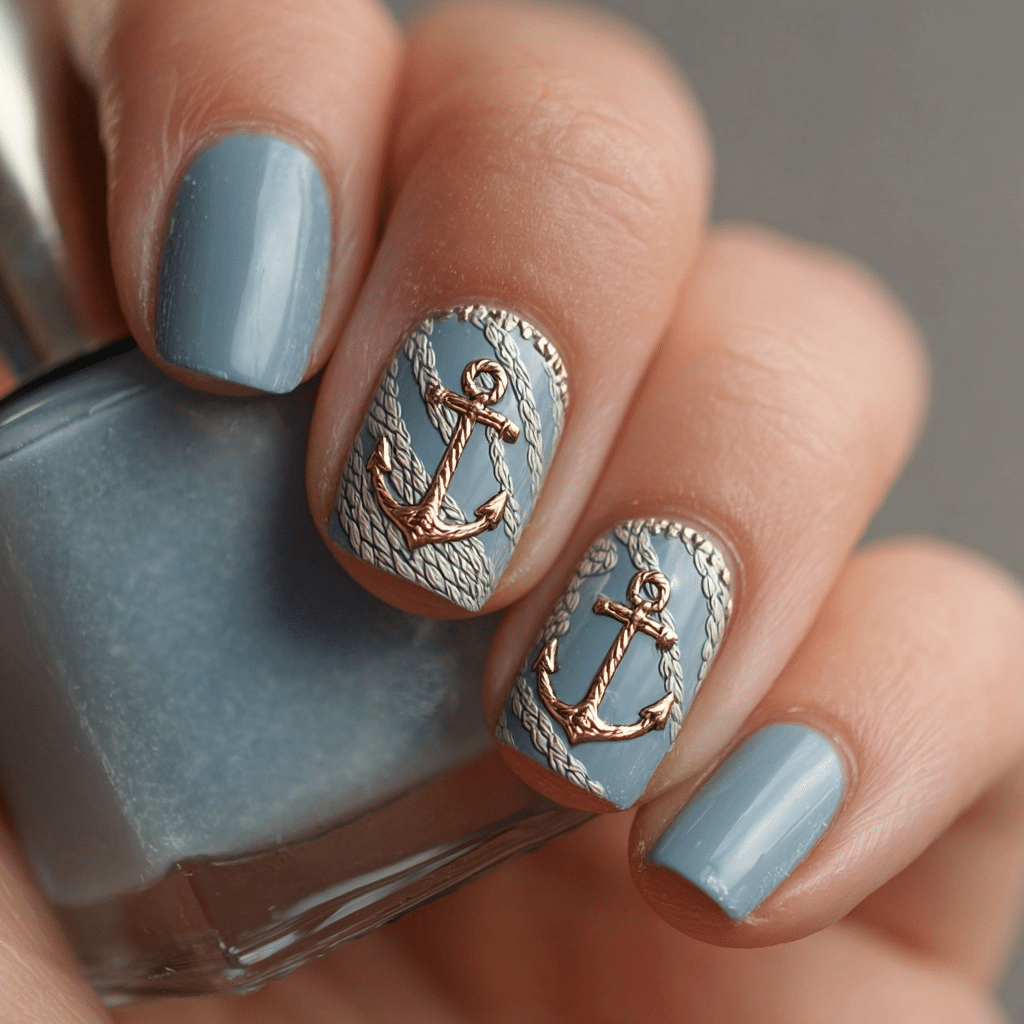
- Anchor & Rope: Light blue base with detailed anchor and rope nail art
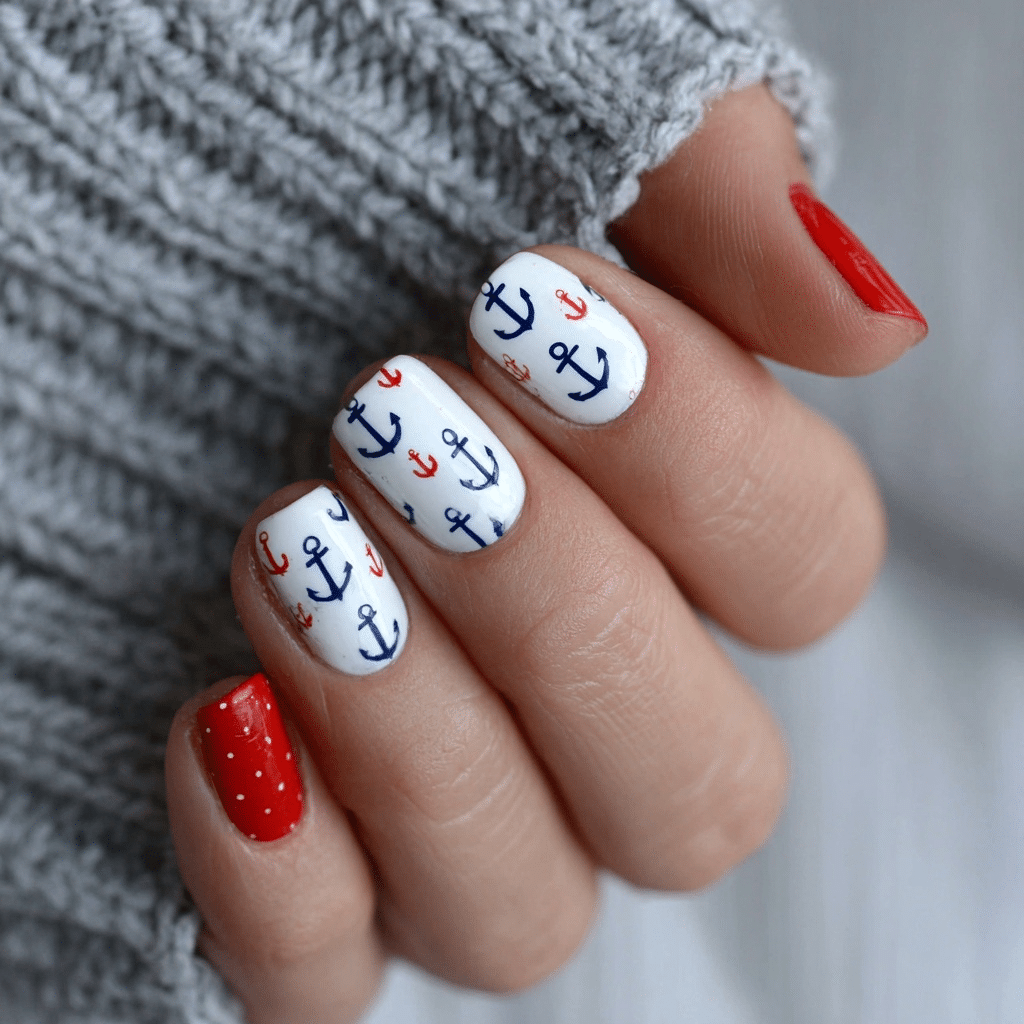
- Nautical Nails: White nails with navy anchors and red accent nails
- Shell Goddess: Nude base with iridescent shell and pearl nail designs
- Captain’s Dream: Navy blue with white sailor stripes and gold anchor details
Sunset & Ombre Designs (19-24)
- Golden Hour: Gradient from coral to golden yellow with metallic shimmer
- Pink Sunset: Ombre from blush pink to deep coral with glitter fade
- Sunset Over Water: Two-toned design with sunset top half and ocean bottom half
- Fire & Sky: Intense orange to purple gradient with gold foil accents
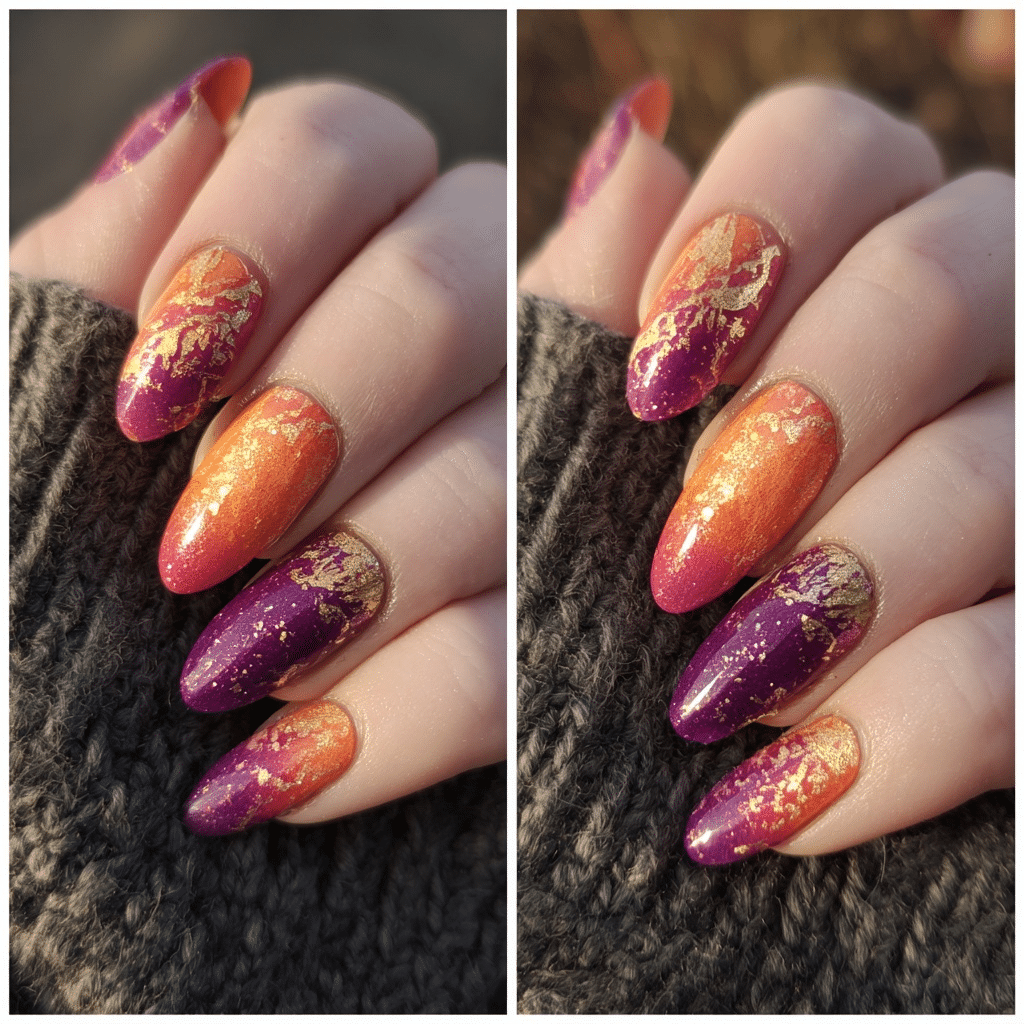
- Peachy Keen: Peach to cream ombre with subtle glitter highlights
- Twilight Beach: Purple to indigo gradient with twinkling star accents
Minimalist & Neutral Designs (25-30)
- Sandy Shores: Warm sand tone with minimal white wave accent
- Negative Space Waves: Nude base with cutout wave designs and chrome details
- Simple Shell: Nude nails with one delicate shell on accent finger
- Coastal Calm: Soft taupe with thin navy line art and pearl embellishments
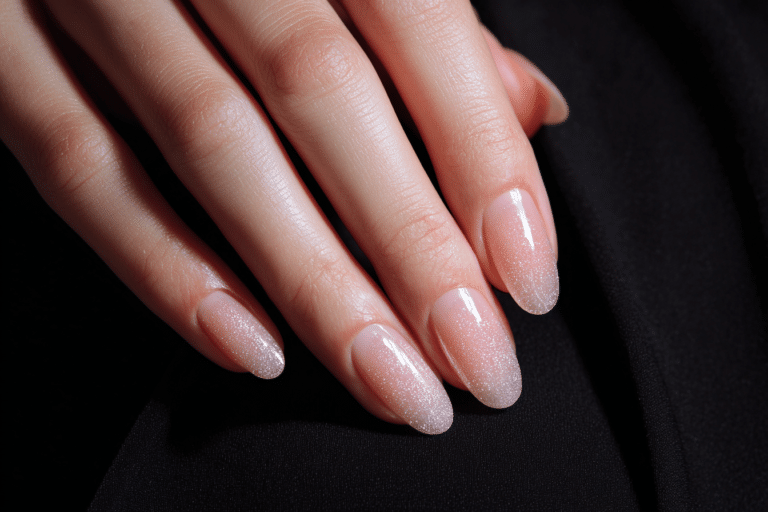
- Beige & Blessed: Neutral beige with barely-there glitter and shell confetti
- Modern Minimalist: White nails with geometric beach-inspired line art
Tools & Products You’ll Need for Beach Nail Designs
Essential Gel Nail Supplies
- LED or UV lamp (30-60 seconds cure time)
- Gel base coat and top coat
- Colored gel polishes (various beach-inspired shades)
- Gel primer or dehydrator
- Nail file and buffer
- Cuticle pusher
- Lint-free wipes and rubbing alcohol
- Gel brush for detailed art
- Dotting tools (various sizes)
- Striping brush for lines
Optional Art Supplies
- Gel paints for intricate designs
- Glitter and rhinestones
- Metallic foils and chrome powder
- Stamping plates for consistent patterns
- Gel pens for detailed work
Step-by-Step Guide: Creating Your Beach Nail Design at Home
Preparation Phase (5 minutes)
- Push back your cuticles gently with a cuticle pusher
- File nails into your desired shape (rounded, almond, or square work beautifully for beach designs)
- Buff the nail surface lightly to remove shine
- Wash hands thoroughly and dry completely
- Apply gel primer or dehydrator to prevent lifting
Base Coat Application (3 minutes)
- Apply a thin layer of gel base coat to all nails
- Cure under your lamp according to product instructions
- The base coat creates the foundation for your design
Design Application (15-30 minutes)
- Apply your chosen gel color as the base layer
- Cure under the lamp
- Apply a second coat if needed for opacity
- Cure again
- Use a gel brush or dotting tool to create your beach design
- Cure after each design element to prevent smudging
Finishing Phase (5 minutes)
- Apply gel top coat over your entire design
- Cure under the lamp for final time
- Wipe away any sticky residue with a lint-free wipe and rubbing alcohol
- Moisturize your cuticles with cuticle oil
Common Beach Nail Design Mistakes to Avoid
Mistake #1: Skipping Proper Nail Preparation
Many beginners rush through prep work, leading to lifting and premature chipping. Always push back cuticles, buff the surface, and use a gel primer. Trust me—those five minutes of prep work add two weeks to your manicure’s lifespan.
Mistake #2: Overloading Your Brush with Gel
Using too much gel paint makes designs look messy and causes bleeding. Use a small amount on your brush and build up gradually. Thin, controlled strokes create professional-looking results.
Mistake #3: Insufficient Curing Time
Undercured gel leads to sticky residue and weak designs. Follow your specific lamp’s instructions and don’t rush the curing process between layers.
Mistake #4: Poor Color Selection
Not all beach colors work with every skin tone. Test swatches on your inner arm first. Cooler skin tones shine with teals and navy, while warmer skin tones glow with corals and warm peachy tones.
Mistake #5: Neglecting Top Coat Application
Your top coat protects your design and extends wear time significantly. Never skip this crucial final step.
Pro Tips for Stunning Beach Nail Designs
Tip #1: Invest in Quality Tools
Budget-friendly gel supplies often lead to frustration. Investing in mid-range quality gels and brushes makes the difference between mediocre and salon-quality results. Start with reputable brands and upgrade as you grow more skilled.
Tip #2: Use Nail Art Stickers for Beginners
Not comfortable freehand painting? Gel nail stickers are game-changers. Apply them under your top coat for a polished, professional look without the artistic pressure.
Tip #3: Create a Color Reference Board
Take photos of designs you love throughout the year. When inspiration hits, you’ll have a personalized library to reference. Pinterest boards work perfectly for this.
Tip #4: Practice on Nail Wheels First
Before attempting a design on your own nails, practice on nail wheels or practice tips. This builds confidence and prevents disasters on your actual manicure.
Tip #5: Don’t Fear Bold Colors
Beach nails are about expressing your summer spirit! Bold turquoise, vibrant coral, and sunset oranges look stunning on everyone. Embrace color and have fun.
Tip #6: Layer Different Textures
Combine matte and glossy finishes, add glitter to one or two accent nails, or mix chrome powder with gel for dimension. Texture makes designs more interesting.
Beach Nail Designs: Quick Comparison Guide
| Design Type | Skill Level | Time Required | Best For | Durability |
|---|---|---|---|---|
| Tropical Designs | Intermediate-Advanced | 30-45 minutes | Vacation mode, bold personalities | 2-3 weeks |
| Ocean Waves | Beginner-Intermediate | 20-30 minutes | Everyday beach lovers | 2-3 weeks |
| Nautical Designs | Intermediate | 25-35 minutes | Classic style seekers | 2-3 weeks |
| Sunset Ombre | Beginner-Intermediate | 15-25 minutes | Romantic, dreamy aesthetic | 2-3 weeks |
| Minimalist Designs | Beginner | 10-15 minutes | Professional settings, minimalists | 2-3 weeks |
How to Extend Your Beach Nail Designs’ Lifespan
Maintenance Tips
- Wear gloves when cleaning or doing dishes to prevent water exposure
- Apply cuticle oil daily to keep nails hydrated
- Avoid using your nails as tools
- Reapply top coat weekly for added protection
- Remove nails properly using an acetone soak, never pick or peel
- Moisturize hands and cuticles consistently
Frequently Asked Questions About Beach Nail Designs
Can I get beach nail designs wet immediately after application?
No. Wait at least 24 hours before exposing your nails to extended water contact. This allows the gel to fully set and cure. After the initial 24 hours, your gel nails become water-resistant and durable for swimming and beach activities.
How long do beach nail designs typically last?
High-quality gel nail designs last 2-3 weeks with proper care. Some clients report up to 4 weeks of wear without significant chipping. The longevity depends on your nail growth rate, lifestyle, and maintenance habits
Are gel beach nails safe for everyday wear?
Absolutely. Gel nails are safe for regular wear when applied and removed correctly. The key is avoiding prolonged exposure to harsh chemicals and removing them properly. When you’re ready for a new design, soak nails in acetone rather than peeling or picking.
Can I combine multiple beach design elements on one manicure?
Yes! Mix and match try a coral base with ocean wave accents, or combine nautical stripes with tropical flowers on different nails. The key is maintaining a cohesive color palette so designs complement rather than clash. Consider using 2-3 primary colors maximum
What’s the best way to remove gel beach nails at home?
Soak your nails in pure acetone for 15-20 minutes, then gently push off the softened gel using a cuticle pusher. Never force removal. After removal, soak hands in warm water with cuticle oil and moisturize heavily. Your natural nails need recovery time before your next manicure wait at least a week before reapplying gel
Bringing Beach Vibes Home Year-Round
Beach nail designs aren’t just for summer vacation. They’re a way to infuse your everyday life with joy, color, and positive energy. Whether you choose bold tropical designs or subtle minimalist waves, your nails become a daily reminder to embrace that carefree beach spirit.
After three years of creating DIY gel nail designs at home, I’ve learned that perfect nails aren’t about perfection they’re about self-care, creativity, and celebrating your unique style. Each time you sit down to create a new beach nail design, you’re investing in yourself and your confidence.
Ready to Master Beach Nail Designs?
Start with one of these 30 designs that speaks to your summer vibe. Whether you choose the tropical route with flamingos and pineapples, the calming ocean wave aesthetic, or the sophisticated minimalist approach, you’ve got this.
Remember: your first attempt doesn’t need to be perfect. Every expert gel nail artist started exactly where you are now. Practice, be patient with yourself, and celebrate each design you create.
Want more beach nail inspiration and gel techniques delivered straight to your inbox? Join the Gel Nails By Lina community and get exclusive tips, new design releases, and a 15% discount code for your first gel supply order. Plus, get access to our private Facebook group where members share their creations and support each other.
Your next salon-quality manicure is waiting and it’s happening right at your kitchen table. Happy painting! 🏖️💅
Don’t forget to join our Pinterest for more inspiring nail art tips