Cute Nails For Summer Simple: Easy Styles You’ll Love

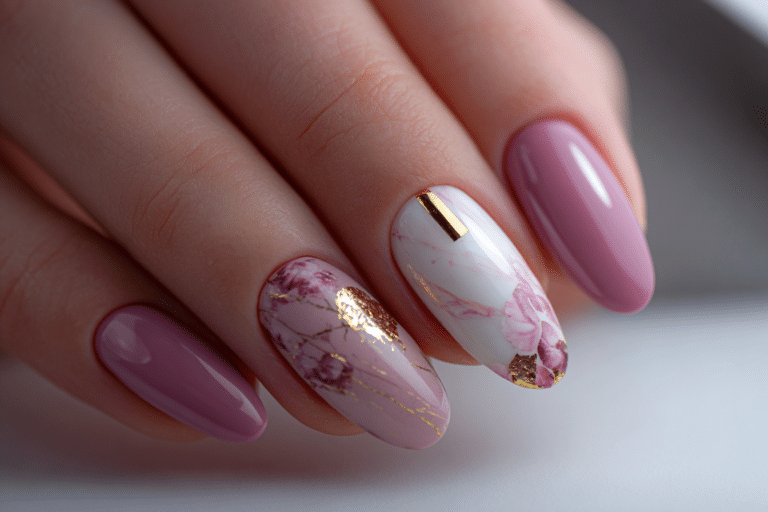
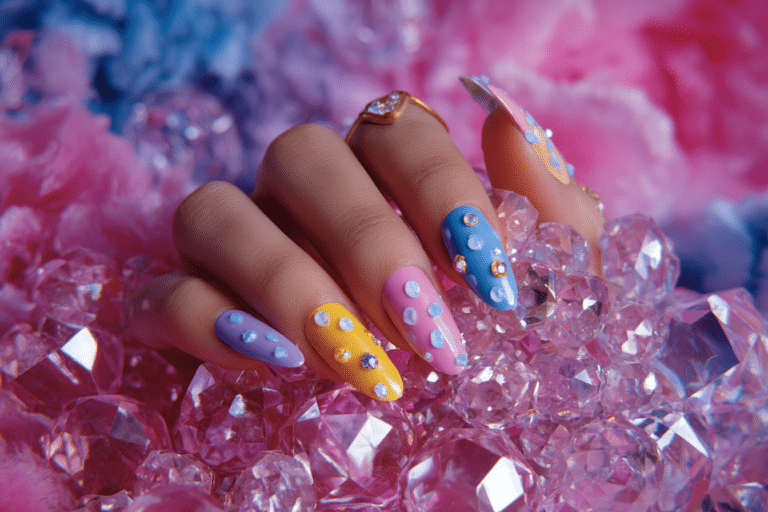
Cute nails for summer simple designs offer fresh and vibrant looks perfect for warm weather without requiring advanced skills.
These approachable nail art styles combine bright colors, minimalist patterns, and easy-to-master techniques that anyone can recreate at home. Summer provides the ideal opportunity to experiment with playful designs while keeping your manicure manageable and quick.
| Topic | Details |
|---|---|
| Category | Nail Art / Gel Nails |
| Skill Level | Beginner |
| Time Needed | 30-45 minutes |
| Tools Needed | UV lamp, gel polish, nail file, base coat, top coat |
| Best For | Anyone wanting easy summer nail designs |
Table of Contents
Why This Nail Technique Works
Simple summer nail designs work exceptionally well because they balance visual impact with practical application. The minimalist approach reduces the chance of errors while still delivering professional-looking results. Lighter colors and basic patterns reflect summer aesthetics without overwhelming your natural nail shape or requiring extensive artistic ability.
Gel polish formulas provide the perfect medium for simple summer nails because they offer vibrant pigmentation in single coats. The self-leveling properties of quality gel polish help beginners achieve smooth, even coverage without streaking or patchiness. Curing under UV or LED light creates instant results that last two to three weeks, making these designs practical for busy summer schedules filled with beach trips and outdoor activities.
The psychology of summer colors influences mood and confidence, making bright and cheerful nail designs particularly effective during warmer months. Pastel shades, coral tones, and sunny yellows complement tanned skin while remaining versatile enough for professional settings. Simple designs also allow for quick changes, letting you match your nails to different summer outfits and occasions without significant time investment.
Tools and Products Needed
| Product | Purpose | Alternatives |
|---|---|---|
| UV/LED Lamp | Cures gel polish for lasting wear | 48W LED lamp recommended |
| Base Coat | Protects natural nails and improves adhesion | Gel base or rubberized base |
| Gel Polish Colors | Provides pigment and summer colors | Pastel or bright shade collections |
| Top Coat | Seals design and adds shine | No-wipe or regular gel top coat |
| Nail File (180 grit) | Shapes nails and buffs surface | Glass file or emery board |
| Nail Buffer | Smooths nail plate for better adhesion | 240 grit buffer block |
| Cuticle Oil | Hydrates cuticles and surrounding skin | Jojoba or vitamin E oil |
| Nail Cleanser | Removes oils before application | Isopropyl alcohol or gel cleanser |
| Dotting Tools | Creates simple patterns and dots | Bobby pin or toothpick |
| Striping Brush | Draws thin lines for designs | Small detail brush |
You can find comprehensive guides and professional products at Gel Nails By Lina to help you achieve salon-quality results at home.
Step-by-Step Application Guide
Nail Preparation
- Remove any existing polish using acetone-soaked cotton pads and gentle pressure to ensure clean nails.
- Trim nails to your desired length using sharp nail clippers and file into your preferred shape.
- Push back cuticles gently with a cuticle pusher after softening them with warm water for two minutes.
- Buff the nail surface lightly with a 240-grit buffer to remove shine and create texture for adhesion.
- Wash hands thoroughly with soap and dry completely to remove any oils or debris from nails.
- Wipe each nail with nail cleanser or rubbing alcohol using a lint-free wipe to dehydrate the surface.
Base Coat Application
- Apply a thin layer of gel base coat starting from the cuticle and pulling toward the free edge.
- Cap the free edge by running the brush along the tip to seal and prevent chipping.
- Cure the base coat under your UV lamp for 60 seconds or LED lamp for 30 seconds.
- Check for any missed spots or uneven coverage before proceeding to color application.
Gel Polish Layers
- Apply your first color coat in a thin, even layer using three strokes: middle, left, then right.
- Keep polish away from cuticles by leaving a small gap to prevent flooding and lifting.
- Cure the first color coat for 60 seconds in UV or 30 seconds in LED lamp.
- Apply a second thin coat if needed for full opacity and cure again using the same timing.
- Create simple designs like dots, stripes, or color blocks using your chosen technique after the base color cures.
- Cure any design elements immediately after application to prevent smudging or mixing of colors.
Curing Process
- Place your hand flat inside the lamp with all five nails fully exposed to light.
- Set the timer according to your lamp specifications and gel polish brand recommendations.
- Keep your hand completely still during the curing process to avoid wrinkling or shifting polish.
- Cure the thumb separately if your lamp design requires individual finger curing for complete coverage.
Finishing and Top Coat
- Apply a generous layer of gel top coat over the entire nail including the free edge.
- Cap the edges thoroughly to seal the design and prevent premature wear or peeling.
- Cure the top coat for the full recommended time, usually 60 seconds for UV or 30 seconds for LED.
- Wipe away the sticky residue with cleanser if using a traditional top coat, or skip this step with no-wipe formulas.
- Apply cuticle oil around each nail and massage gently to hydrate and complete your manicure.
Pro Nail Technician Tips
- Apply gel polish in thin layers rather than thick coats to ensure complete curing and prevent wrinkling or peeling. Two thin coats always outlast one thick application and provide better color saturation.
- Clean your nail brush regularly by wiping it on a lint-free pad between applications to prevent color contamination. This keeps your polish bottles pure and extends their usable life significantly.
- Avoid applying lotion or cuticle oil before starting your manicure as oils create a barrier that prevents proper adhesion. Save hydration products for after your top coat cures completely for maximum longevity.
- Check that your UV lamp bulbs remain effective by replacing them every six months or according to manufacturer guidelines. Weak bulbs cause under-curing, leading to soft nails that peel within days instead of lasting weeks.
- Store gel polish bottles upside down between uses to keep pigments mixed and prevent settling at the bottom. Roll bottles between your palms rather than shaking to avoid creating air bubbles in the formula.
- Practice proper curing times specific to your lamp wattage and polish brand, as under-curing causes premature lifting while over-curing can lead to brittleness. Keep a timing chart near your workspace for consistency across different products.
Common Gel Nail Mistakes
| Mistake | Why It Happens | How to Fix |
|---|---|---|
| Thick Gel Layers | Trying to achieve opacity in one coat or rushing application | Apply two thin coats instead, allowing proper curing between layers |
| Improper Curing | Using wrong lamp wattage or insufficient cure time | Follow manufacturer timing guidelines and replace old bulbs regularly |
| Skipping Nail Prep | Rushing the process or not understanding its importance | Always cleanse, buff, and dehydrate nails before base coat application |
| Flooding the Cuticle | Applying too much product or poor brush control | Leave a small gap at cuticle line and clean up with brush before curing |
| Not Capping Free Edge | Forgetting this step or not understanding its purpose | Run brush along nail tip with each coat to seal the edge completely |
Many beginners struggle with polish lifting near the cuticle area within the first few days. This usually results from inadequate nail preparation or applying polish too close to the skin. Always ensure a microscopic gap between the gel and your cuticle to allow for natural nail expansion without breaking the seal.
Nail Design Variations
| Style | Description | Best Occasion |
|---|---|---|
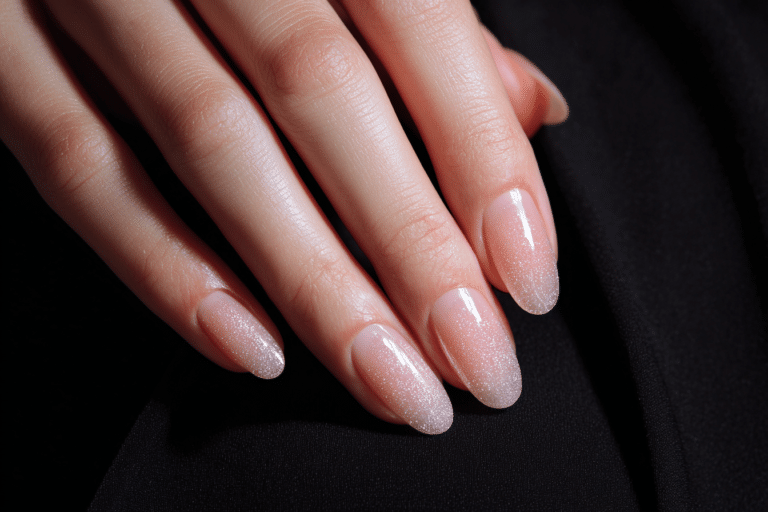
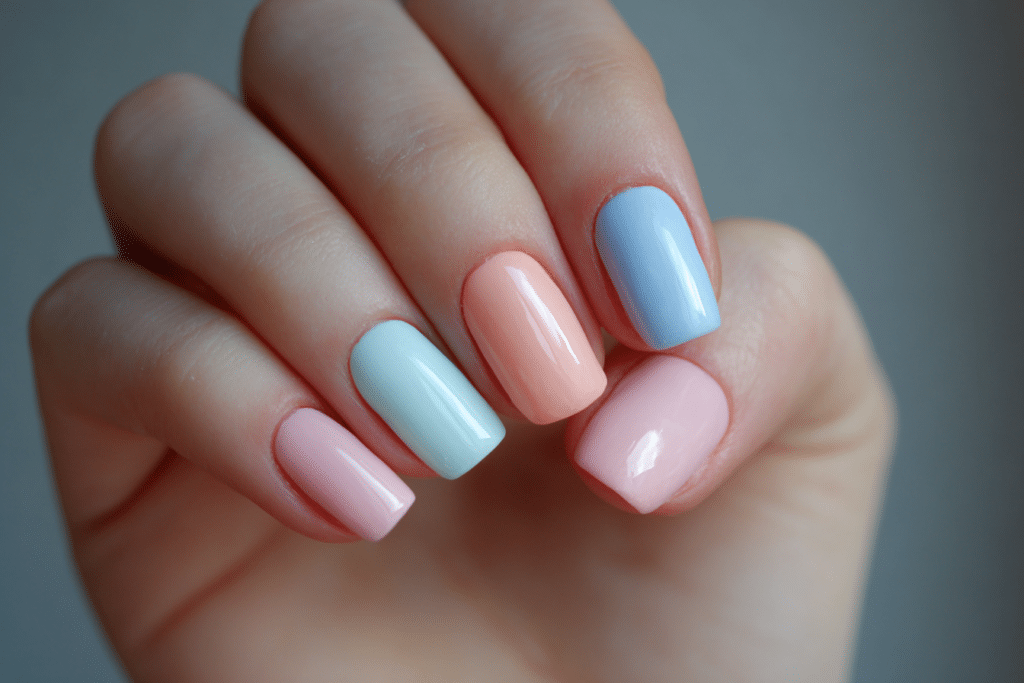
| Pastel Solid Colors | Single shade application in soft summer hues like lavender, mint, or peach | Everyday wear, office settings, casual outings |
| Simple French Tips | Classic white or colored tips with nude or clear base | Weddings, formal events, professional environments |
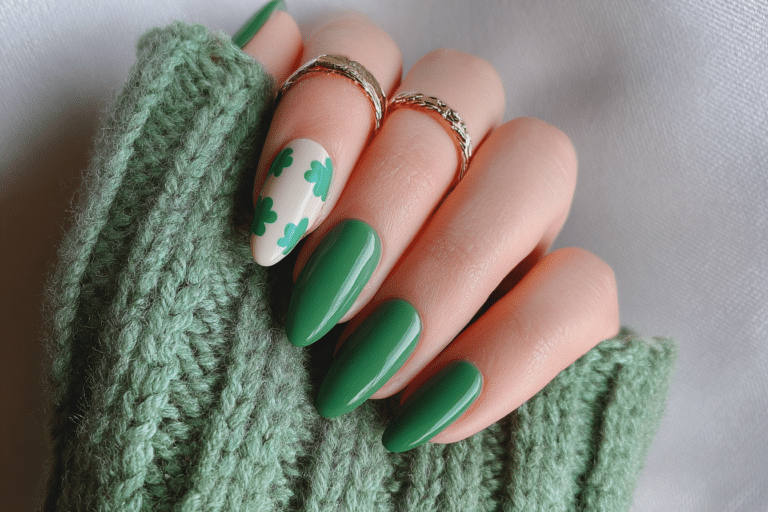
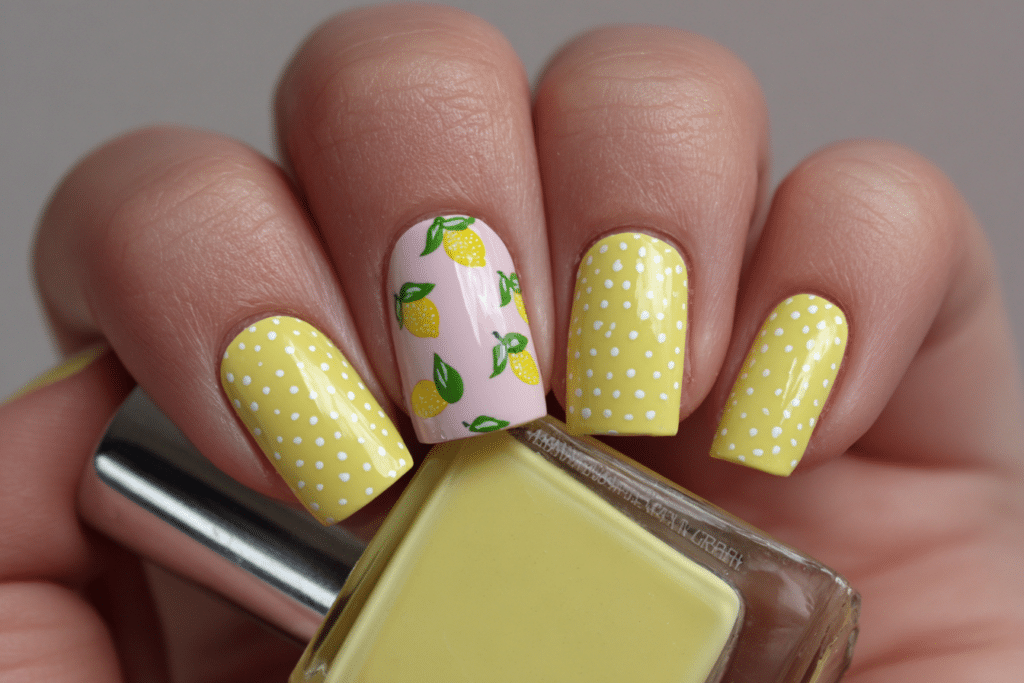
| Polka Dot Accent | Solid base color with contrasting dots on one or two accent nails | Beach trips, casual parties, weekend activities |
| Color Block Design | Two complementary colors divided by clean horizontal or vertical lines | Fashion events, creative workplaces, social gatherings |
| Minimalist Stripes | Thin lines in metallic or contrasting shades over neutral base | Date nights, brunches, everyday sophistication |
| Ombre Fade | Gradual color transition from light to dark or between two shades | Graduations, photo shoots, special occasions |
| Daisy Accents | Small white flowers with yellow centers on pastel backgrounds | Spring and summer festivals, garden parties |
| Negative Space | Geometric shapes leaving portions of natural nail visible | Modern events, art galleries, trendy settings |
For more inspiration on summer nail designs, visit Gel Nails By Lina where you’ll find seasonal collections and trending styles.
Nail Care and Maintenance
Maintaining healthy nails during and after gel application requires consistent hydration and gentle treatment. Apply cuticle oil at least twice daily, focusing on the cuticle area and surrounding skin to prevent dryness and hangnails. Hydrated cuticles create a better seal around the gel polish, reducing the chance of water infiltration that causes lifting and premature wear.
Wear gloves during household cleaning tasks to protect your gel manicure from harsh chemicals and excessive water exposure. Prolonged submersion in water softens the gel bond, making nails more susceptible to peeling and chipping. Even simple tasks like washing dishes can compromise your manicure longevity without proper protection.
Avoid using your nails as tools to open cans, scratch off labels, or perform other tasks that apply pressure to the free edge. This mechanical stress creates micro-cracks in the gel that expand over time, leading to complete breakage or lifting. Instead, use appropriate tools and treat your manicure as a delicate finish that requires conscious care.
Schedule regular breaks between gel applications every two to three months to allow natural nails to breathe and recover. During break periods, apply strengthening treatments and maintain hydration to restore any lost moisture or flexibility. This practice prevents long-term damage and keeps natural nails healthy enough to support future gel applications.
How to Remove Gel Nails Safely
- File the shiny top coat layer gently with a 180-grit file to break the seal and allow acetone penetration.
- Soak cotton pads or balls in pure acetone and place one on each nail, ensuring complete coverage.
- Wrap each fingertip in aluminum foil squares to hold the acetone-soaked cotton in place securely.
- Wait 10 to 15 minutes to allow the acetone to dissolve the gel polish without forcing removal.
- Remove the foil wraps and gently push off softened gel using an orangewood stick or cuticle pusher.
- Avoid scraping or forcing gel off if it resists, instead rewrap and soak for an additional five minutes.
- Buff nails lightly with a fine-grit buffer to smooth any remaining residue without over-filing the natural nail.
- Wash hands thoroughly with soap and apply cuticle oil generously to rehydrate nails and surrounding skin.
Nail Health and Safety
Protecting nail health starts with proper preparation techniques that preserve the integrity of the natural nail plate. Over-filing or aggressive buffing removes too many layers, creating thin, weak nails prone to breakage and sensitivity. Use a light touch with 240-grit buffers and focus only on removing surface shine rather than thickness.
Recognize signs of nail damage or infection early to prevent serious complications. Green discoloration indicates bacterial infection, while excessive brittleness or peeling suggests over-processing or dehydration. If you notice persistent pain, swelling, or unusual changes in nail appearance, consult a dermatologist rather than continuing with gel applications.
Maintain tool hygiene by cleaning files, buffers, and brushes after each use with antibacterial solutions or alcohol. Contaminated tools transfer bacteria and fungi between applications, increasing infection risk significantly. Replace disposable tools regularly and sterilize reusable implements to maintain salon-quality safety standards at home.
Frequently Asked Questions
How long do gel nails last
Gel nails typically last two to three weeks with proper application and care before showing signs of growth or lifting. The longevity depends on factors including nail preparation quality, daily activities, and natural nail growth rate. Some people experience longer wear while others may see chipping around the 10-day mark due to individual nail chemistry and lifestyle factors.
How to remove gel nails safely
Remove gel nails safely by soaking them in pure acetone for 10 to 15 minutes after filing off the shiny top coat. Wrap acetone-soaked cotton around each nail and secure with foil to enhance penetration and softening. Gently push off the dissolved gel with a wooden tool rather than scraping or peeling, which damages the natural nail plate underneath.
Gel nails vs acrylic nails
Gel nails offer a more natural appearance with flexible wear and easier removal compared to acrylic nails which provide superior strength and length. Gels cure under UV or LED light and feel lighter on the nail while acrylics harden through chemical reaction and create a thicker, more durable enhancement. Gels work better for those wanting natural-looking manicures while acrylics suit clients needing maximum durability and dramatic length
Why gel nails peel
Gel nails peel primarily due to inadequate nail preparation, moisture contamination, or improper application technique that prevents proper bonding. Oils, lotions, or water on the nail plate before application create barriers that block adhesion between the gel and natural nail. Skipping the buffing step, applying polish too close to cuticles, or using expired products also contribute to premature peeling within the first week.
How to make gel nails last longer
Make gel nails last longer by thoroughly preparing nails with proper cleansing and light buffing before application. Apply thin layers of gel polish, cap the free edges with each coat, and ensure complete curing under an effective lamp. Daily cuticle oil application, wearing gloves during wet work, and avoiding nail-as-tool behavior extend wear time significantly beyond the standard two-week period.
Conclusion
Cute nails for summer simple designs provide the perfect balance between style and practicality for warm-weather months. These approachable techniques let anyone create beautiful manicures without advanced skills or extensive time commitments. By following proper preparation steps, using quality products, and applying thin layers, you can achieve salon-worthy results that last throughout your summer adventures. The versatility of simple designs means you can easily match your nails to any outfit or occasion while maintaining healthy, strong natural nails underneath. Explore these techniques at Gel Nails By Lina and discover your signature summer nail style today.