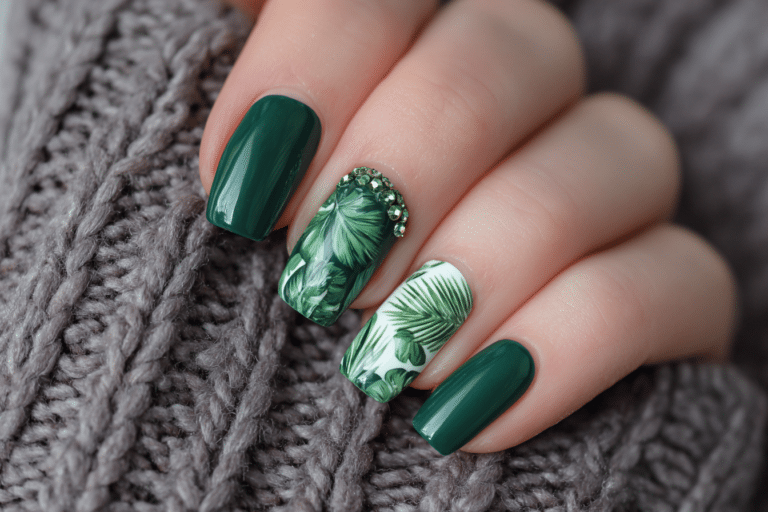
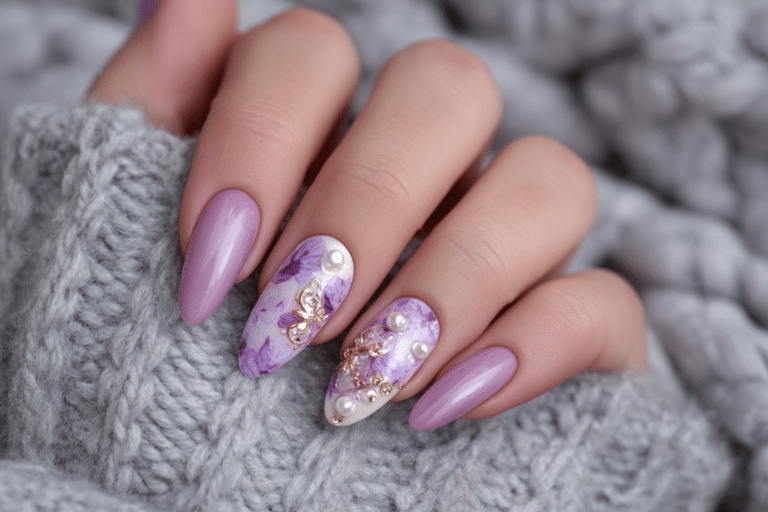
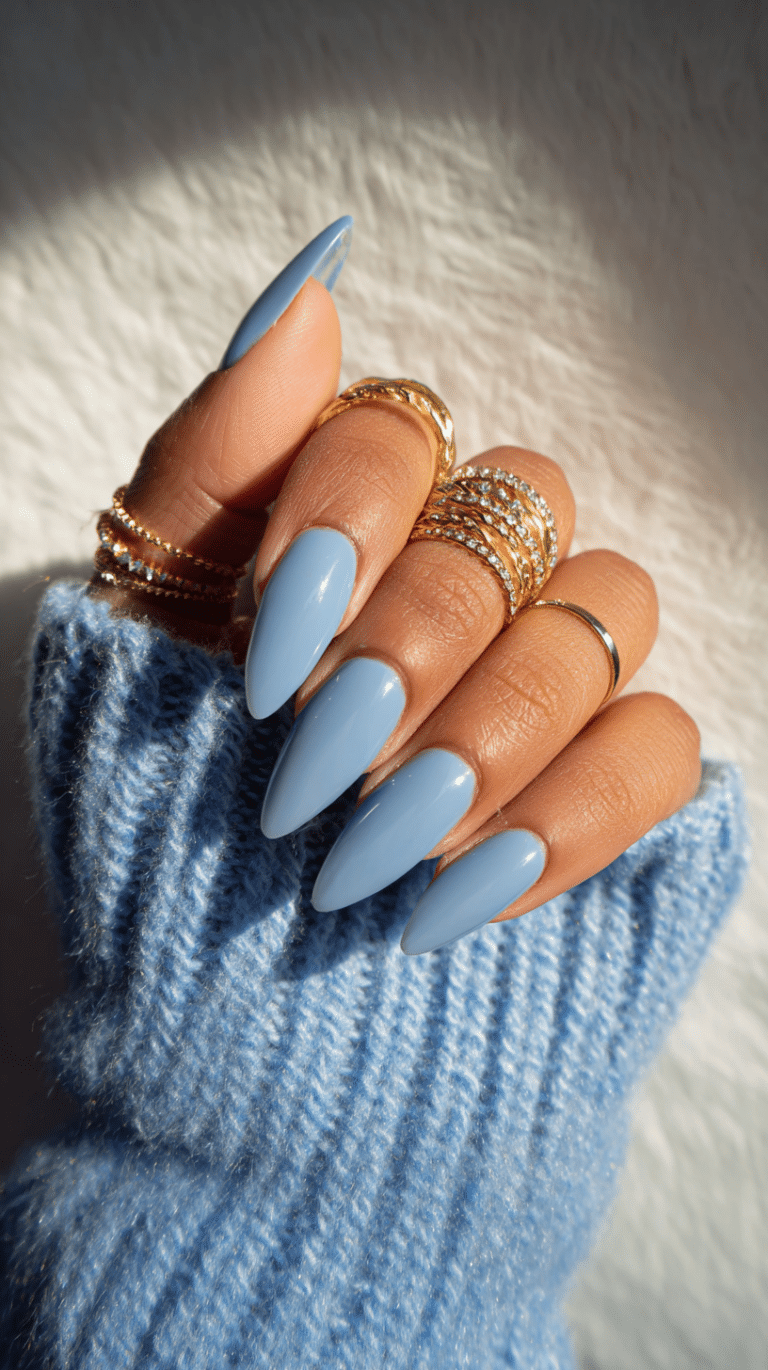
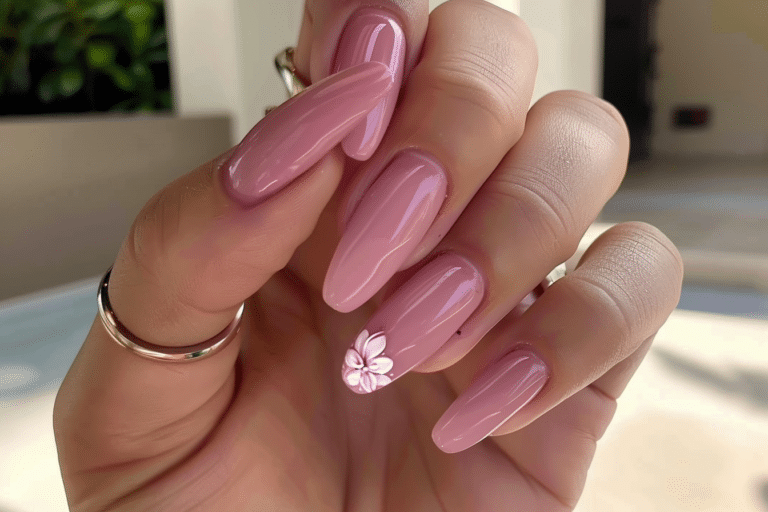
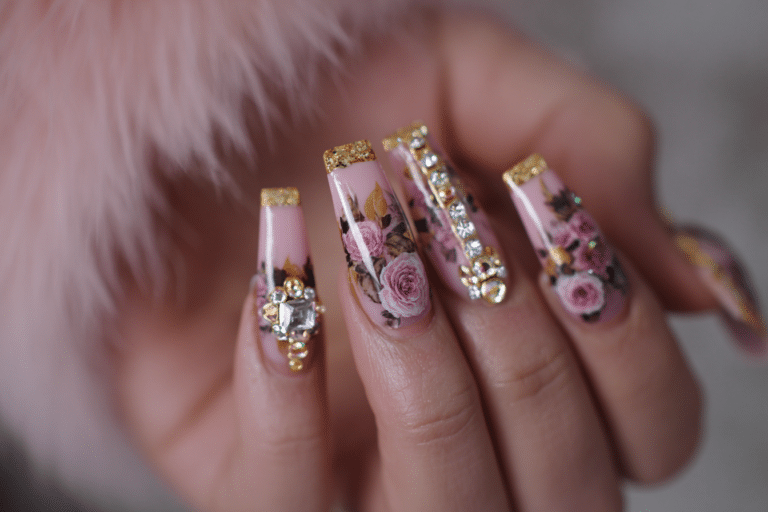
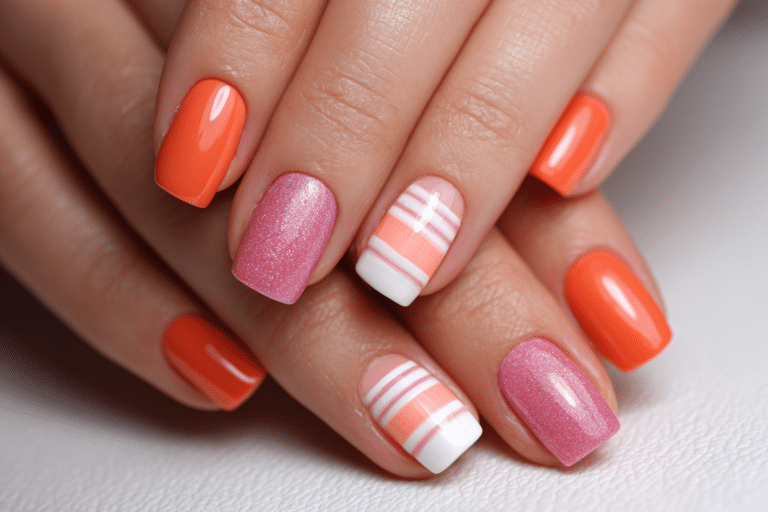
Soft Glow, Pastel, Chrome & Gradient Nail Art Ideas

Soft Glow, Pastel, Chrome & Gradient Nail Art Ideas represent the perfect fusion of delicate color palettes with contemporary metallic finishes.
These nail designs combine the gentle beauty of pastel shades, the luminous quality of soft glow effects, the reflective brilliance of chrome finishes, and the seamless transitions of gradient techniques. This versatile approach creates dimensional nail art that suits both everyday wear and special occasions, offering endless creative possibilities for nail enthusiasts.
| Topic | Details |
|---|---|
| Category | Nail Art |
| Skill Level | Intermediate |
| Time Needed | 60-90 minutes |
| Tools Needed | UV/LED lamp, gel polish, chrome powder, sponges, brushes |
| Best For | Fashion-forward individuals seeking modern, dimensional nail designs |
Table of Contents
Why This Nail Technique Works
Soft Glow, Pastel, Chrome & Gradient Nail Art combines multiple trending techniques to create visually striking manicures with exceptional depth and dimension. The soft glow effect adds an ethereal luminosity that enhances the delicate nature of pastel shades, while chrome finishes provide a reflective quality that catches light beautifully. Gradient transitions create smooth color blending that appears professionally airbrushed, eliminating harsh lines and creating a cohesive aesthetic across all nail surfaces.
This technique works particularly well because it balances subtlety with impact. Pastel colors offer a gentle, approachable base that flatters all skin tones, while chrome and metallic accents add modern edge without overwhelming the design. The gradient technique allows for seamless color transitions that can incorporate multiple shades within a single manicure, creating visual interest without appearing busy. These combined elements produce nail art that photographs exceptionally well and maintains its beauty throughout extended wear periods.
From a technical perspective, layering these different finishes creates a protective barrier that extends the longevity of your manicure. The gel polish base provides a durable foundation, while chrome powders and gradient techniques add minimal bulk. This approach maintains natural nail flexibility while delivering the glossy, dimensional finish that makes these designs so appealing. Professional nail technicians appreciate how these techniques complement each other, allowing for creative expression while maintaining structural integrity.
Tools and Products Needed
| Product | Purpose | Alternatives |
|---|---|---|
| UV/LED Lamp | Cures gel polish layers | 48W or higher wattage lamp |
| Base Coat | Protects natural nails and ensures adhesion | Peel-off base for easy removal |
| Pastel Gel Polish | Provides soft color foundation | Sheer white mixed with pigmented colors |
| Chrome Powder | Creates metallic reflective finish | Metallic gel polish |
| White Gel Polish | Base for gradient and glow effects | Opaque nude shade |
| Makeup Sponges | Blends gradient transitions | Silicone blending tools |
| Detail Brushes | Applies precise chrome powder | Eyeshadow applicators |
| No-Wipe Top Coat | Seals chrome powder without tacky layer | Regular top coat with cleanse |
| Glossy Top Coat | Final sealing layer for shine | Matte top coat for alternative finish |
| Nail File | Shapes nail edges | Glass file for gentler filing |
| Nail Buffer | Smooths nail surface | Fine-grit buffer block |
| Cuticle Oil | Hydrates surrounding skin | Vitamin E oil |
For premium gel polish selections and professional nail art tools, visit Gel Nails By Lina for curated product recommendations.
Step-by-Step Application Guide
Nail Preparation
- Remove any existing nail polish using acetone-soaked cotton pads and gentle pressure.
- Shape your nails using a quality nail file, working in one direction to prevent splitting.
- Push back cuticles gently using a wooden or silicone cuticle pusher after softening with warm water.
- Buff the nail surface lightly to remove shine and create a slightly textured surface for better adhesion.
- Cleanse nails thoroughly with alcohol or nail cleanser to remove oils, dust, and debris.
- Apply dehydrator if available to remove any remaining moisture from the nail plate.
Base Coat Application
- Apply a thin layer of base coat to each nail, avoiding contact with surrounding skin.
- Cap the free edge by running the brush along the nail tip for added durability.
- Cure under UV/LED lamp according to manufacturer instructions, typically 30-60 seconds.
- Check for any lifted areas or gaps and apply additional base coat if needed before proceeding.
Gel Polish Layers
- Apply a thin layer of white or light pastel gel polish as your base color for optimal glow effect.
- Cure the first color layer completely to prevent color bleeding during gradient application.
- Paint your chosen pastel colors onto a makeup sponge in adjacent stripes for gradient preparation.
- Dab the sponge gently onto the nail surface using a rolling motion to transfer the gradient pattern.
- Repeat the dabbing process two to three times, allowing slight curing between layers for color buildup.
- Cure the gradient layer fully before cleaning any excess polish from surrounding skin with a cleanup brush.
- Apply chrome powder to selected nails using a silicone tool or eyeshadow applicator with gentle rubbing motions.
- Buff the chrome powder into the tacky layer until you achieve a smooth, reflective finish.
Curing Process
- Cure each layer according to the specific gel polish brand recommendations, avoiding under-curing.
- Ensure your lamp wattage matches the gel polish requirements for proper polymerization.
- Position your hand correctly in the lamp so all nails receive equal light exposure.
- Add extra curing time for thicker layers or pigmented colors that require longer processing.
Finishing and Top Coat
- Apply no-wipe top coat to chrome nails first, curing immediately to seal the metallic powder.
- Apply regular glossy top coat to gradient and pastel nails using thin, even strokes.
- Cap the free edges again with top coat to prevent chipping and extend wear time.
- Cure the final top coat layer for the full recommended time to ensure complete hardening.
- Cleanse any remaining tacky layer using alcohol or gel cleanser on a lint-free wipe.
- Apply cuticle oil generously around each nail and massage into the surrounding skin for hydration.
Pro Nail Technician Tips
- Use thin layers of gel polish throughout the process to prevent lifting, peeling, and premature wear that occurs with thick application.
- Allow each gradient layer to cure for 15-20 seconds before applying the next to prevent color muddying while maintaining blendability.
- Apply chrome powder immediately after curing the color coat while the inhibition layer remains tacky for best adhesion and reflective quality.
- Store chrome powders in airtight containers away from moisture to maintain their reflective properties and prevent clumping or oxidation.
- Create custom pastel shades by mixing small amounts of pigmented gel polish with white or clear gel for unique colors.
- Use a silicone tool rather than a brush for chrome application to achieve smoother coverage without streaking or patchy areas.
- Prep your makeup sponges by dampening slightly before applying gradient colors to prevent excessive gel polish absorption and wastage.
- Practice gradient transitions on a palette or practice nail tips before applying to natural nails to perfect your technique.
Common Gel Nail Mistakes
| Mistake | Why it Happens | How to Fix |
|---|---|---|
| Thick gel layers causing wrinkling | Applying too much product at once creates uneven curing | Use multiple thin layers instead of one thick application |
| Chrome powder appears patchy | Insufficient buffing or uneven tacky layer | Ensure complete color cure and buff powder thoroughly in circular motions |
| Gradient looks streaky | Sponge is too dry or colors not blended properly | Dampen sponge slightly and use rolling dabbing motion rather than dragging |
| Polish peeling at edges | Not capping free edge or flooding cuticles | Always seal nail tips with each layer and maintain clean cuticle lines |
| Chrome powder dulls quickly | Using wrong top coat or rubbing too aggressively | Apply no-wipe top coat specifically and use gentle application techniques |
| Colors appear muddy in gradient | Incompatible polish formulas or over-blending | Use same brand polishes and limit blending to 2-3 applications |
Nail Design Variations for Soft Glow, Pastel, Chrome & Gradient Styles
| Style | Description | Best Occasion |
|---|---|---|
| Pastel Ombre Chrome Tips | Gradient pastel base with chrome powder concentrated on nail tips creating french-inspired design | Spring weddings, garden parties, bridal showers |
| Rainbow Gradient Soft Glow | Multi-color pastel gradient spanning all nails with subtle shimmer overlay for ethereal effect | Festival wear, creative events, summer celebrations |
| Minimalist Chrome Accent | Soft pastel base on most nails with single chrome accent nail per hand | Professional settings, everyday wear, conservative workplaces |
| Vertical Gradient Chrome | Lengthwise color transition from pastel to chrome creating elongating visual effect | Formal events, photography sessions, special occasions |
| Geometric Chrome Patterns | Pastel base with chrome powder applied in striped, dotted, or geometric designs | Fashion events, artistic gatherings, creative industries |
| Soft Glow Gradient French | Traditional french manicure reimagined with gradient pastel tips and soft glow finish | Weddings, professional events, timeless elegance needed |
| Chrome Marble Swirl | Pastel colors with chrome powder swirled to create marbled effect with metallic veining | Luxury events, evening occasions, statement manicures |
Explore more gradient nail art inspiration and tutorials at Gel Nails By Lina for additional design variations.
Nail Care and Maintenance
Maintaining your Soft Glow, Pastel, Chrome & Gradient nail art requires consistent care to preserve the delicate finishes and extend wear time. Apply cuticle oil twice daily to keep the surrounding skin hydrated and prevent lifting at the cuticle line where moisture loss commonly occurs. The chrome finish particularly benefits from regular oil application, as it prevents the edges from catching and maintains the reflective quality by creating a protective barrier against environmental factors.
Wear protective gloves during household cleaning, dishwashing, or gardening activities to shield your manicure from harsh chemicals and excessive water exposure. Chrome finishes can dull when exposed to certain cleaning products, while gradient work may show premature wear along stress points if subjected to rough treatment. Avoid using your nails as tools for opening cans, scraping labels, or prying objects, as these actions create pressure points that lead to cracking and lifting
How to Remove Gel Nails Safely
Safe removal of gel nails preserves natural nail health and prevents damage that occurs from improper techniques. Begin by gently filing the top coat surface with a coarse nail file to break the seal and allow acetone penetration through the protective layers. Avoid aggressive filing that reaches the natural nail plate, focusing only on removing the glossy top layer that prevents product absorption.
Soak cotton pads in pure acetone and place them directly onto each nail, ensuring complete coverage of the gel polish surface. Wrap each finger tightly with aluminum foil to create a sealed environment that traps heat and accelerates the breakdown process. Allow the wraps to remain in place for 12-15 minutes, checking one nail after ten minutes to assess progress before removing all wraps.
Gently push softened gel polish off the nail using a wooden cuticle pusher or orangewood stick, applying minimal pressure to avoid nail plate damage. If gel polish resists removal, rewrap and soak for an additional five minutes rather than forcing the product off. Never peel or pick at gel polish, as this removes layers of the natural nail and causes weakness, peeling, and long-term damage.
Nail Health and Safety
Maintaining nail health while enjoying decorative manicures requires understanding proper application techniques and recognizing early signs of damage. Over-filing the nail surface removes protective layers and creates a porous texture that leads to brittleness and breakage. File only in one direction during shaping, and limit surface buffing to the minimum needed for gel adhesion, preserving as much natural nail thickness as possible.
Monitor for signs of nail infections including redness, swelling, pain, or discharge around the nail bed or cuticle area. These symptoms indicate bacterial or fungal presence that requires immediate attention and temporary cessation of nail enhancements. Proper sanitization of tools between uses prevents infection transmission, so ensure all implements undergo thorough cleaning with hospital-grade disinfectant or alcohol.
Avoid cutting cuticles, as this protective tissue seals the nail matrix from bacteria and moisture. Pushing cuticles back gently after softening provides a clean canvas without compromising the natural barrier that prevents infection. If you notice persistent lifting, sensitivity, or discoloration, consult a dermatologist to rule out underlying conditions like psoriasis, eczema, or allergic reactions to gel products.
Frequently Asked Questions
How long do gel nails last?
Gel nails typically last two to three weeks with proper application and care before requiring a fill or complete removal. The longevity depends on factors including natural nail growth rate, daily activities, and how well you maintain the manicure with cuticle oil and protective measures. Chrome and gradient gel designs may show wear slightly earlier than standard gel polish due to the additional layers and specialized finishes that experience different stress patterns.
How to remove gel nails safely at home?
Remove gel nails safely by filing the top coat, soaking nails in pure acetone for 12-15 minutes using wrapped cotton pads, and gently pushing softened polish off with a wooden tool. Never peel or force gel polish removal, as this damages the natural nail plate and causes thinning. After removal, restore moisture with cuticle oil and hand cream, allowing nails to rest for several days before applying new enhancements.
What is the difference between gel nails and acrylic nails?
Gel nails use a light-cured polymer that remains flexible and appears more natural, while acrylic nails use a liquid monomer and powder polymer that air-dries into a harder, more rigid enhancement. Gel applications typically cause less nail damage, produce no strong odor during application, and offer easier removal through acetone soaking. Acrylic nails provide greater strength for severe nail biters or those requiring significant length extensions but require more aggressive removal techniques.
Why do my gel nails peel after a few days?
Gel nails peel prematurely due to inadequate nail preparation, moisture or oils on the nail plate during application, or applying layers too thickly. Ensure thorough cleansing with alcohol before application, use a dehydrator product, and apply thin layers that cure completely between coats. Flooding the cuticle area or failing to cap the free edge also causes early lifting and peeling around vulnerable nail edges.
How can I make my gel nails last longer?
Make gel nails last longer by applying cuticle oil twice daily, wearing gloves during cleaning tasks, and avoiding using nails as tools. Proper application with thin layers, complete curing, and capping free edges establishes a strong foundation that resists chipping. Reapply top coat every few days to refresh the protective seal, and address any small lifts immediately by cleaning and sealing before they expand into larger problem areas.
Conclusion
Soft Glow, Pastel, Chrome & Gradient Nail Art Ideas offer versatile design possibilities that combine delicate aesthetics with modern metallic finishes for truly dimensional manicures. By mastering the proper application techniques, understanding the layering process, and maintaining your nails with consistent care, you can achieve salon-quality results that last for weeks. These trending nail art styles provide endless creative opportunities while remaining appropriate for various occasions, from professional settings to special celebrations. Experiment with different color combinations and finishes to discover your signature look, and enjoy the confidence that comes with beautifully manicured nails that showcase your personal style.