Summer Nails: The Ultimate Guide to DIY Gel Nail Art at Home

I’ll never forget that scorching July afternoon when I walked into my favorite salon for my pre-vacation manicure, only to discover they were fully booked for the next three weeks. I stood there, holding the door open, watching other women get their summer nails done in vibrant corals and shimmering golds, feeling completely defeated.
That’s when something clicked. I had invested in a gel lamp two years prior but never had the courage to try it myself. “What if I mess up?” I thought. “What if it looks unprofessional?” But that day, desperation met determination, and I decided to attempt my first DIY gel manicure at home.
Honestly? My first attempt was rough. My lines weren’t perfect, my application was uneven, and I definitely used way too much product. But here’s what surprised me: it still looked pretty good. And more importantly, it lasted. By my vacation, my summer nails were flawless, and I’d saved $60 that I could spend on sunscreen and frozen mocktails instead.
Now, three summers later, I’m here to share everything I’ve learned about creating gorgeous summer nails at home. Whether you’re looking for vibrant tropical designs, minimalist beach-inspired looks, or fun holiday nail art, this guide has you covered.
Table of Contents
Why Summer Nails Deserve Special Attention
Summer is the season when your nails get the most visibility. Beach days, outdoor brunches, vacation photos, and warm-weather activities mean your hands are always on display. Unlike winter, when you’re bundled up, summer is all about showcasing your personal style through details—and that includes your nails.
Summer nails aren’t just about aesthetics, though. They’re about boosting your confidence before those special occasions. There’s something undeniably empowering about walking into a summer party with perfectly manicured nails. It’s the kind of small detail that makes you feel put-together and ready for anything.
The Ultimate Summer Nail Colors & Designs
Classic Summer Nail Colors
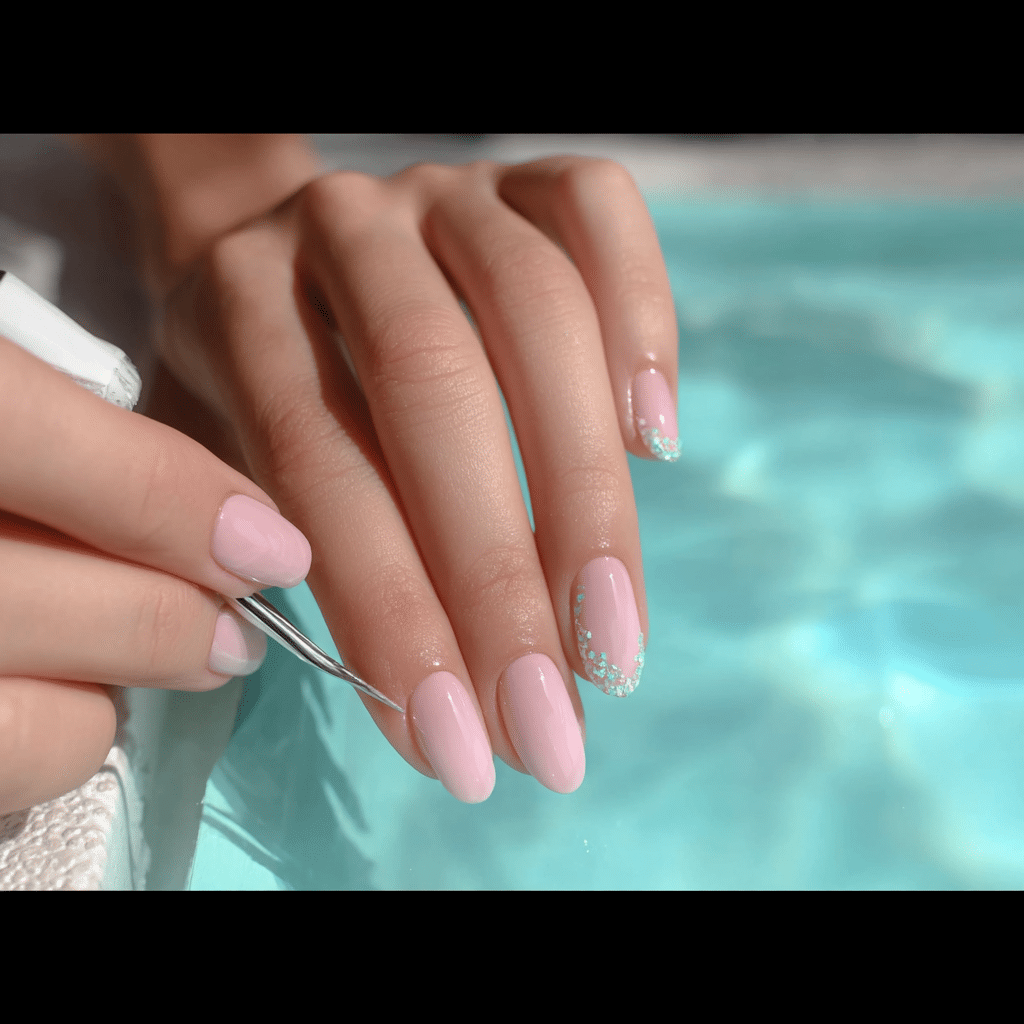
- Coral Bliss: A warm, tropical coral that works on every skin tone and screams summer energy
- Seafoam Green: Perfect for that beachy, relaxed vibe
- Sunshine Yellow: Bright, cheerful, and instantly vacation-ready
- Peachy Pink: Sophisticated yet playful, ideal for both casual and formal summer events
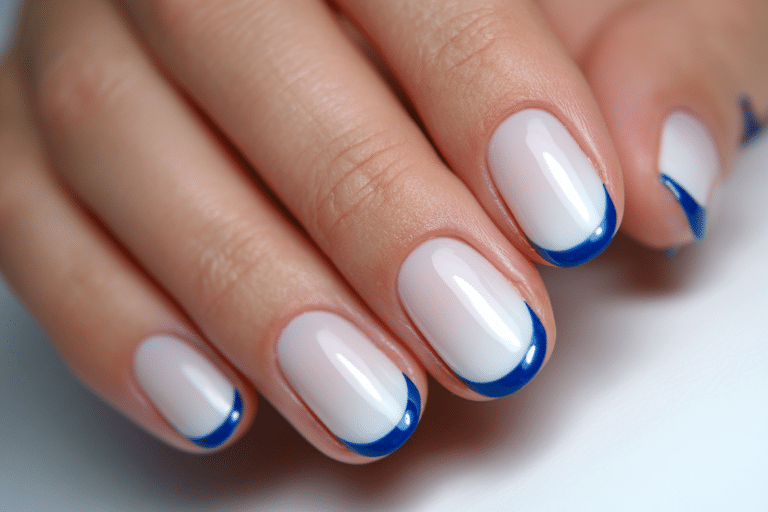
- Ocean Blue: A deep, rich blue that’s elegant and timeless
- Nude with Shimmer: Versatile and flattering for every occasion
Trending Summer Nail Designs
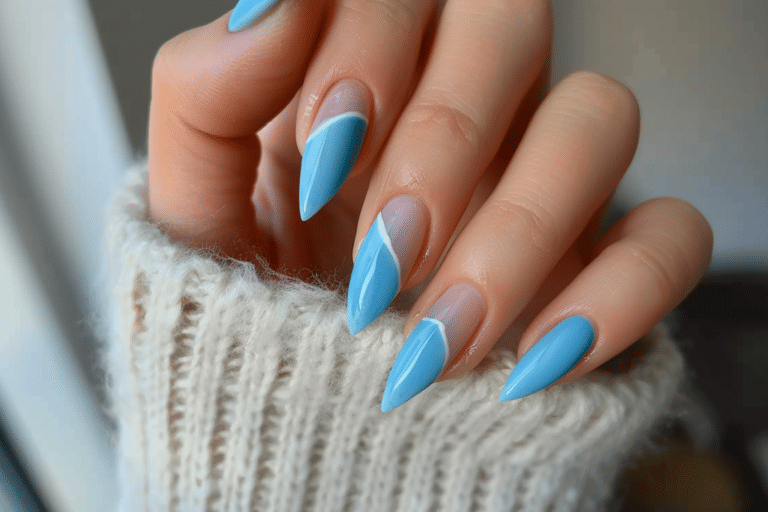
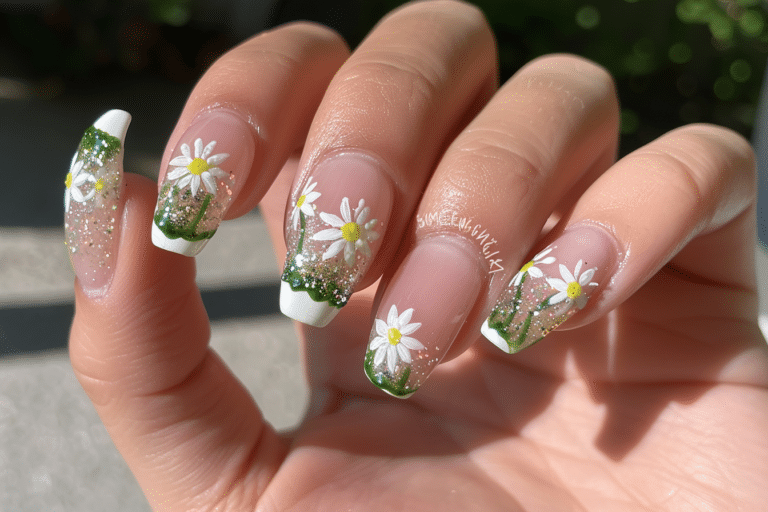
This summer, we’re seeing a beautiful mix of minimalist and bold designs. Geometric patterns, ombre effects, negative space nail art, and metallic accents are dominating social media. But here’s my favorite discovery: you don’t need complicated designs to have stunning summer nails. Sometimes, a single solid color with a glossy top coat is all you need to feel fabulous.
Tools & Products You’ll Need for DIY Summer Nails
Before diving into your gel manicure journey, let’s talk about the essentials. I recommend investing in quality products rather than the cheapest options—your nails will thank you.
Must-Have Gel Nail Supplies
- UV or LED Gel Lamp: LED lamps cure faster (30-60 seconds) and last longer than UV
- Gel Polish Base Coat: This prevents staining and ensures better adhesion
- Gel Polish Colors: Choose at least 3-5 summer shades to start your collection
- Gel Polish Top Coat: Gives that professional glossy or matte finish
- Gel Cleanser or Rubbing Alcohol: Removes the sticky layer after curing
- Nail File & Buffer: 180-grit files are perfect for gel nails
- Cuticle Pusher: For proper nail prep
- Nail Dehydrator or Primer: Ensures gel sticks properly
- Lint-Free Wipes: Essential for gel application
- Gel Remover Acetone: For safe gel removal
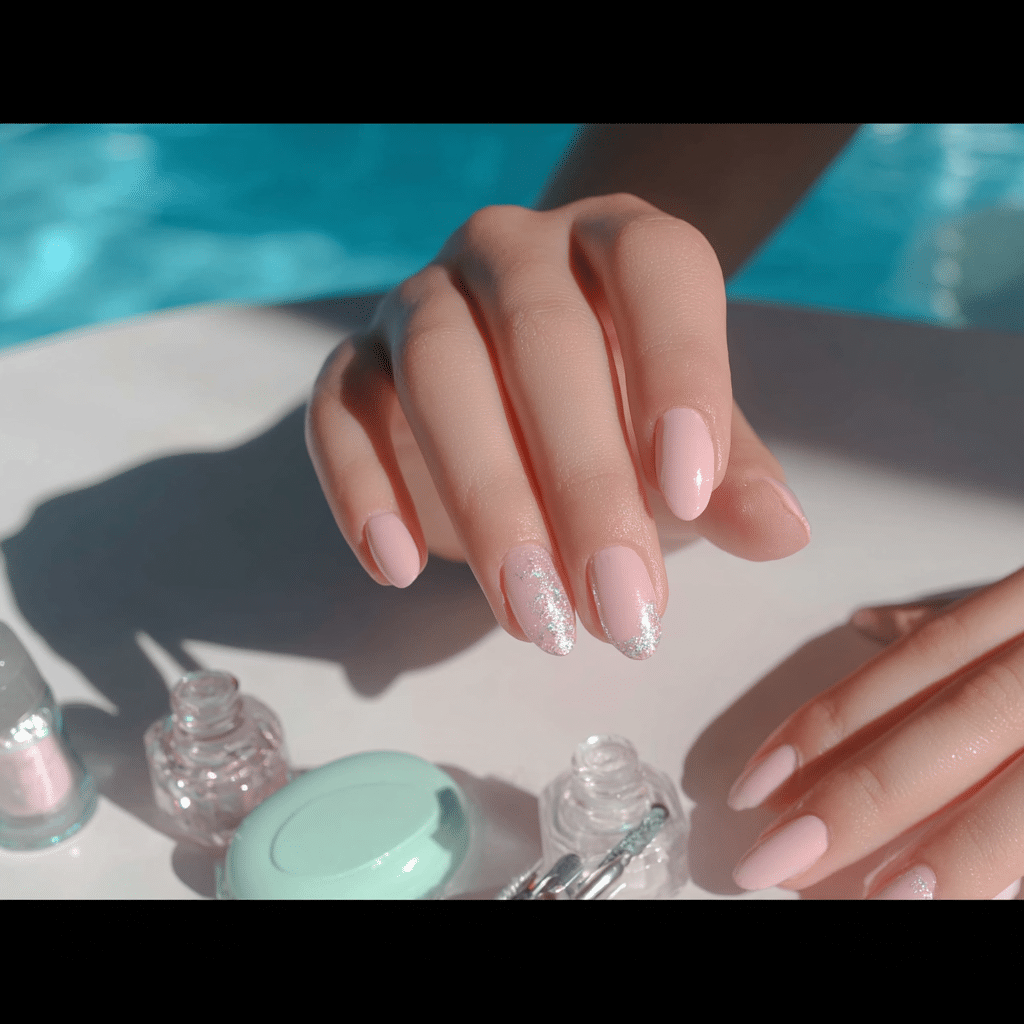
Step-by-Step Guide to DIY Summer Nails at Home
Preparation: The Foundation of Perfect Nails
Here’s what I learned the hard way: preparation is everything. You can have the most expensive gel polish in the world, but if your nails aren’t prepped correctly, it won’t last.
- Remove old polish: Start with completely bare nails. If you’re coming from a previous gel manicure, use acetone-based gel remover carefully.
- Wash your hands: Use warm soapy water to cleanse your hands thoroughly.
- Push back cuticles: Use a cuticle pusher to gently push cuticles back. Don’t cut them they protect your nail.
- File your nails: File in one direction to your desired length and shape. I prefer a soft square or almond shape for summer.
- Buff the surface: Gently buff the nail surface to create a slightly textured surface for the gel to adhere to.
- Dehydrate: Use a gel dehydrator or primer to remove moisture and oils from the nail surface.
Application: Creating Your Summer Nails Masterpiece
- Apply base coat: Use a thin layer of gel base coat and cure according to product instructions (typically 30-60 seconds).
- Apply first color layer: This is where it gets fun! Apply a thin, even layer of your chosen summer gel color. Avoid touching the cuticle—leave a tiny gap.
- Cure: Place your hand under the UV or LED lamp for the recommended time.
- Apply second color layer: For full opacity, apply a second thin layer and cure again.
- Apply top coat: Finish with a glossy or matte top coat (depending on your preference) and cure.
- Cleanse: Use rubbing alcohol or gel cleanser on a lint-free wipe to remove the sticky layer.
- Moisturize: Apply cuticle oil and hand moisturizer to seal in hydration.
Pro Tip for Perfect Application
The secret to salon-quality summer nails is using less product than you think. A pea-sized amount is usually enough for each nail. Apply from the base toward the tip, leaving a tiny gap at the cuticle and sides. This prevents pooling and gives that professional finish.
Common Mistakes I Made (So You Don’t Have To)
Mistake #1: Skipping Nail Prep
My first attempt lasted only 4 days because I rushed through preparation. Now, I spend as much time prepping as I do applying color. It makes a huge difference.
Mistake #2: Applying Too Much Product
Thick layers don’t cure properly and take forever to apply. Thin, even layers are the key to professional-looking summer nails.
Mistake #3: Ignoring Lamp Instructions
Different gel polishes require different cure times. Always read the bottle to ensure proper curing.
Mistake #4: Not Moisturizing
Gel polish can dry out your nails and cuticles. I now apply cuticle oil daily, and my nails are much healthier.
Mistake #5: Removing Gel Incorrectly
Peeling off gel polish is so tempting but damages your nail bed. Always use proper acetone removal or visit a professional.
Summer Nails vs. Salon Services: DIY at Home Comparison
| Factor | DIY Gel at Home | Salon Service |
|---|---|---|
| Cost Per Manicure | $3-8 | $50-75 |
| Time Required | 45-60 minutes | 30-45 minutes |
| Learning Curve | 2-3 attempts | N/A |
| Durability | 2-3 weeks | 3-4 weeks |
| Customization | Complete freedom | Artist dependent |
| Convenience | Do anytime, anywhere | Appointment scheduling |
For those looking for even more detailed guidance on the fundamentals, our beginner’s guide to gel nails at home offers comprehensive information for newcomers to the DIY gel space.
Pro Tips for Long-Lasting Summer Nails
Tip #1: Invest in Quality Products
Budget gel polish might be cheaper upfront, but it chips faster and doesn’t look as vibrant. Quality gel brands last 3-4 weeks easily.
Tip #2: Wear Gloves for Chores
Dish soap and water are gel polish’s worst enemies. Wear gloves when washing dishes, cleaning, or gardening to extend your manicure’s life.
Tip #3: Apply Sunscreen to Your Hands
While you’re protecting your face from UV rays, don’t forget your hands! Sun exposure can fade gel polish faster and age your hands prematurely.
Tip #4: Keep Cuticles Hydrated
Apply cuticle oil every evening. Hydrated nails are healthier nails, and they hold gel polish better.
Tip #5: Do Regular Maintenance
Even with gel polish, your nails grow. Every 2-3 weeks, fill in the grown-out area or simply refresh your manicure.
Frequently Asked Questions About Summer Nails
How long do gel nails typically last?
Gel manicures usually last 2-4 weeks, depending on your lifestyle, application technique, and product quality. The tips might show wear first, but the base typically remains intact throughout this period.
Is it safe to use a gel lamp at home?
Yes, when used correctly. LED lamps are considered safer than UV lamps and cure faster. Limit exposure to 10 minutes per session, and apply SPF to your hands before using the lamp if you’re concerned.
Can I create nail art designs at home without professional training?
Absolutely! Start with simple designs like solid colors or thin stripes. As you gain confidence, try more complex patterns.
What should I do if my gel polish chips before two weeks?
Premature chipping usually indicates improper nail prep or application. Review the prep steps, ensure you’re applying thin layers, and verify your lamp is curing properly. If chipping persists, try a different gel brand.
How do I safely remove gel polish at home?
Use acetone-based gel remover, soak your nails for 10-15 minutes, and gently push off the softened polish. Never force or peel the polish, as this damages your nail bed. Follow removal with a nourishing treatment.
The Summer Nails Mindset: It’s More Than Polish
Here’s what I’ve realized through my gel nail journey: perfect summer nails aren’t really about perfection at all. They’re about self-care, confidence, and taking time to do something special for yourself.
When I’m focused on my nails choosing colors, learning new techniques, admiring the glossy finish—I’m being intentional about my wellbeing. I’m sending a message to myself that I’m worth the effort.
Your summer nails are a small canvas for big self-expression. Whether you choose bold tropical colors, delicate pastels, or sophisticated neutrals, you’re making a choice about how you want to present yourself to the world.
Start Your Summer Nails Journey Today
You don’t need a salon appointment or fancy skills to have gorgeous summer nails. All you need is curiosity, the right tools, and a willingness to learn from a few imperfect attempts.
I’m genuinely excited about your DIY gel nail journey because I know how transformative it can be. Not just for your nails, but for your confidence and sense of creative accomplishment.
Ready to master your summer nails? Join our email community at Gel Nails By Lina for exclusive tutorials, product recommendations, and insider tips delivered straight to your inbox. We share new design ideas every week, troubleshooting advice, and special offers on premium gel products.
Your best summer nails are waiting. Let’s make this your season of fabulous self-care and creative expression. Your hands deserve to look as amazing as you feel.
Don’t forget to join our Pinterest for more inspiring nail art tips