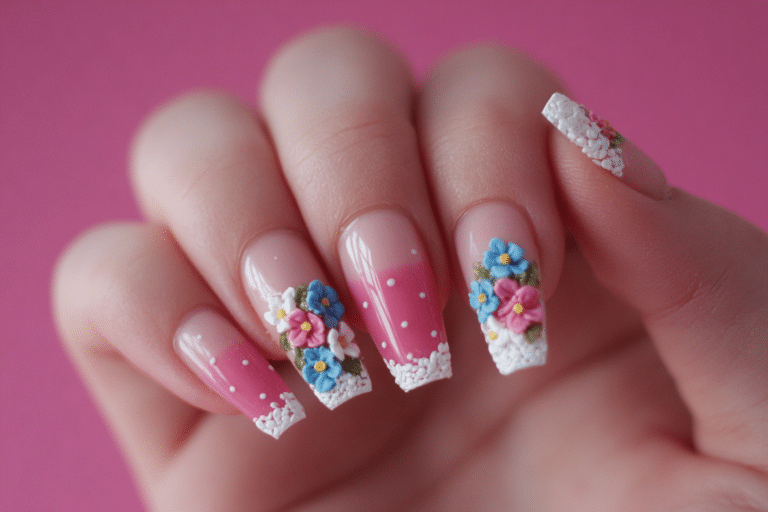
Sports Nails: Athletic Nail Art Designs for Active Lifestyles

Sports nails are gel manicures featuring athletic team colors, logos, and sports-themed designs that celebrate your favorite teams or activities.
These specialized nail art designs combine durability with creative expression, perfect for athletes and sports enthusiasts. Sports nails require proper gel application techniques to withstand active lifestyles while maintaining vibrant team colors and detailed artwork.
| Topic | Details |
|---|---|
| Category | Nail Art / Gel Nails |
| Skill Level | Intermediate |
| Time Needed | 90-120 minutes |
| Tools Needed | UV/LED lamp, gel polish, nail art brushes, striping tape |
| Best For | Sports fans, athletes, team supporters, active individuals |
Table of Contents
Why This Nail Technique Works
Sports nails utilize gel polish formulations that provide superior adhesion and flexibility compared to traditional lacquers. The gel system creates a protective barrier that withstands frequent hand washing, equipment handling, and physical activity. These formulas cure under UV or LED light, creating molecular bonds that resist chipping and peeling even during intense athletic training sessions.
The technique works because gel polish allows for layering of team colors and detailed designs without compromising durability. Professional nail technicians use specialized brushes and tools to create precise lines, logos, and patterns that represent specific sports teams. The curing process between each layer ensures that colors remain vibrant and do not bleed together, maintaining crisp definition in intricate sports-themed artwork.
Athletic nail art requires strategic design placement and proper nail preparation to ensure longevity. The gel formula flexes with natural nail movement during physical activities, preventing cracks and breaks. This flexibility combined with strong adhesion makes sports nails ideal for active individuals who refuse to compromise style for functionality.
Tools and Products Needed
| Product | Purpose | Alternatives |
|---|---|---|
| UV/LED Lamp | Cures gel polish layers | 48W LED lamp or 36W UV lamp |
| Gel Base Coat | Creates adhesion foundation | Rubber base or bond primer |
| Team Color Gel Polish | Primary design colors | Custom mixed shades |
| White and Black Gel | Accent and detail work | Acrylic paint for details |
| Nail Art Brushes | Fine detail application | Striping brush set |
| Striping Tape | Clean lines and borders | Vinyl tape or stencils |
| Nail File 180 Grit | Surface preparation | Glass file or buffer |
| Nail Buffer | Smooths nail surface | 220 grit buffer block |
| Cuticle Oil | Hydrates surrounding skin | Vitamin E or jojoba oil |
| Gel Top Coat | Seals and protects design | No-wipe glossy finish |
| Nail Dehydrator | Removes oils and moisture | Rubbing alcohol alternative |
| Lint-Free Wipes | Cleanses between steps | Cotton pads with acetone |
For additional nail art supplies and professional gel systems, visit Gel Nails by Lina for expert-recommended products.
Step-by-Step Application Guide
Nail Preparation
- Remove any existing nail polish using acetone-soaked cotton pads and gentle pressure.
- Push back cuticles gently using a wooden or metal cuticle pusher at a 45-degree angle.
- File nails to desired length and shape using smooth, one-directional strokes.
- Buff the nail surface lightly with a 180-grit buffer to create texture for adhesion.
- Cleanse nails thoroughly with nail dehydrator or rubbing alcohol using lint-free wipes.
- Apply thin layer of nail primer if working with oily or problematic nail beds.
Base Coat Application
- Apply thin layer of gel base coat starting from cuticle area to free edge.
- Cap the free edge by running brush along nail tip for added protection.
- Cure under UV lamp for 60 seconds or LED lamp for 30 seconds according to manufacturer instructions.
- Check for complete coverage without flooding cuticles or sidewalls.
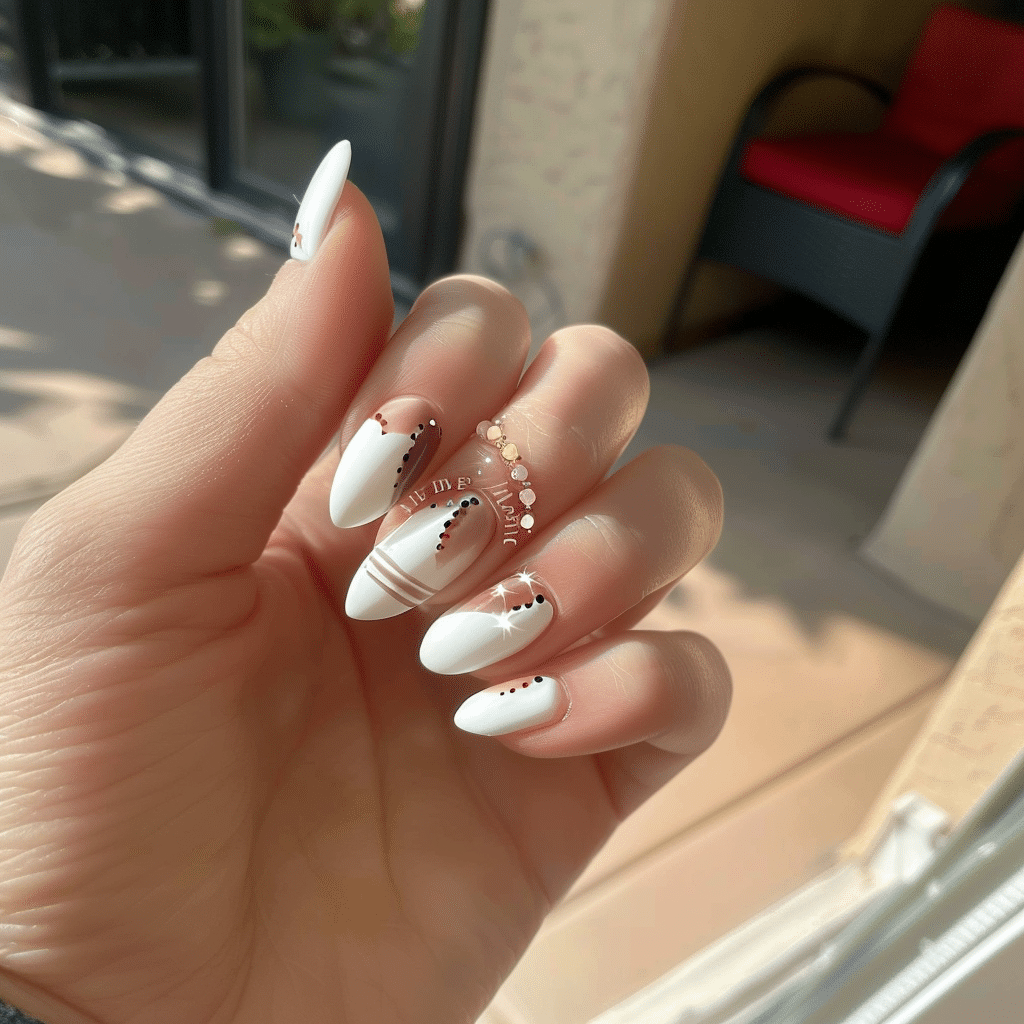
Gel Polish Layers
- Apply first thin coat of base team color gel polish using controlled strokes.
- Cure layer under appropriate lamp for recommended time without moving hand position.
- Apply second coat of base color for opacity and vibrant color saturation.
- Cure second layer completely before proceeding to design work.
- Use striping tape to create clean sections for alternating team colors if needed.
- Apply contrasting color to designated sections with precision and thin consistency.
- Cure each color layer separately to prevent smudging or color bleeding.
Sports Design Application
- Select fine detail brush for creating team logos, numbers, or athletic symbols.
- Dip brush into gel polish and wipe excess to prevent flooding design area.
- Paint team logos or sports equipment designs with steady hand and light pressure.
- Cure detailed artwork layer before adding additional design elements.
- Add accent details like stripes, dots, or player numbers using contrasting colors.
- Create dimension by layering white highlights or black shadows on design elements.
- Cure all decorative layers thoroughly between each addition for crisp definition.
Finishing and Top Coat
- Apply thin layer of gel top coat over entire nail including design areas.
- Cap free edge again with top coat for maximum chip resistance.
- Cure final layer for full recommended time to ensure complete hardening.
- Wipe tacky residue with lint-free pad and rubbing alcohol if using regular top coat.
- Apply cuticle oil around nail perimeter and massage into skin for hydration.
- Inspect each nail for complete coverage and smooth finish under good lighting.
Pro Nail Technician Tips
- Use rubber base coat for athletes with flexible nails to prevent lifting during physical activities and equipment handling.
- Keep gel polish layers thin and build color gradually rather than applying thick coats that may peel or crack during movement.
- Seal detailed sports designs with extra top coat layer for added protection against wear from athletic equipment and frequent hand washing.
- Match curing times precisely to lamp wattage specifications to ensure complete polymerization and prevent premature chipping during active use.
- Apply cuticle oil daily to maintain flexibility around nail edges and prevent gel from becoming brittle during temperature changes in athletic environments.
- Create practice designs on nail wheels before attempting complex team logos to perfect brush technique and color placement accuracy.
Discover more professional techniques and tutorials at Gel Nails by Lina for perfecting your sports nail art skills.
Common Gel Nail Mistakes
| Mistake | Why it Happens | How to Fix |
|---|---|---|
| Thick gel layers | Applying too much product at once causes incomplete curing and premature peeling | Use thin coats and build opacity gradually through multiple cured layers |
| Improper curing time | Rushing process or using incorrect lamp wattage leaves gel partially uncured | Follow manufacturer specifications and add 10 seconds for detailed designs |
| Skipping nail preparation | Natural oils prevent proper adhesion causing lifting at cuticle area | Always dehydrate and lightly buff nail surface before base coat application |
| Flooding cuticle area | Excess gel polish touches skin creating lifting points and premature chipping | Leave 1mm gap from cuticles and clean excess before curing each layer |
| Design smudging | Not curing between design layers causes colors to bleed together | Cure completely after each color application before adding adjacent colors |
Nail Design Variations
| Style | Description | Best Occasion |
|---|---|---|
| Team Logo Sports Nails | Detailed recreation of official team logos with accurate colors and symbols | Game days, playoffs, championship viewing parties |
| Jersey Number Nails | Player numbers in team colors with athletic font styling and striping details | Supporting favorite athletes, sports tournaments, team events |
| Sport Equipment Art | Miniature representations of balls, bats, rackets, or sport-specific gear | Off-season support, practice sessions, athletic training periods |
| Team Color Ombre | Gradient blend of official team colors from cuticle to tip with glossy finish | Everyday wear for dedicated fans, subtle team spirit expression |
| Championship Sports Nails | Trophy designs, victory themes, celebratory elements in metallic finishes | Victory celebrations, award ceremonies, season finale events |
| Multi-Sport Design | Different sport themes on each nail representing various athletic interests | Multi-sport athletes, fitness enthusiasts, sports variety lovers |
Nail Care and Maintenance
Maintaining sports nails requires consistent care to preserve design integrity and nail health during active lifestyles. Apply cuticle oil twice daily around nail edges and massage into surrounding skin to maintain flexibility and prevent gel from becoming brittle. This hydration prevents micro-cracks that can develop from repeated impact during athletic activities and equipment handling.
Wear protective gloves during household cleaning or when handling harsh chemicals that can dull gel polish finish. Avoid using nails as tools to open containers or scratch surfaces, which creates stress points leading to chips or breaks. After workouts or swimming, rinse hands thoroughly and reapply cuticle oil to restore moisture lost through perspiration or chlorine exposure.
Schedule fill appointments every two to three weeks to address natural nail growth and maintain design appearance. Touch up any minor chips immediately with matching gel polish to prevent moisture from penetrating under gel layers. Keep nails at moderate length for optimal durability during physical activities, as excessive length increases leverage and breakage risk.
Monitor nails daily for signs of lifting, especially around cuticle areas where movement is greatest during athletic activities. Address lifting immediately by applying additional top coat or scheduling professional repair to prevent bacteria or moisture from entering under gel layer. Proper maintenance extends sports nails longevity to three weeks while protecting natural nail health underneath.
How to Remove Gel Nails Safely
- File away the shiny top coat layer using a 180-grit file to break the seal and allow acetone penetration.
- Soak cotton pads in pure acetone and place directly on each nail surface covering entire nail plate.
- Wrap each finger with aluminum foil squares to create heat and seal acetone against gel layers.
- Wait 10 to 15 minutes allowing acetone to dissolve gel polish molecular bonds completely.
- Remove foil wraps and gently push softened gel off nail using wooden cuticle pusher or orangewood stick.
- Avoid forcing or scraping gel that has not fully dissolved as this damages natural nail layers underneath.
- Repeat soaking process for remaining stubborn gel areas rather than applying excessive force during removal.
- Buff nails gently with fine buffer to smooth any remaining residue without aggressive filing.
- Wash hands thoroughly with gentle soap to remove acetone residue from skin and nail surfaces.
- Apply nourishing cuticle oil and hand cream to restore moisture lost during acetone soaking process.
According to the American Academy of Dermatology, proper gel nail removal prevents nail damage and maintains long-term nail health when performed correctly.
Nail Health and Safety
Protecting natural nail health while wearing sports nails requires attention to proper application and removal techniques. Over-filing during preparation weakens nail structure and creates thin spots prone to breaking during athletic activities. File only the surface shine rather than aggressive buffing that removes excessive nail layers, which compromises natural nail integrity and strength.
Monitor for signs of infection including redness, swelling, or tenderness around nail edges indicating bacteria or fungus penetration. Sports nails exposed to moisture from swimming or perspiration require extra vigilance as trapped moisture creates ideal environments for microbial growth. Remove gel immediately if you notice green or yellow discoloration under polish indicating bacterial infection requiring medical attention.
Allow natural nails to breathe between gel applications by taking breaks every three to four months. These rest periods permit nails to restore natural moisture balance and repair any micro-damage from repeated gel application cycles. During breaks, apply strengthening treatments and maintain regular cuticle oil application to support healthy nail regrowth.
Frequently Asked Questions
How long do sports nails with gel polish last?
Sports nails using proper gel application techniques typically last two to three weeks without chipping or peeling. Active individuals may experience slightly shorter wear time due to increased hand use during athletic activities and equipment handling. Proper preparation, thin layers, and complete curing extend durability even during intense physical training. Regular cuticle oil application and avoiding harsh chemicals help maintain sports nails appearance throughout the full wear period.
How do I remove gel sports nails safely at home?
Safe gel removal requires soaking nails in pure acetone for 10 to 15 minutes after filing away the top coat shine. Wrap acetone-soaked cotton pads with aluminum foil to maintain contact and accelerate gel dissolution without damaging natural nails. Gently push softened gel off using wooden tools rather than forcing or peeling, which causes nail damage and weakness. Always follow acetone soaking with moisturizing treatments to restore hydration and maintain healthy nail condition.
What is the difference between gel sports nails and acrylic nails for athletes?
Gel sports nails offer more flexibility and natural appearance compared to rigid acrylic nails that can interfere with athletic performance. Gel formulas cure under UV or LED light creating lighter weight manicures that flex with natural nail movement during physical activities. Acrylics require more aggressive filing and use stronger chemicals during application and removal processes. Gel nails provide sufficient durability for most sports while maintaining nail health better than traditional acrylic enhancement systems.
Why do my sports nails peel or lift after a few days?
Premature peeling occurs from inadequate nail preparation, thick gel layers, or incomplete curing during application process. Natural nail oils prevent proper adhesion when surface is not properly dehydrated and lightly buffed before base coat. Flooding cuticle areas or applying gel too close to skin creates lifting points where moisture penetrates under gel layers. Athletic activities increase hand washing frequency and moisture exposure, requiring extra attention to proper preparation and sealing techniques for extended wear.
How can I make my sports nails last longer during athletic activities?
Extend sports nails longevity by applying thin gel layers with complete curing and using rubber base coat for enhanced flexibility. Apply cuticle oil twice daily to maintain moisture balance and prevent gel from becoming brittle during physical activities. Wear protective gloves when possible and avoid using nails as tools that create stress points leading to chips. Choose moderate nail length and apply extra top coat layer over detailed designs for added protection against athletic equipment wear and frequent hand washing.
For more expert advice and professional gel nail products, explore resources at Gel Nails by Lina dedicated to perfecting your nail art techniques.
Conclusion
Sports nails combine athletic passion with professional nail artistry, creating durable manicures that celebrate team spirit and personal style. By following proper gel application techniques, using quality products, and maintaining consistent nail care routines, you can achieve long-lasting sports-themed designs that withstand active lifestyles. Whether supporting your favorite team or expressing athletic identity, sports nails offer creative expression without compromising functionality. Try these techniques to create stunning athletic nail art that showcases your sports enthusiasm with professional quality results.