30 Chic Summer Wedding Nails for Brides & Bridesmaids

I’ll never forget the panic I felt three days before my sister’s summer wedding. I had an appointment at a local salon for the “perfect” bridal nails, but when I arrived, the technician seemed distracted. Fast forward to the big day, and my nails supposed to be an elegant French ombré looked more like a muddy smudge. I was devastated.
That’s when I decided enough was enough. I invested in quality gel products, learned proper techniques, and started creating my own wedding nail designs at home. Not only did I save hundreds of dollars, but I also discovered a creative passion I never knew I had. Now, as a certified gel nail enthusiast, I help brides and bridesmaids achieve salon-quality nails without the stress, expense, or disappointment.
Today, I’m sharing 30 of my favorite chic summer wedding nail designs all designed to be achievable with at-home gel nail kits. Whether you’re the bride, a bridesmaid, or a guest, these ideas will help you look absolutely stunning.
Table of Contents
Why Summer Wedding Nails Deserve Special Attention
Summer weddings are magical. The warm weather, outdoor venues, and vibrant energy create the perfect backdrop for gorgeous nail art. Unlike winter weddings where dark, moody colors dominate, summer wedding nails should feel fresh, sophisticated, and weather-appropriate.
Your nails are one of the first details people notice. They frame the bouquet, show in photos, and deserve just as much attention as your dress or hairstyle. Investing time in your nail design isn’t vain it’s part of the complete bridal experience.
30 Stunning Summer Wedding Nail Designs Broken Down by Style
Classic & Timeless Bridal Nails (Perfect for Traditional Weddings)
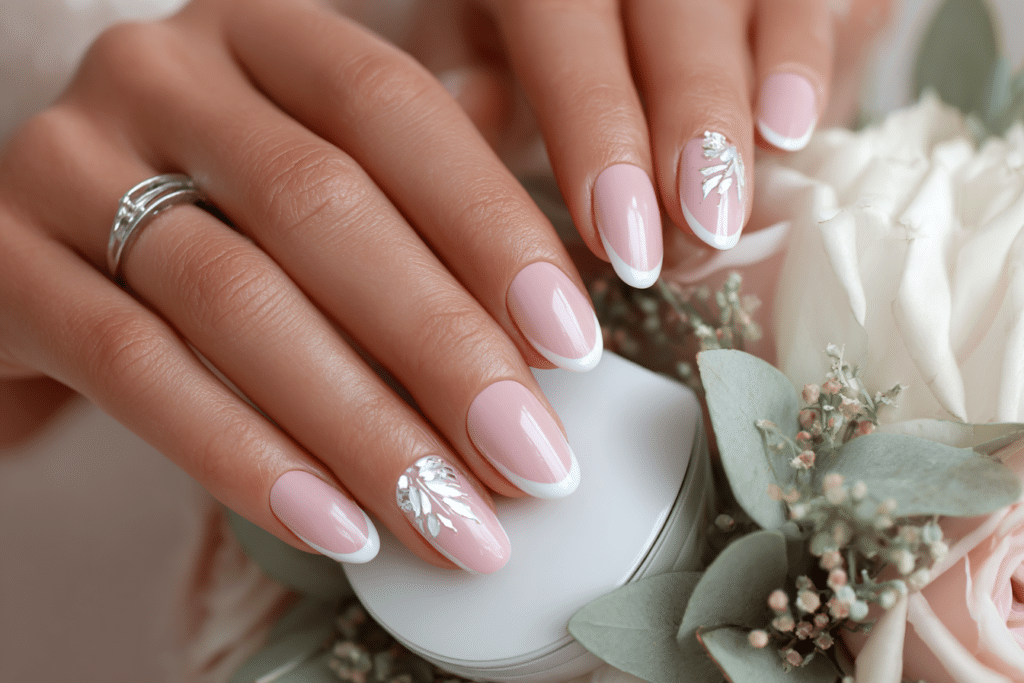
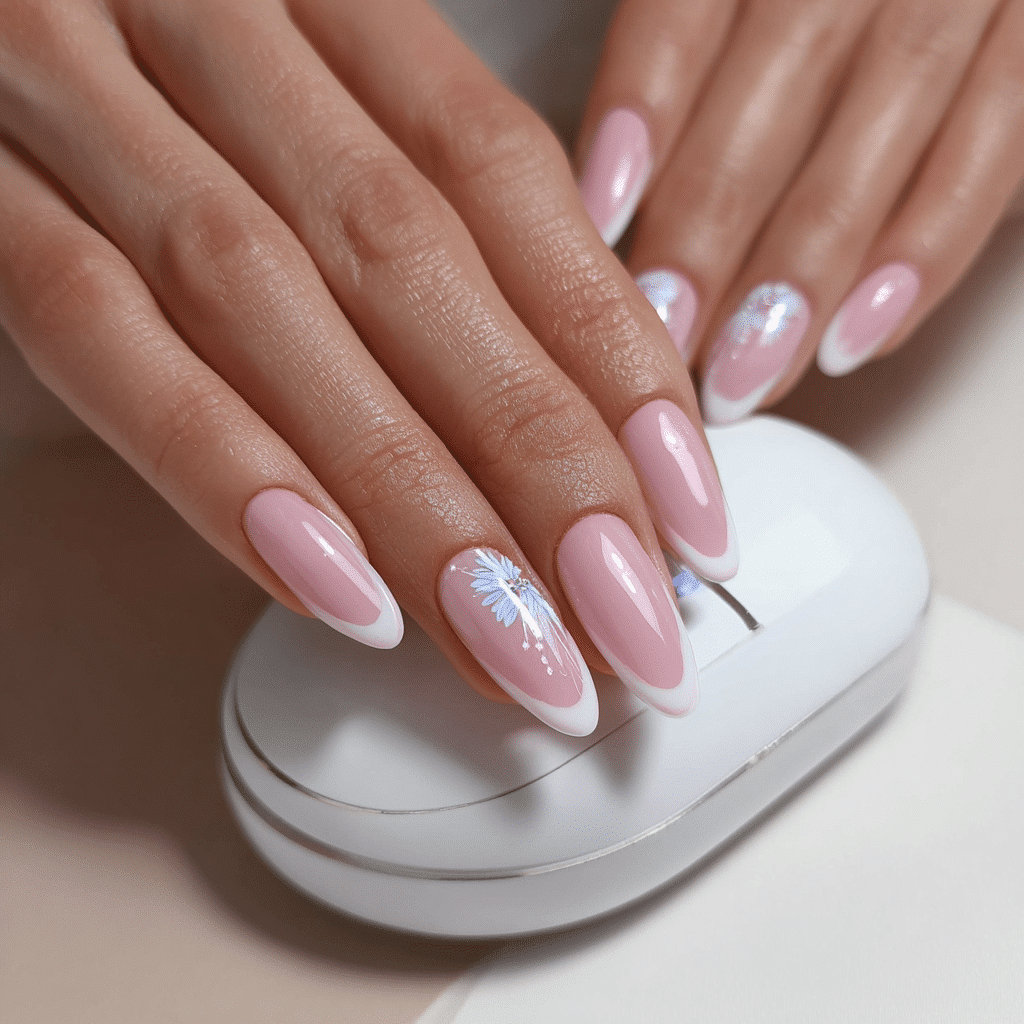
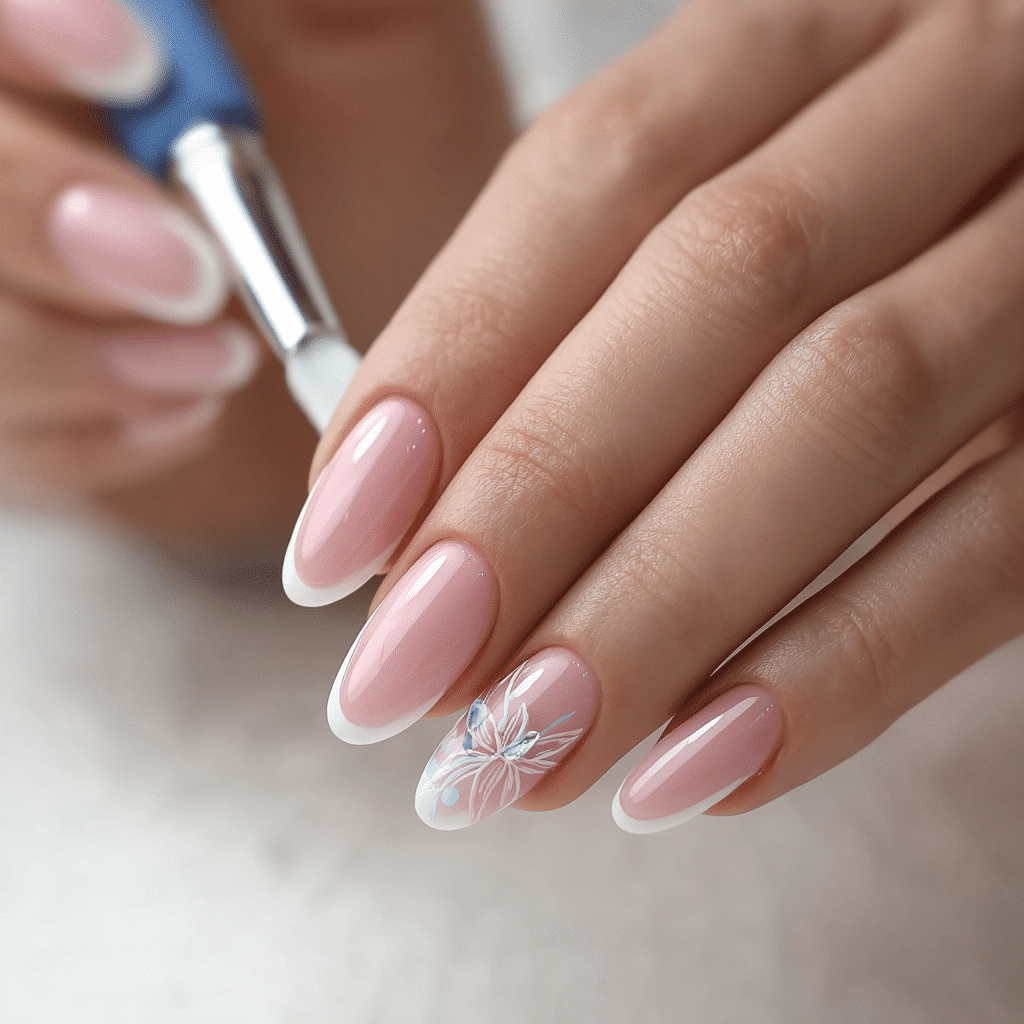
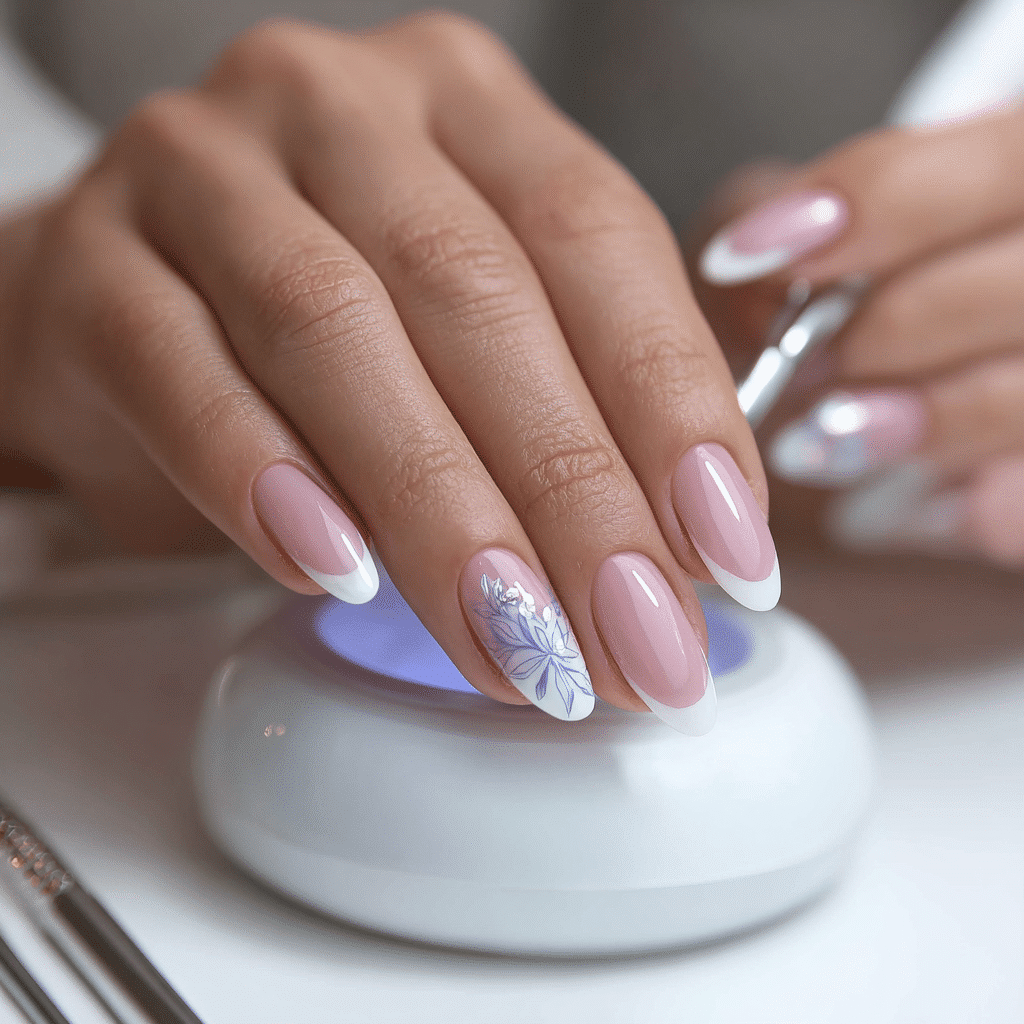
1. Soft Pink French Ombre – A romantic twist on the classic French manicure with a soft gradient fade.
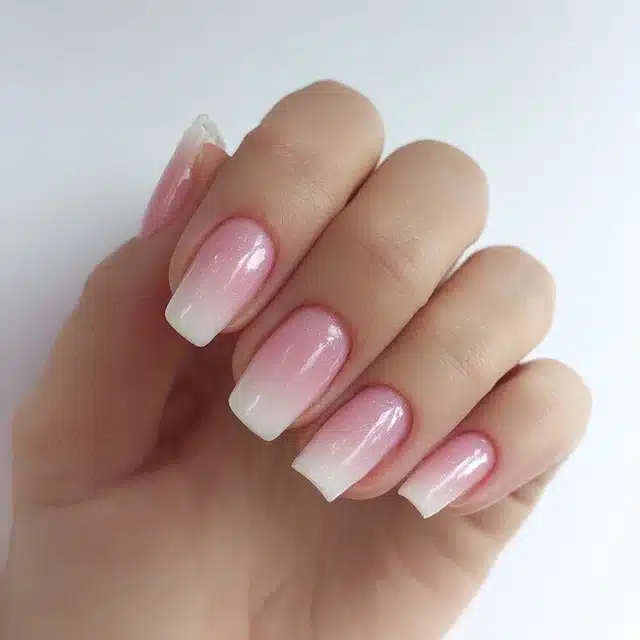
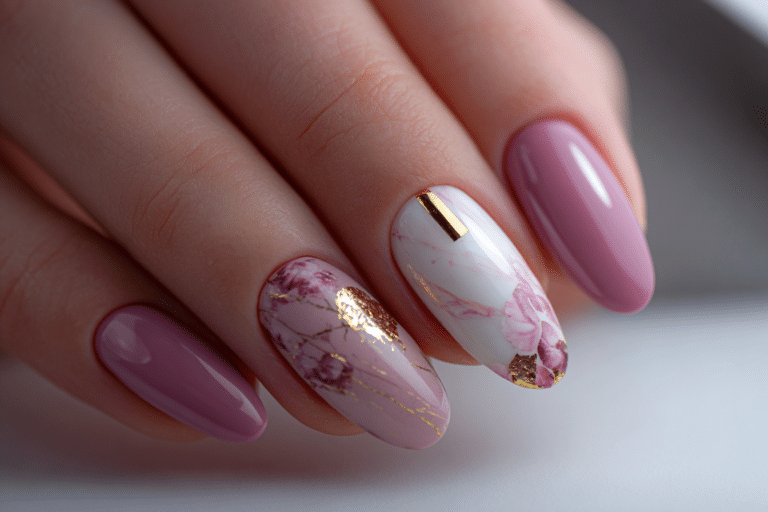
2. Nude with Delicate Gold Accents – Minimalist elegance with thin gold striping along the nail bed.
3. Pure White Glazed Nails – Crisp, clean, and timelessly sophisticated for formal ceremonies.
4. Champagne Shimmer – Subtle sparkle without being overly glittery or flashy.
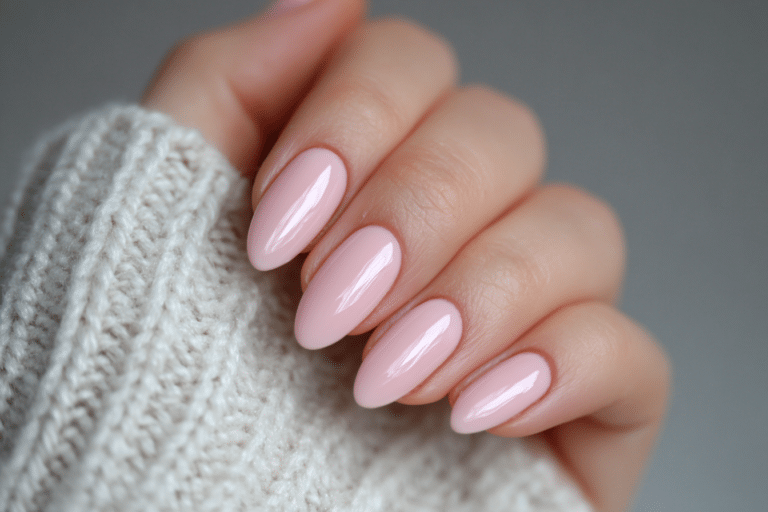
5. Blush and Rose Gold – A soft, romantic palette that complements every skin tone.
6. Classic Red with Matte Finish – Bold, confident, and perfect for evening receptions.
Floral & Nature-Inspired Designs (Perfect for Garden & Outdoor Weddings)
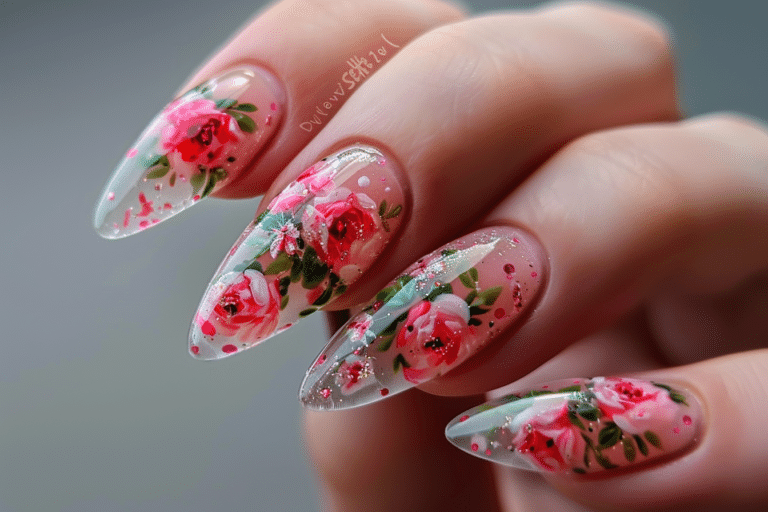
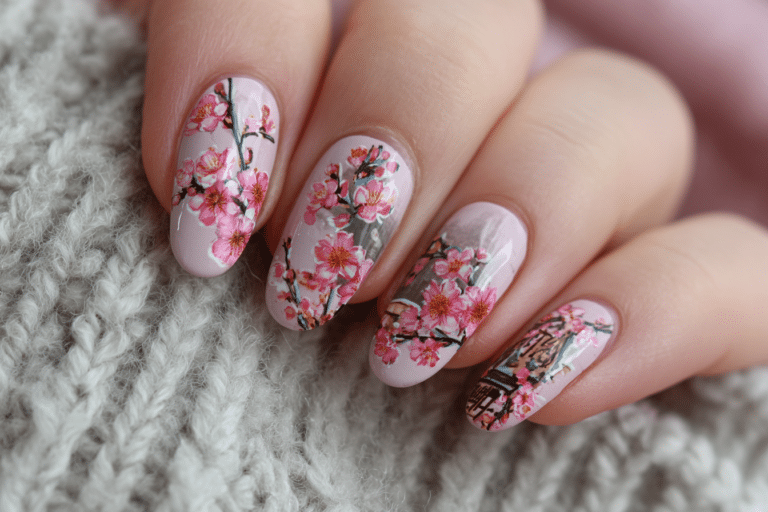
7. Hand-Painted Wildflowers – Delicate botanical art on a neutral cream base.
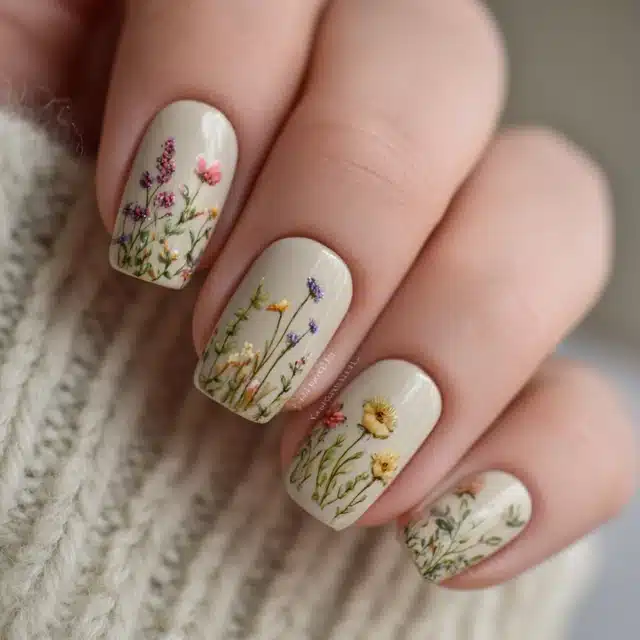
8. Baby’s Breath Accent Nails – Mimics the bride’s bouquet flowers in miniature form.
9. Pressed Flower Gel Nails – Embedded real flower petals under clear gel topcoat.
10. Soft Sage Green with White Flowers – Nature-inspired and perfectly on-trend for summer 2024.
11. Lavender Fields Design – Subtle purple gradient with tiny lavender flower details.
12. Greenery Ombre with Gold Leaf – Botanical meets luxury with metallic accents.
Sparkle & Glamour (Perfect for Evening Celebrations)
13. Diamond Dust Wedding Nails – Fine glitter gradient that catches light beautifully in photos.
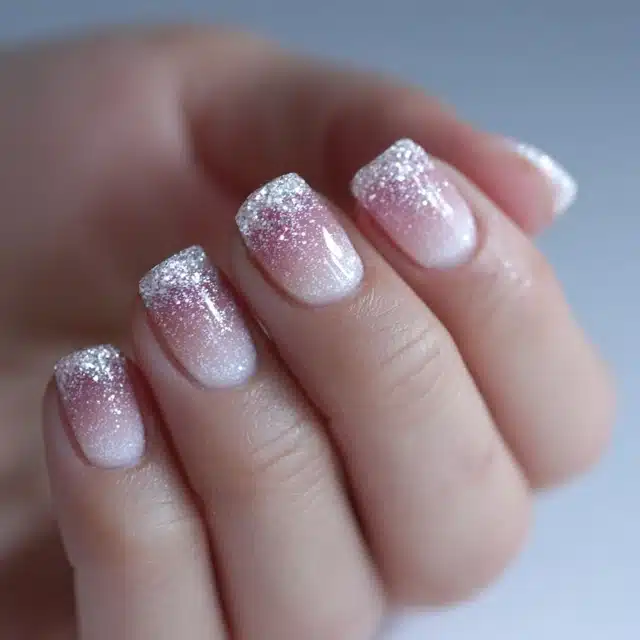
14. Champagne Confetti – Translucent base with scattered metallic flecks.
15. Rose Gold Glitter Ombre – Warm, luxurious, and romantic without being over-the-top.
16. Bling Bride Accent Nails – Statement ring finger with rhinestones, subtle design on others.
17. Opal Chrome Nails – Rainbow-shifting effect that’s mesmerizing and modern.
18. Nude with Encapsulated Gold Foil – Gold flakes suspended inside the gel layer for dimension.
Modern Minimalist (Perfect for Contemporary Brides)
19. Negative Space Geometric – Clean lines and artistic white space on a soft base.
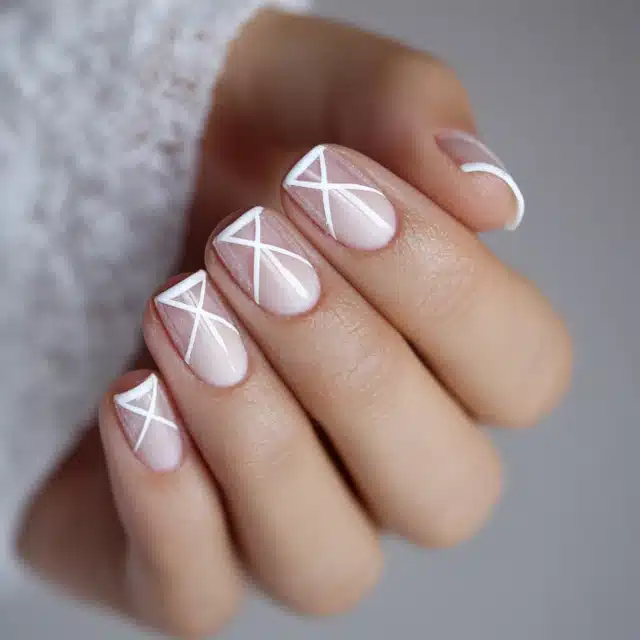
20. Thin Stripe Design – Modern, architectural, and surprisingly romantic.
21. Half-Moon Manicure – Negative space at the cuticle with a solid color body.
22. Linear Art Deco – Geometric patterns inspired by the 1920s elegance.
23. Gradient Fade (Nude to Clear) – Sophisticated and effortless-looking.
24. Matte Nude with Glossy Tips – Texture contrast that’s elegant and interesting.
Colorful & Fun (Perfect for Bridesmaids & Casual Weddings)
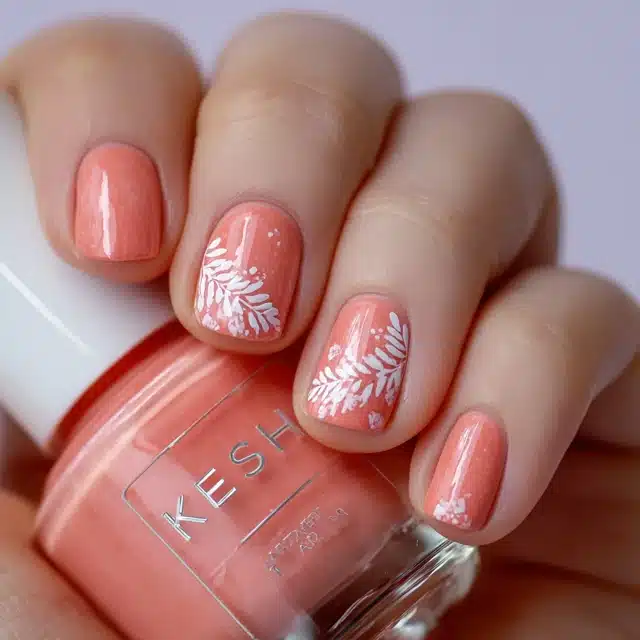
25. Soft Coral with White Details – Playful yet wedding-appropriate for warmer complexions.
26. Seafoam Ombre – Light, airy, and reminiscent of summer ocean breezes.
27. Blush Pink with Ombre Fade – Subtle color transition that’s universally flattering.
28. Peach Gradient with Gold Dust – Warm, summery, and effortlessly chic.
29. Dusty Blue Wedding Nails – Unexpected color choice that photographs beautifully.
30. Multichrome Shimmer – Changes color depending on the light for ultimate wow-factor.
Step-by-Step Guide: DIY Gel Wedding Nails at Home
Ready to create your own chic summer wedding nails? Follow this comprehensive guide to salon-quality results.
What You’ll Need: Essential Gel Nail Kit Supplies
- UV or LED lamp (LED is faster 15-30 seconds vs. 8-10 minutes)
- Gel nail polish in your chosen colors
- Base coat gel
- Top coat gel
- Nail file (150-180 grit for natural nails)
- Nail buffer and block
- Cuticle pusher
- Lint-free wipes
- Isopropyl alcohol (70% concentration)
- Gel cleanser or acetone
- Decorative elements (rhinestones, gold leaf, dried flowers)
- Gel brush or stamping tools
Preparation: The Foundation for Perfect Wedding Nails
Step 1: Sanitize Your Workspace – Use isopropyl alcohol to disinfect your work surface, tools, and hands. This prevents contamination and ensures clean, professional results.
Step 2: Shape Your Natural Nails – File nails to your desired length. Coffin, almond, and oval shapes are especially popular for wedding nails. Keep edges smooth and rounded to prevent breakage.
Step 3: Push Back Your Cuticles – Use a warm water soak for 3-5 minutes, then gently push back cuticles. Never cut living tissue only remove dead skin.
Step 4: Buff the Nail Surface – Lightly buff the top of each nail to remove shine and create a slightly textured surface. This helps gel polish adhere better. Don’t over-buff you want just enough texture.
Step 5: Cleanse with Alcohol – Wipe each nail with a lint-free wipe soaked in 70% isopropyl alcohol. This removes dust, oils, and debris. Let dry completely before applying gel.
Application: Building Your Wedding Nail Design
Step 6: Apply Base Coat – Use a thin, even layer of gel base coat on all nails. Cure under UV or LED lamp per product instructions (typically 30 seconds to 2 minutes). The base coat provides adhesion and prevents staining.
Step 7: Apply Your First Color – Use smooth, even strokes from the base to the tip. Avoid touching the cuticle or sidewalls. Apply two thin layers rather than one thick layer this prevents bubbling and ensures smooth curing.
Step 8: Create Your Design – This is where creativity happens. For ombre effects, use a makeup sponge to dab colors. For floral designs, use a fine brush. For geometric patterns, use striping tape or tools. Cure between each layer.
Step 9: Apply Decorative Elements – Add rhinestones, gold leaf, or dried flowers while the top coat layer is slightly tacky (just removed from lamp). Press firmly so they adhere properly.
Step 10: Seal with Top Coat – Apply a generous layer of top coat gel. This seals in decorations and creates a glossy, professional finish. Cure for the full recommended time.
Step 11: Remove Sticky Residue – After curing, wipe nails with a lint-free wipe soaked in gel cleanser to remove the sticky inhibition layer. Your nails should shine beautifully.
Common Mistakes to Avoid When Creating Summer Wedding Nails
Mistake #1: Skipping the Prep Work – Proper nail preparation is non-negotiable. Skipping buffing or cleansing leads to peeling, lifting, and short-wearing manicures. I always spend 10-15 minutes on prep.
Mistake #2: Applying Thick Coats – Thick gel layers take longer to cure, bubble easily, and don’t look as professional. Thin, even coats are your secret to flawless results.
Mistake #3: Touching Cuticles and Sidewalls – Gel polish that touches skin will peel. Keep a 1mm border around cuticles. This also prevents fungal infections.
Mistake #4: Not Curing Fully – Undercured gel will feel tacky and won’t last long. Follow your product’s exact curing time, accounting for lamp wattage and bulb age.
Mistake #5: Using Expired Products – Gel polish has a shelf life. Expired products are thicker, cure improperly, and may separate. Check manufacturing dates before purchasing.
Mistake #6: Choosing Colors That Don’t Coordinate – While 30 chic summer wedding nails for brides and bridesmaids offers variety, ensure colors complement your wedding palette, dress color, and bridesmaid attire.
Pro Tips for Flawless Wedding Day Nails
Tip #1: Practice Before the Big Day – If attempting a complex design for the first time, practice on nail tips or practice wheels several weeks before your event.
Tip #2: Do Your Nails 2-3 Days Before – This allows time to fix any mistakes and for the gel to fully cure. Last-minute nails often lead to stress and imperfections.
Tip #3: Invest in Quality Products – Cheaper gel polishes are often harder to work with and don’t last as long. Quality brands are worth the investment, especially for such an important day.
Tip #4: Use a Macro Lens for Photos – Your beautiful nails deserve close-up shots. Ask your photographer to capture macro details of your hands holding bouquets and rings.
Tip #5: Keep Cuticle Oil Handy – During the reception, apply cuticle oil to keep nails hydrated and glowing. This also reduces appearance of dust and fingerprints.
Tip #6: Wear Gloves During Cleanup – Don’t risk damaging your wedding nails during post-event cleanup. Assign someone else or wait until the next day.
Tip #7: Consider Nail Length for Practicality – If you’ll be typing, texting, or handling small objects, slightly shorter nails prevent frustration. Compromise with styled coffin or almond shapes.
Summer Wedding Nails Comparison: Gel vs. Traditional Polish vs. Acrylics
Choosing the right nail enhancement for your wedding requires understanding your options.
| Feature | Gel Polish | Traditional Polish | Acrylics |
|---|---|---|---|
| Longevity | 2-3 weeks | 5-7 days | 3-4 weeks |
| Natural Look | Excellent minimal shine | Natural but matte finish | Thick, plastic appearance |
| Flexibility | Moves with nail, less breakage | Moves with nail naturally | Rigid, can cause damage |
| Removal Process | Soak in acetone, 10-15 mins | Wash off immediately | File off or soak, 20+ mins |
| DIY Difficulty | Moderate requires lamp | Easy no special tools | Hard requires skill |
| Best For Weddings | ✓ Most recommended | ✓ Budget-friendly option | ✗ Less natural look |
For summer wedding nails, gel polish is the gold standard. It provides longevity, a natural appearance, and is achievable at home with proper training. Plus, with a gel nail kit from Gel Nails By Lina, you’re fully equipped for DIY success.
Frequently Asked Questions About Summer Wedding Nails
When Should I Apply My Wedding Nails?
Apply your wedding nails 2-3 days before the event. This timing allows gel to fully cure, gives you time to fix any mistakes, and ensures your manicure looks fresh without being so new that it hasn’t settled. If applying the morning of, cure time should be at least 1-2 hours before getting dressed to prevent smudging.
How Long Do Gel Wedding Nails Last?
Properly applied gel nails last 2-3 weeks. For a wedding event, they’ll look flawless throughout the entire weekend and beyond. If your honeymoon extends beyond three weeks, touch-ups might be necessary, but generally, you’re covered.
Can I Do Wedding Nails at Home or Should I Go to a Salon?
You absolutely can create professional-looking wedding nails at home with proper training and tools. Many brides prefer DIY because it offers cost savings ($50-100 vs. $150-300 at salons), complete creative control, and the satisfaction of doing it yourself.
What Colors Work Best for Summer Wedding Nails?
Summer wedding nails look best in soft, romantic colors: blush pink, champagne, nude, soft coral, seafoam, and lavender. Metallic accents like gold and rose gold add elegance. Avoid very dark or wintery colors that might feel out of season. Consider your wedding color palette and skin tone when selecting.
How Do I Make My Wedding Nails Last Longer?
To maximize nail longevity: (1) prep nails thoroughly before application, (2) avoid excessive hand washing, (3) wear gloves during dishwashing, (4) moisturize cuticles daily with cuticle oil, (5) avoid using nails as tools, and (6) apply sunscreen to hands to prevent color fading. Proper aftercare is essential for 2-3 week wear.
Your Summer Wedding Nails Journey Starts Now
Creating stunning summer wedding nails at home isn’t just possible it’s empowering. You have the knowledge, the inspiration (30 chic ideas!), and the step-by-step guidance to achieve salon-quality results. Your hands deserve to look as beautiful as the rest of your bridal appearance.
Remember my story the salon disaster that led me to DIY success? That experience transformed my approach to self-care and beauty. I learned that sometimes the most beautiful results come from taking creative control into your own hands.
Whether you choose a classic French ombre, romantic florals, glamorous sparkle, or modern minimalist design, your wedding nails will be a stunning accessory to your special day. The memories you create and the closeup photos of those gorgeous hands will last forever.