Cutest Beach Nails for Summer Gel Manicures

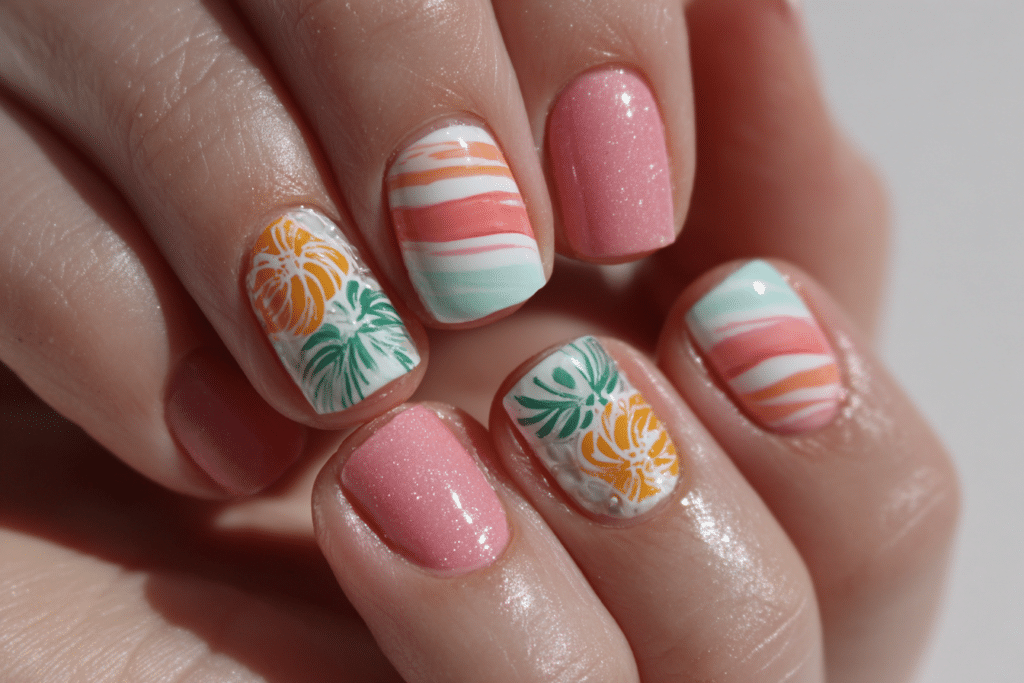
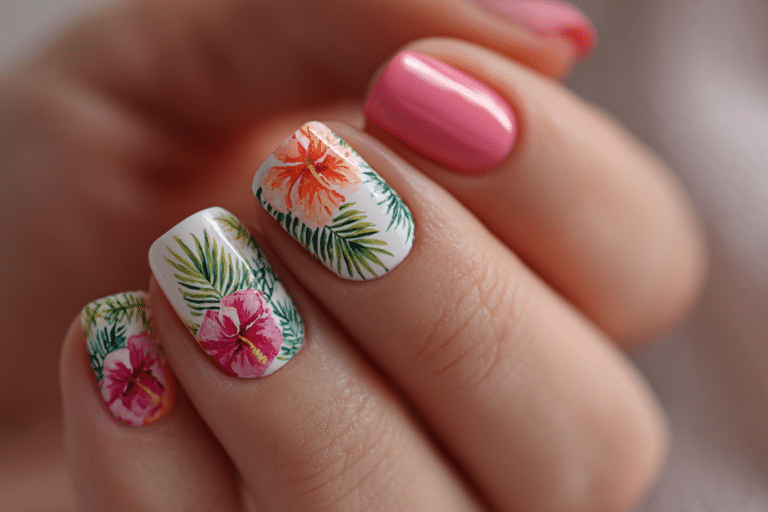
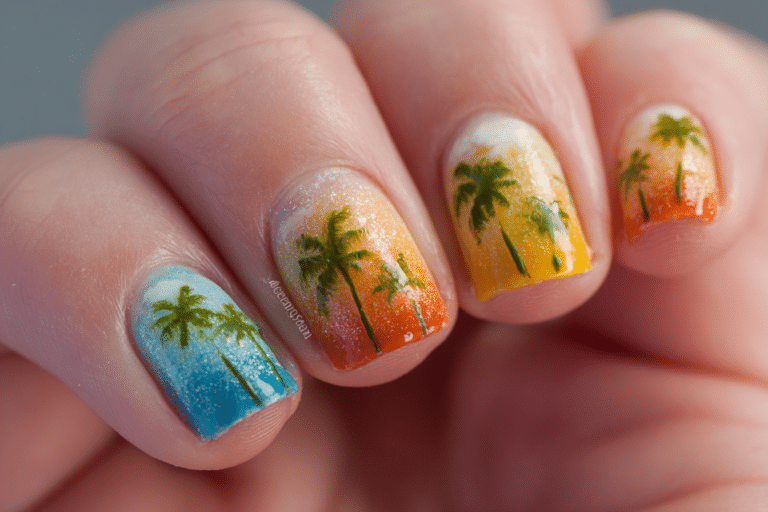
Cutest beach nails capture the essence of summer with vibrant colors, tropical designs, and ocean-inspired patterns that perfectly complement your vacation wardrobe.
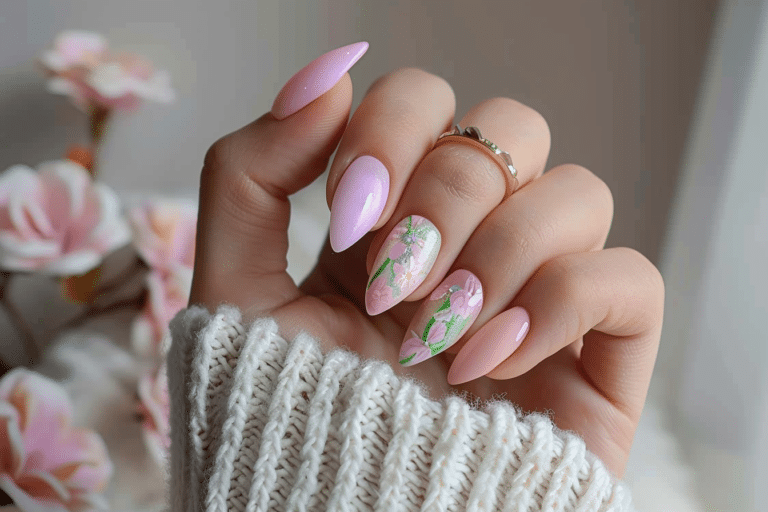
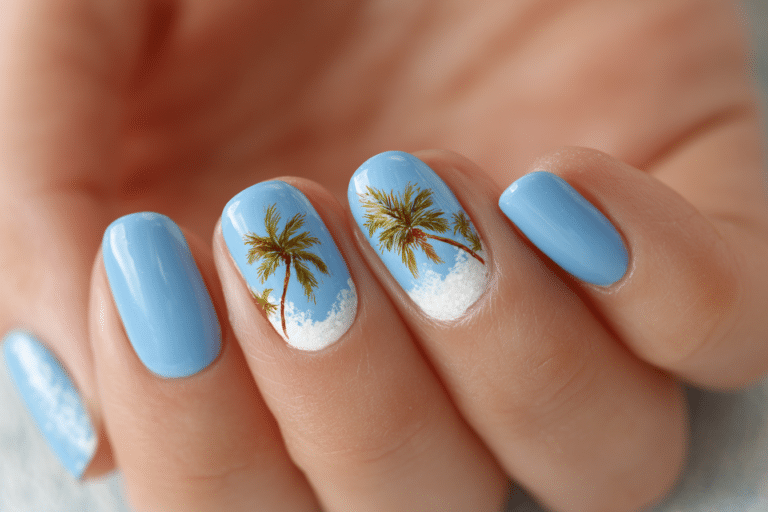
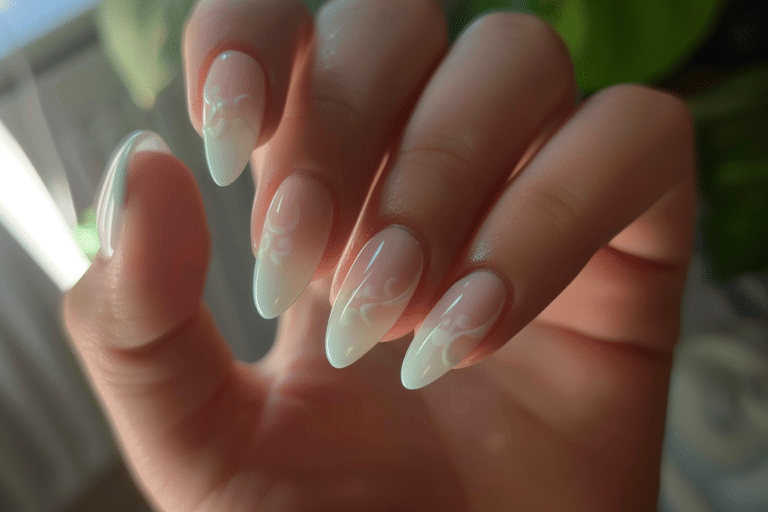
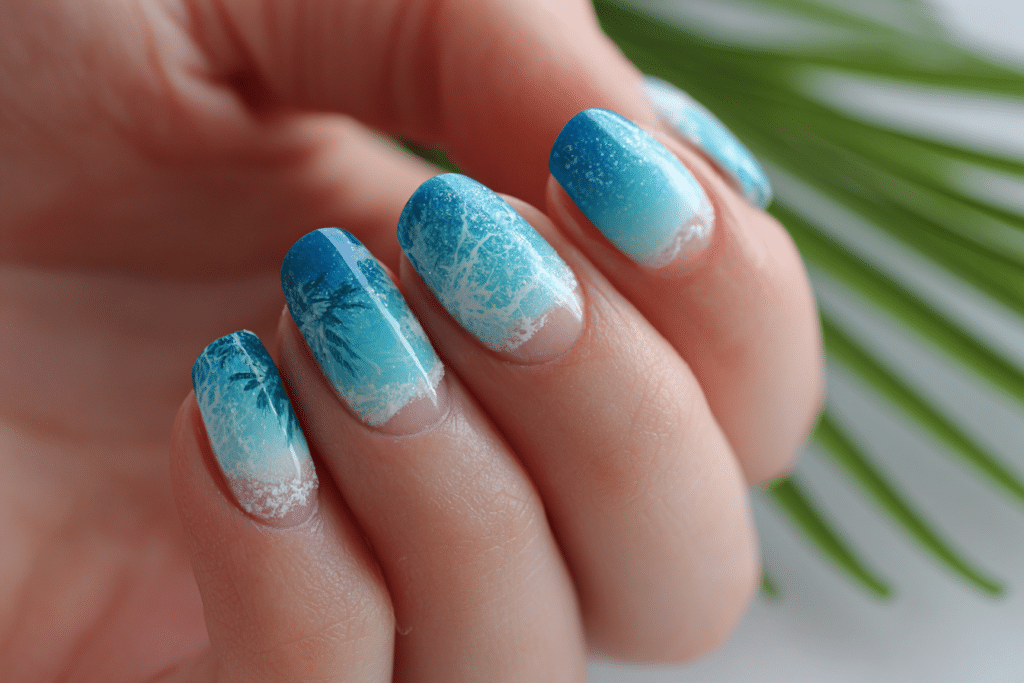
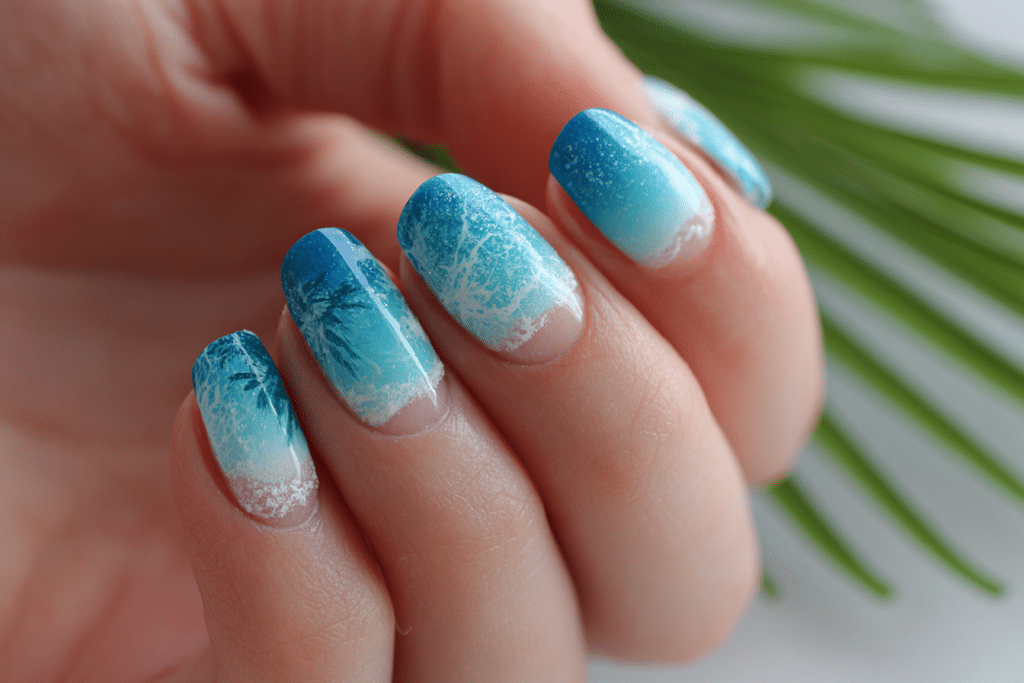
These playful gel manicures feature everything from palm trees and seashells to sunset ombres and turquoise waves. Beach nails transform your fingertips into miniature vacation postcards, making them the ultimate warm-weather accessory for poolside lounging or seaside adventures.
| Topic | Details |
|---|---|
| Category | Nail Art / Gel Nails |
| Skill Level | Beginner to Intermediate |
| Time Needed | 60-90 minutes |
| Tools Needed | UV/LED lamp, gel polish, nail art brushes, dotting tools |
| Best For | Summer vacations, beach lovers, tropical events |
Table of Contents
Why Beach Nail Designs Work
Beach nail designs work exceptionally well because they utilize color psychology principles that evoke feelings of relaxation and happiness. Blues and turquoises mirror ocean waters and trigger calming responses, while coral pinks and sunset oranges create energetic warmth. These tropical color combinations naturally complement sun-kissed skin tones and coordinate effortlessly with summer fashion palettes, making them universally flattering choices.
Gel polish formulations provide the perfect canvas for beach nail art because they offer superior durability against water exposure and humidity. Unlike traditional polish that chips easily from swimming pool chlorine or saltwater, properly cured gel manicures maintain their vibrant appearance throughout extended beach vacations. The glossy finish of gel top coats also enhances the dimensional quality of beach-themed designs, making ocean waves appear more realistic and metallic accents more reflective.
Nail technicians favor beach designs because they allow creative flexibility while remaining accessible to beginners. Simple techniques like gradient blending for sunset skies or dotting tools for seashell textures require minimal artistic skill yet deliver impressive results. The forgiving nature of beach themes means slight imperfections blend naturally into the organic, freeform aesthetic of ocean and sand textures.
Tools and Products Needed
| Product | Purpose | Alternatives |
|---|---|---|
| UV/LED Lamp | Cures gel polish layers | Professional salon curing |
| Base Coat | Protects natural nail and improves adhesion | Ridge-filling base coat |
| Gel Polish Set | Beach colors: blues, corals, whites, golds | Regular polish with quick-dry top coat |
| Nail File (180 grit) | Shapes nail edges and removes length | Glass nail file |
| Nail Buffer | Smooths nail surface for better adhesion | Fine-grit filing block |
| Cuticle Oil | Hydrates cuticles and prevents lifting | Vitamin E oil or jojoba oil |
| Gel Top Coat | Seals design and adds glossy finish | Matte top coat for textured look |
| Nail Art Brushes | Creates fine details like palm trees | Toothpick or bobby pin |
| Dotting Tools | Makes perfect circles for flowers and bubbles | Ballpoint pen tip |
| Nail Cleanser | Removes tacky layer between coats | Isopropyl alcohol 70%+ |
For professional-quality gel nail supplies and expert guidance, visit Gel Nails by Lina to discover curated product collections and technique tutorials.
Step-by-Step Application Guide
Nail Preparation
- Remove any existing polish completely using acetone and lint-free wipes to ensure a clean surface.
- Push back cuticles gently using a wooden cuticle stick, avoiding aggressive cutting or tearing.
- File nails to your desired beach-appropriate length and shape, typically rounded or almond for tropical aesthetics.
- Buff the nail surface lightly using a 180-grit buffer to remove shine and create texture for adhesion.
- Wash hands thoroughly with soap and water, then dry completely before applying any products.
- Wipe each nail with nail cleanser or rubbing alcohol to remove oils and dust particles.
Base Coat Application
- Apply a thin layer of gel base coat, starting from the cuticle and sweeping toward the free edge.
- Cap the free edge by running the brush along the nail tip to prevent premature lifting.
- Cure under UV lamp for 60 seconds or LED lamp for 30 seconds according to manufacturer specifications.
- Check that the base coat appears smooth and even without any bald spots or thick puddles.
Beach Color Application
- Select your primary beach color such as turquoise blue, coral pink, or sandy beige for the base.
- Apply the first thin coat of gel color polish using controlled strokes from cuticle to tip.
- Cure this first color layer for the time specified on your gel polish bottle.
- Apply a second thin coat to build opacity and color saturation without creating thickness.
- Cure the second color coat completely before proceeding to nail art details.
Beach Design Creation
- Create ocean waves using a thin nail art brush dipped in white gel polish with curved flowing strokes.
- Add palm tree silhouettes using dark green or brown gel polish on accent nails for tropical flair.
- Dot small seashells using a dotting tool with nude and white gel polish in organic shapes.
- Paint tiny starfish using five-point star shapes with orange or pink gel polish on selected nails.
- Create sunset gradients by blending orange, pink, and purple gel polish with a makeup sponge technique.
- Cure each design element for 30 seconds to set the artwork before adding additional layers.
Finishing and Top Coat
- Apply a thin layer of gel top coat over all nails, ensuring complete coverage of all design elements.
- Cap the free edges again with top coat to seal the design and prevent water penetration.
- Cure the top coat layer for the full recommended time, usually 60 seconds under LED lamps.
- Wipe away the tacky residue layer using nail cleanser and a lint-free wipe for maximum shine.
- Apply cuticle oil generously around each nail to hydrate the skin and complete the manicure.
Pro Nail Technician Tips
- Apply thinner coats than you think necessary because multiple thin layers cure more thoroughly and last longer than one thick application that remains partially uncured underneath.
- Work in small sections when creating beach scenes, curing individual design elements before adding overlapping details to prevent smudging and maintain crisp lines between colors.
- Store gel polish bottles away from direct sunlight and heat sources because UV exposure can cause premature thickening and temperature fluctuations affect polish consistency and application smoothness.
- Clean your nail art brushes immediately after use with brush cleaner or rubbing alcohol because dried gel polish ruins brush tips and makes detailed work impossible for future designs.
- Test color combinations on a practice nail wheel before applying to clients because some gel polish pigments can bleed into each other when layered, creating muddy unintended color mixing.
- Extend curing time by 10-15 seconds for designs with multiple overlapping layers because thick dimensional artwork requires additional exposure to ensure complete polymerization throughout all gel layers.
Common Gel Nail Mistakes
| Mistake | Why it Happens | How to Fix |
|---|---|---|
| Thick gel layers creating bumpy texture | Applying too much product in single coat trying to achieve opacity quickly | Use multiple thin coats building color gradually with proper curing between each layer |
| Beach designs looking muddy or blurred | Not curing each color before adding next design element causing wet mixing | Cure every individual design component for at least 30 seconds before proceeding to next detail |
| Polish lifting at cuticle area within days | Skipping proper nail preparation or getting gel polish on skin during application | Always buff nails, cleanse thoroughly, and keep gel polish 1-2mm away from cuticle line |
| Gel polish flooding the cuticles | Overloading the brush with too much product or starting application too close to cuticle | Wipe excess polish from brush before application and leave small margin at cuticle area |
| Uneven curing causing soft spots | Hand positioned incorrectly in lamp or lamp bulbs losing effectiveness with age | Center hand properly in lamp and replace UV bulbs every 6 months or LED bulbs annually |
Beach Nail Design Variations
| Style | Description | Best Occasion |
|---|---|---|
| Tropical Sunset Ombre | Gradient blend from orange to pink to purple mimicking beach sunsets with optional palm tree silhouettes | Evening beach parties, tropical vacations |
| Ocean Wave French Tips | Classic French manicure reimagined with blue wave designs replacing traditional white tips | Casual beach outings, summer weddings |
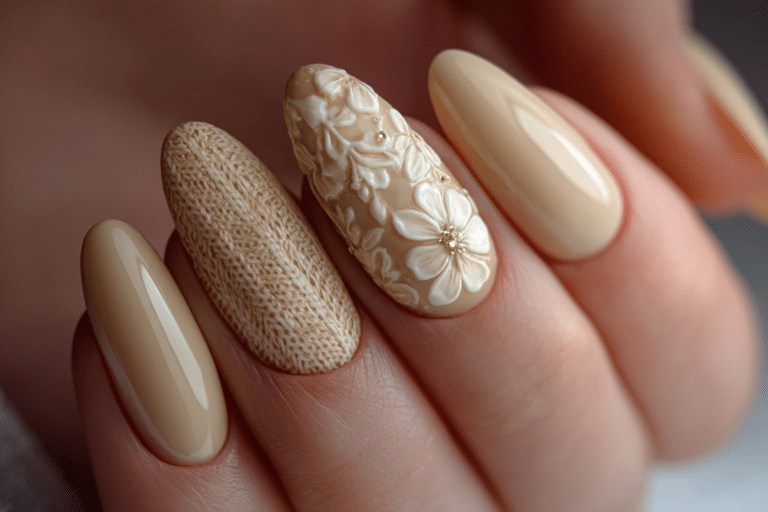
| Seashell Accent Nails | Nude or sandy base color with detailed painted or 3D seashells on ring fingers | Sophisticated beach events, resort wear |
| Starfish and Sand Texture | Textured sand effect using matte top coat with tiny starfish and gold fleck accents | Beach vacations, cruise ship travel |
| Turquoise Chrome Beach Nails | Metallic turquoise chrome finish with minimal white wave details for modern beach aesthetic | Pool parties, yacht events |
| Coral Reef Underwater Scene | Deep blue base with colorful coral branches, tropical fish, and bubble details | Diving trips, aquarium visits, ocean conservation events |
| Minimalist Beach Lines | Neutral nails with single thin horizontal stripes in ocean blues representing simplified horizons | Professional summer settings, understated beach style |
Nail Care and Maintenance for Beach Nails
Maintaining the cutest beach nails requires consistent hydration because sun exposure and saltwater can dehydrate both your natural nails and surrounding skin. Apply cuticle oil at least twice daily, especially after swimming or sunbathing, to prevent the gel polish edges from lifting prematurely. Quality cuticle oil penetrates beneath the gel layers to nourish the natural nail bed while keeping the skin flexible and healthy throughout your beach vacation.
Protect your beach nail designs from excessive chlorine and salt exposure by rinsing hands with fresh water immediately after swimming. While gel polish resists water damage better than traditional lacquer, prolonged exposure to harsh pool chemicals can dull the glossy finish and fade vibrant tropical colors. Apply a thin layer of additional top coat every five to seven days to refresh the shine and reinforce the protective seal over your beach artwork.
Avoid using your nails as tools for opening cans, scraping sand, or prying open beach accessories because mechanical stress causes gel polish to crack or lift. Wear protective gloves when applying sunscreen lotions containing oils because some chemical ingredients can break down gel polish formulations. For professional maintenance guidance and product recommendations, explore resources at Gel Nails by Lina for keeping your beach manicure pristine throughout summer.
How to Remove Gel Beach Nails Safely
- File the shiny top coat layer gently using a 180-grit file to break the seal and allow acetone penetration.
- Soak cotton balls or pads thoroughly in pure acetone, avoiding non-acetone removers that do not dissolve gel polish.
- Place acetone-soaked cotton directly onto each nail, ensuring complete coverage of the entire gel surface.
- Wrap each fingertip securely with aluminum foil to hold cotton in place and trap heat for faster breakdown.
- Wait 15-20 minutes without disturbing the foil wraps to allow acetone to penetrate and soften gel layers.
- Remove foil and cotton from one nail at a time, then gently scrape softened gel using a wooden cuticle stick.
- Avoid forcing or peeling gel polish because aggressive removal damages the natural nail plate and causes weakness.
- Buff away any remaining gel residue lightly, then wash hands thoroughly with soap and warm water.
- Apply nourishing cuticle oil and hand cream generously to restore moisture lost during the acetone removal process.
- Wait at least 24 hours before applying a new gel manicure to allow nails to rehydrate and recover.
Nail Health and Safety
Maintaining healthy nails while enjoying the cutest beach nails requires balancing aesthetic desires with proper nail care practices. Over-filing the natural nail surface to improve gel adhesion removes protective keratin layers and creates thin, flexible nails prone to breakage. Limit buffing to gentle surface smoothing rather than aggressive filing, and always use proper grit files designed specifically for natural nails rather than artificial nail products.
Dermatologists emphasize the importance of allowing nails to breathe between gel applications, recommending at least one week of rest every eight to twelve weeks. This recovery period allows the nail plate to restore its natural moisture balance and repair minor damage from repeated gel applications. During rest periods, apply strengthening treatments containing biotin and keratin to rebuild nail integrity and prepare for your next beach nail design.
Protect your nail health by choosing experienced nail technicians who follow proper sanitation protocols and use quality products. Ensure all tools are properly sterilized between clients, and never allow technicians to cut or aggressively push back cuticles because this creates entry points for infections. For additional nail health resources and professional technique tutorials, visit Gel Nails by Lina for expert guidance on maintaining beautiful, healthy nails.
Frequently Asked Questions
How long do beach gel nails last?
Beach gel nails typically last two to three weeks with proper application and care, matching the duration of standard gel manicures. The longevity depends on nail preparation quality, gel polish brand, and exposure to harsh conditions like excessive swimming or sun. To maximize wear time, apply cuticle oil daily and avoid using nails as tools, which causes chipping and lifting at the edges.
How can I remove gel beach nails safely at home?
Remove gel beach nails safely by soaking acetone-saturated cotton on each nail, wrapping with foil, and waiting 15-20 minutes for the gel to soften. Gently scrape softened gel with a wooden cuticle stick, never forcing or peeling the polish off. After removal, wash hands thoroughly and apply generous amounts of cuticle oil to restore moisture lost during the acetone soaking process.
What is the difference between gel beach nails and acrylic nails?
Gel beach nails use light-cured polish applied over natural nails, creating flexible, glossy finishes perfect for detailed artwork, while acrylic nails involve powder and liquid monomer forming hard extensions. Gel applications feel lighter and more natural, making them ideal for beach activities and swimming. Acrylics provide more durability and length but require more intensive removal processes and regular fill appointments every two weeks.
Why do my beach gel nails peel after a few days?
Beach gel nails peel prematurely due to inadequate nail preparation, including skipped buffing, oil residue, or moisture on the nail plate before application. Peeling also occurs when gel polish touches the skin during application or when base coat is omitted entirely. To prevent peeling, ensure thorough nail cleansing, apply thin coats that do not flood cuticles, and always cure each layer for the full recommended time.
How can I make my beach gel nails last longer during vacation?
Make beach gel nails last longer by applying cuticle oil twice daily, rinsing hands after swimming in chlorine or saltwater, and wearing gloves when applying sunscreen. Avoid prolonged water submersion exceeding two hours at a time, and protect nails from mechanical stress like opening bottles or digging in sand. Refresh the top coat after one week to restore shine and seal any micro-cracks that develop from sun and water exposure.
Conclusion
The cutest beach nails bring tropical vacation vibes to your fingertips through creative gel designs featuring ocean waves, palm trees, seashells, and sunset gradients. By following proper application techniques, using quality gel products, and maintaining consistent nail care, you can enjoy vibrant beach-themed manicures that last throughout your summer adventures. These playful designs celebrate warm weather while showcasing your personal style, making every hand gesture a reminder of sunny days and ocean breezes. Try these beach nail techniques today and transform your nails into miniature tropical masterpieces perfect for poolside relaxation and seaside fun.