Polka Dot French 3D Flower Press On Nails: Handmade Custom Nails

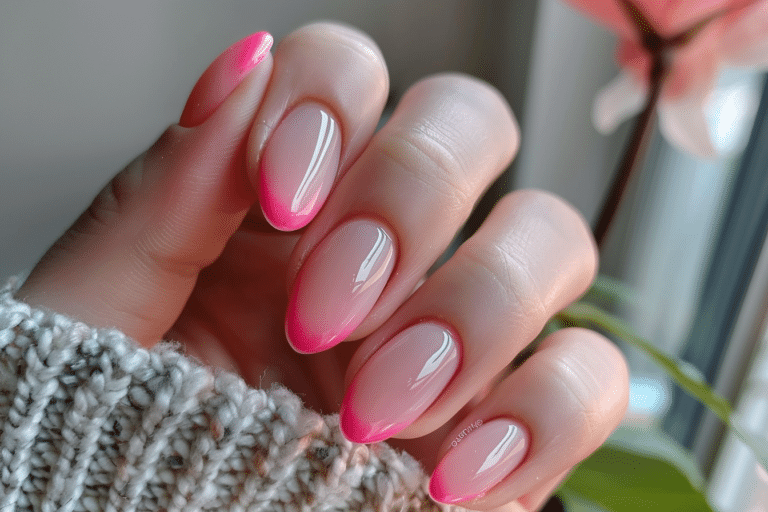
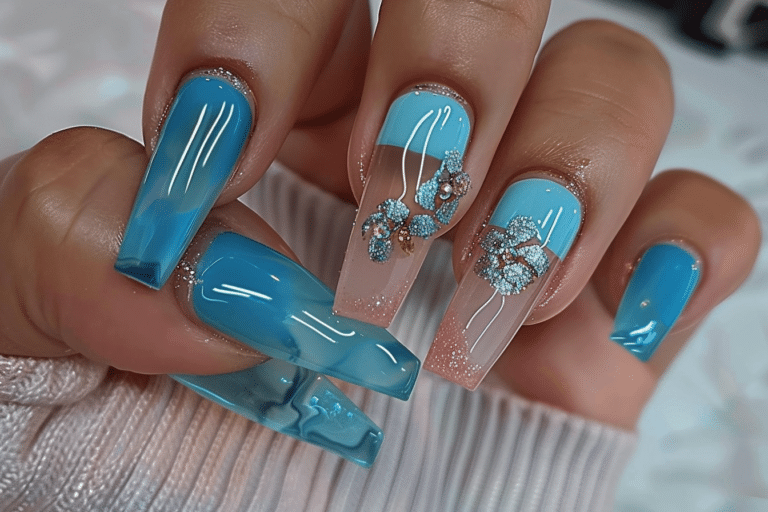
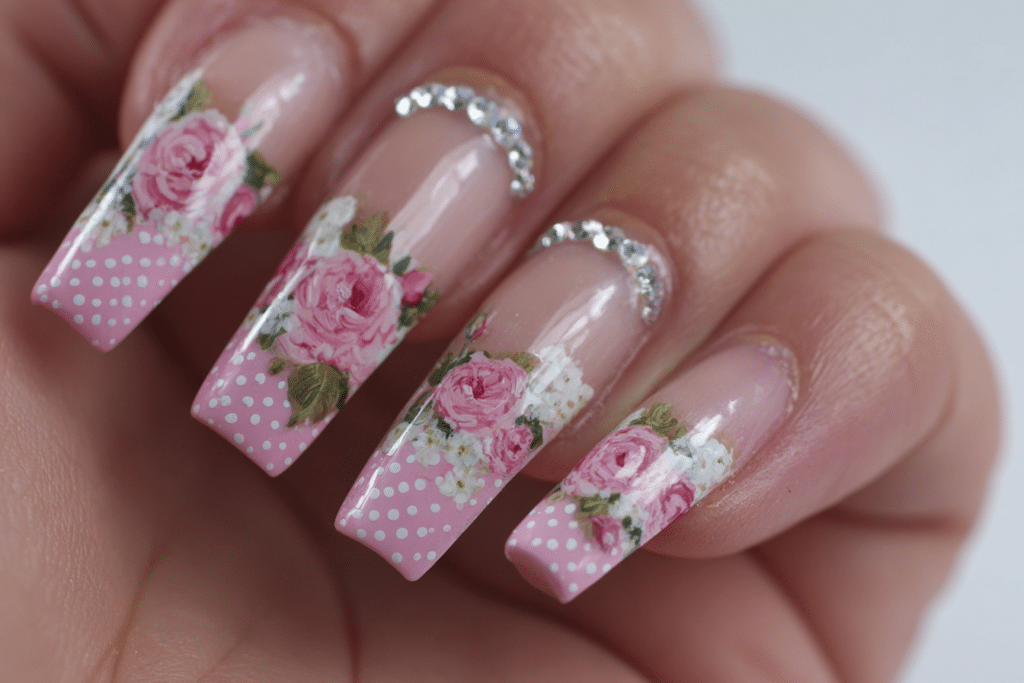
Polka dot French 3D flower press on nails offer a sophisticated yet playful approach to nail art that combines classic elegance with modern customization.
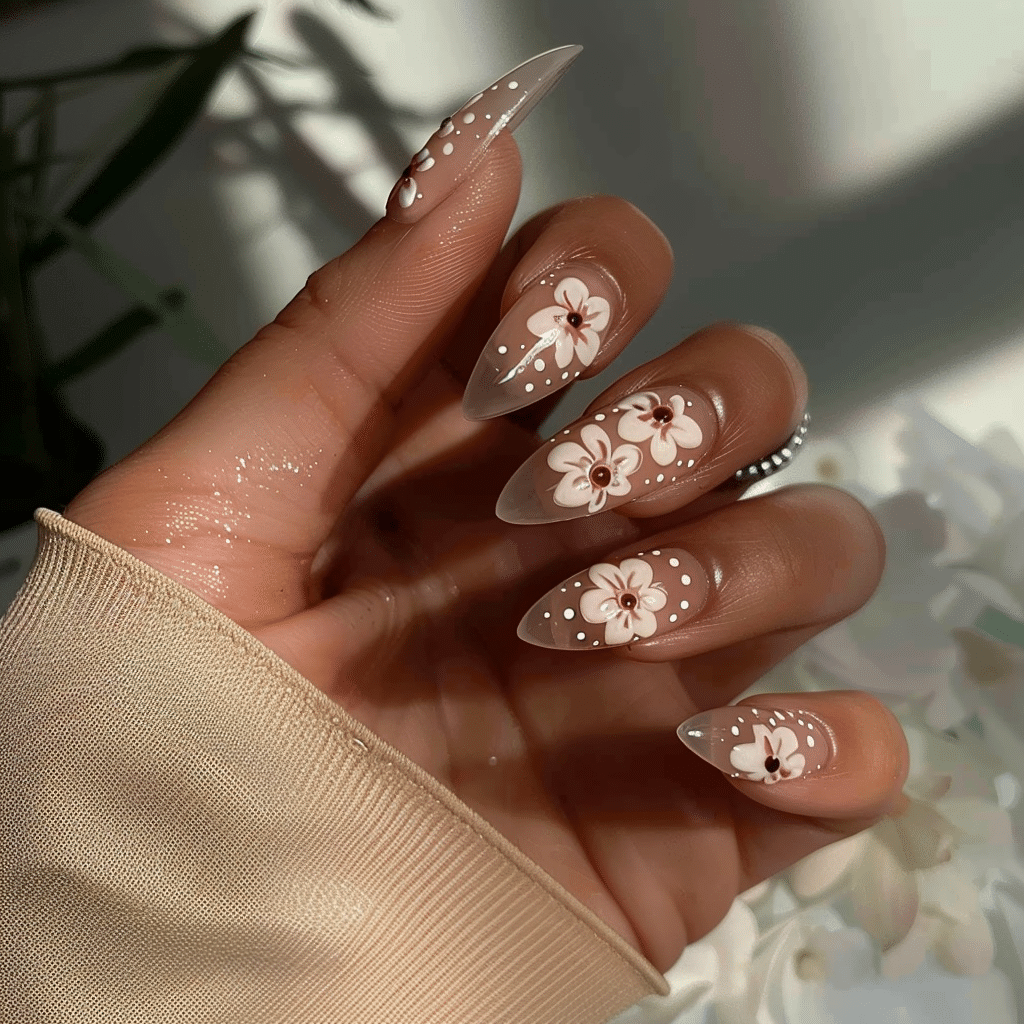
These handmade custom nails feature delicate polka dot patterns, timeless French tips, and dimensional floral embellishments that create stunning visual interest. The press on format provides salon quality results without the time commitment or professional application required for traditional gel or acrylic extensions.
| Topic | Details |
|---|---|
| Category | Nail Art / Press On Nails |
| Skill Level | Beginner |
| Time Needed | 15-20 minutes |
| Tools Needed | Nail file, buffer, cuticle pusher, adhesive tabs or glue |
| Best For | Anyone seeking quick, reusable custom nail art |
Table of Contents
Why This Nail Technique Works
Press on nails with polka dot French 3D flower designs work exceptionally well because they combine multiple artistic elements into one cohesive statement piece. The French manicure base provides a clean, elegant foundation that elongates the fingers visually while maintaining professional sophistication. Adding polka dots introduces playful texture without overwhelming the design, creating visual rhythm that draws the eye naturally across each nail.
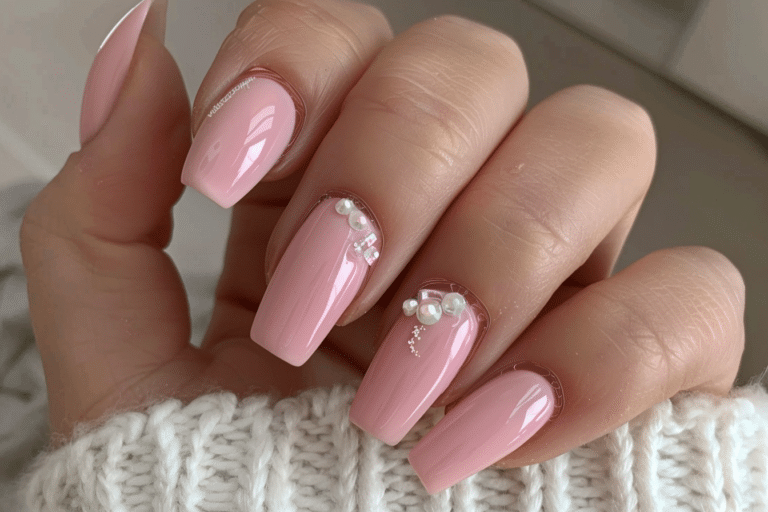
The three dimensional flower embellishments elevate these handmade custom nails from simple decoration to wearable art. These floral elements catch light from different angles, creating depth and movement that flat nail art cannot achieve. The press on format allows nail artists to craft these intricate details with precision and patience, something difficult to accomplish during a traditional manicure when working against drying time constraints.
Handmade custom press on nails offer superior durability compared to painted designs because the artwork is sealed and protected before application. The polka dots, French tips, and 3D flowers are permanently affixed to high quality nail tips, ensuring the design remains flawless throughout wear. This pre fabricated approach eliminates common issues like smudging, uneven application, or design asymmetry that can occur during wet polish application.
Tools and Products Needed
| Product | Purpose | Alternatives |
|---|---|---|
| Press on nail set | Provides the base custom nails | Handmade sets from Gel Nails By Lina |
| Nail file | Shapes natural nail edges and press on tips | Glass file, emery board |
| Nail buffer | Creates smooth surface for adhesion | Four way buffer block |
| Cuticle pusher | Prepares nail bed properly | Orange wood stick |
| Nail adhesive tabs | Temporary application method | Nail glue for longer wear |
| Nail glue | Secure long term application | Brush on nail glue |
| Alcohol wipes | Cleanses nail surface of oils | Rubbing alcohol with cotton pad |
| Cuticle oil | Maintains nail and cuticle health | Vitamin E oil, jojoba oil |
Step-by-Step Application Guide
Nail Preparation
- Wash your hands thoroughly with soap and warm water to remove any lotions or oils from the nail surface.
- Push back your cuticles gently using a cuticle pusher at a 45 degree angle to create maximum bonding surface.
- File your natural nails to your desired length and shape, ensuring edges are smooth and even.
- Buff the surface of each natural nail lightly to remove shine and create texture for better adhesion.
- Wipe each nail with an alcohol wipe to remove dust, oils, and debris that could prevent proper bonding.
- Select the correct size press on nail for each finger by matching the width of your natural nail bed.
Base Coat Application
- Apply a thin layer of adhesive tab to your natural nail if using temporary application method.
- Remove the protective film from the adhesive tab carefully without touching the sticky surface.
- Apply a small drop of nail glue to your natural nail if using permanent application for extended wear.
- Spread the glue evenly across the entire nail surface using the brush applicator or nozzle tip.
Press On Nail Application
- Align the press on nail with your cuticle line, positioning it at a slight downward angle initially.
- Press the nail down starting from the cuticle area and rolling forward toward the free edge.
- Apply firm, even pressure across the entire nail surface for 30 seconds to ensure complete adhesion.
- Hold each nail firmly in place without sliding or repositioning to prevent air bubbles from forming.
- Repeat the application process for all ten fingers, working from one hand to the other systematically.
Finishing and Top Coat
- Inspect each polka dot French 3D flower press on nail to ensure proper alignment and secure bonding.
- File any excess length or adjust the shape of the press on nails to match your preference.
- Apply cuticle oil around the edges of each nail to moisturize the surrounding skin and create a polished appearance.
- Avoid water contact for at least one hour after application to allow adhesive to cure fully.
- Check the handmade custom nails after several hours and reapply pressure if any edges have lifted slightly.
Pro Nail Technician Tips
- Size your press on nails accurately by testing fit before applying any adhesive to ensure seamless edges that prevent lifting.
- Apply nail glue sparingly to avoid overflow that can create bumpy texture around the cuticle area and detract from the polka dot French design.
- Store unused handmade custom nails in their original packaging away from heat and humidity to maintain the integrity of 3D flower embellishments.
- Prep your natural nails the same day as application rather than in advance to prevent natural oils from returning to the nail surface.
- Apply gentle pressure when working with 3D flower elements to avoid crushing delicate petals or dislodging embellishments during wear.
- Rotate between different press on nail sets to give your natural nails breathing time and prevent potential damage from continuous wear.
Common Press On Nail Mistakes
| Mistake | Why It Happens | How to Fix |
|---|---|---|
| Incorrect sizing | Rushing selection process or not testing fit properly | Try each size before applying adhesive and choose the closest match without overlap |
| Air bubbles under nails | Not pressing firmly enough or repositioning during application | Apply steady pressure from cuticle to tip without sliding the nail around |
| Early lifting at edges | Oil residue on natural nails or insufficient nail prep | Cleanse nails thoroughly with alcohol and buff surface before applying adhesive |
| Glue overflow | Using too much adhesive or placing glue too close to edges | Apply small amount in center of nail and let natural pressure distribute it |
| Damaged 3D flowers | Rough handling or improper storage of handmade custom nails | Handle delicate embellishments gently and store nails in protective case |
Nail Design Variations
| Style | Description | Best Occasion |
|---|---|---|
| Classic polka dot French | White tips with black or colored dots on neutral base | Office settings, professional events, everyday wear |
| Pastel 3D flower garden | Soft pink or lavender base with white dots and spring flowers | Weddings, garden parties, spring celebrations |
| Bold contrast design | Black French tips with white dots and red dimensional roses | Evening events, date nights, special occasions |
| Minimalist accent nail | Nude base with single 3D flower on ring finger and subtle dots | Casual outings, brunch dates, subtle elegance |
| Seasonal holiday theme | French tips with themed colors, metallic dots, and festive florals | Holiday parties, seasonal celebrations, themed events |
These polka dot French 3D flower variations available at Gel Nails By Lina allow you to customize your handmade custom nails to match any aesthetic preference or event requirement.
Nail Care and Maintenance
Maintaining your polka dot French 3D flower press on nails requires gentle care and consistent attention to preserve both the artwork and your natural nail health. Apply cuticle oil daily around the edges of each press on nail to keep the surrounding skin moisturized and prevent dryness that can lead to premature lifting. The oil also adds shine to the handmade custom nails and helps maintain the vibrancy of the polka dot patterns and floral embellishments.
Wear gloves when performing household tasks involving water, cleaning products, or prolonged moisture exposure to protect the adhesive bond. While quality press on nails are water resistant, extended submersion can weaken the glue and cause lifting at the edges. Avoid using your nails as tools to open cans, scrape surfaces, or pry objects apart, as this creates stress on both the press on nail and your natural nail underneath.
Keep your hands moisturized with non greasy hand cream, focusing on the skin surrounding the nails rather than the press on nails themselves. Excessive lotion on the nail surface can break down adhesive over time. If you notice any lifting at the edges, apply a tiny drop of nail glue underneath the lifted area and press firmly for 30 seconds to reseal the bond and extend wear time.
How to Remove Press On Nails Safely
- Fill a bowl with warm water and add a few drops of gentle soap or cuticle oil to create a soaking solution.
- Soak your fingertips in the warm water for 10 to 15 minutes to soften the adhesive bond gradually.
- Gently wiggle each press on nail from side to side to test if the adhesive has loosened sufficiently.
- Use a wooden cuticle stick to carefully lift the edges of the press on nail, working slowly from one side.
- Apply more warm water if resistance occurs rather than forcing removal, which could damage natural nails.
- Remove any residual adhesive from your natural nails using a soft nail buffer or additional soaking time.
- Wash your hands thoroughly and apply cuticle oil generously to nourish nails after removal process.
- Allow your natural nails to rest for at least 24 hours before applying new press on nails or polish.
Nail Health and Safety
Monitor your nails for signs of fungal infection, including discoloration, thickening, or unusual odor underneath the press on nails. If moisture becomes trapped between the handmade custom nails and your natural nail bed, remove the press on nails immediately to allow the area to dry completely. Apply antifungal treatment if recommended by a healthcare provider and wait until the infection clears before reapplying any artificial nail enhancements.
Give your natural nails regular breaks between press on nail applications to allow them to breathe and regenerate. During rest periods, apply strengthening treatments and keep nails trimmed short to prevent breakage. Maintain a balanced diet rich in biotin, protein, and vitamins that support nail health from within. Stay hydrated and use cuticle oil daily even when not wearing press on nails to maintain optimal nail and cuticle condition.
Frequently Asked Questions
How long do press on nails last?
Press on nails typically last between 5 to 14 days depending on application method and daily activities. Using nail glue instead of adhesive tabs extends wear time significantly, often reaching two weeks with proper care. Your lifestyle factors like frequent hand washing, swimming, or manual work affect longevity, with careful handling and maintenance extending the lifespan of your handmade custom nails.
How to remove press on nails safely without damage?
Remove press on nails safely by soaking them in warm soapy water for 10 to 15 minutes to soften the adhesive bond. Gently wiggle and lift each nail using a wooden cuticle stick rather than pulling or forcing removal. Never rip or tear press on nails off quickly, as this can strip layers from your natural nail plate and cause significant damage requiring months to repair.
Are press on nails better than gel or acrylic nails?
Press on nails offer advantages over gel or acrylic nails including no UV exposure, no harsh chemicals, and easy removal without professional help. They provide comparable aesthetics at a fraction of the cost and time investment while allowing complete customization through handmade designs. However, gel and acrylic nails may last longer for those with very active lifestyles, making the choice dependent on individual priorities and preferences.
Why do my press on nails keep popping off?
Press on nails pop off primarily due to inadequate nail preparation, oil residue on the natural nail surface, or incorrect sizing. Ensure you thoroughly cleanse nails with alcohol, buff the surface lightly, and push back cuticles completely before application. Choosing press on nails that fit your natural nail width precisely without gaps prevents early lifting and extends wear time significantly for your polka dot French 3D flower designs.
How to make press on nails last longer?
Make press on nails last longer by using nail glue instead of adhesive tabs, preparing nails thoroughly before application, and avoiding prolonged water exposure. Apply cuticle oil daily around the edges rather than on top of the nails, wear gloves during cleaning tasks, and avoid using nails as tools. Proper sizing and firm application pressure during initial bonding creates a stronger seal that resists lifting throughout extended wear periods.
Conclusion
Polka dot French 3D flower press on nails represent the perfect fusion of classic elegance and contemporary nail art innovation. These handmade custom nails deliver salon quality results with minimal time investment and maximum creative expression. Whether you choose bold contrasts or subtle pastels, the combination of French tips, playful polka dots, and dimensional floral embellishments creates stunning manicures suitable for any occasion. Explore the diverse selection at Gel Nails By Lina to discover your perfect custom nail design today.