Nail Inspo For Teenagers: Creative Gel Nail Ideas

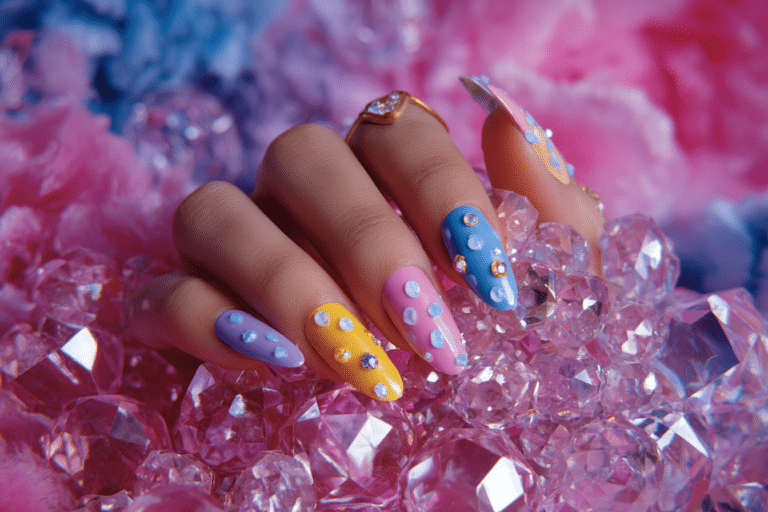
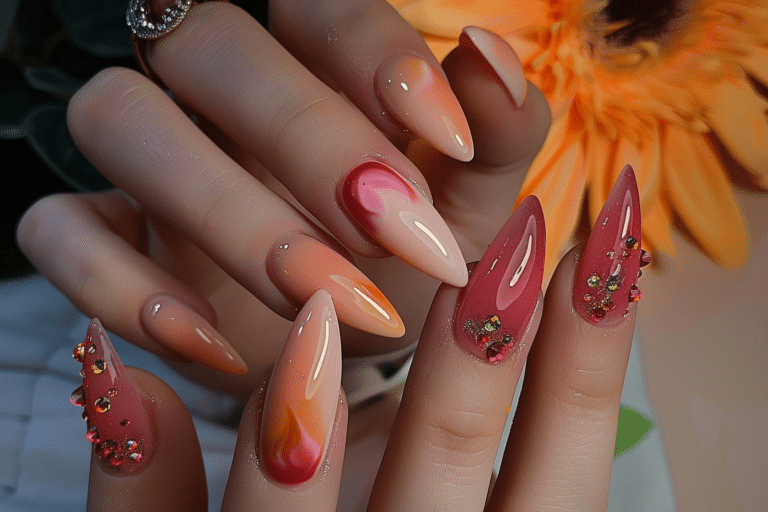
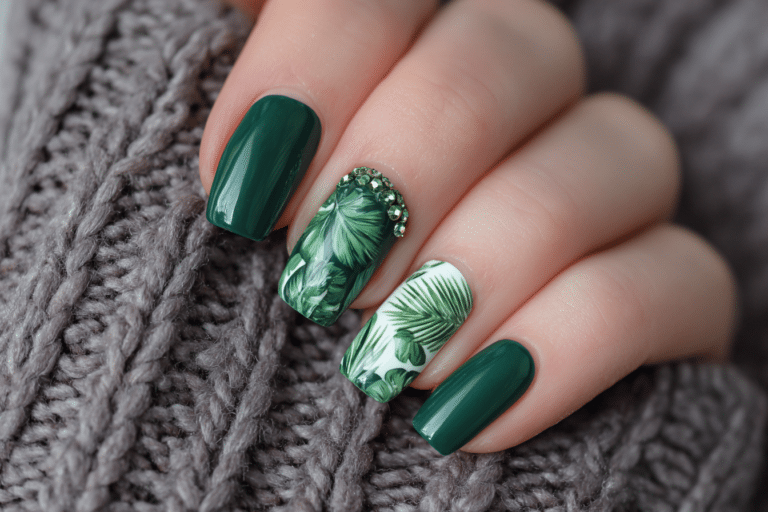
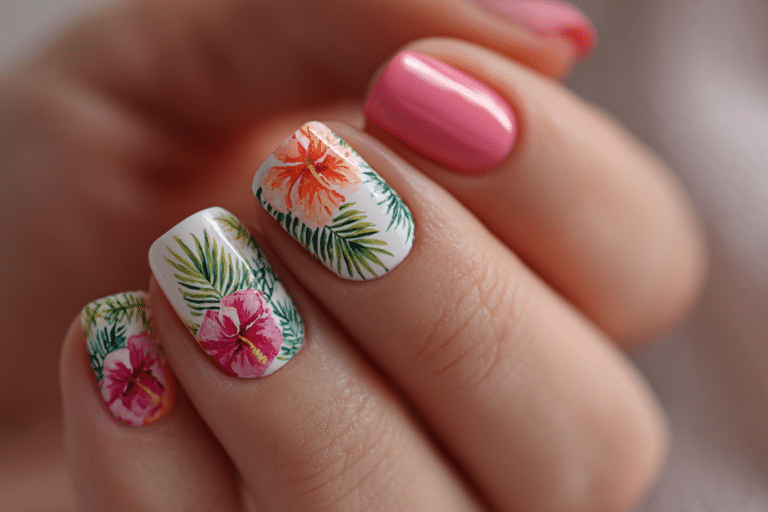
Nail inspo for teenagers offers endless creative possibilities to express personal style through vibrant colors, playful patterns, and trendy designs.
Teenage years are perfect for experimenting with different nail art styles that reflect your personality and current fashion trends. From minimalist designs suitable for school to bold statement nails for special events, gel nails provide a durable and professional-looking option that lasts longer than regular polish.
| Topic | Details |
|---|---|
| Category | Gel Nails / Nail Art |
| Skill Level | Beginner to Intermediate |
| Time Needed | 45-90 minutes |
| Tools Needed | UV/LED lamp, gel polish, base coat, top coat, nail file |
| Best For | Teenagers wanting expressive, long-lasting nail art |
Table of Contents
Why This Nail Technique Works
Gel nail polish works exceptionally well for teenagers because it provides a chip-resistant finish that withstands daily activities like texting, sports, and schoolwork. The curing process under UV or LED light creates a hardened coating that bonds to the nail plate, offering superior durability compared to traditional nail polish. This means fewer touch-ups and longer-lasting designs that maintain their glossy appearance for up to three weeks.
Teenagers benefit from gel nails because the vast color selection and design options allow for unlimited creativity and self-expression. Gel formulas come in hundreds of shades including neons, pastels, metallics, and glitters that appeal to youthful aesthetics. The versatility of gel polish enables both subtle everyday looks appropriate for school dress codes and bold artistic designs for weekends and special occasions.
The professional appearance of gel nails also boosts confidence during important teenage moments like school dances, photo days, and social gatherings. Gel manicures look freshly applied for extended periods, eliminating the embarrassment of chipped polish during presentations or performances. The smooth, even finish creates a polished appearance that enhances overall grooming without requiring daily maintenance.
Tools and Products Needed
| Product | Purpose | Alternatives |
|---|---|---|
| UV/LED Lamp | Cures gel polish to harden | Dual-purpose UV/LED combo lamp |
| Base Coat | Protects natural nail and aids adhesion | Peel-off base coat for easy removal |
| Gel Polish | Provides color and design | Multiple colors for nail art |
| Top Coat | Seals design and adds shine | Matte or glossy finish options |
| Nail File | Shapes nails and smooths edges | Glass file or emery board |
| Nail Buffer | Smooths nail surface for better adhesion | 4-way buffer block |
| Cuticle Oil | Hydrates cuticles and surrounding skin | Vitamin E oil or jojoba oil |
| Nail Cleanser | Removes oils and residue | Rubbing alcohol or acetone |
| Nail Art Brushes | Creates detailed designs | Dotting tools or striping tape |
For quality gel nail products and professional tools, visit Gel Nails by Lina for comprehensive supplies suitable for beginners and experienced nail enthusiasts.
Step-by-Step Application Guide
Nail Preparation
- Remove any existing nail polish using acetone-based remover and cotton pads.
- Wash hands thoroughly with soap and warm water to eliminate dirt and oils.
- Push back cuticles gently using a wooden cuticle pusher or orange stick.
- File nails into your desired shape using smooth strokes in one direction.
- Buff the nail surface lightly to create a slightly rough texture for better adhesion.
- Wipe nails with nail cleanser or rubbing alcohol to remove dust and oils.
Base Coat Application
- Apply a thin layer of gel base coat starting from the center of the nail.
- Extend the base coat to the sides while avoiding contact with cuticles.
- Cap the free edge by running the brush along the nail tip.
- Cure under UV lamp for 60 seconds or LED lamp for 30 seconds.
- Check that the base coat feels dry and slightly tacky to touch.
Gel Polish Layers
- Apply the first thin coat of colored gel polish using minimal product.
- Start slightly away from the cuticle and drag color toward the free edge.
- Cure the first color coat under the lamp for the recommended time.
- Apply a second thin coat for full opacity and even color distribution.
- Add any nail art details like dots, stripes, or stickers after the second coat.
- Cure each decorative layer separately to prevent smudging or bleeding.
Curing Process
- Place your hand completely inside the lamp ensuring all nails receive light.
- Keep fingers still and flat during the entire curing cycle.
- Wait for the automatic timer to complete before removing your hand.
- Check that each layer feels completely hard before proceeding to the next step.
- Never skip curing time as it compromises durability and causes peeling.
Finishing and Top Coat
- Apply a thin layer of gel top coat over the entire nail design.
- Cap the free edge thoroughly to seal the color and prevent chipping.
- Cure the top coat for the full recommended time for maximum shine.
- Wipe away the sticky residue layer using alcohol and a lint-free wipe.
- Apply cuticle oil around each nail to restore moisture and add shine.
- Massage the oil into cuticles and surrounding skin for healthy-looking nails.
Pro Nail Technician Tips
- Keep gel polish layers thin to prevent wrinkling, peeling, or improper curing that leads to premature lifting.
- Avoid touching the cuticle area with gel polish as this causes lifting within days of application.
- Clean the brush after each coat to prevent color contamination and ensure smooth application every time.
- Store gel polishes away from direct sunlight and heat sources to maintain proper consistency and prevent premature curing.
- Replace UV bulbs every six months to ensure adequate curing power for long-lasting gel manicures.
- Prep natural nails properly by removing all oils and moisture for maximum adhesion and durability.
Learn more professional techniques and tips at Gel Nails by Lina where expert nail technicians share their best practices.
Common Gel Nail Mistakes
| Mistake | Why it Happens | How to Fix |
|---|---|---|
| Thick gel layers | Using too much product in one coat | Apply multiple thin coats instead of one thick layer |
| Improper curing | Removing hand from lamp too early | Always cure for the full recommended time per layer |
| Skipping nail prep | Rushing through cleaning and buffing steps | Thoroughly cleanse and lightly buff before base coat |
| Flooding the cuticle | Applying polish too close to cuticle area | Leave a small gap and use cleanup brush if needed |
| Not capping free edge | Forgetting to seal the nail tip | Run brush along tip edge with each coat application |
Nail Design Variations for Nail Inspo For Teenagers
| Style | Description | Best Occasion |
|---|---|---|
| French gel nails | Classic white tips with natural or pink base | School photos, formal events, everyday wear |
| Chrome nails | Metallic mirror finish in silver, gold, or holographic | Parties, concerts, special celebrations |
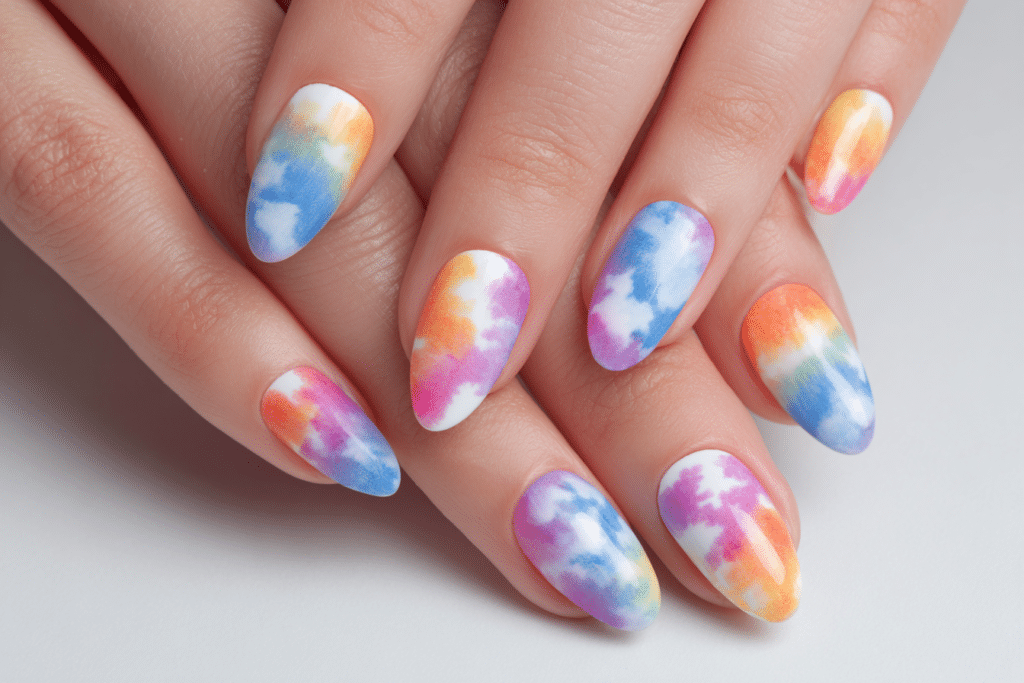
| Ombre nails | Gradient color transition from light to dark | Proms, dances, weekend outings |
| Minimalist nail art | Simple lines, dots, or single accent nail | School days, sports events, casual wear |
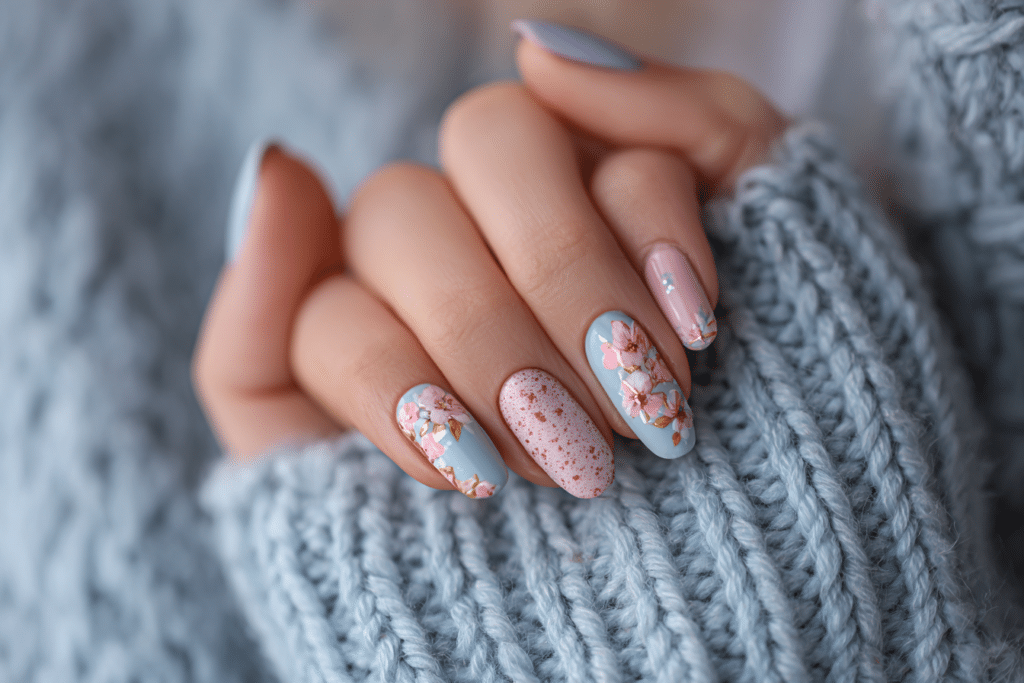
| Seasonal nail designs | Holiday themes, florals, or weather-inspired patterns | Seasonal celebrations, themed parties |
| Neon colors | Bright fluorescent shades in solid or geometric patterns | Summer activities, music festivals, beach trips |
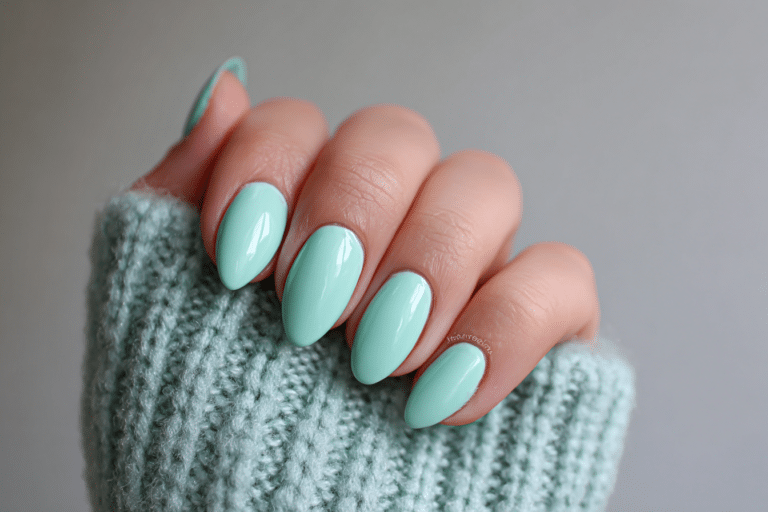
| Pastel shades | Soft pink, lavender, mint, and peach tones | Spring events, Easter, sweet sixteen parties |
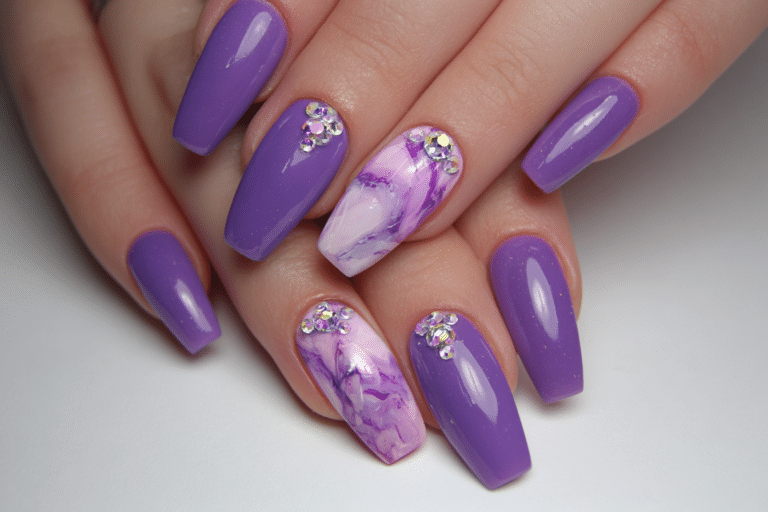
| Glitter accent | Sparkle on one or two nails with solid base | Homecoming, birthday parties, New Year celebrations |
Nail Care and Maintenance
Maintaining healthy nails underneath gel polish requires consistent hydration and gentle handling to prevent damage. Apply cuticle oil at least once daily, massaging it into the cuticles and surrounding skin to maintain flexibility and prevent dryness. This practice keeps the nail bed moisturized and promotes healthy nail growth even while wearing gel polish for extended periods.
Protect your gel manicure by wearing gloves during household chores involving water, cleaning products, or harsh chemicals. Excessive water exposure can cause the gel to lift at the edges, creating entry points for bacteria and reducing the lifespan of your manicure. Avoid using your nails as tools to open cans, peel stickers, or scratch surfaces as this causes cracks and premature lifting.
Schedule regular breaks between gel manicures to allow your natural nails to breathe and recover. Consider taking a week off every two to three months to assess nail health and apply strengthening treatments. During break periods, keep nails moisturized and filed smooth to prevent splitting or peeling of the natural nail layers.
Monitor your nails for signs of damage such as discoloration, thinning, or brittleness that may indicate over-processing. If you notice any unusual changes, discontinue gel applications and consult with a dermatologist or professional nail technician. Visit Gel Nails by Lina for expert advice on maintaining nail health while enjoying beautiful gel manicures.
How to Remove Gel Nails Safely
Safe gel nail removal prevents damage to your natural nails and maintains their strength and integrity. Start by filing the shiny top coat layer with a coarse nail file to break the seal and allow acetone to penetrate. This step significantly reduces the soaking time required and makes removal more efficient.
Soak cotton pads in pure acetone and place them directly on each nail, ensuring complete coverage of the gel polish. Wrap each finger tightly with aluminum foil to create heat and keep the acetone in constant contact with the gel. Allow the acetone to work for 10 to 15 minutes, checking periodically to see if the gel has softened.
Gently push off the softened gel using a wooden cuticle pusher or orange stick, never forcing or scraping aggressively. If the gel resists removal, rewrap the nail and soak for an additional five minutes rather than damaging your natural nail. After removing all gel residue, wash hands thoroughly and apply cuticle oil generously to rehydrate nails and surrounding skin.
Nail Health and Safety
Maintaining nail health during teenage years establishes lifelong habits that prevent common problems like infections, brittleness, and damage. Always ensure that nail tools are properly sanitized between uses by wiping with alcohol or using disposable items when possible. Sharing nail tools can transfer bacteria and fungi that cause infections requiring medical treatment.
Avoid over-filing or aggressive buffing of the natural nail plate as this thins the protective keratin layers. Light buffing is sufficient to create texture for gel adhesion without compromising nail strength. If you experience pain, redness, or swelling around the nails, remove polish immediately and seek medical advice to rule out infection or allergic reaction.
Allow adequate time between gel manicures for nails to recover and rebuild their natural strength. Teenagers experiencing rapid nail growth should monitor for signs of lifting and address them promptly to prevent moisture and bacteria from accumulating under the gel. Proper nail care habits developed during teenage years contribute to strong, healthy nails throughout adulthood.
Frequently Asked Questions
How long do gel nails last on teenagers?
Gel nails typically last two to three weeks on teenagers when applied correctly with proper nail preparation. Active lifestyles and frequent hand washing common among teens may reduce longevity slightly compared to adults. Maintaining cuticle hydration and avoiding harsh chemicals helps extend the wear time of gel manicures significantly.
How to remove gel nails safely at home?
Remove gel nails safely by filing the top coat, soaking nails in acetone-saturated cotton pads wrapped in foil for 10 to 15 minutes. Gently push off softened gel with a wooden stick, never forcefully peeling or scraping the polish. Always moisturize thoroughly after removal to restore hydration to nails and cuticles.
Are gel nails better than acrylic nails for teenagers?
Gel nails are generally better for teenagers because they offer a more natural appearance and gentler application process without strong chemical odors. Gels are thinner and more flexible than acrylics, making them more comfortable for daily activities and less likely to cause damage. They also require less aggressive filing during application and removal compared to acrylic systems.
Why do my gel nails peel after a few days?
Gel nails peel prematurely due to inadequate nail preparation, particularly insufficient removal of natural oils before application. Applying gel too close to the cuticles or using thick layers that don’t cure properly also causes lifting and peeling. Ensure thorough cleansing, proper curing times, and thin polish layers to prevent early peeling.
How can I make my gel nails last longer?
Make gel nails last longer by applying cuticle oil daily, wearing gloves during water exposure, and avoiding using nails as tools. Proper application with thin layers, complete curing, and capping the free edge significantly extends wear time. Touch up any lifting immediately with a thin layer of top coat to prevent moisture from getting underneath.
Conclusion
Nail inspo for teenagers offers countless opportunities to showcase creativity and personal style through trendy gel nail designs that withstand active lifestyles. From subtle school-appropriate looks to bold statement nails for special occasions, gel polish provides the durability and professional appearance that teenagers desire. With proper application techniques, quality products, and consistent nail care, you can achieve salon-quality results at home while maintaining healthy, strong nails. Experiment with different colors, patterns, and styles to discover your signature look and express your unique personality through beautiful nail art.